World Adventures Dramatic Play Series
Introduction
During our school year of World Adventures, we "travel" to different countries and experience an imaginary, playful theme, based off something special from each one.
Introducing the World Adventures concepts in an age appropriate environment and format, provides a small glimpse into the beautiful diversity of life beyond their personal world. As a teacher, you will be able to know if your class is ready for themes and concepts branching beyond their immediate world view. Begin by introducing the concepts such as near/far, up/down, ways we travel, and children around the world. As needed with all themes, the World Adventures Dramatic Play Series is open-ended (without specific requirements) and playfully (loosely) based, without requiring geographical and historical facts. The World Adventure themes offer development of social skills, problem solving, higher order thinking, as well as fine and gross motor skills. Various themes also include embedded educational concepts such as: sequencing, one-to-one correspondence, literacy and enriched vocabulary. Children love the idea of traveling and are very curious about other children and the world around them. I introduce imaginary travel experiences through: simplified mini lessons, simple maps and globes, and a wide range of fiction and non-fiction books. We discuss what children around the world do, where they live, how they dress and the types of food they eat. Each imaginative travel theme brings an open-ended, fun, exciting and unique adventure from that particular country and area of the world. Many of the themes are made from my own experiences as a world traveler.
Malaysia: Orangutan Sanctuary and Rehabilitation Center
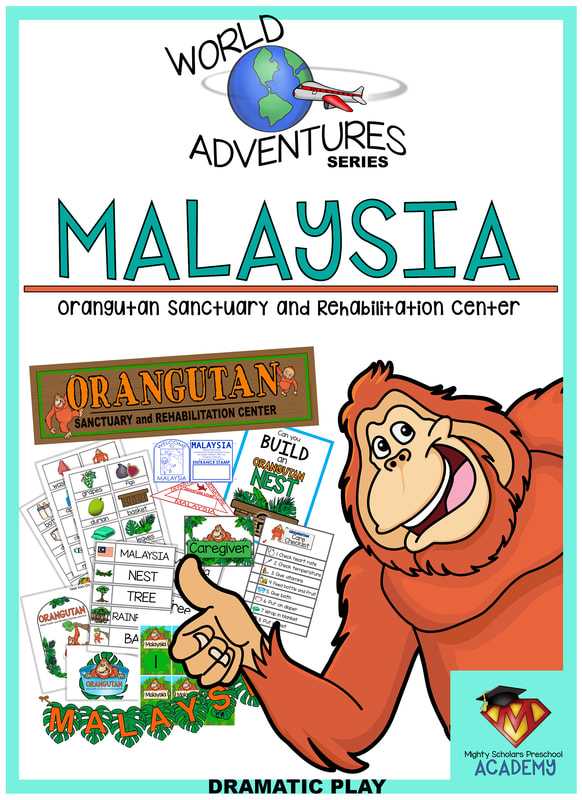
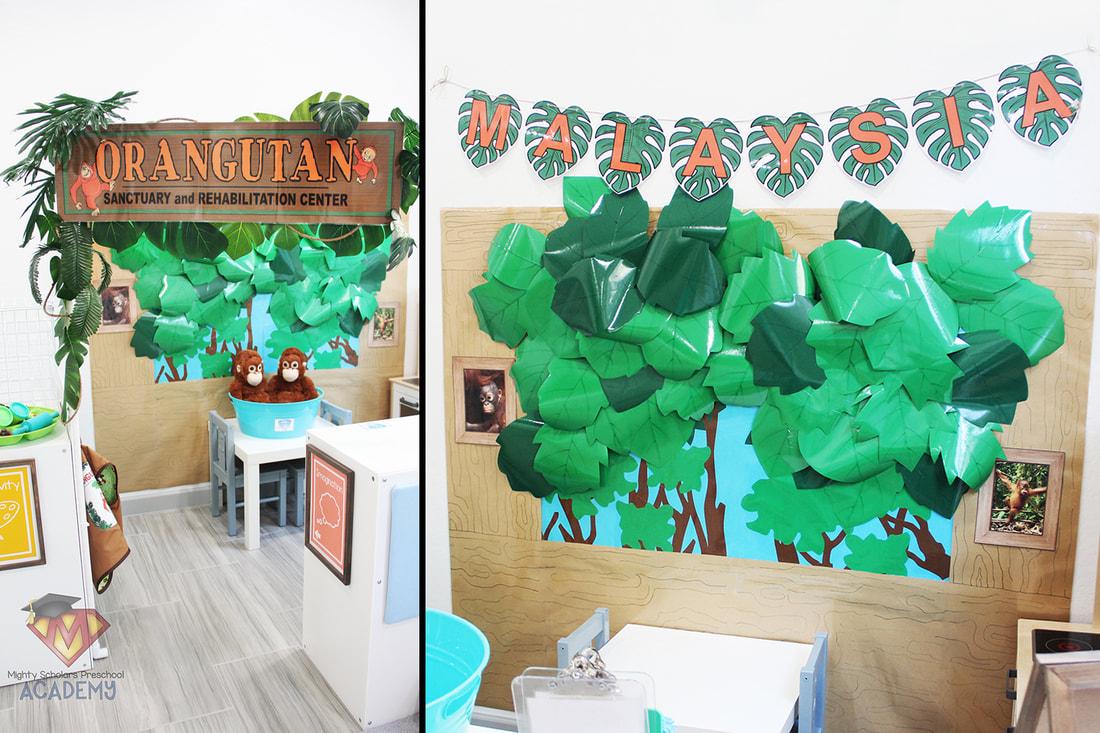
Personally, Malaysia holds a very special place in my heart. My husband is from Malaysia and we've spent a lot of time traveling there to be with family and see the incredible beauty. One of the places we make sure to visit during each trip is the inspiring Orangutan rehabilitation center and the boardwalk into the sanctuary to see the Orangutans. The conservation effort to help protect and care for the unique apes is something I wanted to simplify and bring into my classroom. For two weeks, during our World Adventures: Malaysia theme, my scholars learn about the rainforests, life in the rainforests and the role of the animal rehabilitation centers and sanctuaries. In particular, I teach my scholars about the incredible Orangutan Sanctuary and Rehabilitation Center, in Sandakan, Saba, Malaysia. Our imaginative experience allows my scholars to become caregivers in their own classroom "Orangutan Sanctuary and Rehabilitation Center". My scholars care for infant Orangutans, attending to all their needs: health, feeding and hygiene.
Calendar Cards
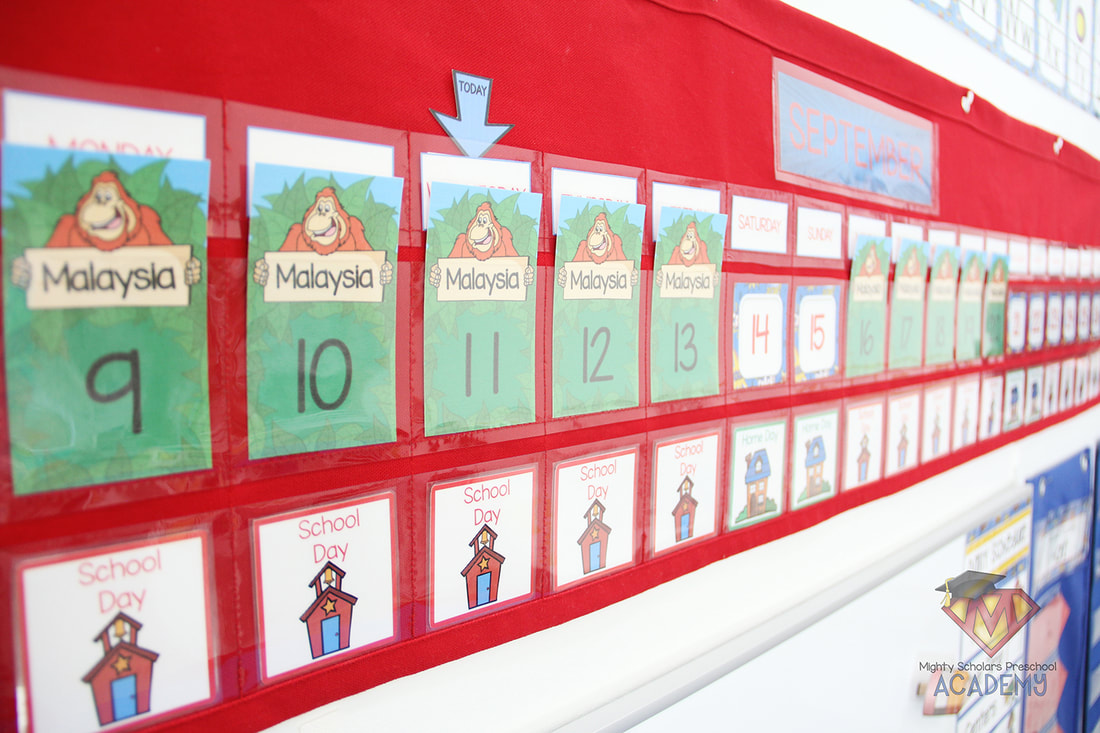
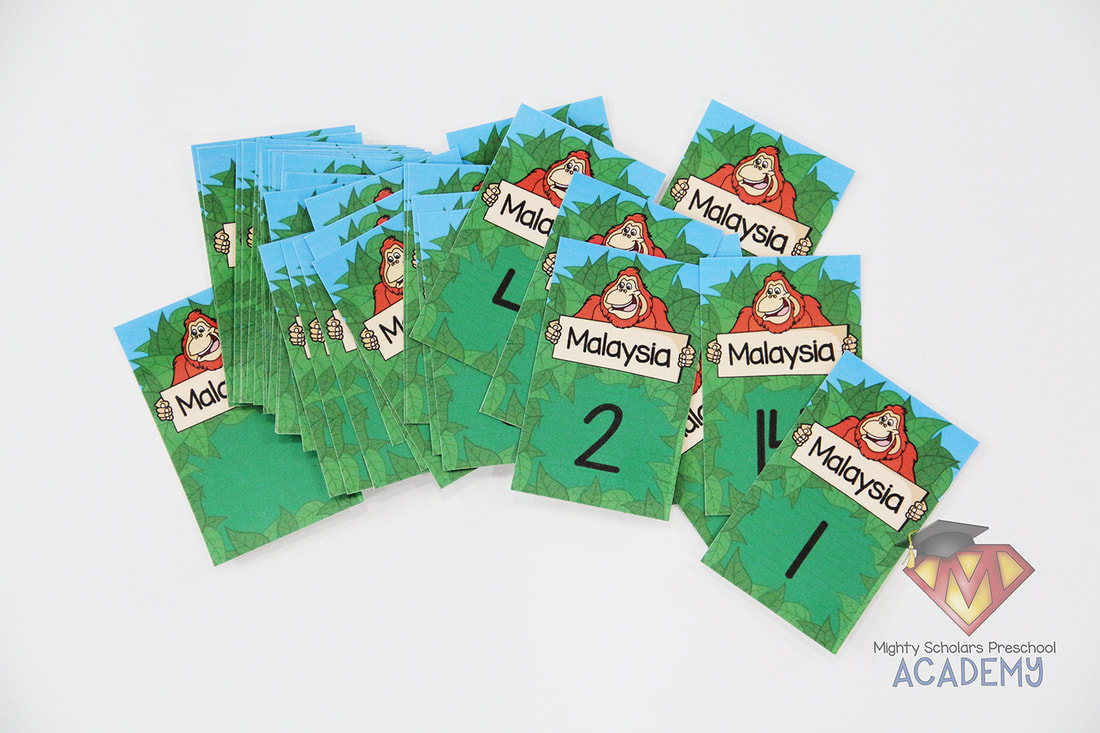
Each world theme includes a set of calendar cards. It's important to show class events on the calendar, for students to count up to. My scholars enjoy seeing our events for the month on our classroom linear calendar. They eagerly count up to the "travel" day in excitement and often proclaim their enthusiasm while announcing the remaining days to their peers.
Simplified Altas, Maps and Globe
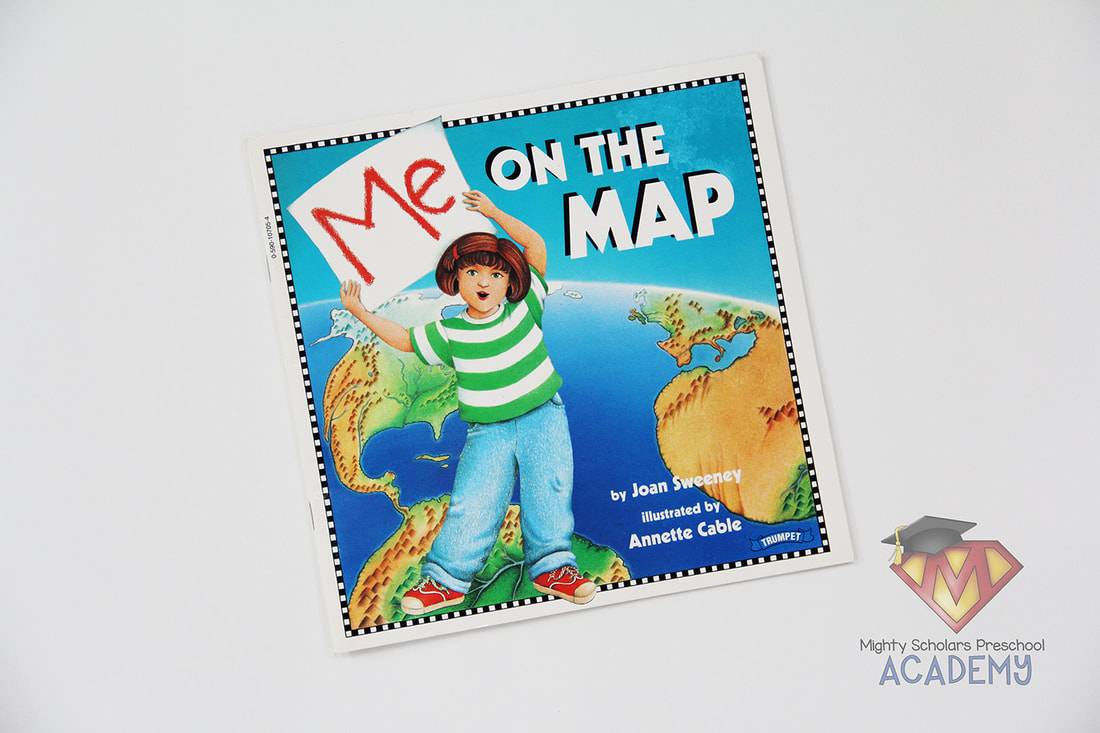
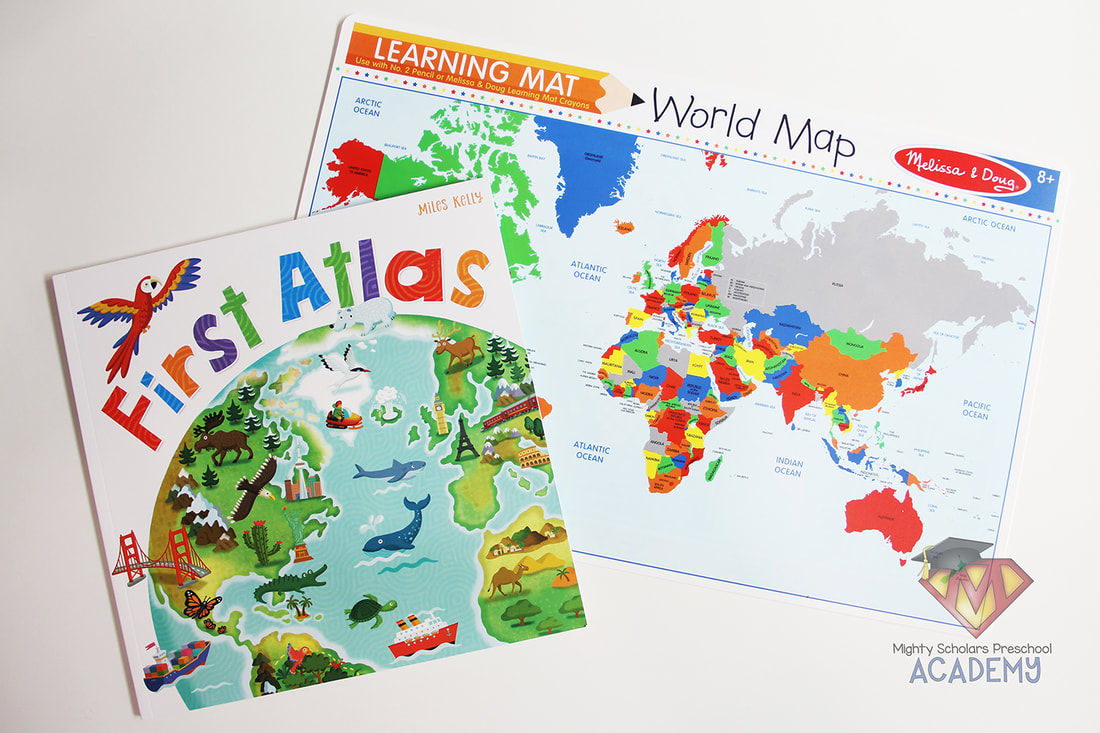
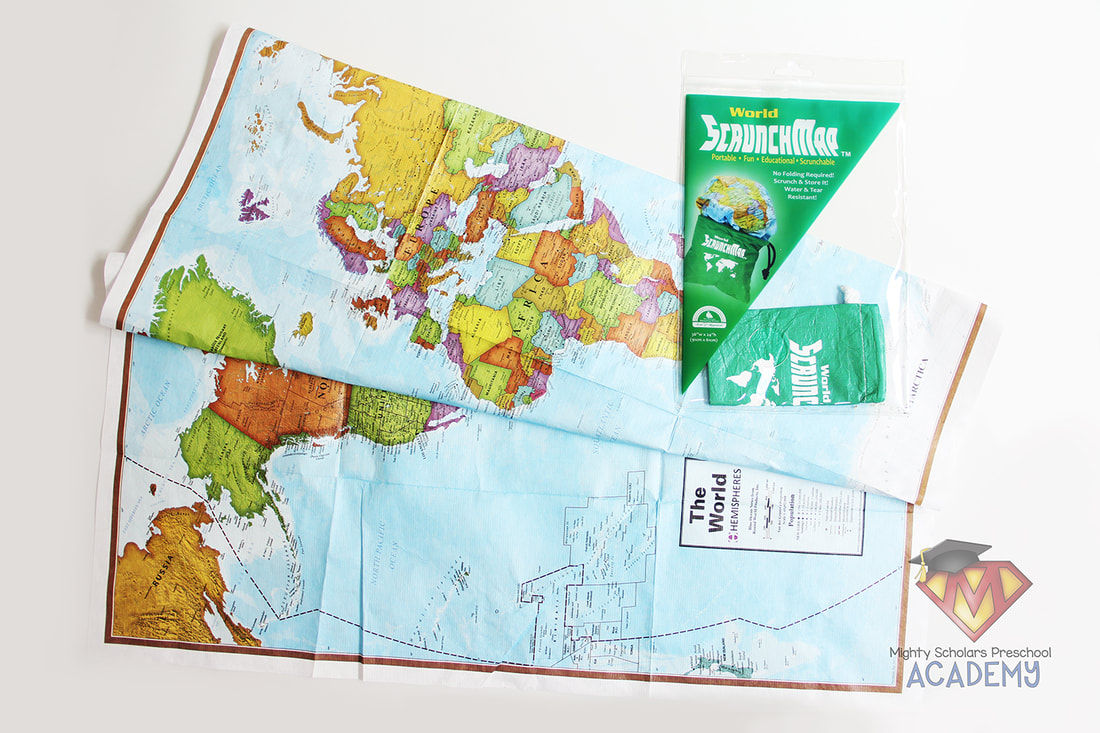
One of our favorite books to introduce maps and where we are, compared to the world around us, is 'Me On The Map' by Joan Sweeney. The Melissa and Doug 'World Map Learning Mat' is a small, simple version I place in the literacy center. I like to use and place the 'First Atlas' by Miles Kelly in our literacy center as well. I use the 'World ScrunchMap' at the beginning of each theme. It's more durable than a paper map and can be easily passed around, or laid out for hands-on use. It's not one I leave out through each theme, since it's much more complex. However, I do like to give my scholars a view of the incredible amount of special places around the world. I have a simple globe set out in our literacy center, that I switch out periodically with an inflatable globe, to introduce the concept of the Earth.
Passports, Stamps and Visas
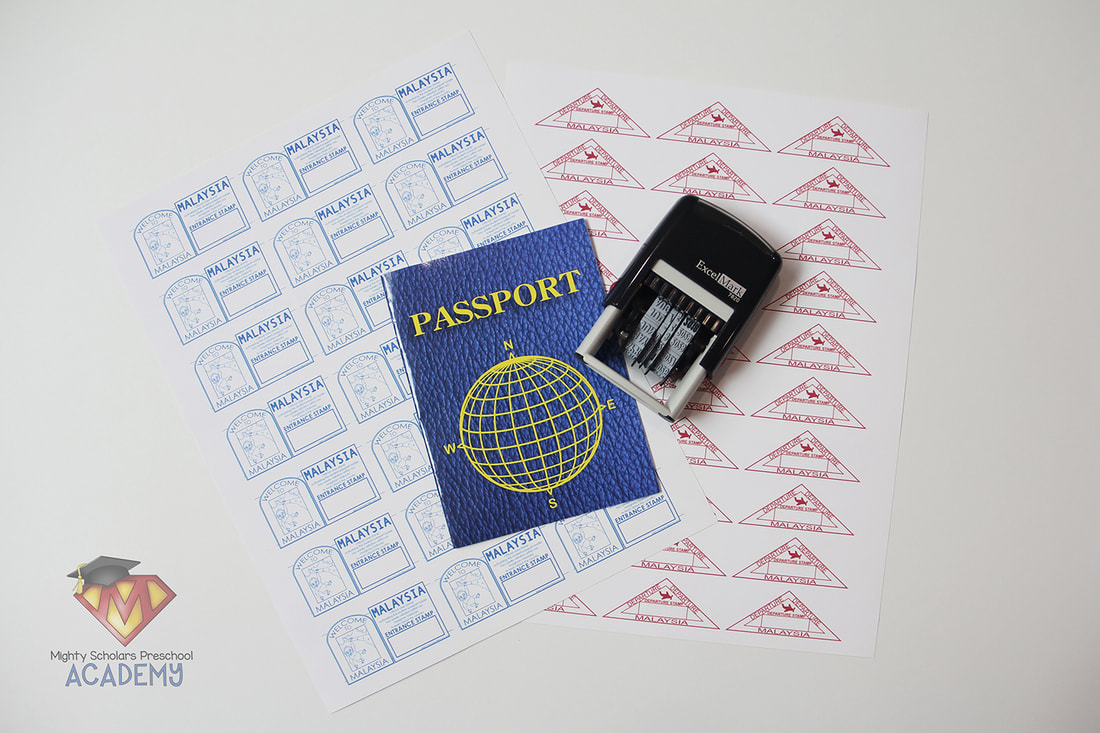
Each of my scholars receives a passport, with their picture and name inside. I printed their picture and name on sticker paper, leaving a place for them to add their signature. Each World Adventures theme includes printables for passport entry visas and exit stamps. I print the visas and stamps on sticker paper. Date stamps are added when we "enter" the country on the first day and "exit" the country on the last day. On the last day of the theme, we discuss the experience, what they've learned and what they enjoyed the most.
Sign, Bunting and Mural
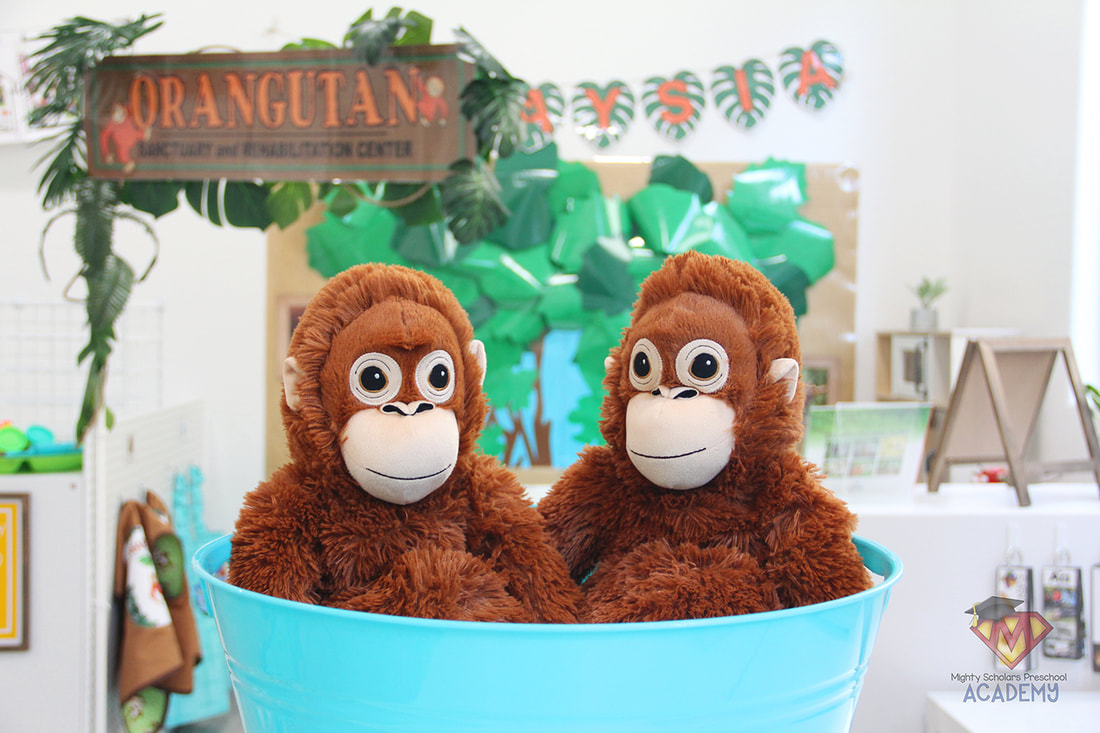
Whether you choose to print out the sanctuary/rehabilitation center sign large or small, it adds an official feel to the space. I attached it to PVC pipe and taped bendable, silk tropical leaves along the back. The large version of the sign is printed off in segments and taped together, to make it grand for the imaginative area. The Malaysia bunting comes in full color. The mural is made from rolls of fade resistant bulletin board paper. Like all my murals, I laminate them in panels so they can be stored and reused. Any 3D hanging paper items, attached to the mural, are taped with painters tape and removed for storage. The baby Orangutan images are included in the dramatic play pack.
Baby Orangutans
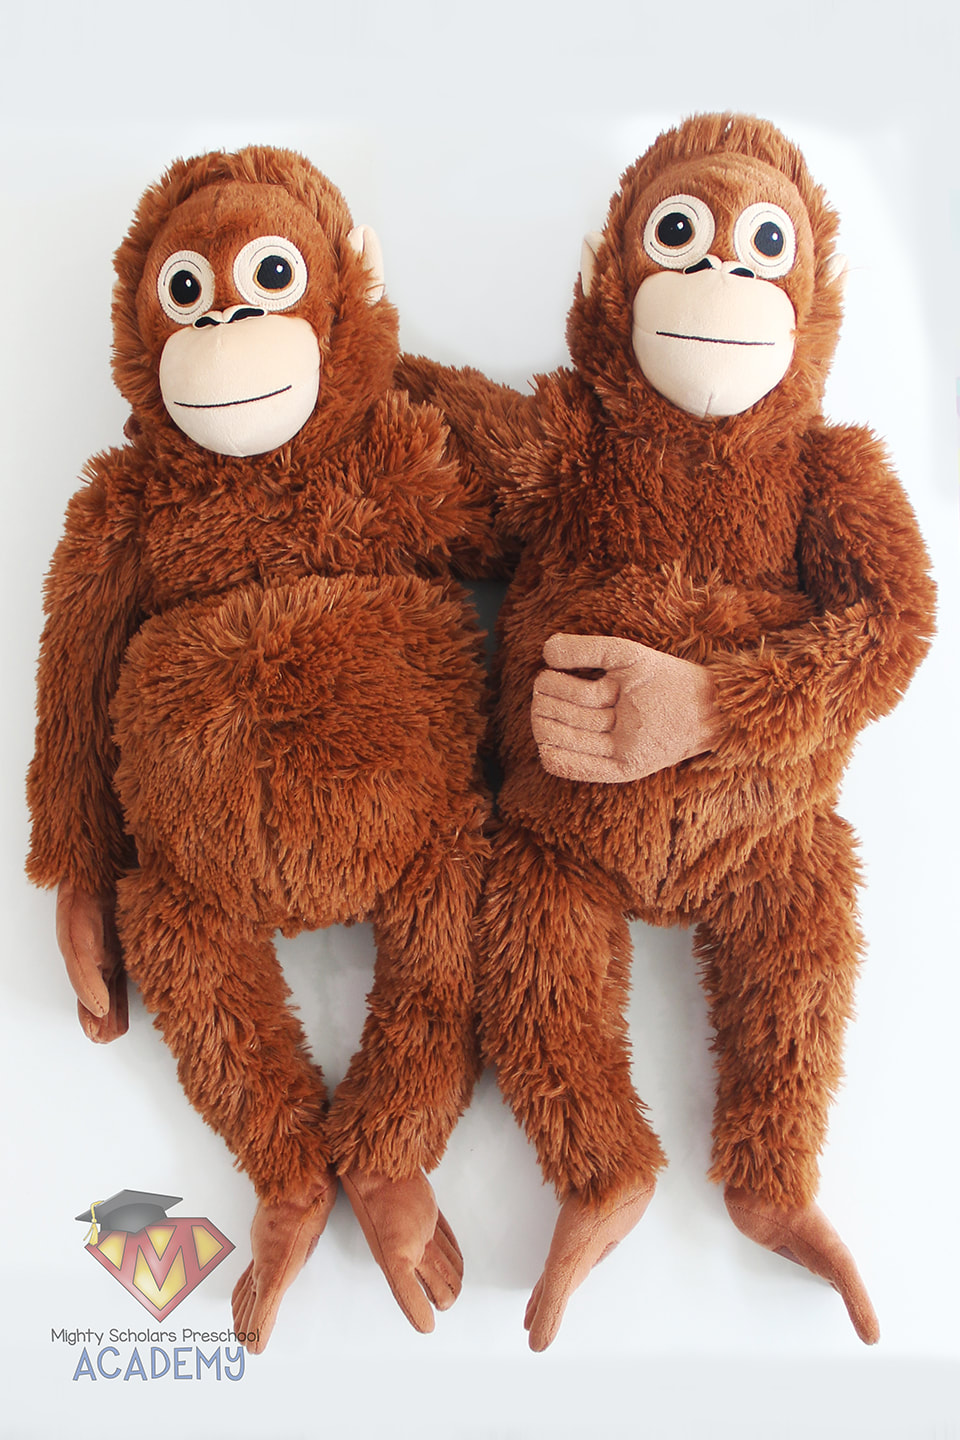
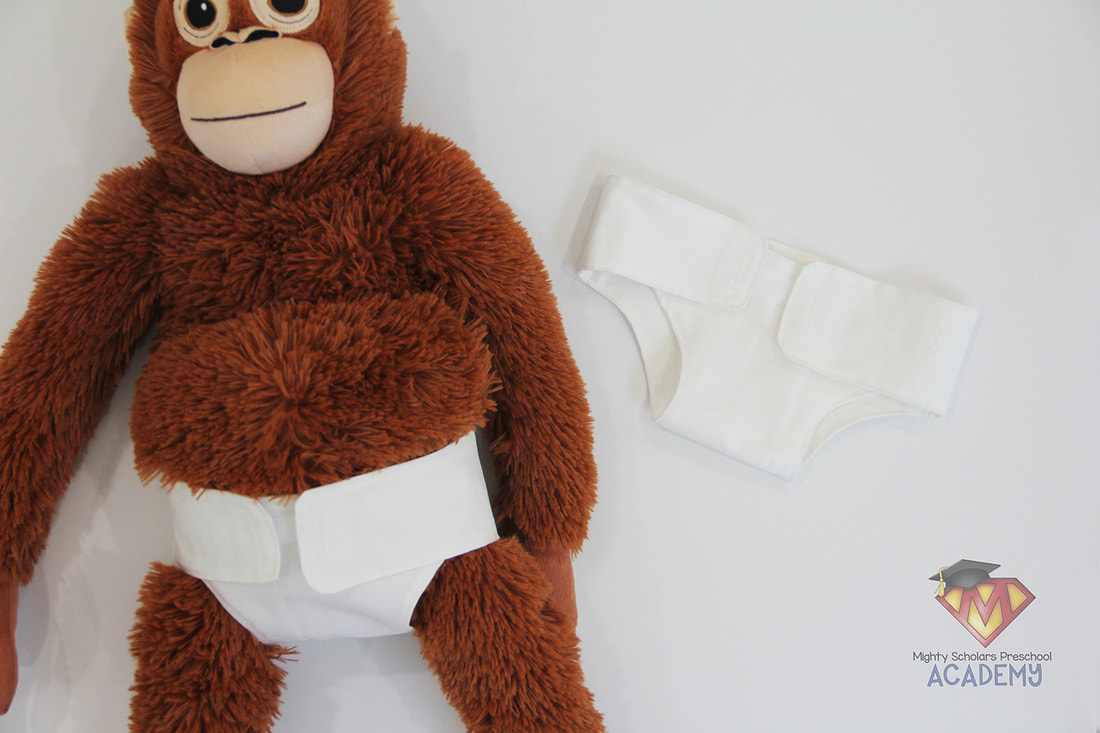
While there are plenty of stuffed animal Orangutans out there, I use the stuffed toy Orangutans from IKEA. They're larger and more lifelike. They even have adorable bellies and hook/loop hands and feet.
Vests, Aprons and Name Tags
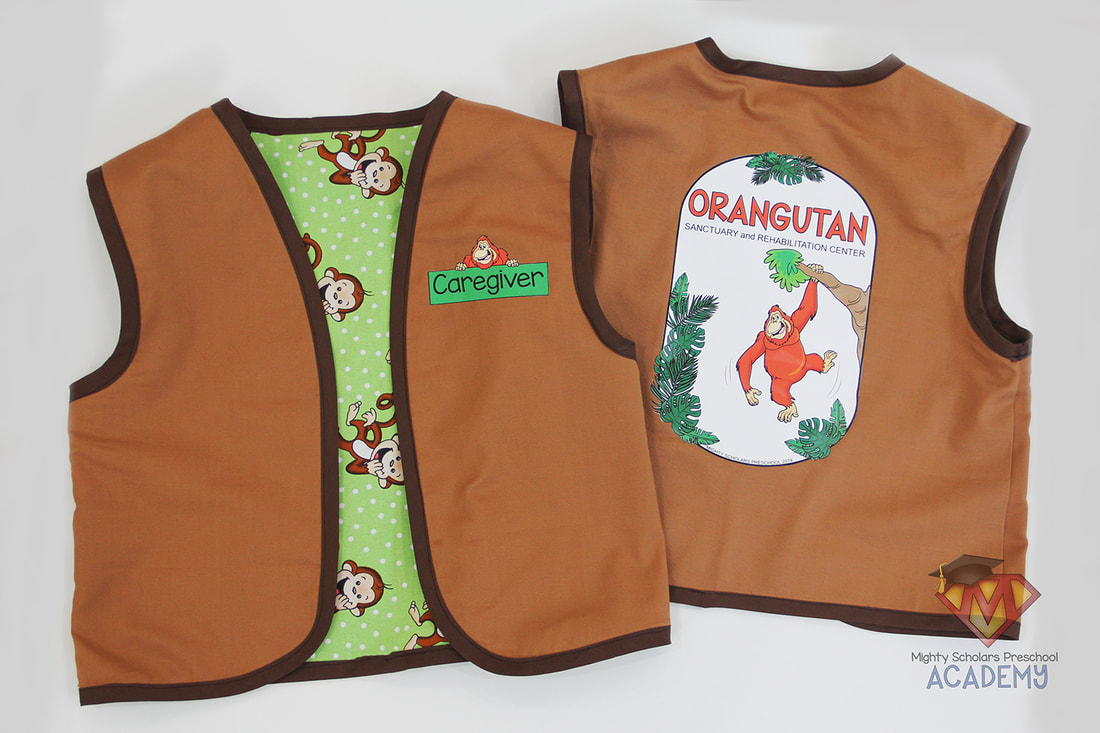
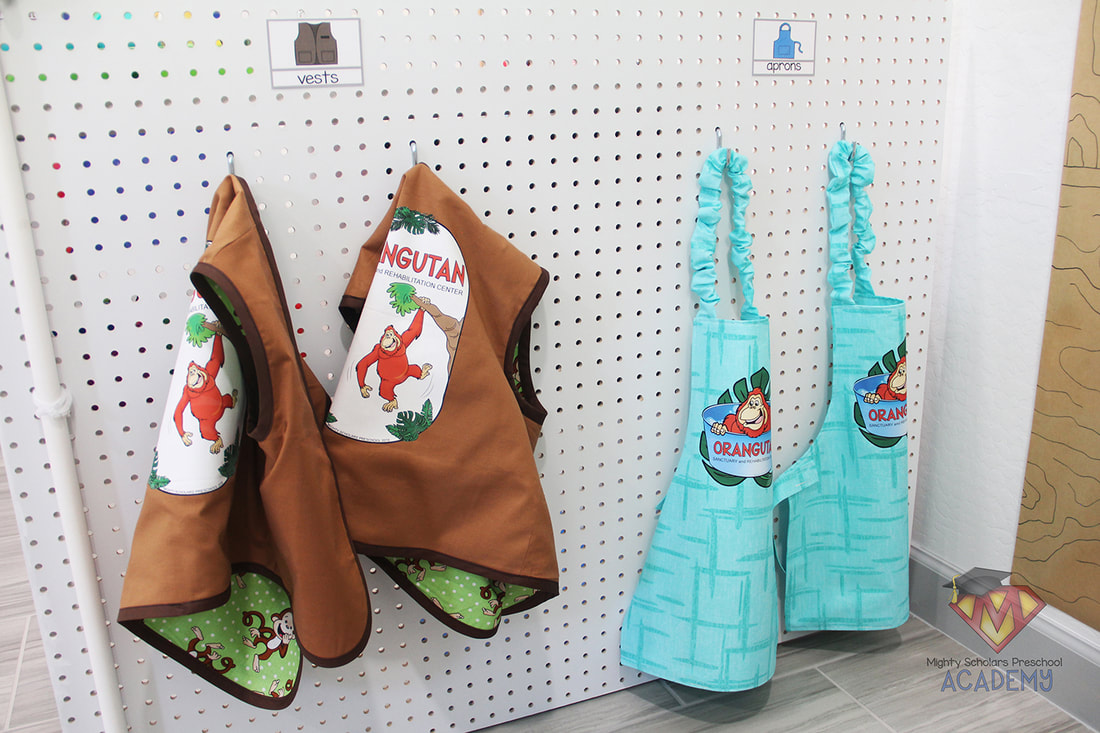
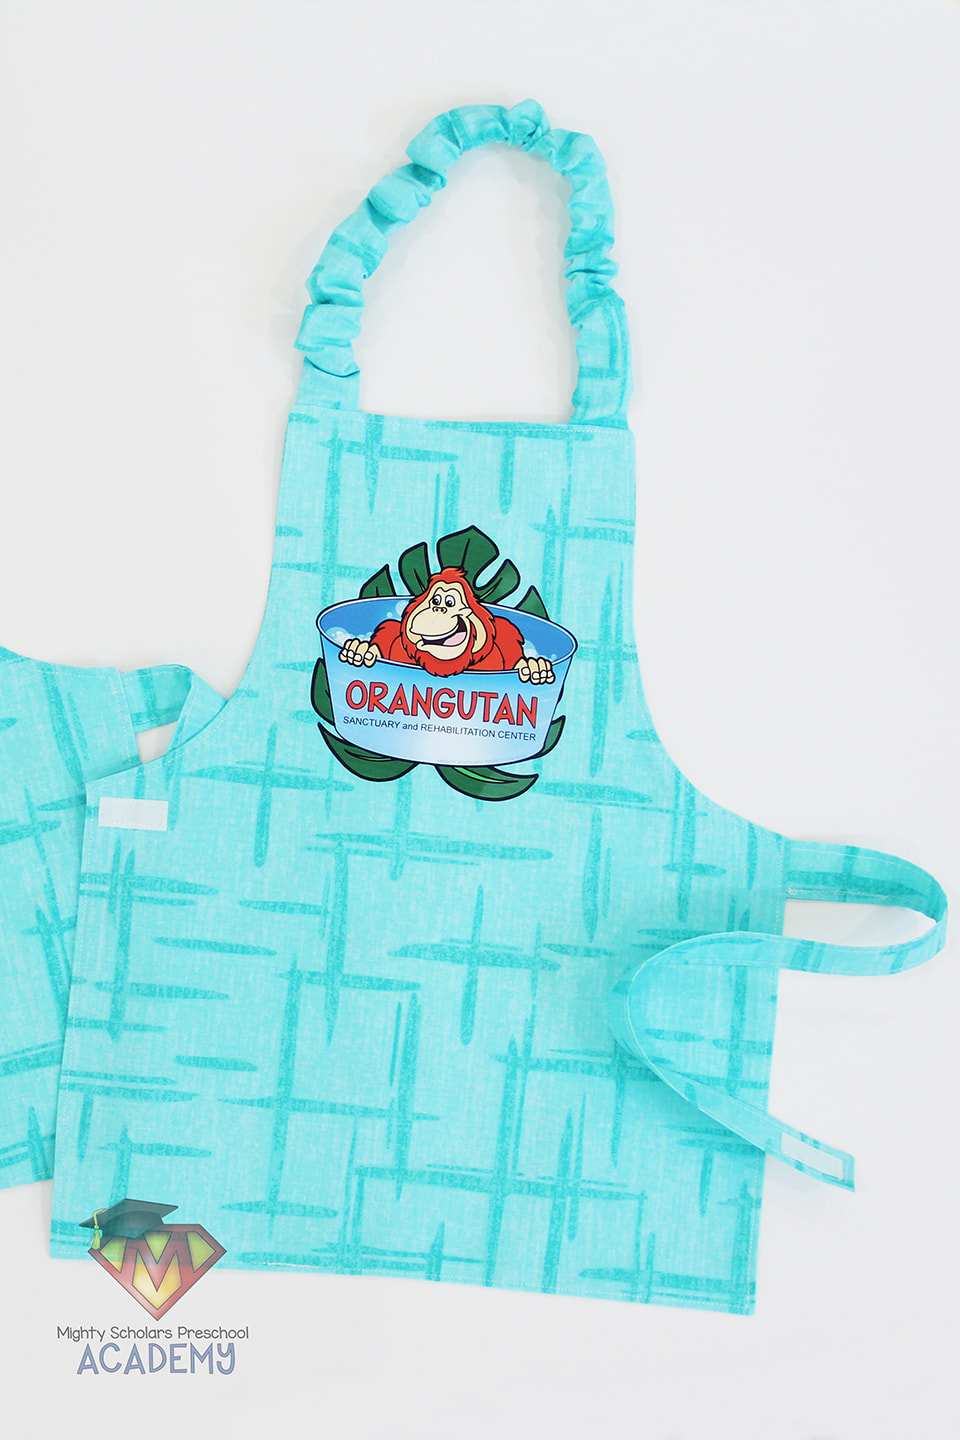
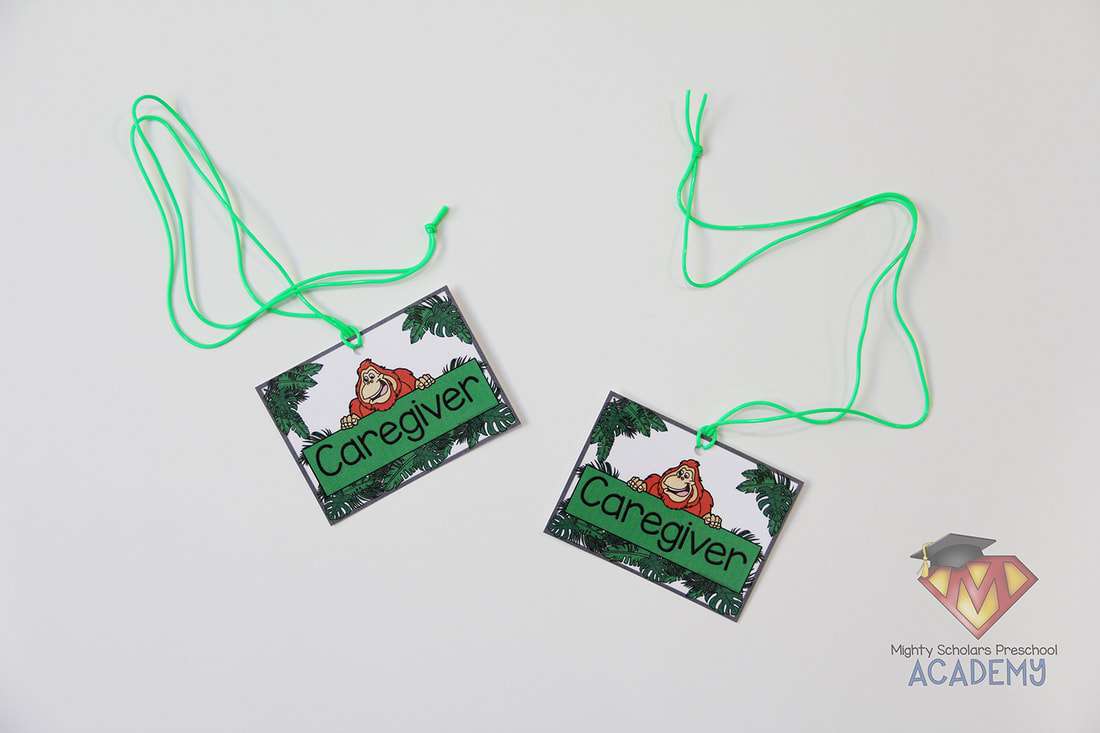
The World Adventures: Malaysia theme includes pages to print onto printable HTV, also known as printable iron-on transfers. I like using vests and Montessori style aprons, to make the imagination center as independent as possible. The dramatic play pack includes caregiver tags as well.
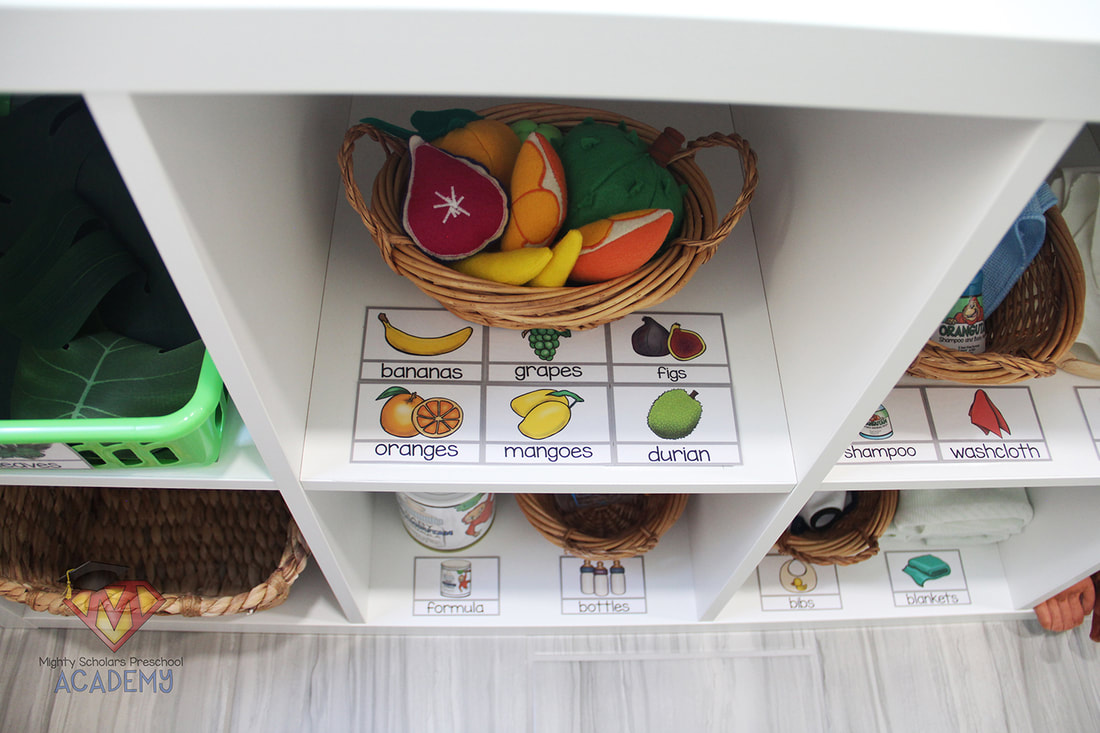
Supplies Setup
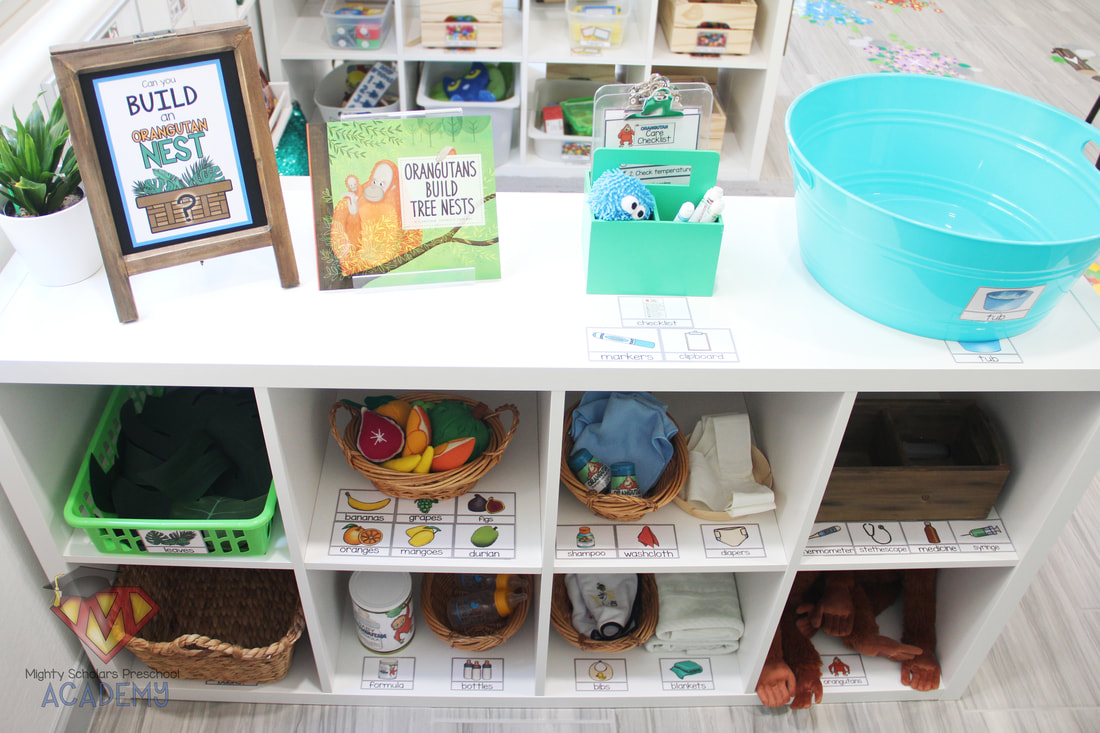
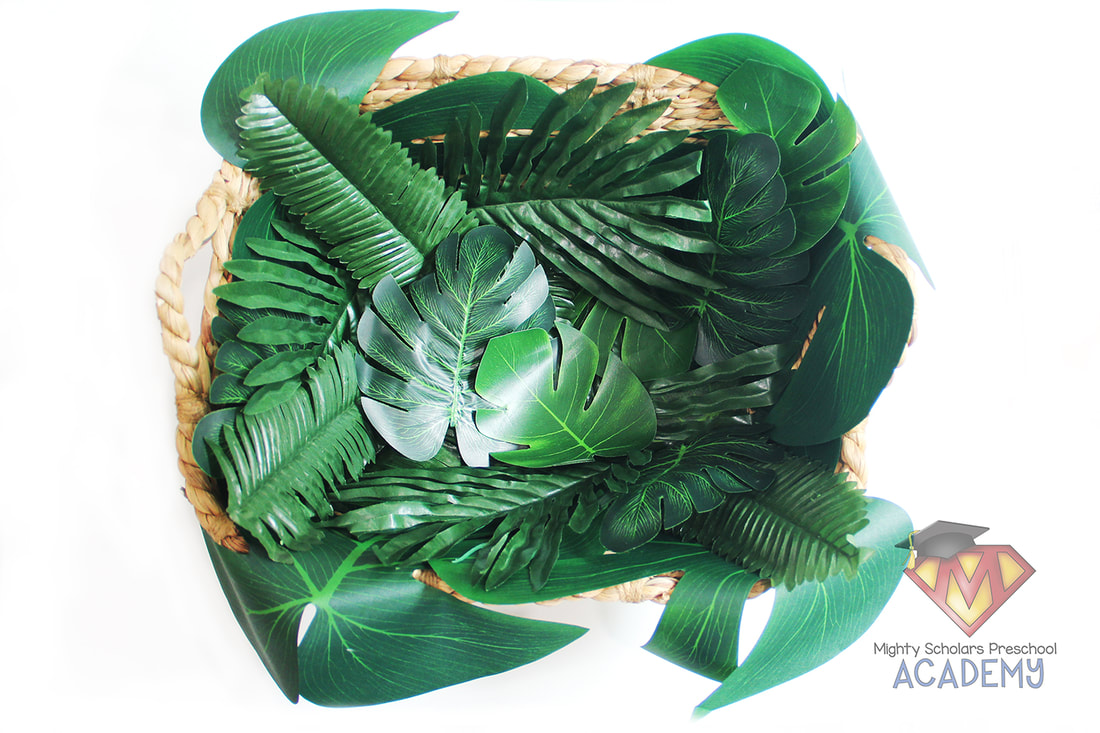
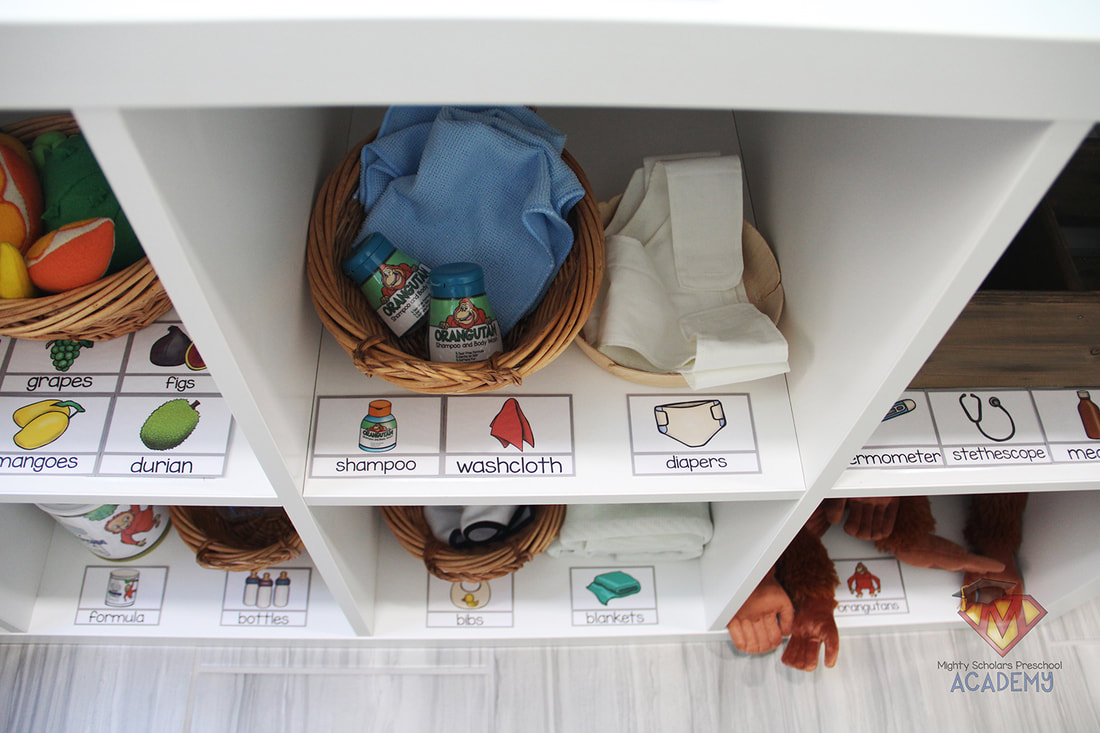
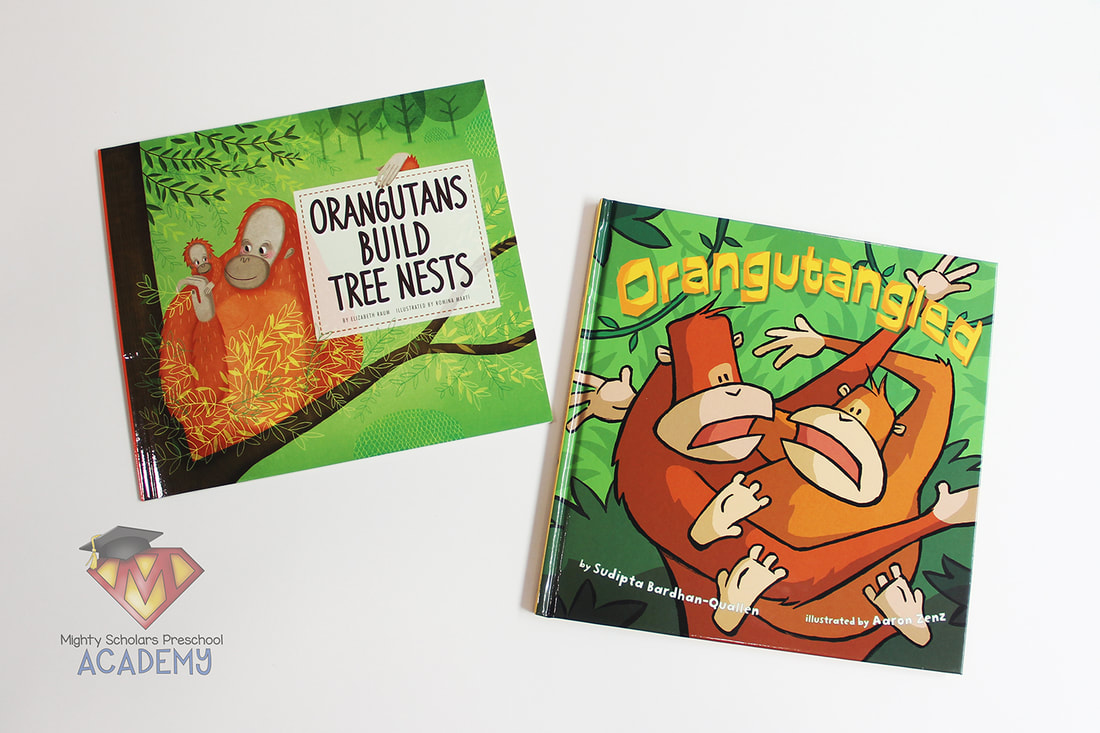
Our imagination center has one set of cubbies, to arrange supplies for the theme. I always add a theme/activity related book to the center. Each of the themes have items that can be easily pulled from other themes and activities, used in the classroom. For our Orangutan Sanctuary and Rehabilitation Center, I read the book 'Orangutans Build Tree Nests' by Elizabeth Raum. One of the activities/tasks is for the caregivers to build a tree nest for the baby orangutans in their care, with a large basket and silk leaves.
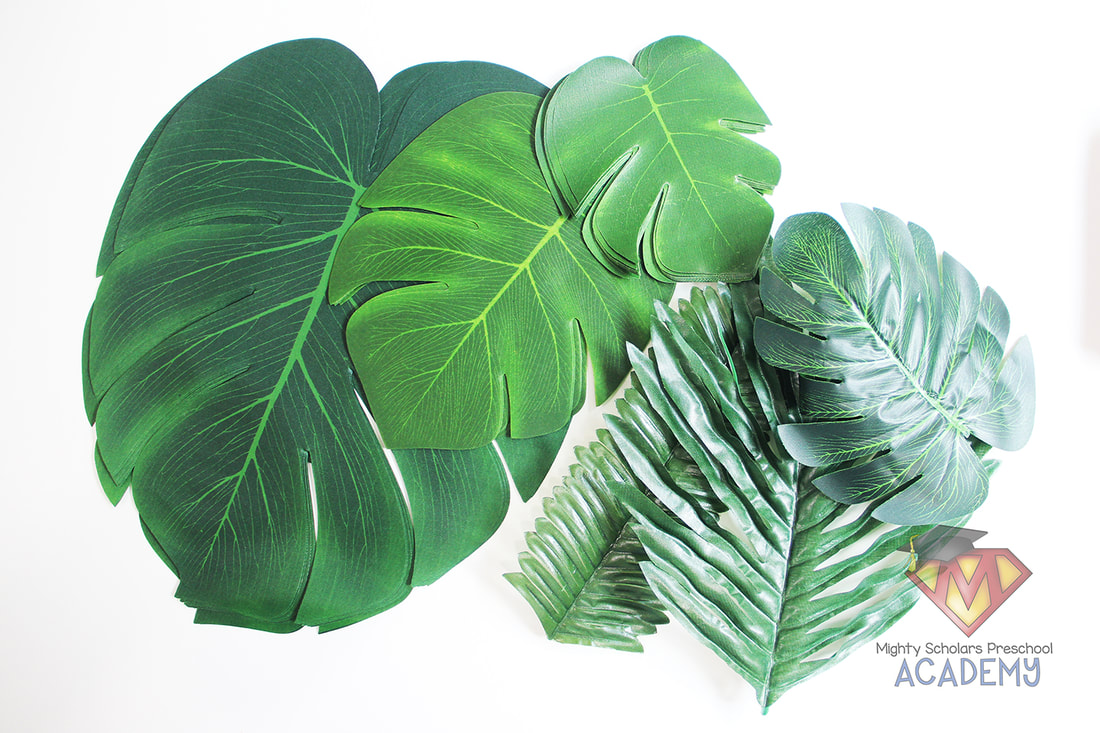
Large tropical silk leaves are set out for the nest building. I found an inexpensive party pack of tropical leaves via Amazon (affiliate link at the end of the post). The large basket becomes the nest base. Many of my scholars have a careful thought process behind their nest building. It's enjoyable, listening to them verbalize their thought process and end creation. They usually want to make the nest as comfortable for the baby orangutans as they can.
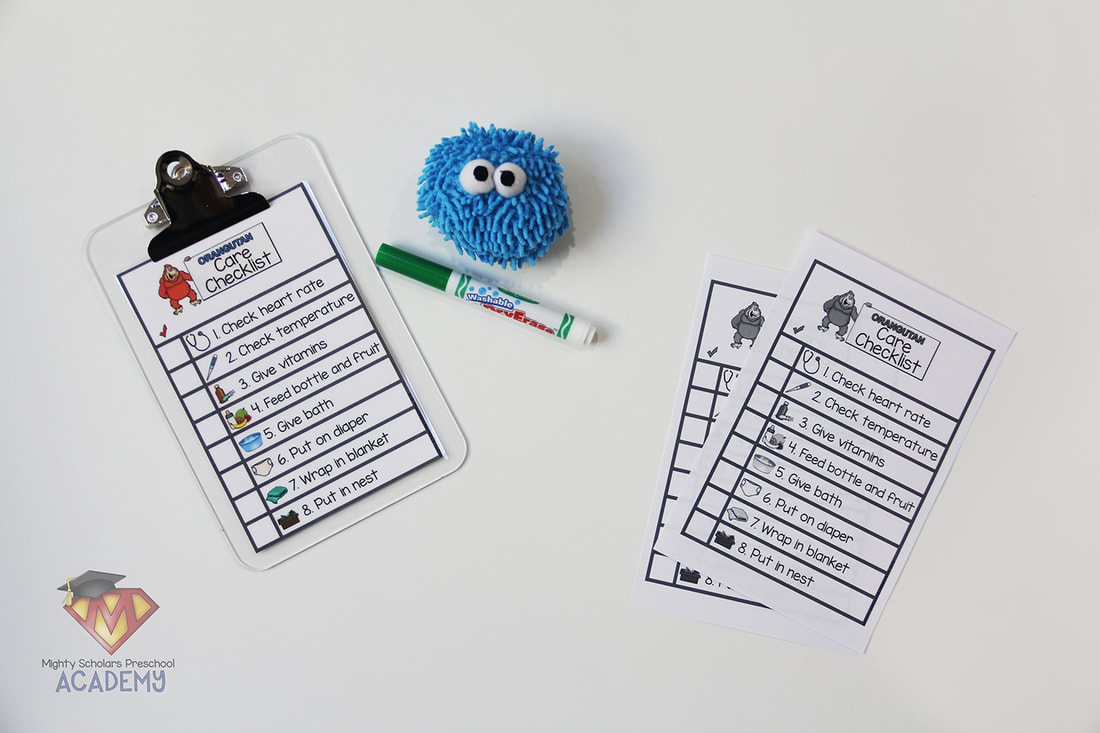
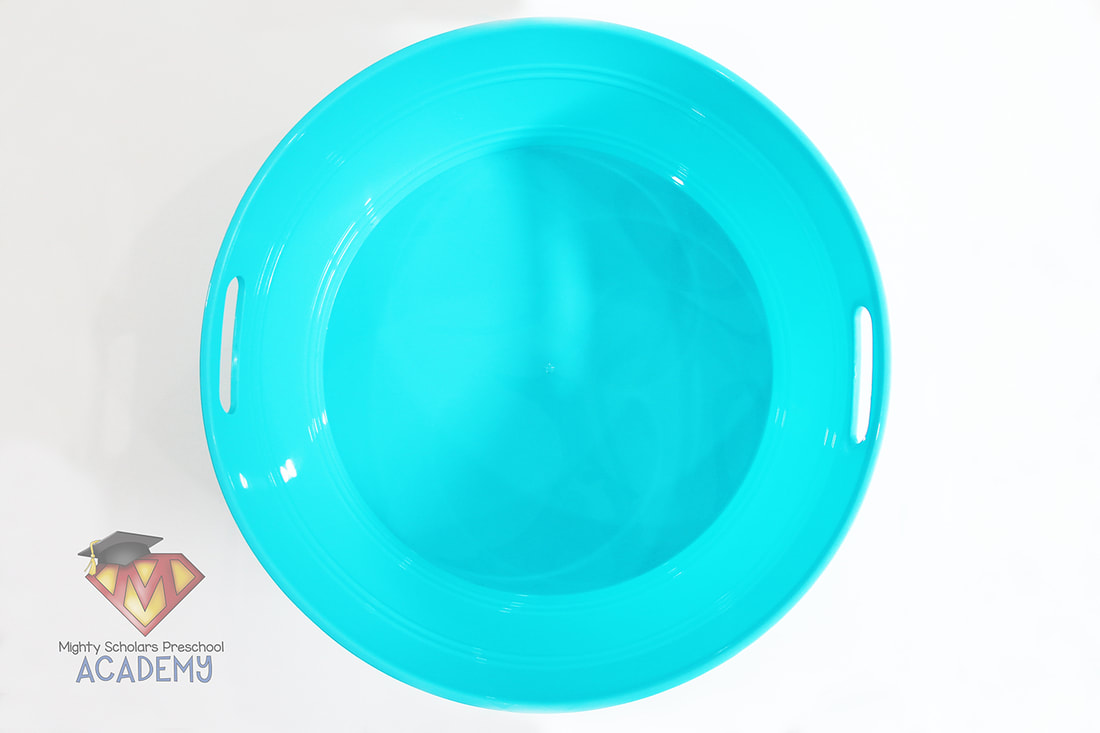
Care Checklists are laminated and added to small clipboards. Washable dry erase markers and an eraser are available to check off the items on the list. A black and white version of the checklist is also included in the dramatic play pack. I like to conserve paper, without sending more clutter home, so I use the laminated version. A large plastic tub is used as the orangutan bathing tub.
Felt foods and Cloth Diapers
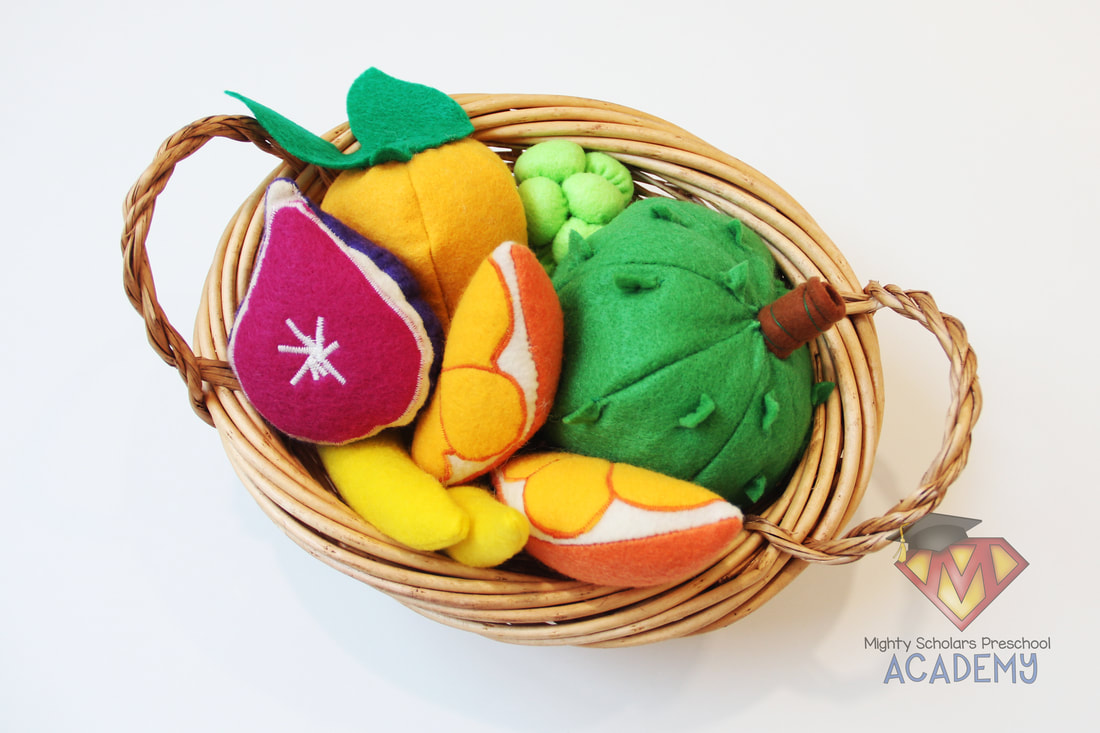
Orangutans live primarily on fruits found in their rainforest home. I have felt foods, but foods from balled up tissue paper work just as well. Simple large cloth doll diapers work well for the IKEA Orangutans. Regular disposable diapers also fit their body size and shape.
Formula and Feeding
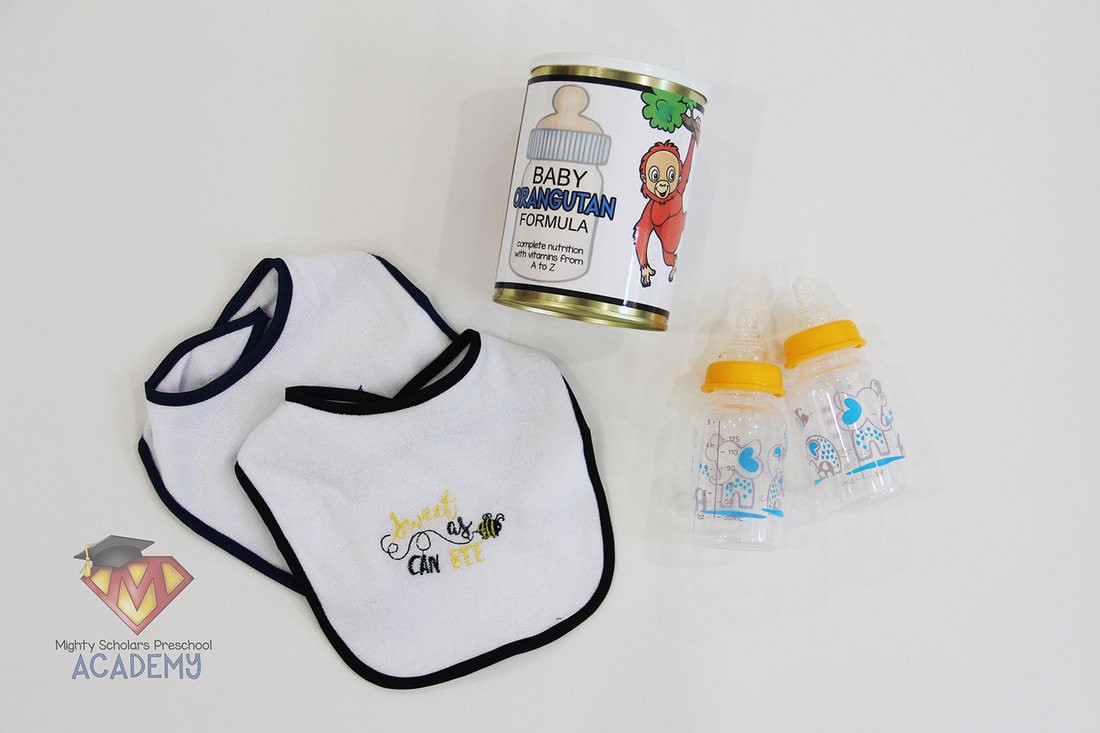
An empty formula can, with a removable lid and scoop, adds fine-motor muscle strengthening and movement. A label for an empty formula can is included in the dramatic play pack. I also add small baby bottles and bibs from the dollar store.
Word Cards
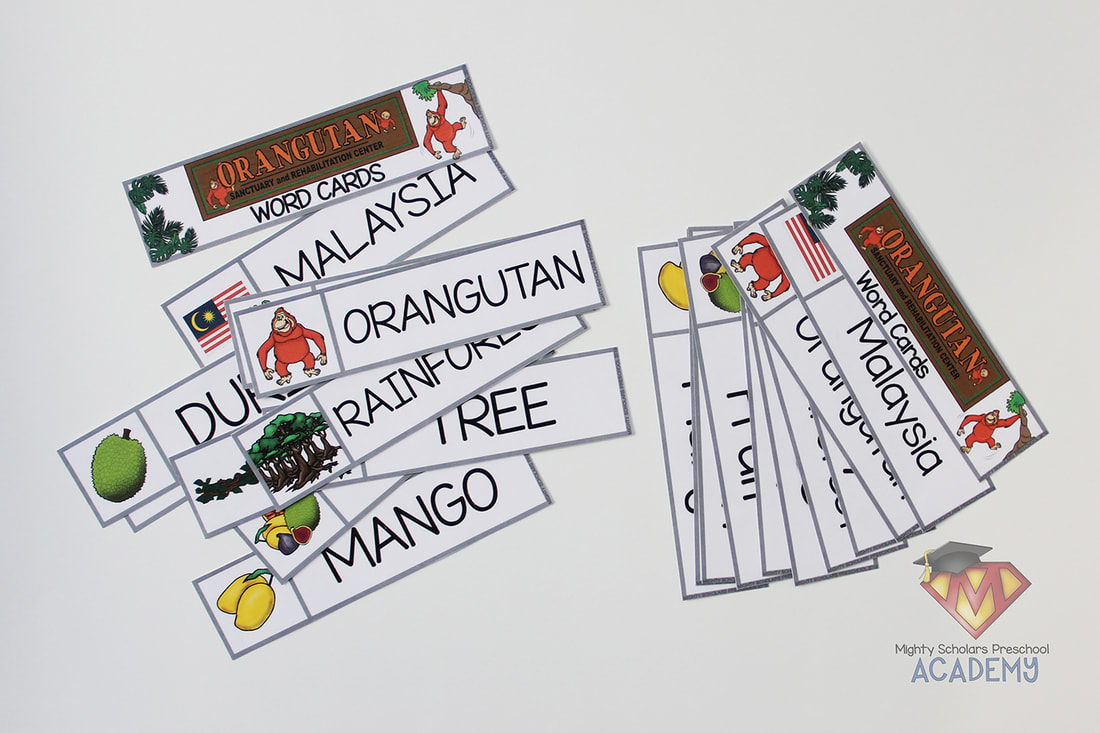
Word cards are included in the dramatic play pack, in both uppercase and upper/lowercase. I usually put a set up in our writing center, in the imagination center and also the creativity (art) center. I use additional themed center activities, including a reader, that will be available in the corresponding World Adventures Math and Literacy pack.
Books
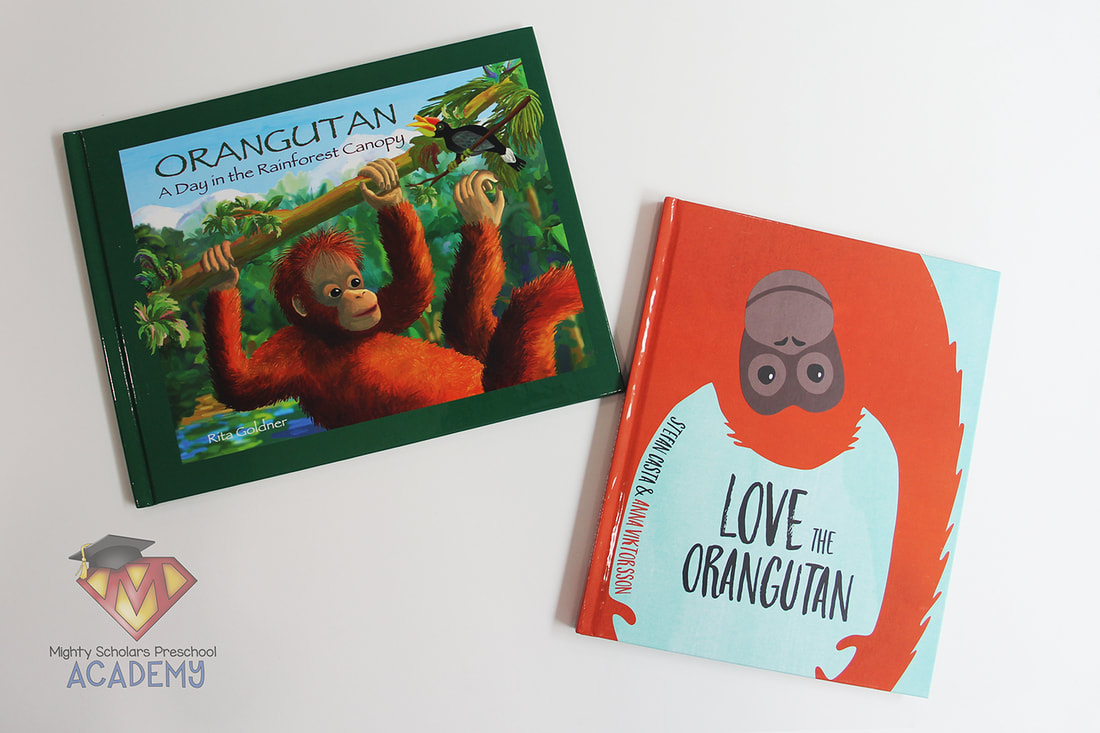
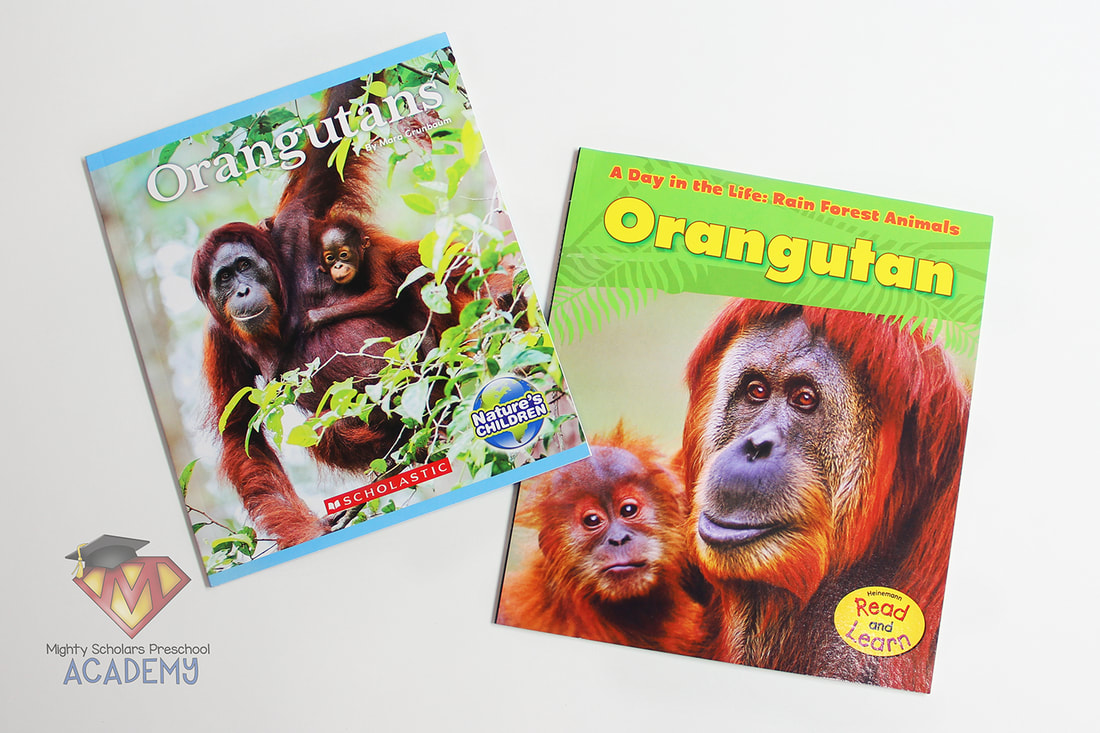
Fiction and non-fiction books are more readily available for the World Adventures: Malaysia theme than many of the other themes in the series. Some of the books from my collection are: 'Orangutans Build Tree Nests' by Elizabeth Raum, 'Orangutangled' by Sudipta Bardhan-Quallen, 'Orangutan: A Day in the Rainforest Canopy' by Rita Goldner, 'Love the Orangutan' by Stefan Casta and Anna Viktorsson (found at IKEA), 'Orangutans' by Mara Grunbaum, and 'A Day in the Life: Rainforest Animals: Orangutan' by Anita Ganeri.
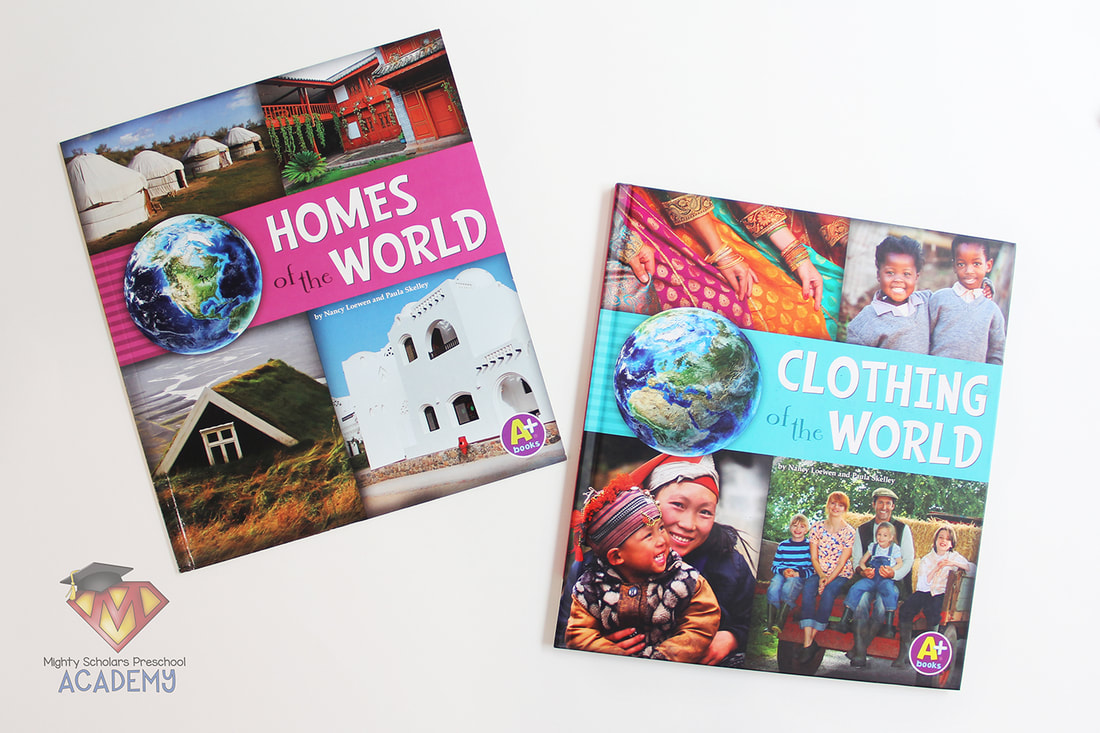
There are five books the I leave out in our library, during the entire school year: 'What We Wear: Dressing Up Around the World' by Maya Ajmera, 'People of the World' by Nancy Loewen, 'Food of the World' by Nancy Loewen, 'Homes fo the World' by Nancy Loewen, and 'Clothing of the World', also by Nancy Loewen. They have fantastic colorful photographs of the beautiful diversity of people, foods and places around the world. My advanced readers enjoy reading pages to their peers, when we travel to a new country.
Additional Activity Idea #1
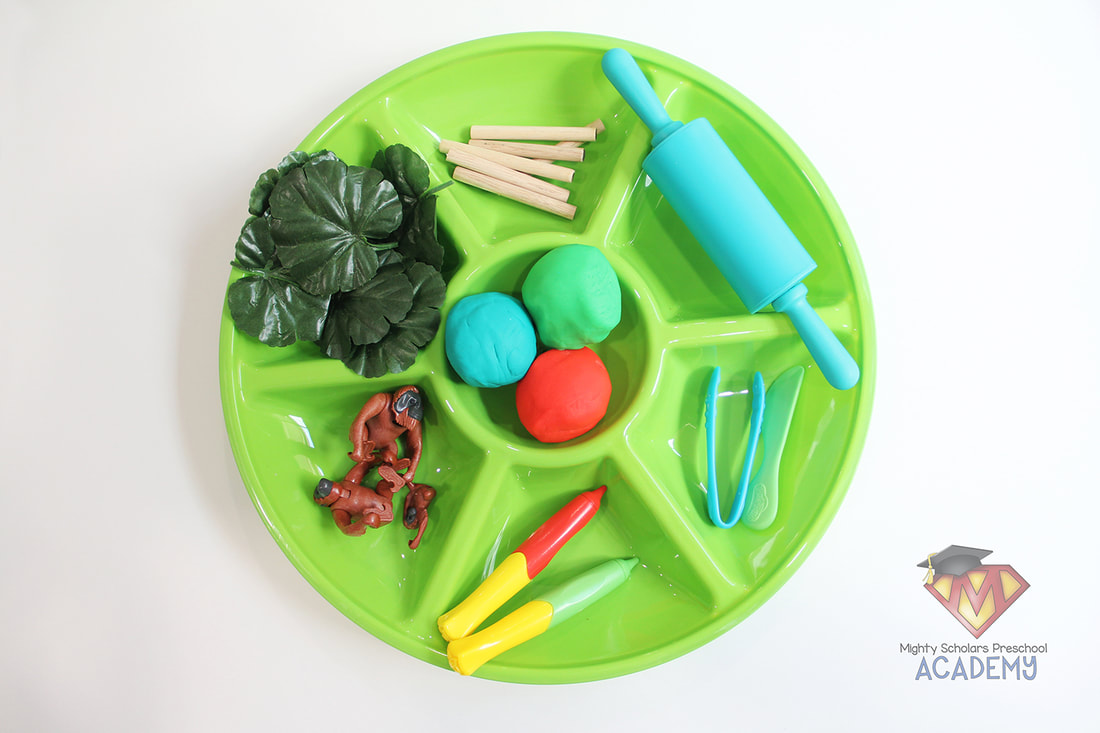
Play Dough Tray
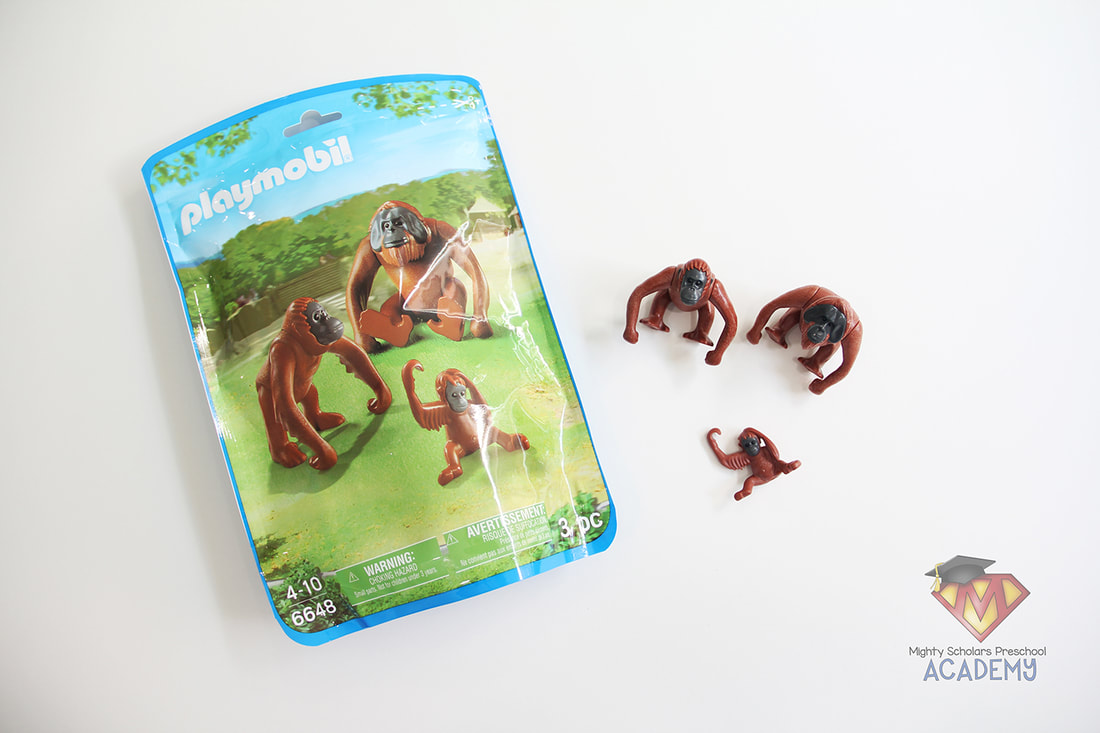
Each center has activities that correspond with the theme. In our creativity center, we regularly have a play dough tray. For the World Adventures: Malaysia theme, I add the PlayMobil Orangutan Family figures, silk leaves, sticks and tools.
Additional Activity Idea #2
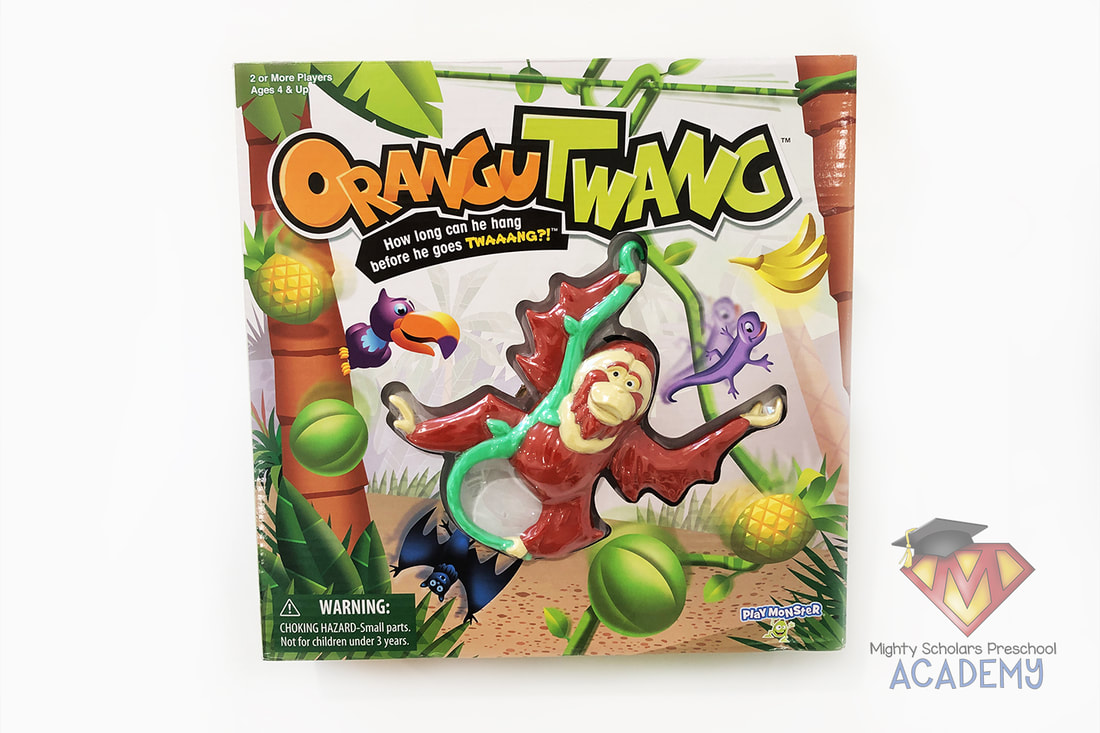
Group Game
A fun game to play with your students and set out for them to play with together, is 'Orangutwang' by Play Monster. The idea is to strategically hang rainforest items on the hanging orangutan, before it springs back, surprising the players and tossing the rainforest items off. As a bonus, the game uses one-to-one correspondence (dice and hanging items) and fine-motor muscles. My scholars really enjoy playing the game and always get incredibly excited when they're able to work together to hang all of the rainforest items, before it springs.
Click the image below to be taken to the World Adventures: Malaysia Dramatic Play Pack on Teachers Pay Teachers:
Please note, as a participant in the Amazon Services LLC Associates Program, I may earn a small commission on qualified recommended links.
The Amazon Services LLC Assocites Program is an affiliate advertising program designed to provide a means for sites to earn advertising fees by advertising and linking to Amazon.com.
My Amazon Picks to Complete the
World Adventures: Malaysia Dramatic Play Pack:
Millipedes in the Classroom
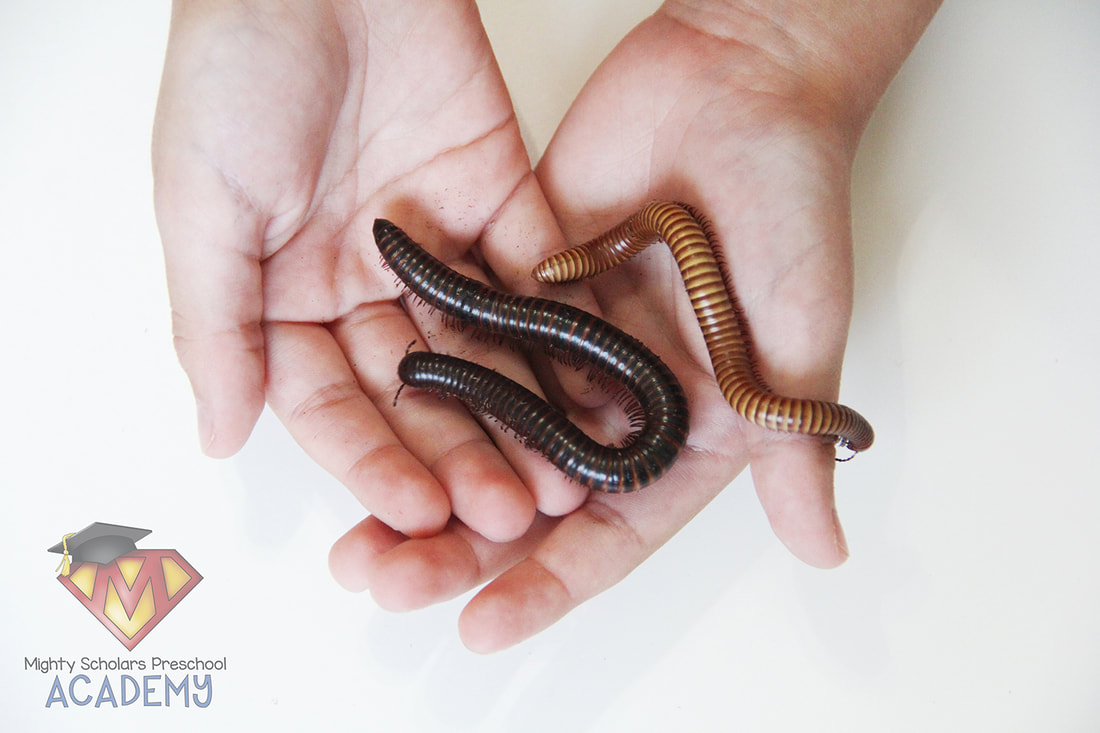
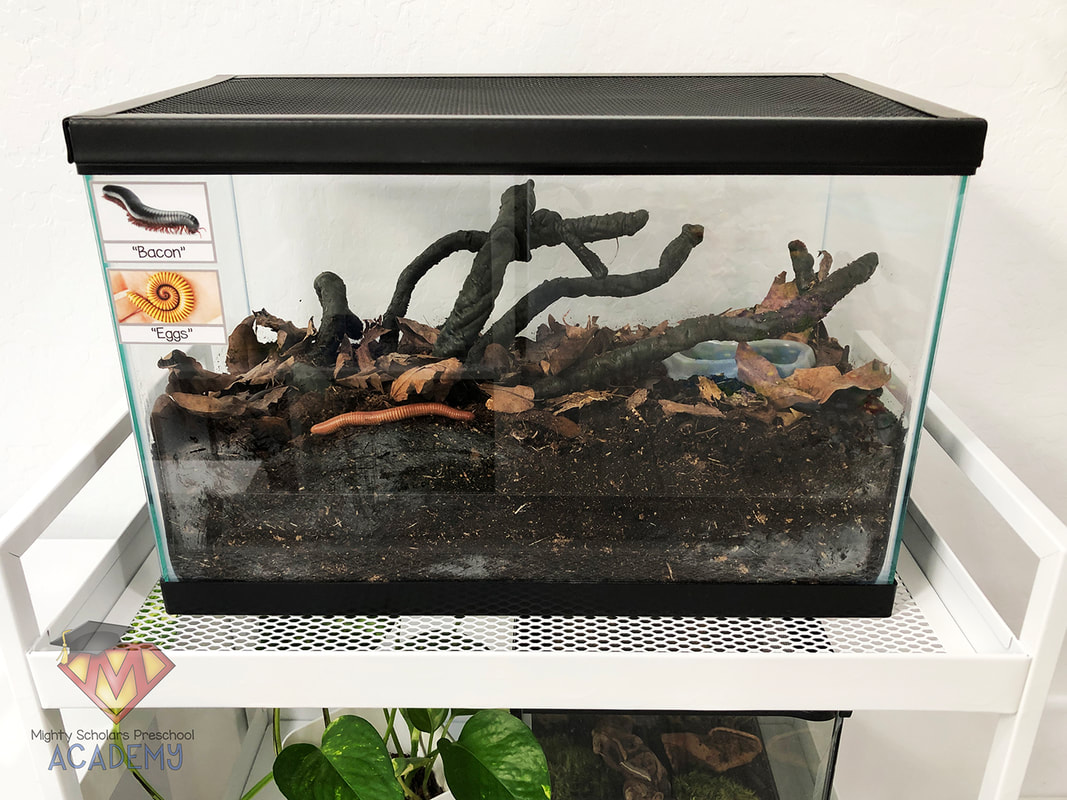
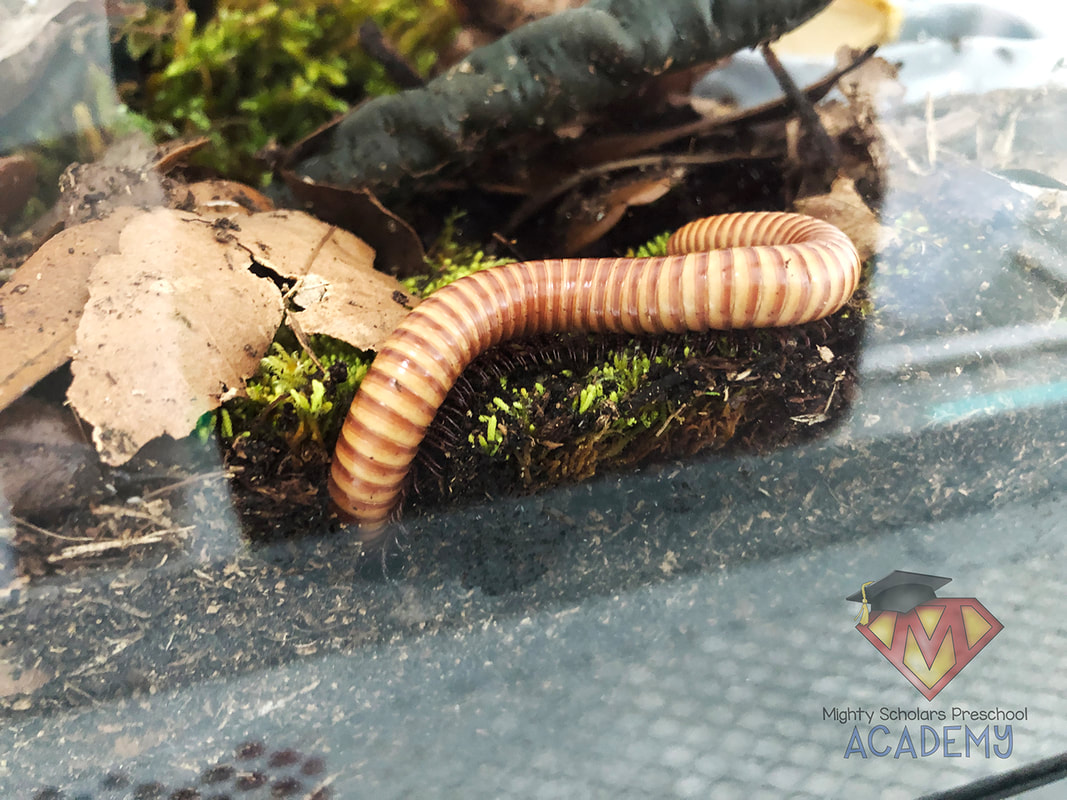
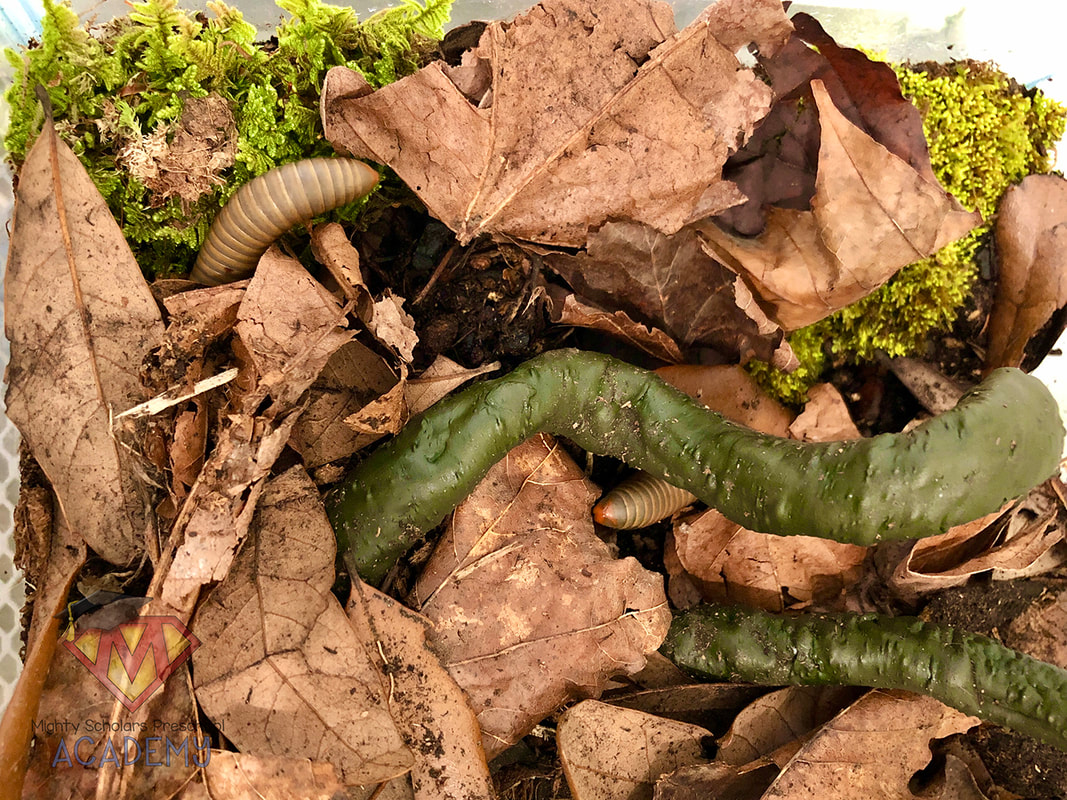
One of our favorite classroom pets are our millipedes. They are one of the easiest pets to care for, with minimal requirements. Although most millipedes are nocturnal, depending on the type of millipede, they may be more active above or below the substrate. Our most active millipede is the Golden Millipede, named "Eggs". She prefers to stay on top of the substrate and can be found climbing on the branches, or among the crispy leaves. Our Desert Brown Millipede, named "Bacon", likes to burrow through the substrate for long periods of time. My students try to search for her and get excited when she's burrowed up against the glass walls of the enclosure. Our two Smokey Oak Millipedes (named the "Hashbrown Twins"), are the largest of our classroom millipedes. They make fairly large tunnels through the substrate, visible enough for observing. Large or small, millipedes are fascinating creatures that students would most likely not have interaction with outside the classroom. No matter the type of millipede you care for, basic needs for their habitat and nutrition are a must.
Enclosure
Millipedes don't require elaborate enclosures. They can be made from plastic or glass. Depending on the size of your largest millipede, enclosures can run from the size of a Critter Keeper to a ten gallon tank. The basic rule of thumb for size is: at least twice as long as the longest millipede, as wide as your longest millipede and deep enough for four or more inches of substrate. The lid must have ventilation. Depending on the type of millipede, the amount of ventilation required for humidity will vary. Make sure you do research on your specific type of millipede, to provide the correct enclosure size, temperature and humidity needs.
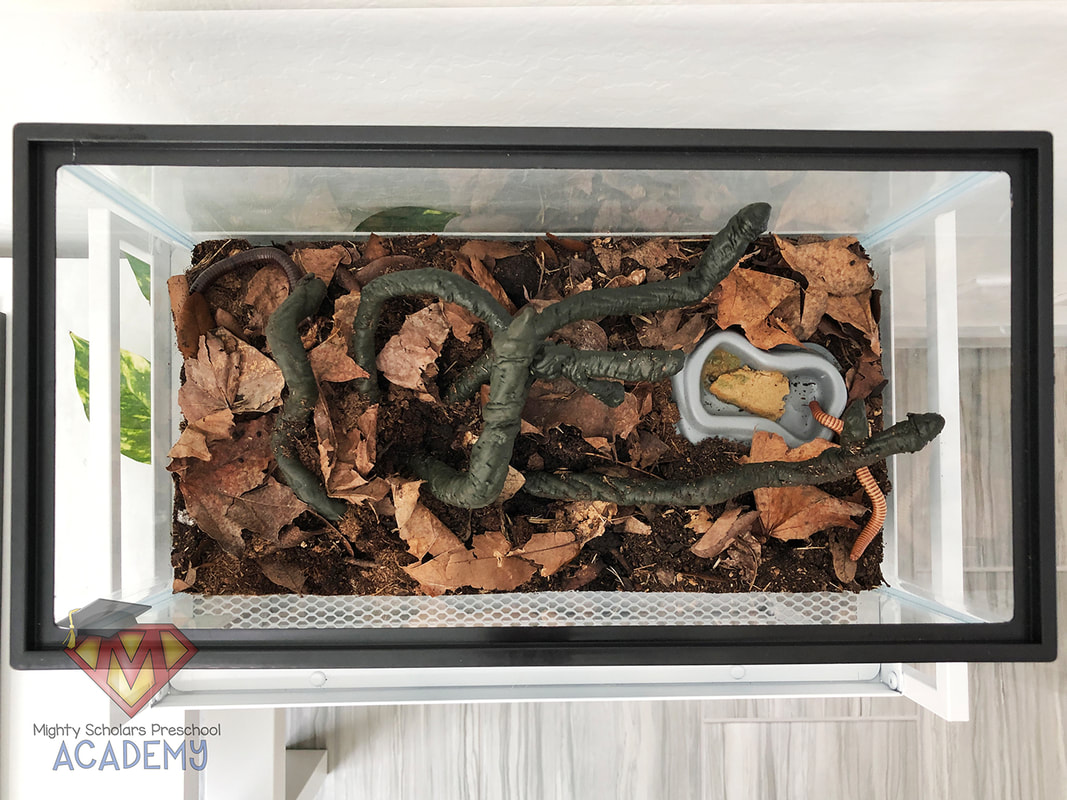
We have a five gallon reptile tank, with a screen lid and safety clips. Three-fourths of the lid is covered by a plastic lamination sheet, to help reduce humidity loss. Since the tank is made from glass, my students have a clear, unobstructed view of our classroom pets. The tank is at my students' eye level and magnifying glasses are kept nearby for my students to closely observe with. With every living animal, we have a picture label with their name, on the exterior of their enclosure (image taken before the Smokey Oak Millipedes were added). I keep individual pet species picture books, with real photographs, near each enclosure. Though not required, our classroom pets are located in our Science Center. It's important to keep all classroom pets way from direct sunlight and any drafts. I do not recommend a hood lamp for millipede enclosures. Hood lamps can be very drying and the bright direct light can become too hot. Millipedes enjoy the shade and darkness, and can be kept comfortable with a temperature between 60-80 degrees fahrenheit.
Substrate
The most important basic need for a millipede is the substrate. Substrate is the layer or layers of ground cover, specifically designed for the housed creature. Millipedes need a semi moist environment, that simulates the forest floor (gradually more moist towards the bottom). As one of natures most impressive compost makers, millipedes eat the decaying organic matter and minerals found on and just under the forest floor. Millipede substrate should have decaying leaf matter, decaying wood and loose soil (clean from pesticides). Minerals, such as calcium, are added to help provide needed nutrients that would normally be found in an unrestricted environment.
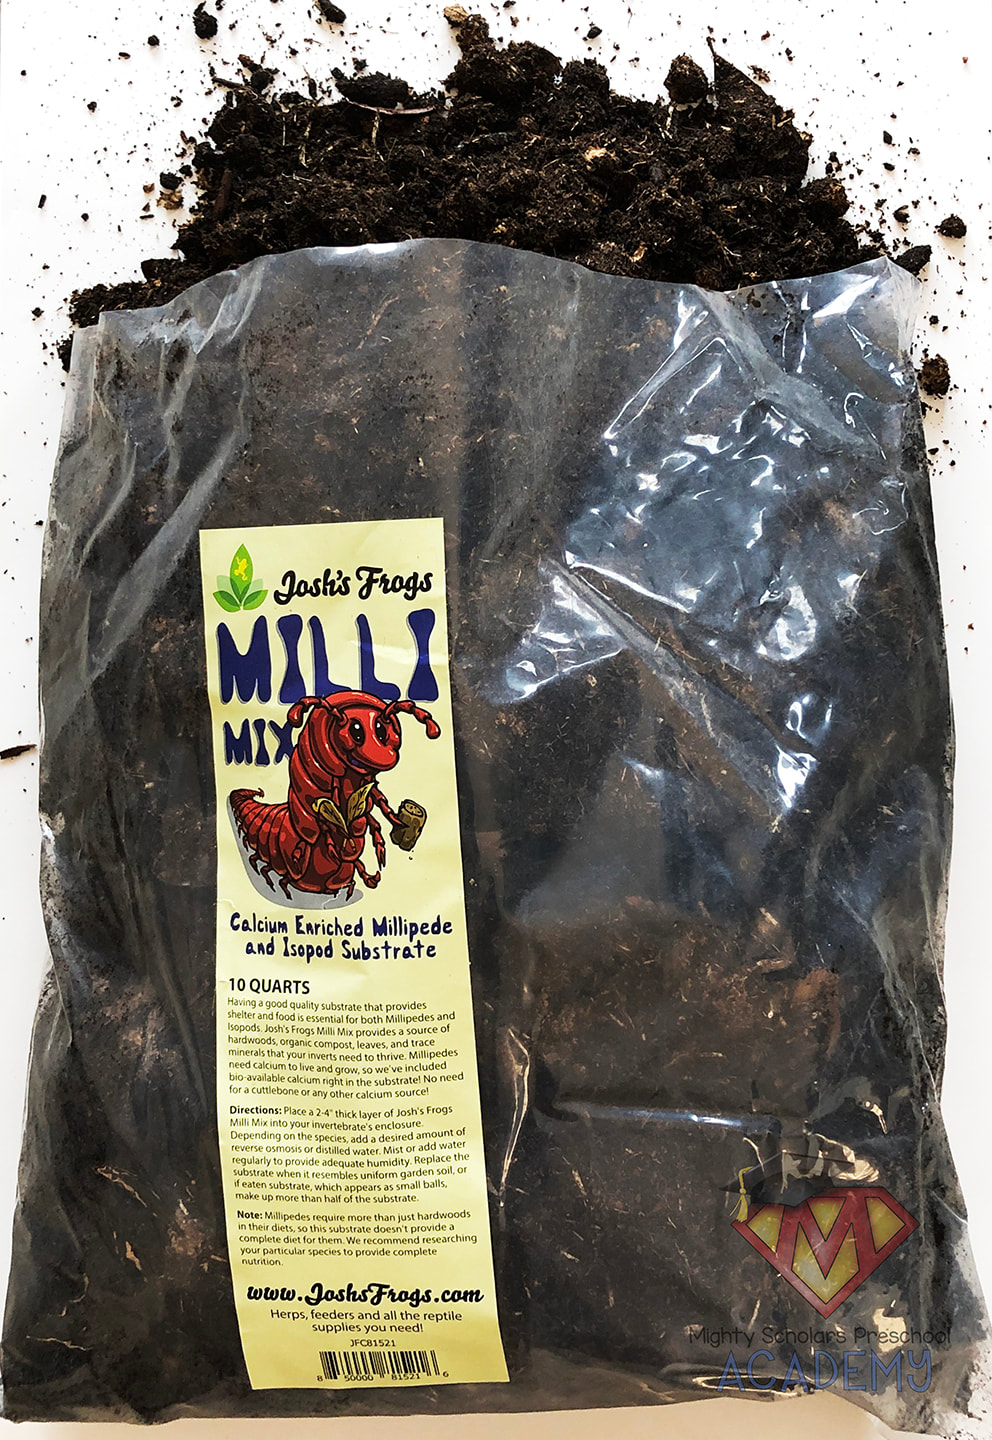
Out of the three types of substrate we tried in our millipede habitat, the one that seemed the most nutrient dense and well mixed, came from Josh's Frogs. The bag was large enough to provide our millipedes with much more than four inches in our five gallon enclosure, giving them a deep enough area to dig and eat their maze of tunnels through. As an added benefit, the Josh's Frogs Milli Mix Calcium Enriched Millipede and Isopod Substrate has been pre-mixed with calcium. Calcium is needed in the millipede diet for a healthy exoskeleton. The substrate smelled clean and earthy. Since substrate doesn't require frequent changes, the specialized mix from Josh's Frogs lasts for extended periods of time. As time goes on, adding more calcium to the substrate is important, since it becomes depleted. As the millipedes breakdown and digest the substrate, they will leave frass that resembles brownish-black balls. When amending substrate, frass should be removed. If an enclosure has been set up correctly and depending on the amount of millipedes in the enclosure, changing or amending substrate may not be required for a month or more.
Nutrition
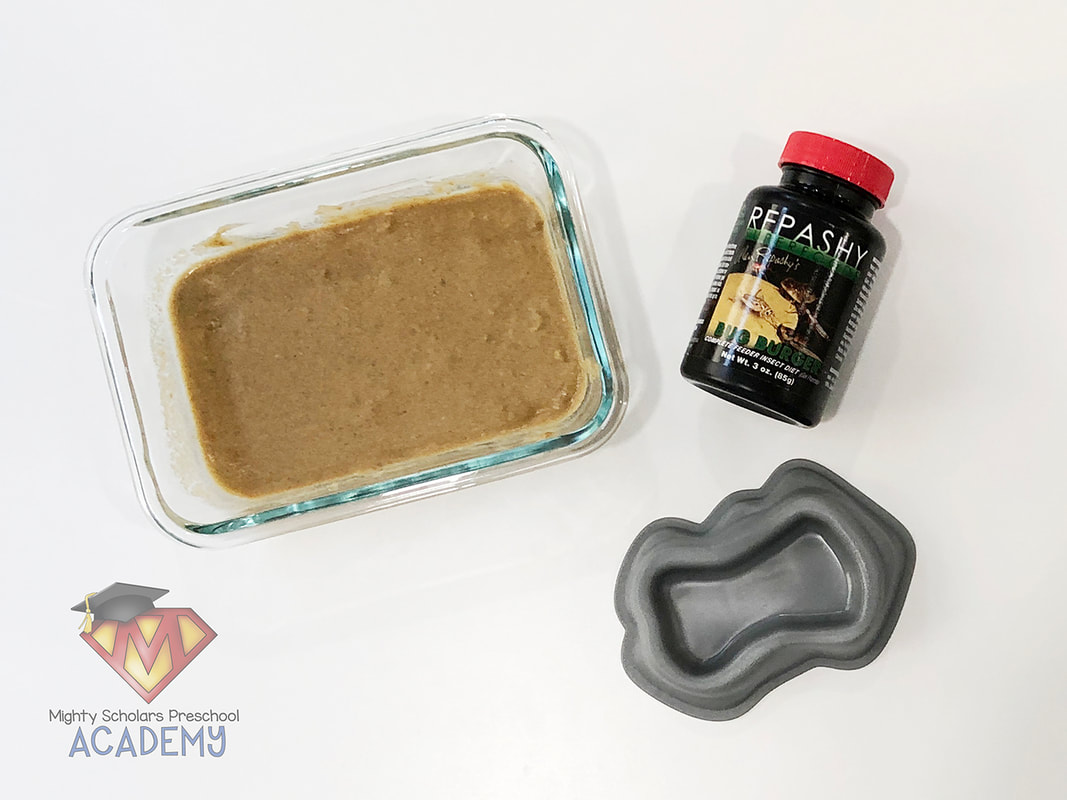
While millipedes get the majority of their nutrition from the substrate, they are limited. If you use the addition of a cleanup crew (Springtails), nutrients like calcium can be depleted from the substrate more rapidly. Once a week, we give our millipedes small amounts of fruits and vegetables, such as: carrot, banana and banana peel, leafy greens, and apple. Additionally, once a week we offer a small amount of mixed Repashy Bug Burger, as a whole nutrient meal. I make enough to freeze for the month. I break off enough for their feeding and let it thaw before adding it to the enclosure. Even though millipedes like decaying food, any food placed in the enclosure needs to be removed after one or two days.
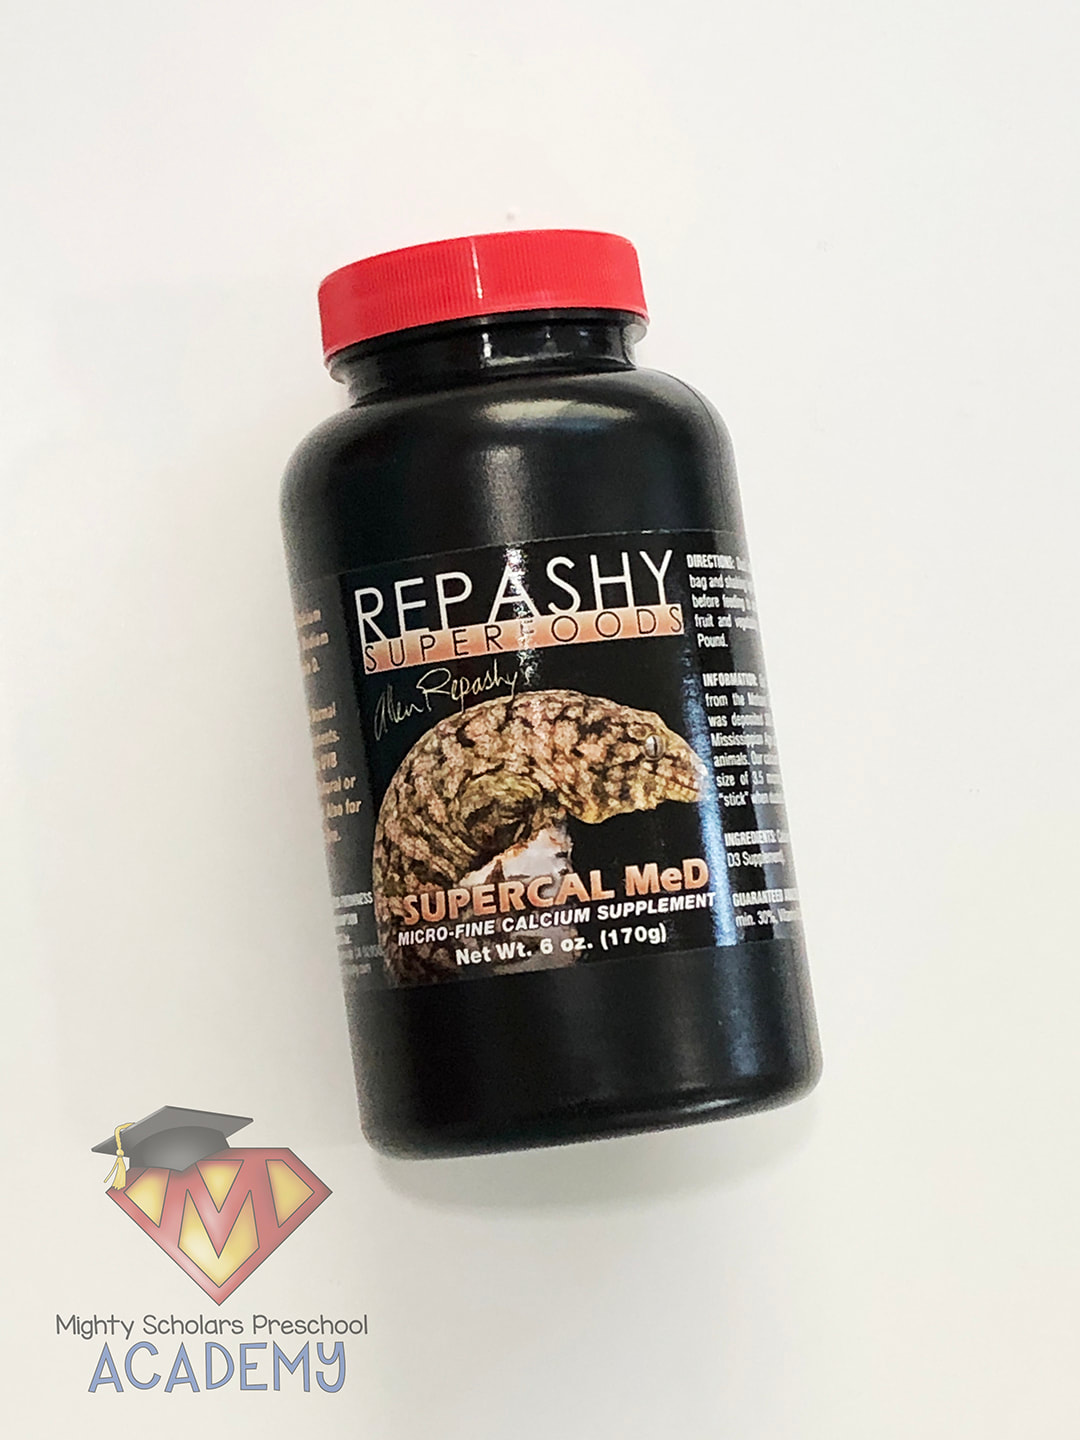
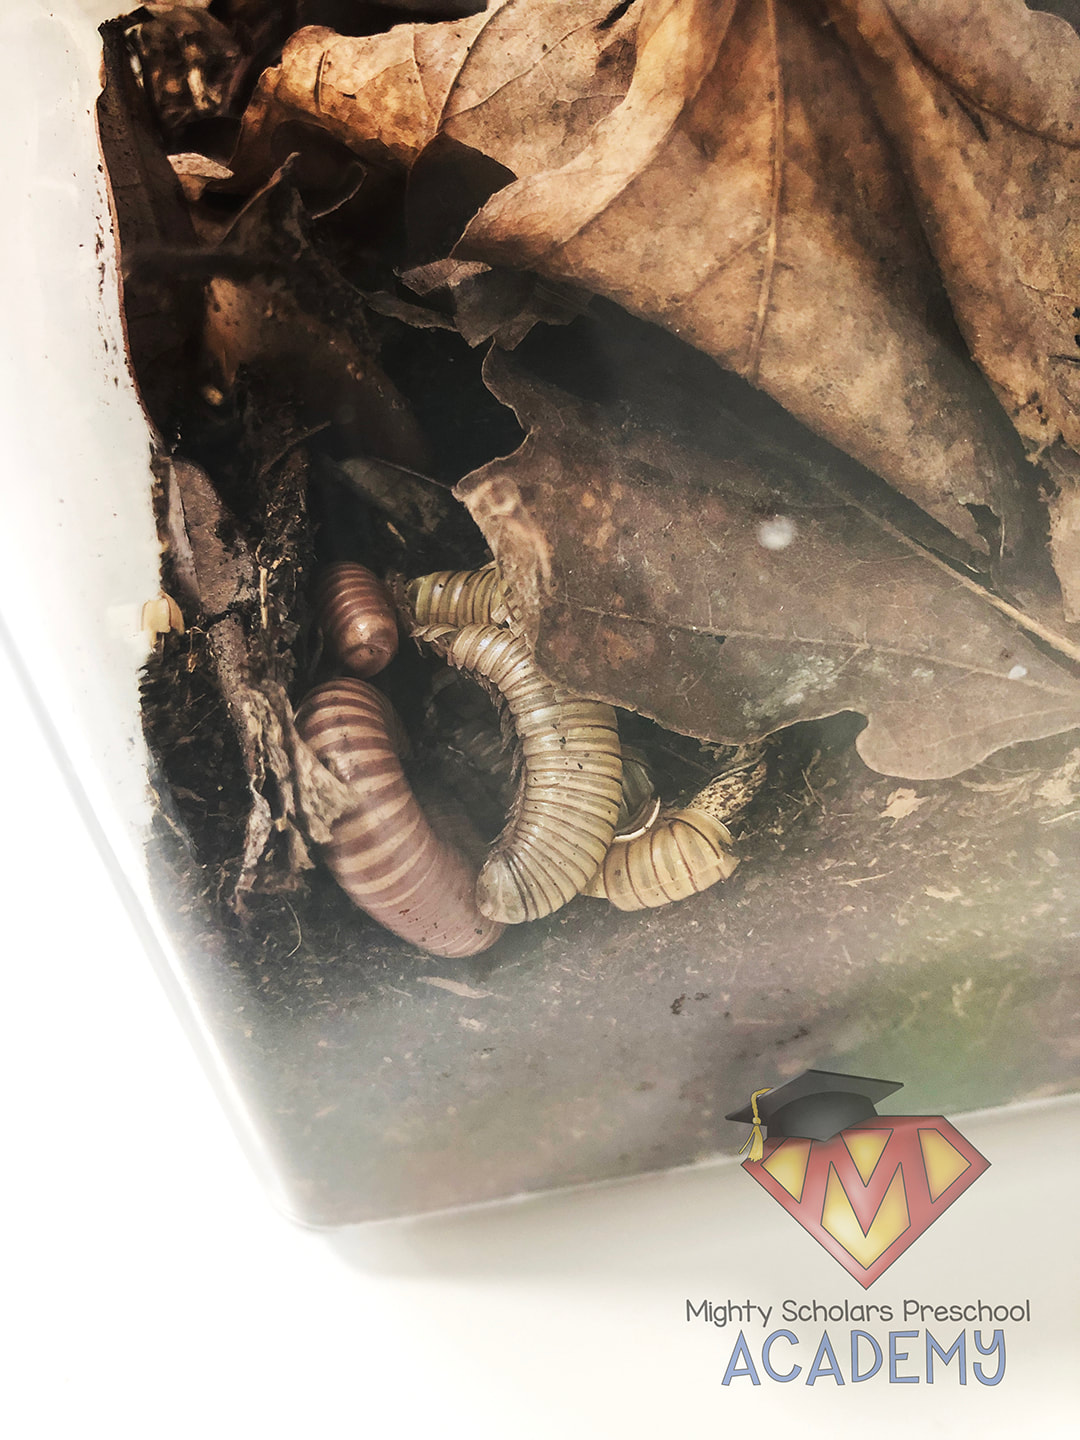
Once a month, I amend much of the enclosures substrate with Repashy Supercal MeD Micro-Fine Calcium Supplement. Calcium is extremely important in an isopod diet. Without it, millipede exoskeletons won't develop properly and deformations or death can happen during a molt (image of "Eggs" molting).
Cleanup Crew
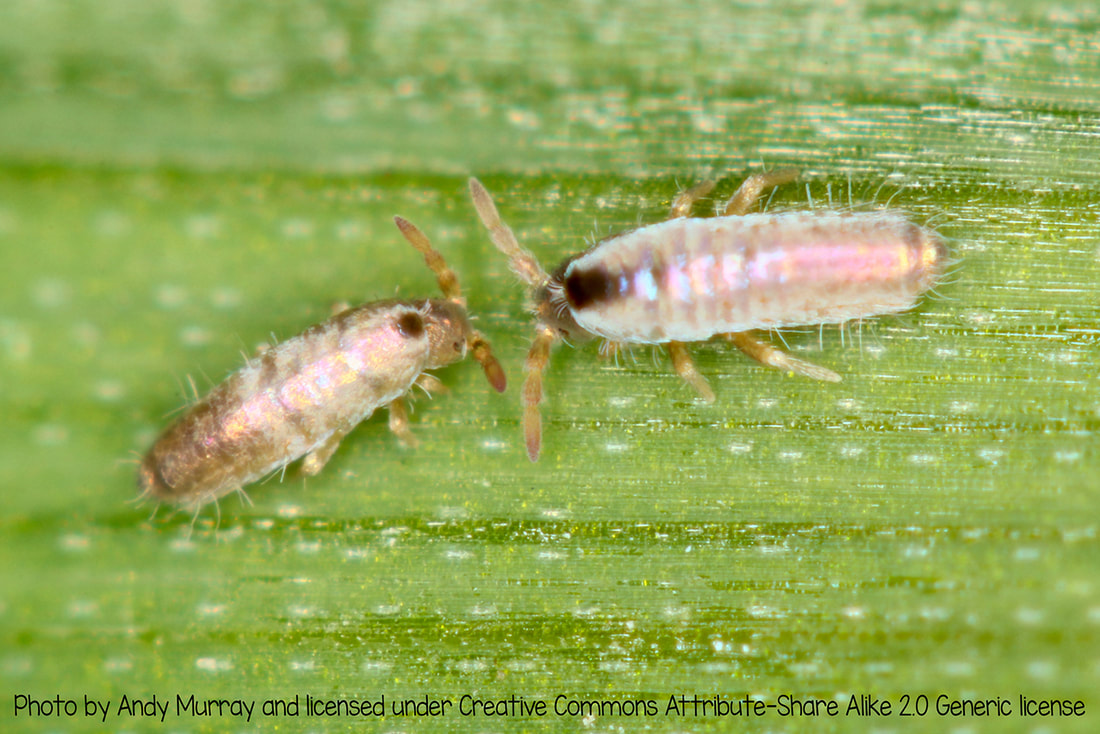
Moist enclosures tend to provide the perfect environment for mold growth. One of the best ways to manage unwanted waste and mold is using Springtails. Springtails are nearly invisible arthropods. Don't let their size fool you, they are one of the best cleaners for terrariums and vivariums. In optimum habitats, they can multiply quickly and only a small culture is needed to start cleaning up your millipede enclosure. They typically wouldn't survive outside the enclosure and will stay inside. Springtails aren't harmful to humans. On rare occasions, my students are able to see a few on the sides of the enclosure walls, using their magnifying glasses. When food has spent some time in the food dish, Springtails can be seen "cleaning up" the decaying portions. Cleanup crews help keep the millipede habitat smelling fresh and will keep unwanted odors from entering your classroom.
Handling
It's VERY important to remember that millipedes aren't poisonous, but can secrete a fluid that could possibly irritate some individuals. As a strict rule, washing hands before handling and a thorough soap scrubbing after handling is vital. If the millipede releases the glandular fluid, its usually a self-defense mechanism out of fear. The fluid must be washed off immediately and may leave skin discoloration for a limited period of time. I've not had any instances of negative reactions to millipedes, but still follow precautions. My scholars aren't allowed to handle the millipedes on their own, but are available for close observation at all times.
Millipedes are very docile creatures. Most don't mind being held gently and can become used to handling frequently, over time. To protect themselves, millipedes curl into a tight spiral. Never try to pry open the spiral of a millipede. They can be easily damaged. Instead, patiently holding the millipede in the palm of your hand will usually help the millipede to relax and open slowly. Some millipedes will open more quickly than others. As with any creature: the calmer you are, the calmer the creature will become. Although the name millipede means "thousand feet", the typical millipede has less than 750 feet, when full grown. Each of the tiny pairs of feet have a fairly weak grip. It's important to hold the millipede over a table or other close surface. If they're dropped, they could have their exoskeleton damaged enough to become fatal.
Shopping List
Teaching Scholars About Millipedes
If you're looking for ways to teach your scholars about millipedes, I have a blog post that goes over what we learn about and the science kit available in my Teachers Pay Teachers shop. I use the science kit to teach my own scholars about our classroom pets, each year. It's full of real pictures and hands-on activities for learning about these amazing creatures.
Click the image below, to be taken to the blog post:
Please note, as a participant in the Amazon Services LLC Associates Program, I may earn a small commission on qualified recommended links.
The Amazon Services LLC Assocites Program is an affiliate advertising program designed to provide a means for sites to earn advertising fees by advertising and linking to Amazon.com.
My Amazon Picks to care for millipedes in the classroom are:
Birds are our final stop in our Spring Life Cycles Unit.
Every year my scholars look forward to our last science unit segment. I save the best for last, leaving a lasting memory on each of my scholars for years. Scholars that come back to visit, ask if we still hatch eggs in the classroom. They remember vivid details and recall the life cycle and vocabulary.
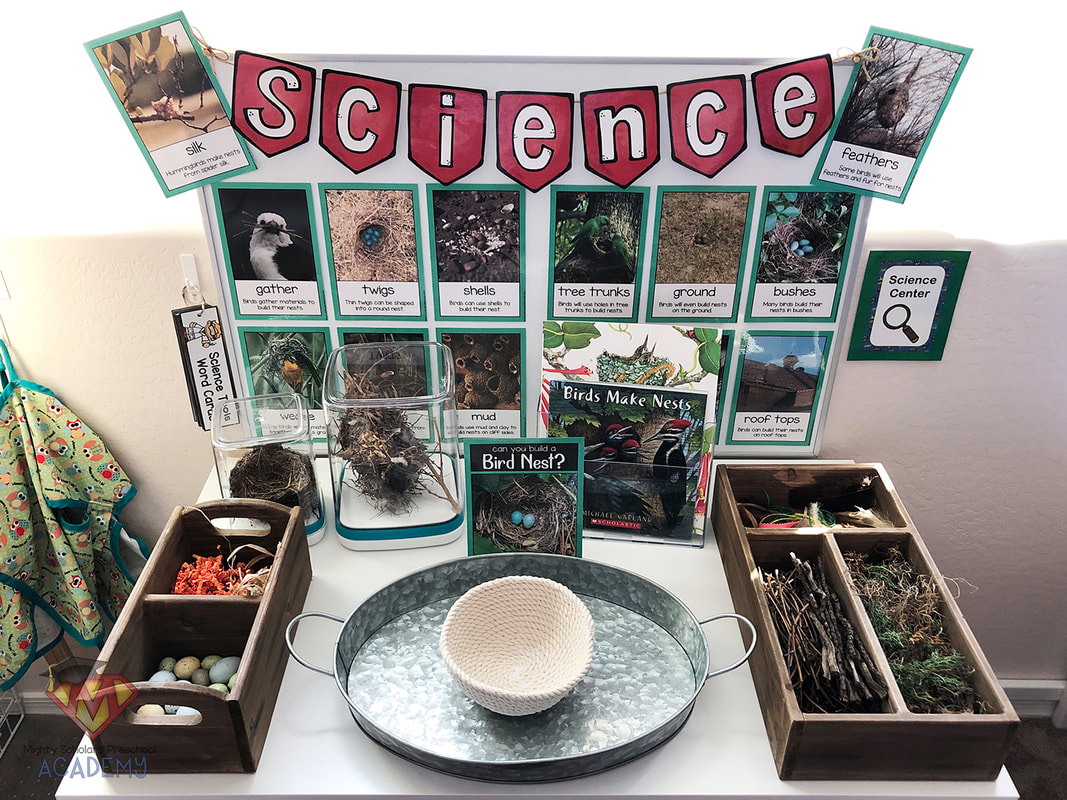
Nests are beautiful pieces of art.
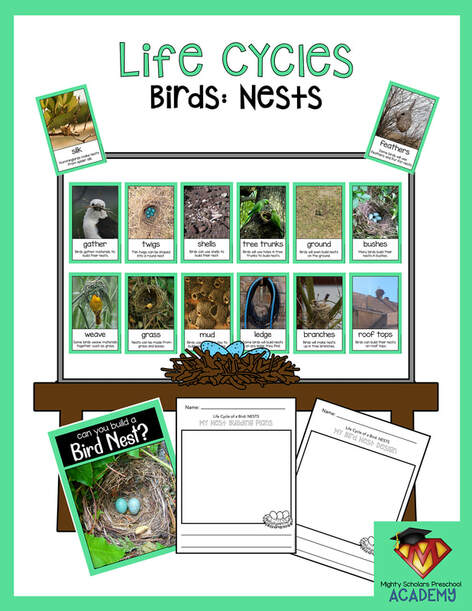
Before a bird will lay eggs, they prepare a space or nest for their eggs (and eventually young) to be safe, comfortable and protected. The process of nest building is a fun study. How the birds gather materials, what types of materials are used, how nests are built and where nests are built, are all fascinating discoveries. My scholars especially like to examine our real bird nests on display.
An invitation to create and build a beautiful nest is a classroom favorite.
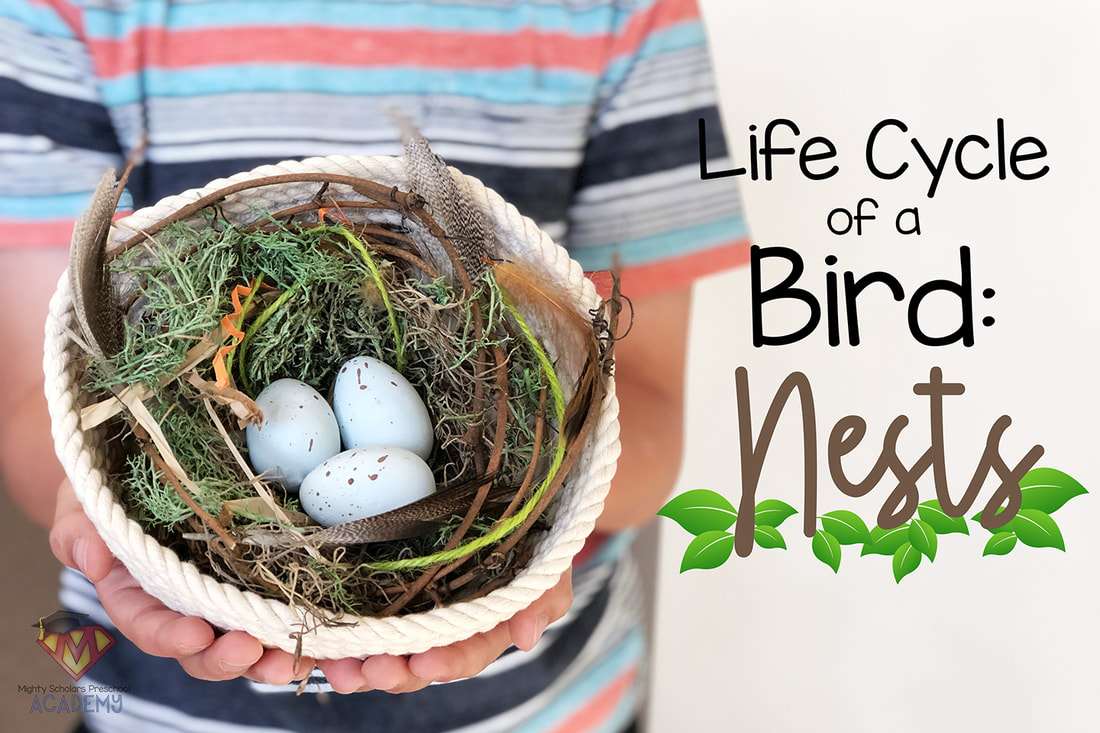
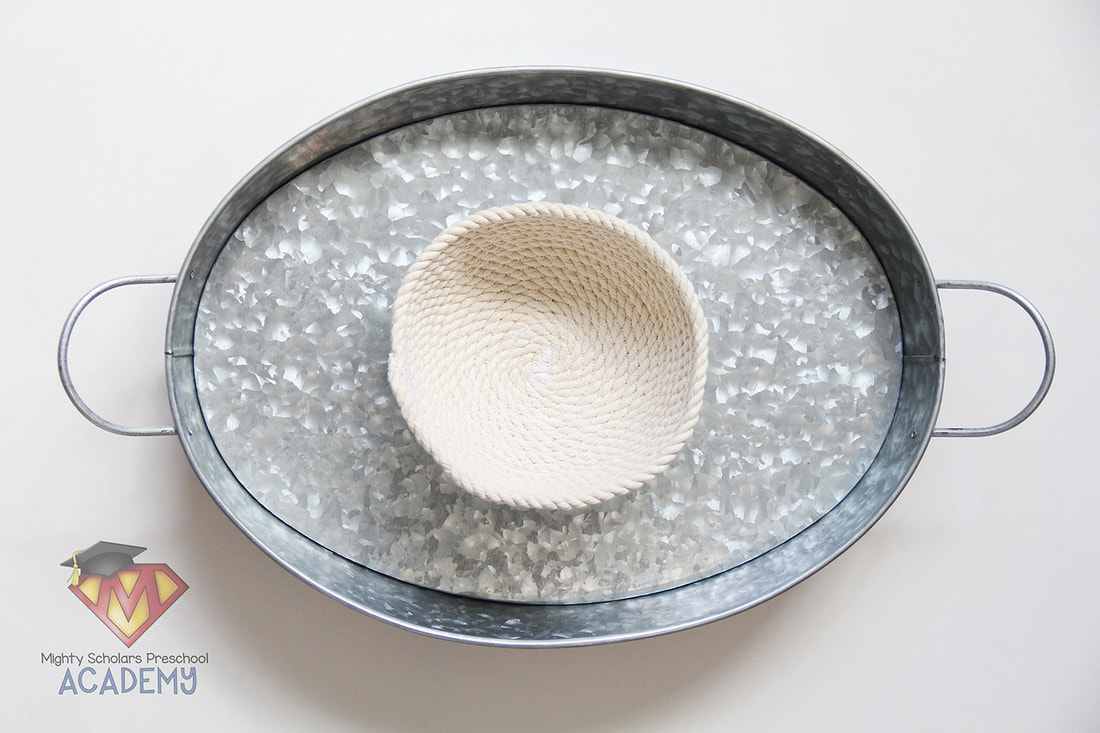
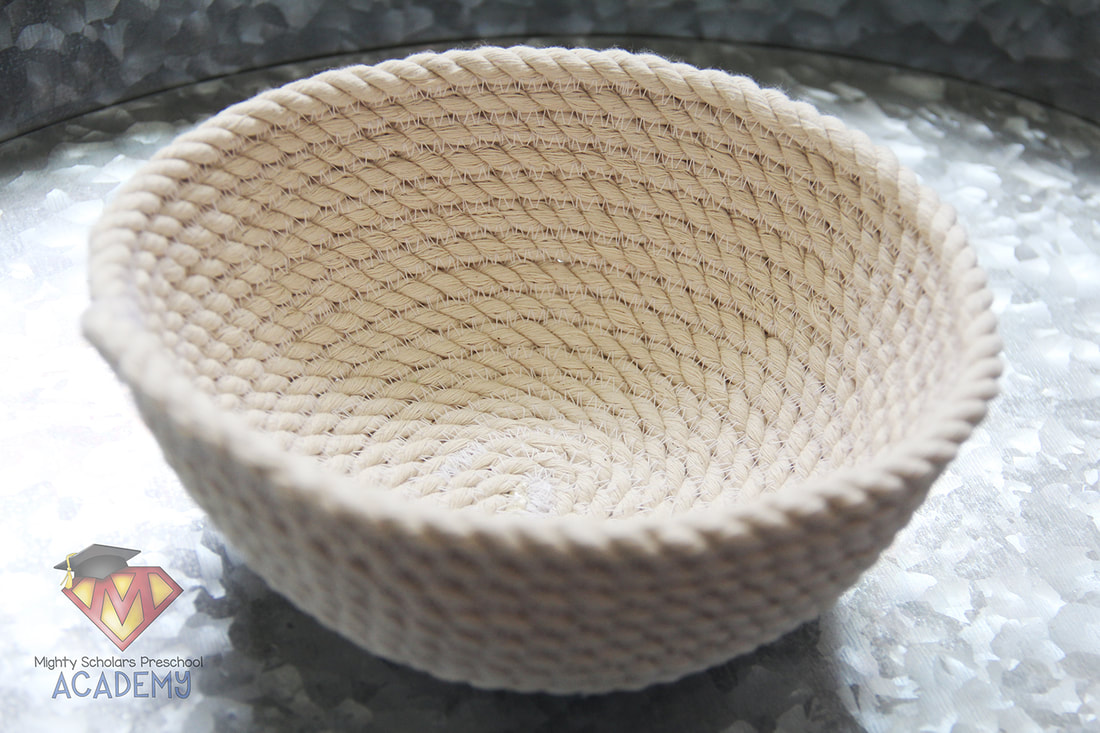
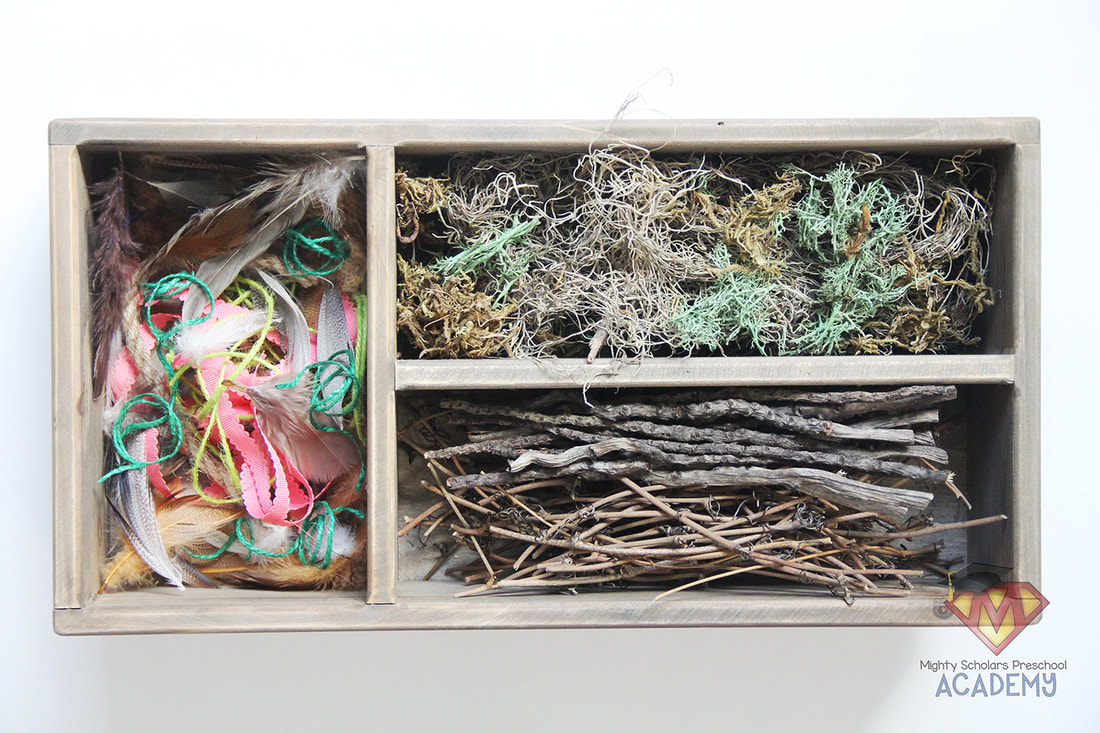
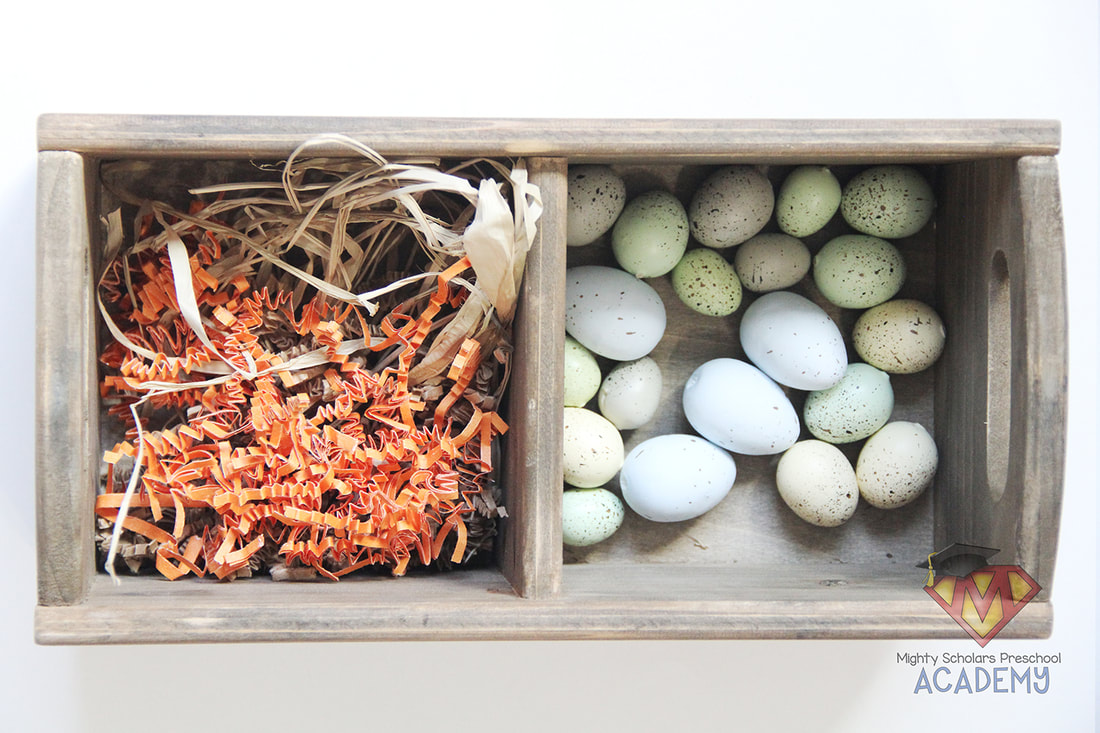
Natural materials are set out, that would be used by birds to build nests. Some of the materials are: twigs, sticks, rope, yarn, jute, string, grass, leaves, moss, ribbon, feathers, fur, raffia, straw, crinkled paper and various small speckled eggs. The rope bowl is the perfect soft, natural material to help hold and shape the nest creations. My scholars love to use the materials to build nests that are functional, beautiful, comfortable and protective.
Beautiful books on the types of nests and finished nests, can captivate children and adults.
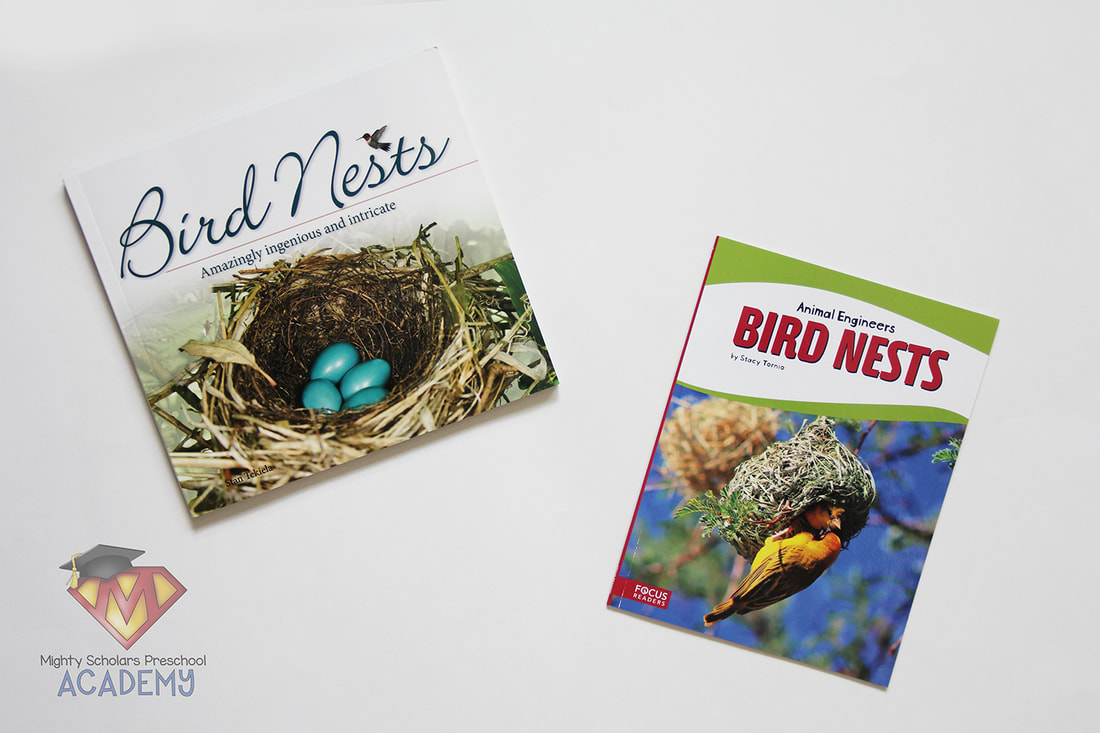
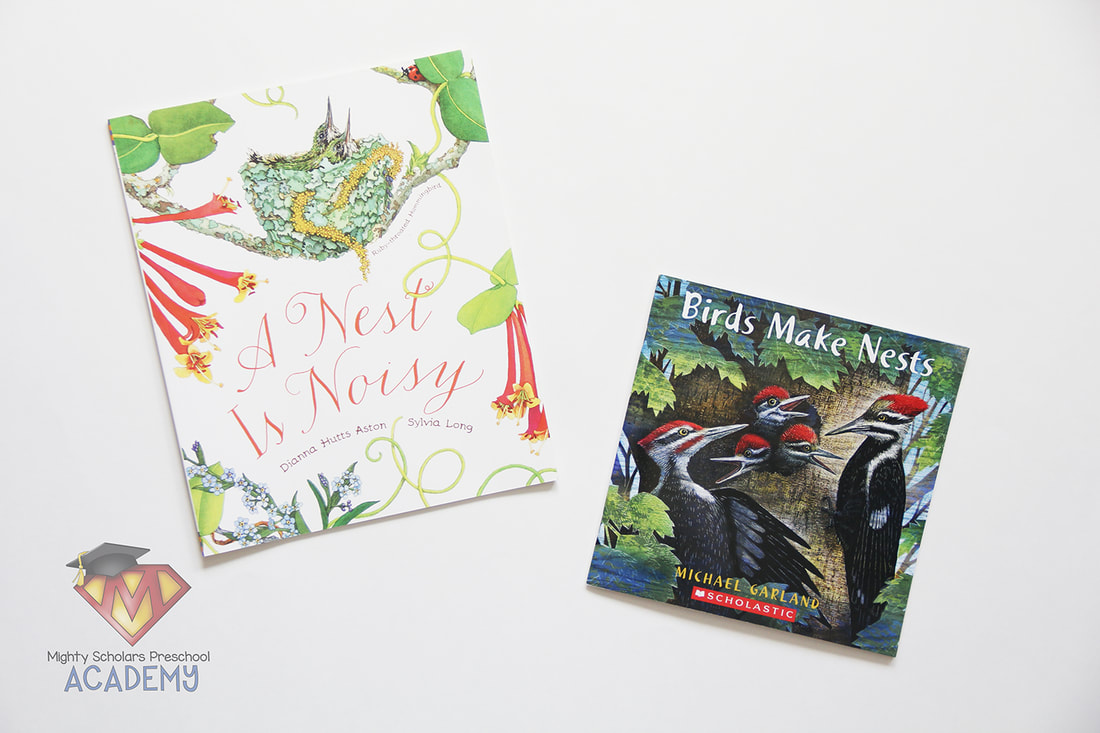
During this portion of our bird life cycle study, I like to cover four different books: 'A Nest is Noisy' by Dianna Hutts Aston and Sylvia Long, 'Birds Make Nests' by Michael Garland, 'Animal Engineers: Bird Nests' by Stacy Torino and the beautiful coffee table book called 'Bird Nests: Amazingly Ingenious and Intricate' by Stan Tekiela. My scholars especially like to pour over the amazing photography in Stan Tekiela's book.
Drawing nest plans or their finished product, adds another component to the activity.
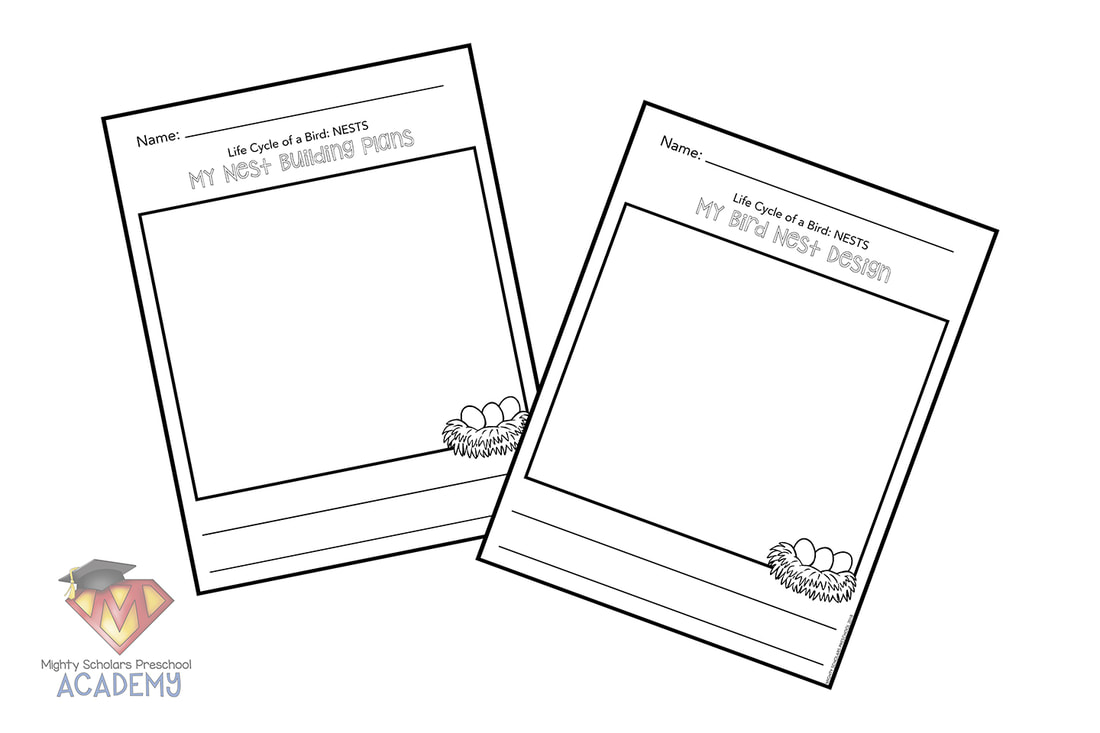
Nest plans or nest journal pages, can also be offered at the activity table. The Nest Building Plans page can have a picture drawn of the nest idea or materials they would like to use. The My Bird Nest Design journal page can provide each students with the ability to record what they have built, before they place the materials back for other students.
Click the image below to be taken to the Life Cycles Bird Nests Science Pack:
Please note, as a participant in the Amazon Services LLC Associates Program, I may earn a small commission on qualified recommended links.
The Amazon Services LLC Assocites Program is an affiliate advertising program designed to provide a means for sites to earn advertising fees by advertising and linking to Amazon.com.
My Amazon Picks for the Life Cycle of a Bird: Nests lesson are:
Praying Mantises have always been a favorite to watch the entire life cycle of.
As a child, my brother and I had "pet" Praying Mantises. When his laid an ootheca and passed away, my brother was devastated and decided to care for the ootheca until the nymphs hatched. It was carefully placed in a jar, with cut nylons as the breathable barrier at the top. Each day (possibly several times), he'd carefully open the jar and take out the ootheca to check for emerging life. It seemed like forever to us as children. One Sunday, we were sitting in church and someone noticed something small moving from out of my brothers shirt pocket. Upon further observation, there were several itty-bitty mantis nymphs, climbing among the folds of his clothes. You can imagine the urgency my parents felt, as they realized the ootheca must have hatched without the nylon barrier in place. After rushing home and entering my brother's bedroom, his airplane wallpaper seemed to be moving as the hundred-plus nymphs moved about the walls. Days later, nymphs could still be found, captured and released outside. It's a vivid memory that our entire family brings up from time-to-time. As an adult, I have always tried to share similar experiences with my students and my own child.
Mantises are an alien looking insect, with incredible ability.
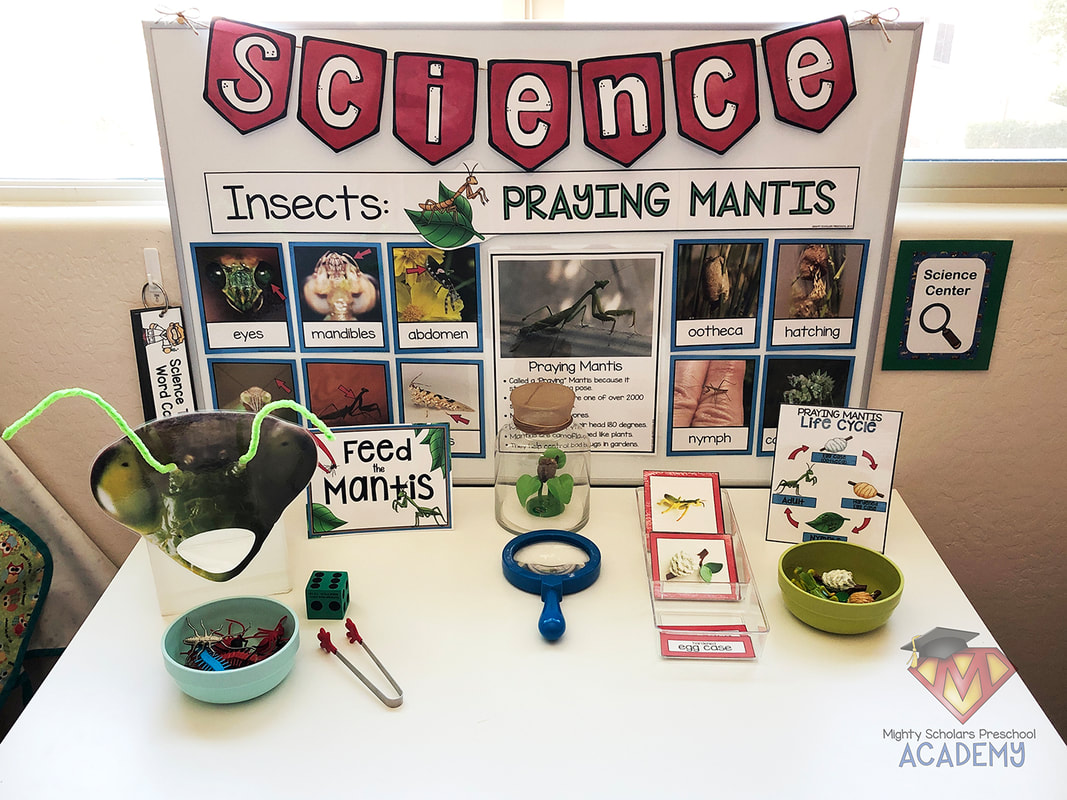
When giving lessons on mantises, I like to show real photographs. Since there are over 2,000 different types of mantises around the world, I like to show some of the most striking: Leaf Mantis, Flower Mantis, and Stick Mantis, to name a few. The unique look of mantises can make them look menacing. However, they are incredible hunters of destructive bugs and are an exciting pet to keep in the classroom.
Mantises are carnivores and will only consume living, moving creatures.
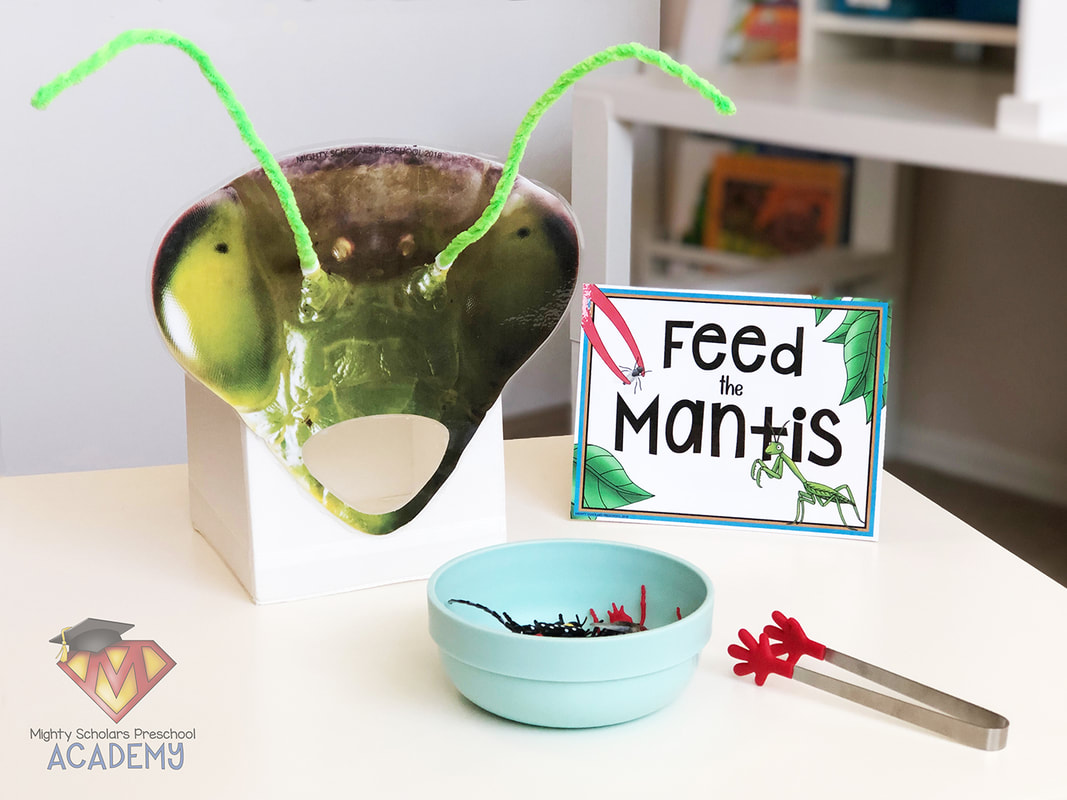
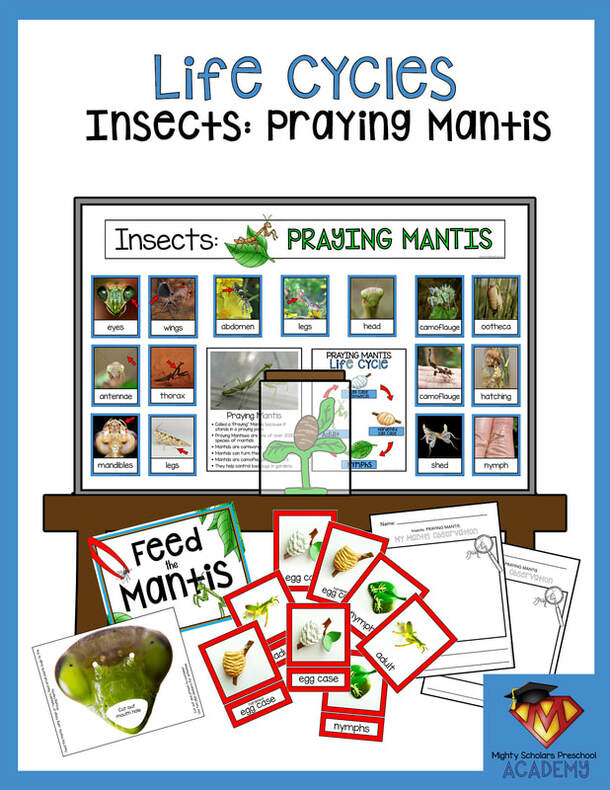
One of the activities in the science center, during our lessons on mantises is 'Feed the Mantis'. Plastic bugs (from the dollar store) are fed through the "mouth" of the mantis via tongs or tweezers. I like to add a foam die for my scholars to roll and count out the amount of bugs they should feed the mantis. It's a great way to include math and fine-motor work into the lessons. I've laminated the mantis head, cut out the mouth and poked twisted pipecleaners into the antennae locations to add a 3D feel. The head can be attached to a box, with an open top (to easily reach in and remove the plastic insects).
Three-part cards can be easily differentiated for students.
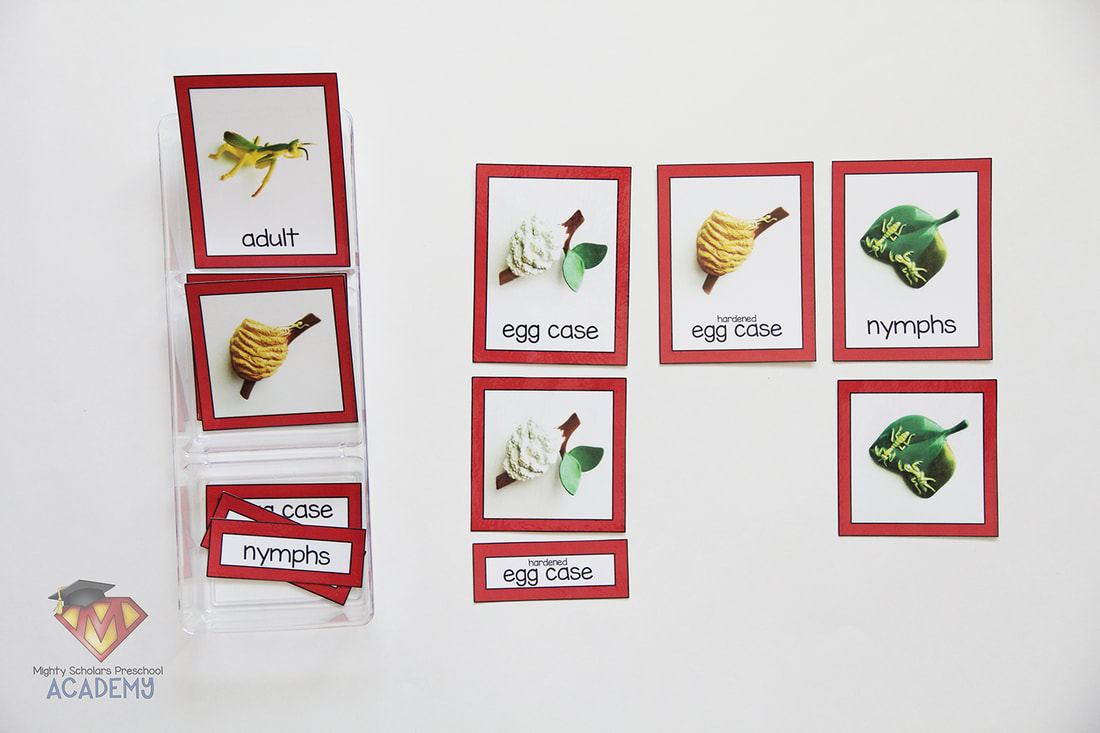
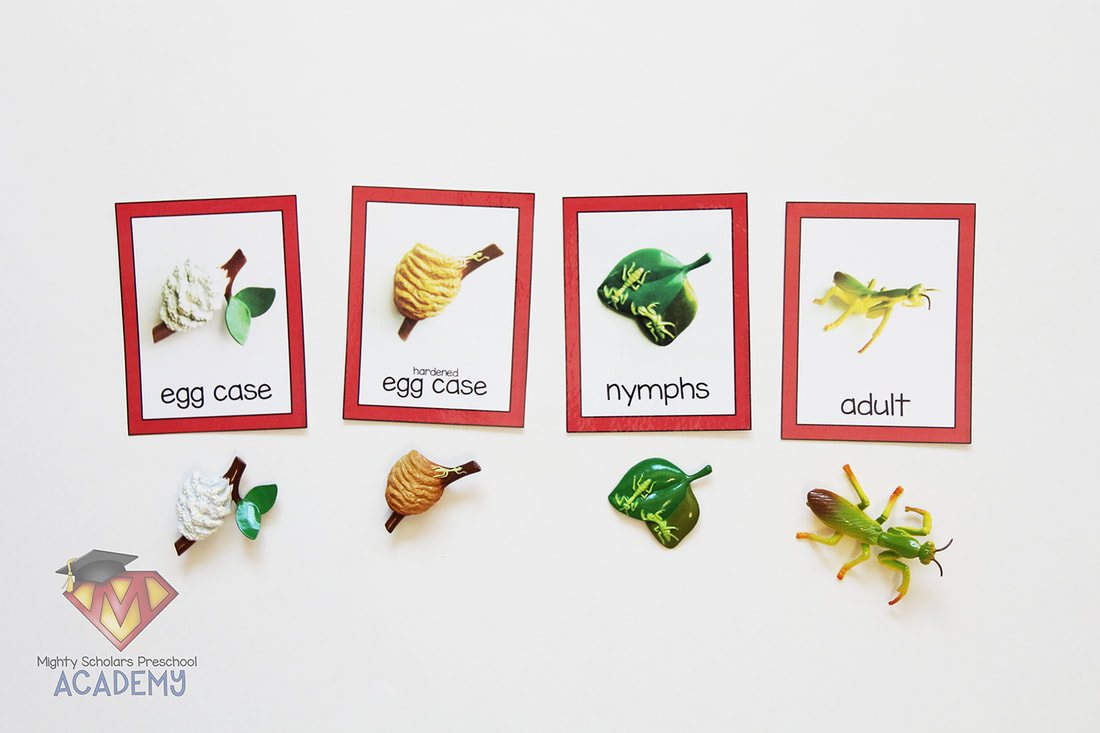
Montessori three-part cards are a great way to add matching and letter recognition. They are self-correcting and can also be used for other activities or small group work. I also use the praying mantis life cycle figures for younger students to match to the cards.
If you're lucky to have the mantis ootheca hatch during class, the experience is one of a lifetime.
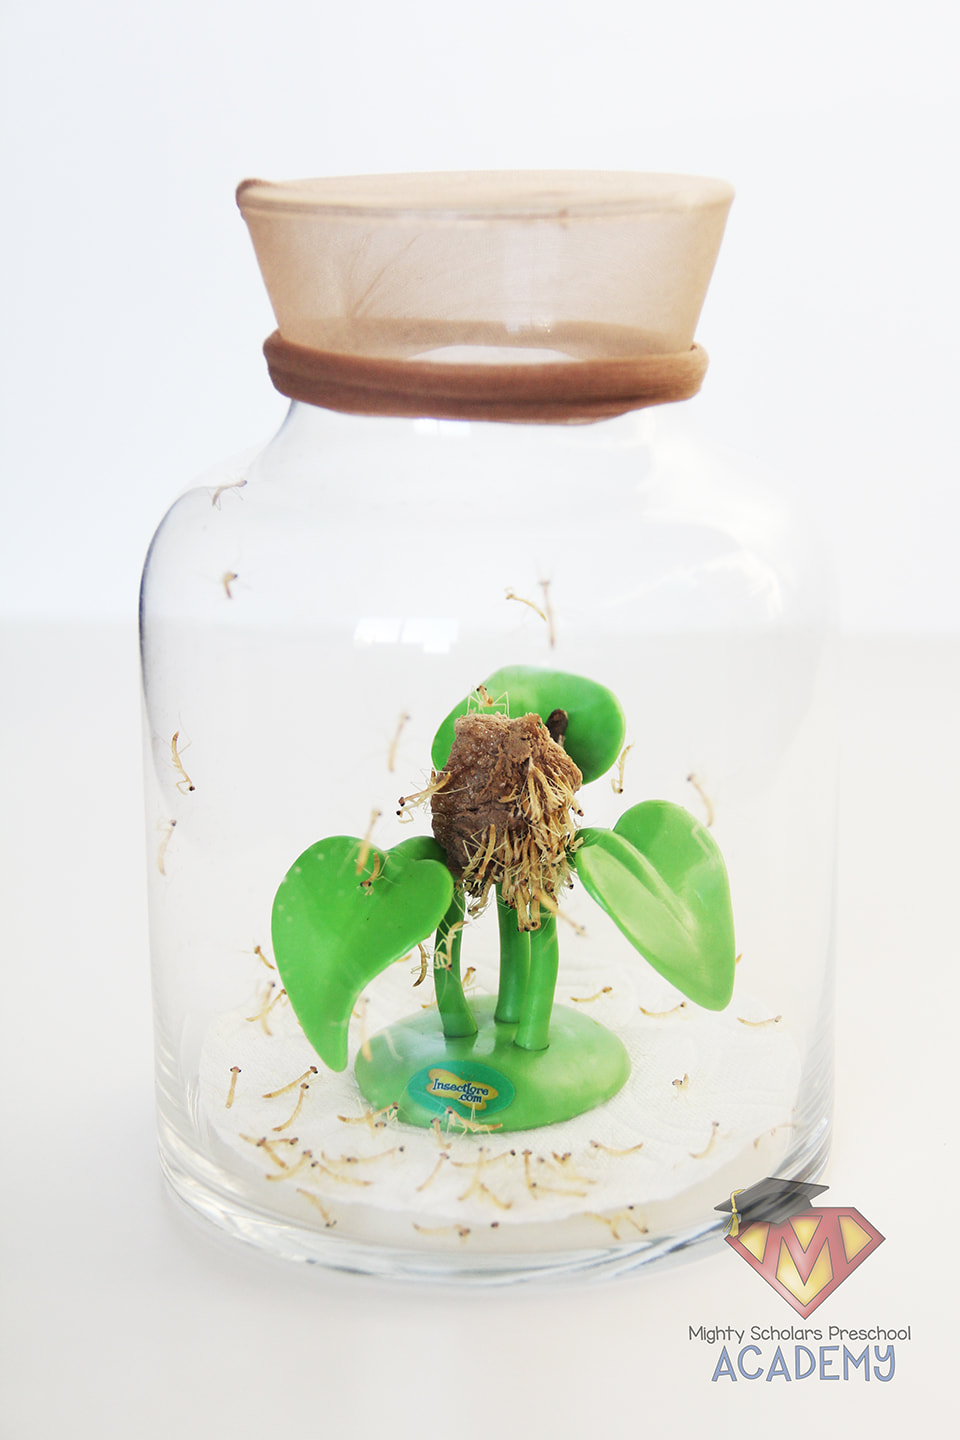
Ootheca are unpredictable and can't necessarily be timed like many other life cycle creatures or animals. However, the opportinity to see the actual hatching of mantis nymphs is incredible. They wriggle their way out from the center seam of the ootheca, pale and similar in appearance to worms. Once they've emerged and are hanging on by the silken thread, their legs pop open and they can drop to walk or climb up. When their outer skin and exoskeleton has hardened, it becomes dark. They are delicate and need to have immediate access to plenty of live food, so releasing them immediately is important. I do keep a few in a little habitat, until all of my scholars have had the opportunity to observe them. Then, I usually only keep one or two in separate habitats. We have one from this year's hatch, named "Chuck Mantis". If you do plan on keeping a mantis, look forward to my blog post after our unit and millipede care.
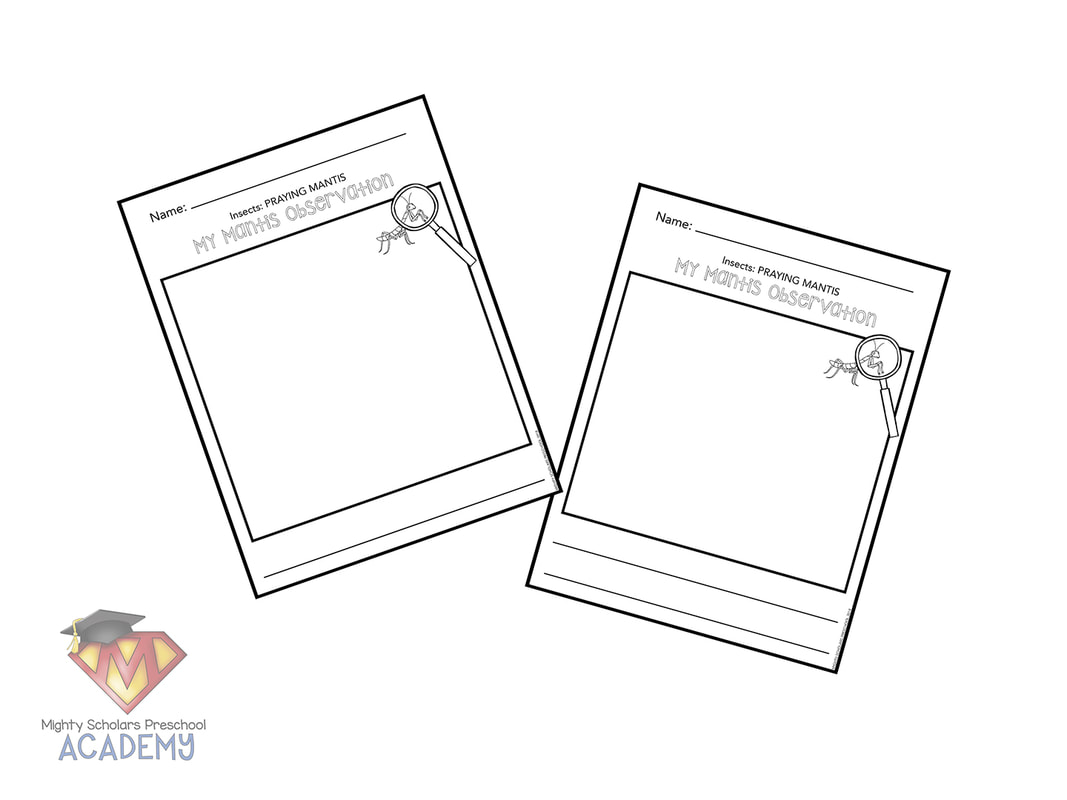
The habitat's that are mesh, don't always have small enough holes, nor do they hold in the moisture needed to have the nymphs hatch from the ootheca. I always suggest keeping them in a jar, with a piece of cut nylons securly rubber-banded over the top. Lightly mist the inside of the jar, through the nylon, at least once a week. Since we are located in Arizona, I lightly mist three times a week. Your scholars can observe what they see on an observation page. If they aren't able to see the nymphs hatch, have them draw and write how they predict it will look.
There are only a few children's books on mantises.
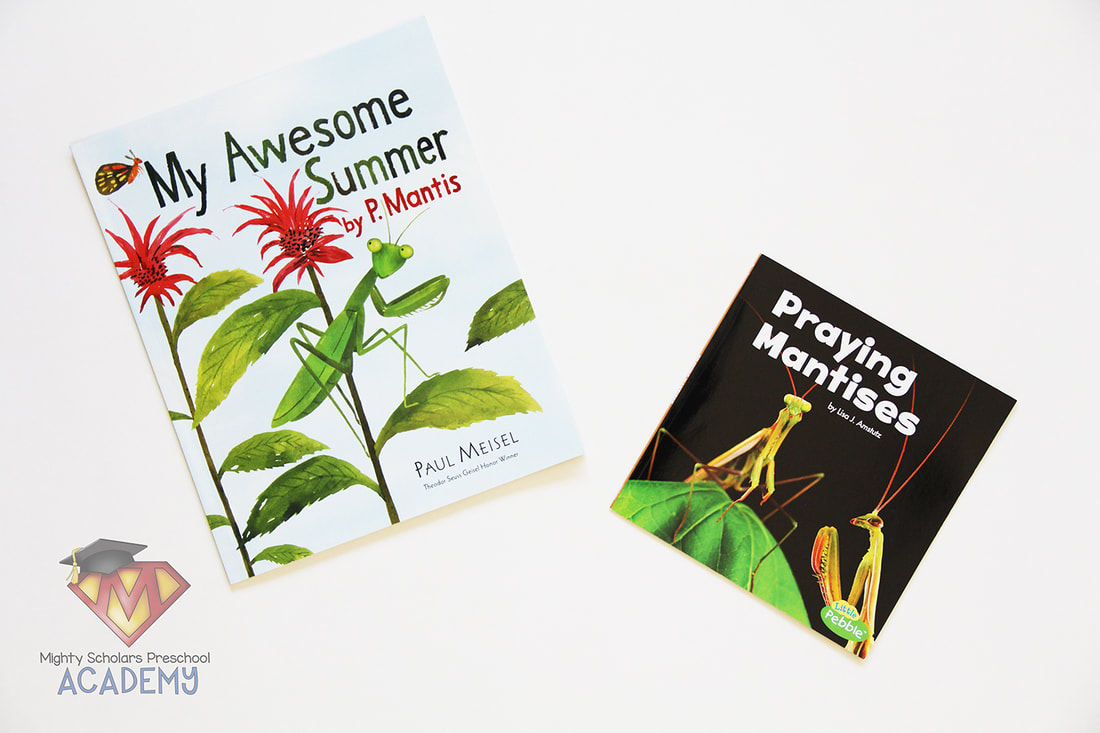
I'm always on the lookout for good children's books on mantises. If you know of any, send me an email. I'd love to add them to my science library. The two I have pictured are: 'My Awesome Summer by P. Mantis' by Paul Meisel and 'Praying Mantises' by Lisa J. Amstutz.
Click on the image below to be taken to my Insects: Praying Mantis Life Cycles Science Pack:
Please note, as a participant in the Amazon Services LLC Associates Program, I may earn a small commission on qualified recommended links.
The Amazon Services LLC Assocites Program is an affiliate advertising program designed to provide a means for sites to earn advertising fees by advertising and linking to Amazon.com
My Amazon Picks for the lesson on Praying Mantises are:
Ants can teach us a lot about hard work and working together.
The third part of our Spring Life Cycles Unit covers all about ants. Our classroom has a little ant farm that my scholars love to watch as the Harvester Ants work to build their maze of tunnels. It offers a new perspective to the underground world. By offering magnifying glasses, these tiny red creatures can be closly observed as they work.
Bringing out an activity from my own childhood, makes it fun for both my scholars and myself.
Don't underestimate vintage activities and games. There are many being remade for good reason. Simple hands-on activities and games provide wonderful fine-motor and hold a young child's interest. I like to bring out several from my own childhood, that my scholars really enjoy.
Adding my own slight twist to a oldie but goodie game helps tie it into the theme.
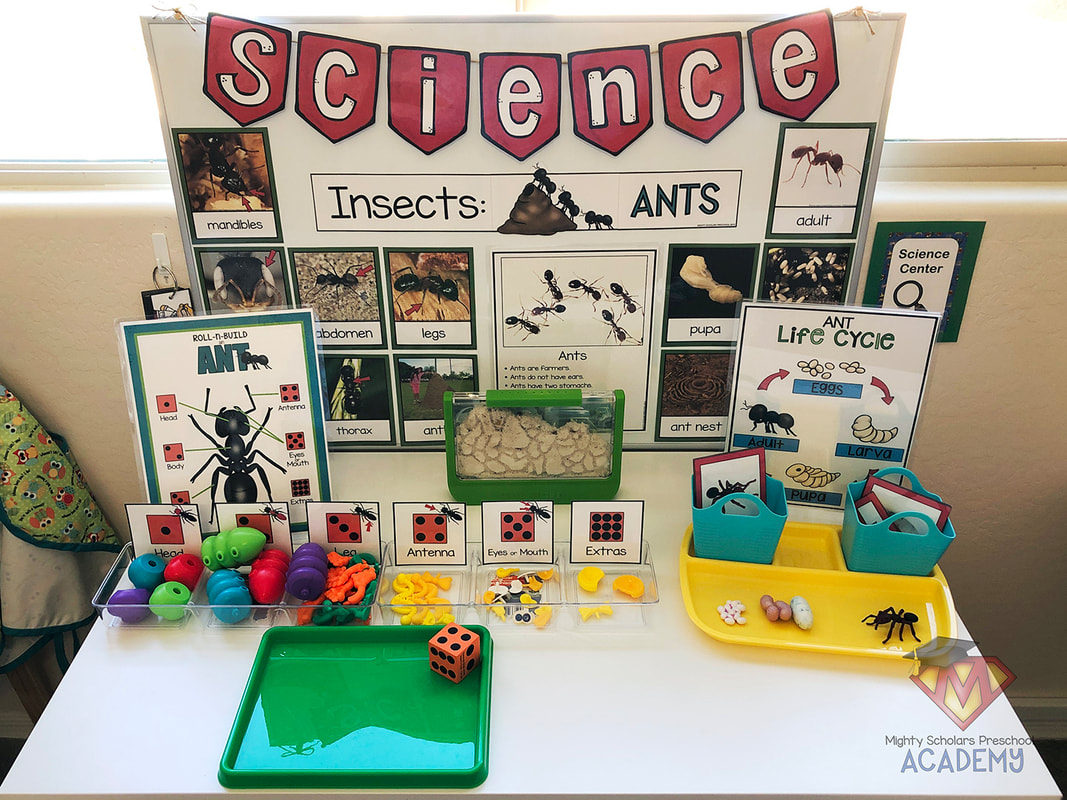
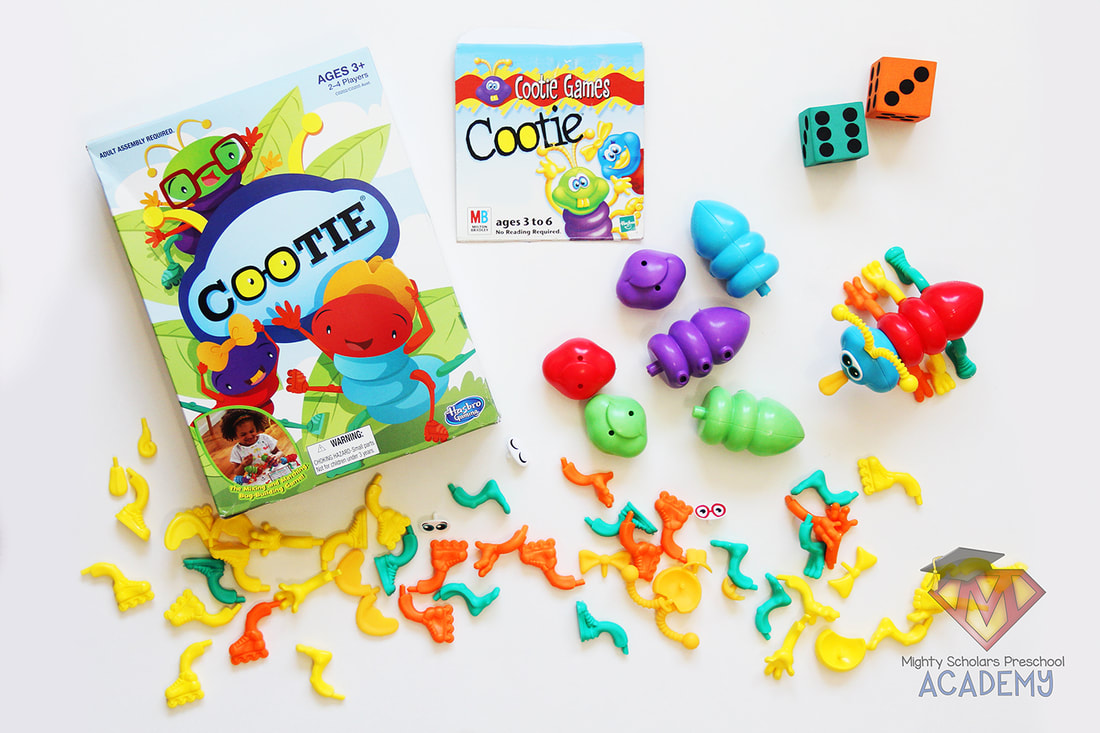
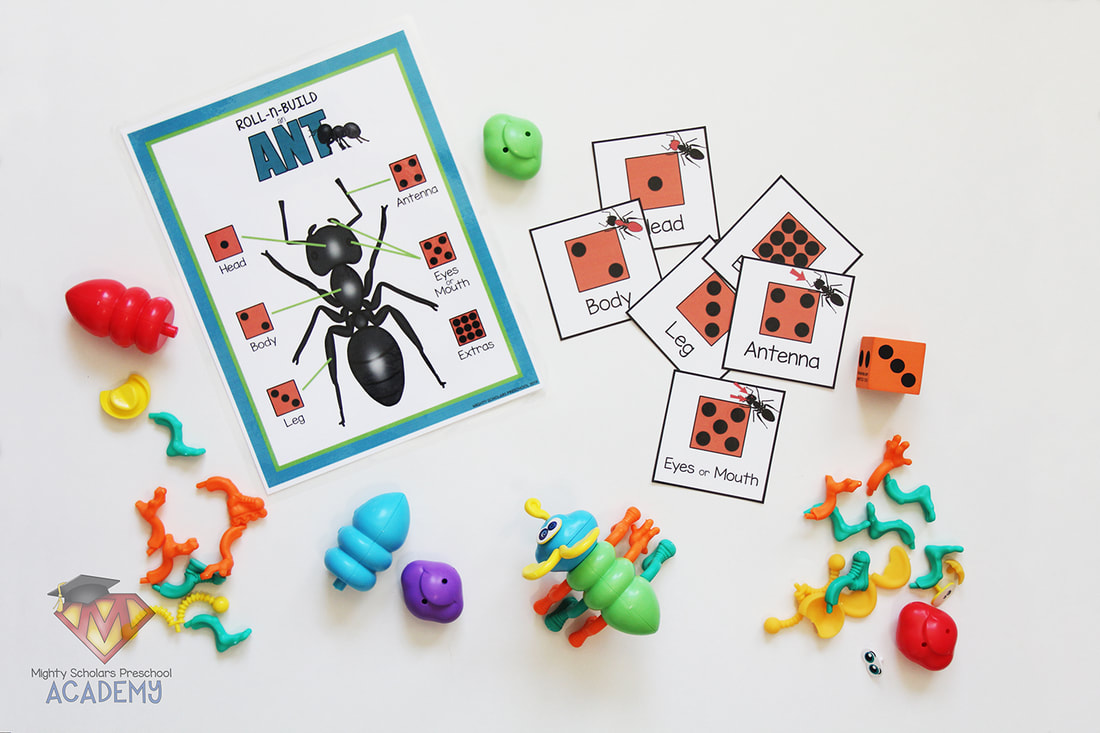
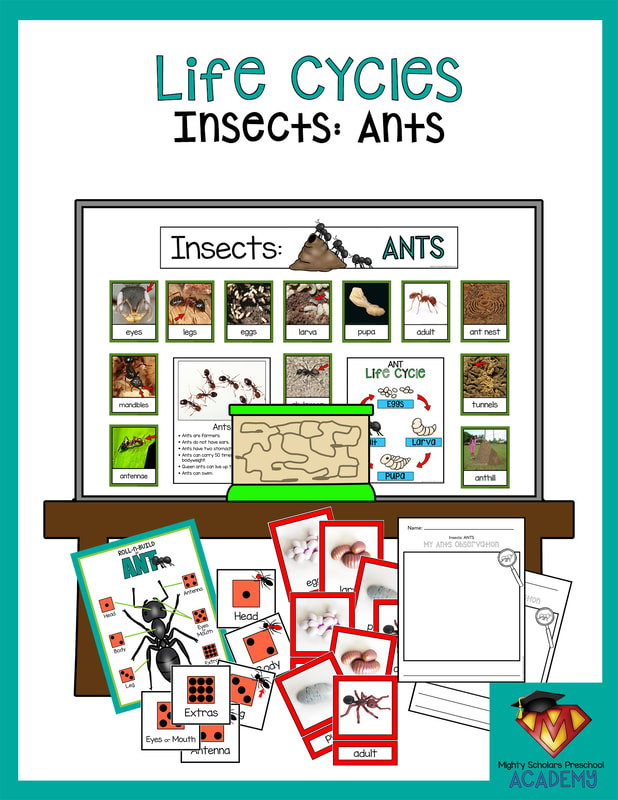
'Cootie' is a game that I have the vintage and remade version of. I mix the pieces, since there is a slight variation in design. It gives more choices for my scholars during the activity. Using the 'Cootie' game pieces, my scholars roll a foam die to build an ant. This activity can be for a single student or more than one, depending on the amount of pieces you have. I have card labels for the tray sections, that helps my scholars understand the parts of an ant for each number.
Three-Part Cards can be used two ways.
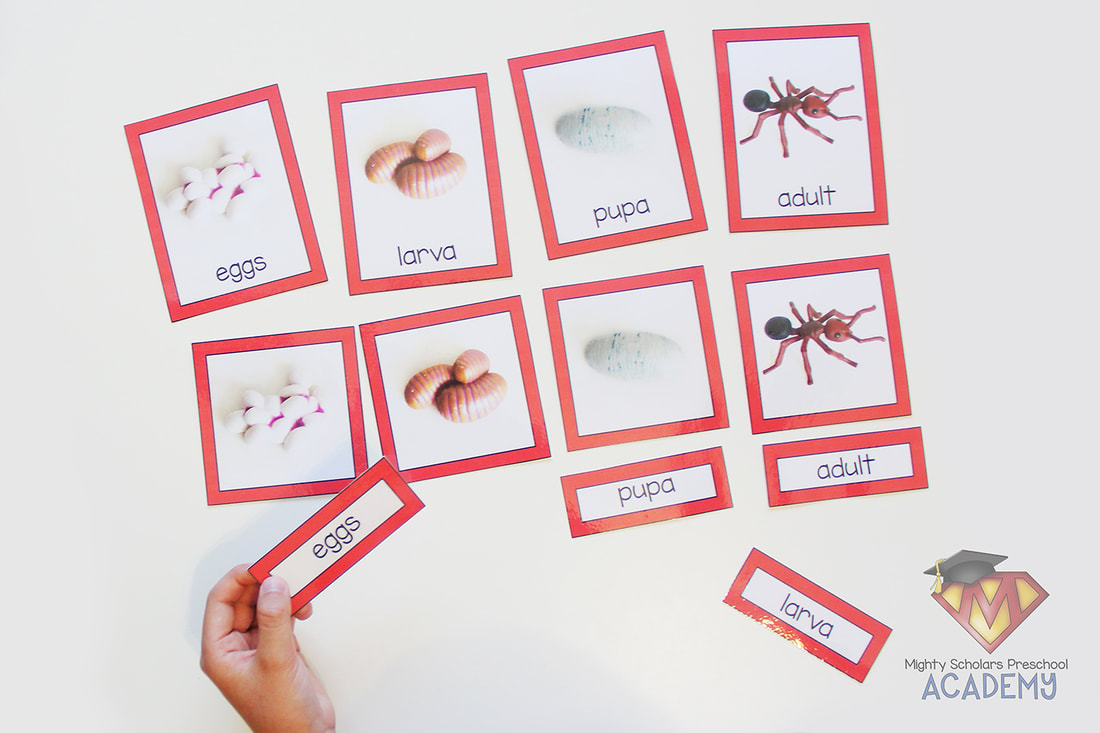
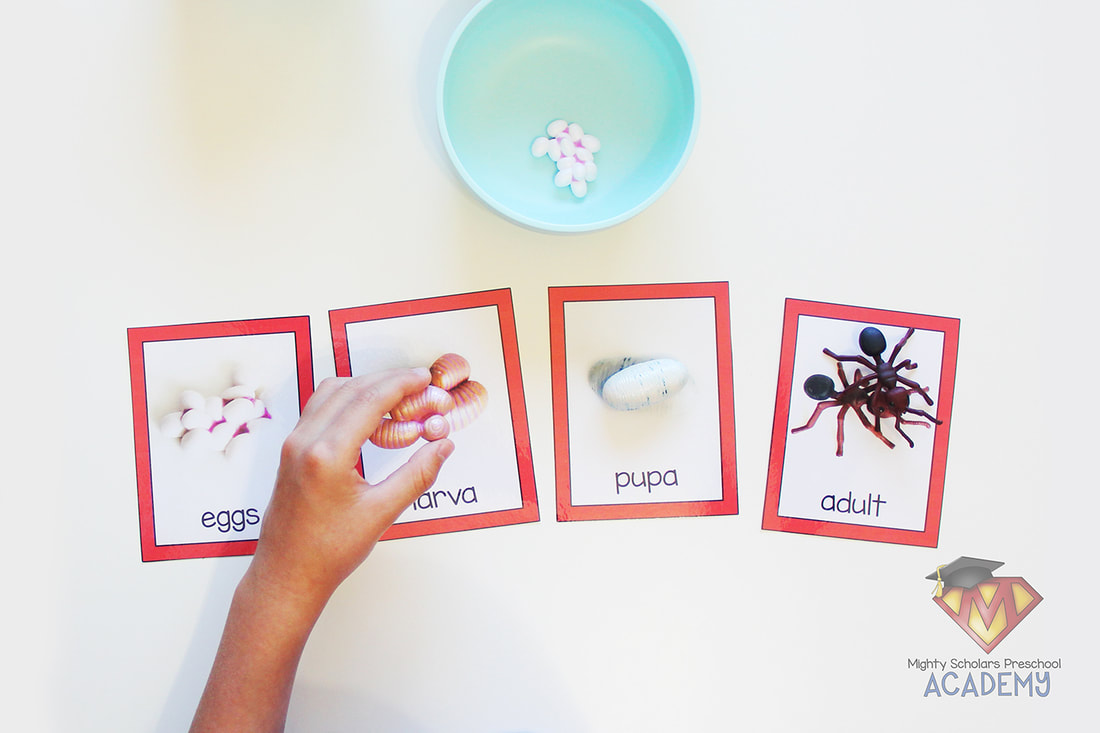
The life cycle of an ant is reinforced through three-part cards. I use these Montessori cards two ways, to help differentiate between age/skill levels of my scholars: matching the cards and labels, and matching the ant life cycle figures to the cards.
Recording observations help children to describe what they see.
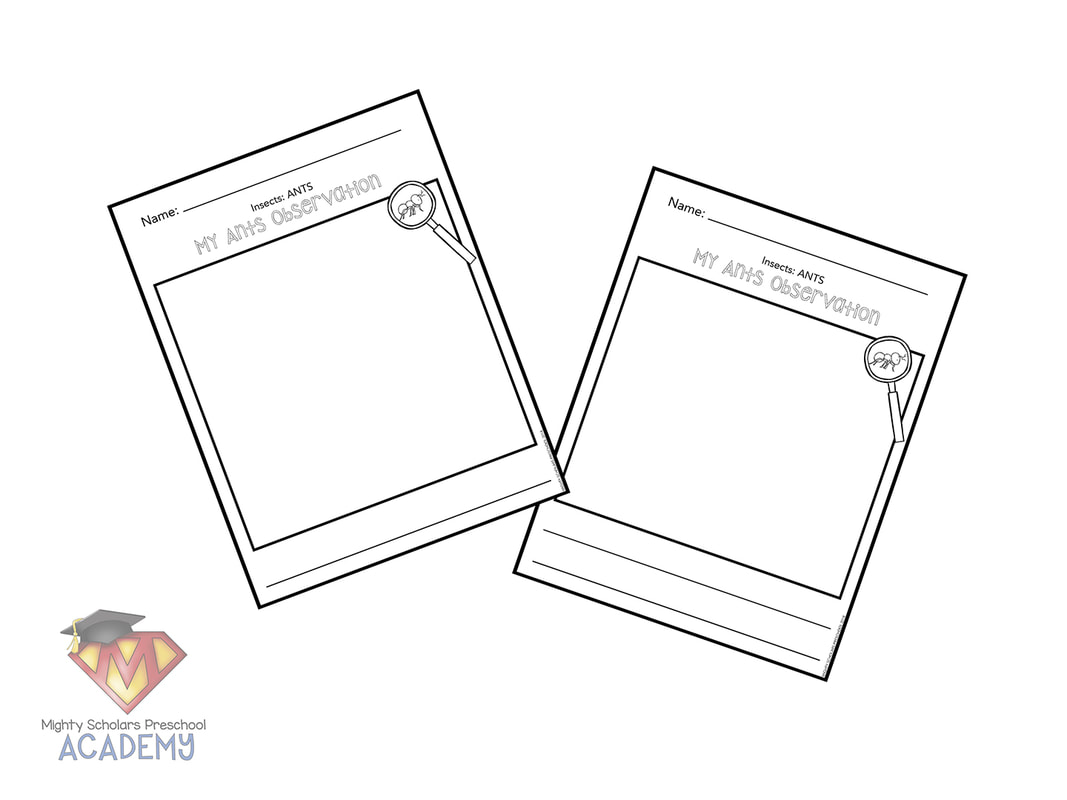
As children observe the work of the ants in the farm, have them describe what they see on an observation page. Adding this writing and drawing work helps to bring in a fine-motor, literacy and art component to the science center.
An ant themed sensory table is a wonderful way to tie in the lesson, at another center in your classroom.
My last blog post was on our Ant Hill Sensory Table. Since handling live ants isn't an option, I have a sensory table with ant figures. Click HERE to be taken to that post.
Several children's books can be found on ants and the ant life cycle.
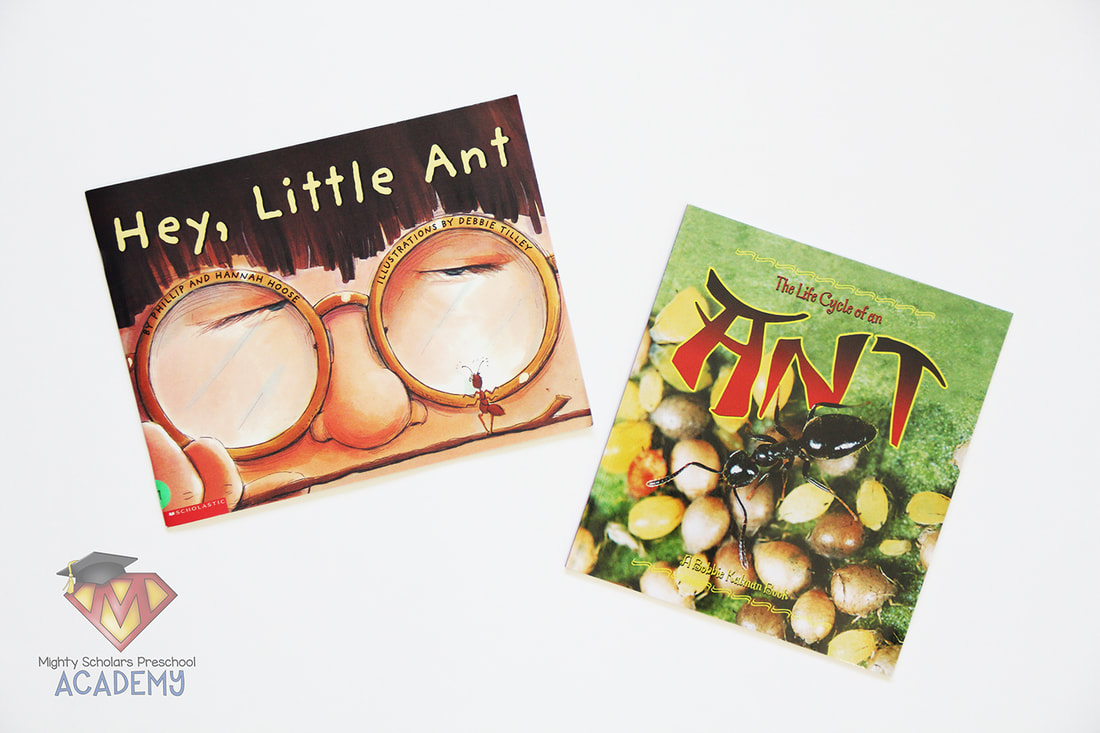
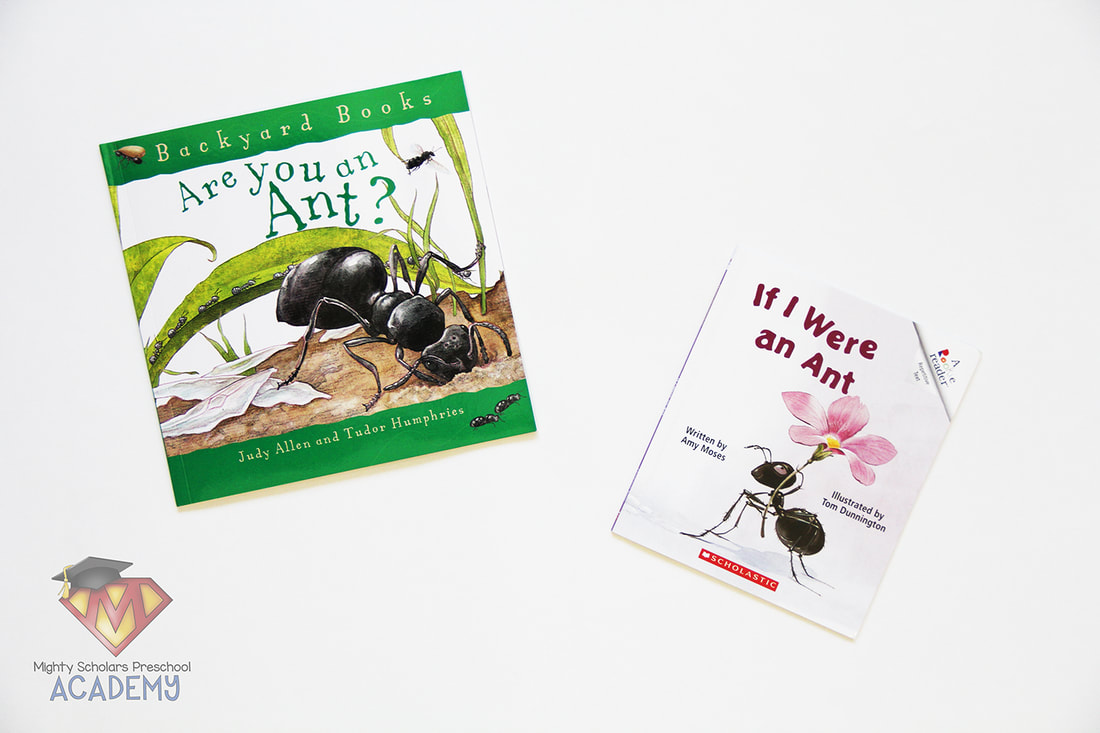
Out of the many books and fictional stories on ants, I have pictured four: 'Hey, Little Ant' by Phillip and Hannah Hoose, 'The Life Cycle of an Ant' by Hadley Dyer, 'Are You an Ant?' by Judy Allen, and 'If I Were an Ant' by Amy Moses.
Click the image below to be taken to my Insects: Ants Life Cycles Science Pack:
Please note, as a participant in the Amazon Services LLC Associates Program, I may earn a small commission on qualified recommended links.
The Amazon Services LLC Associates Program is an affiliate advertising program designed to provide a means for sites to earn advertising fees by advertising and linking to Amazon.com.
My Amazon Picks for the lesson on ants are:
Our Spring life cycles unit wouldn't be complete without an insect sensory experience.
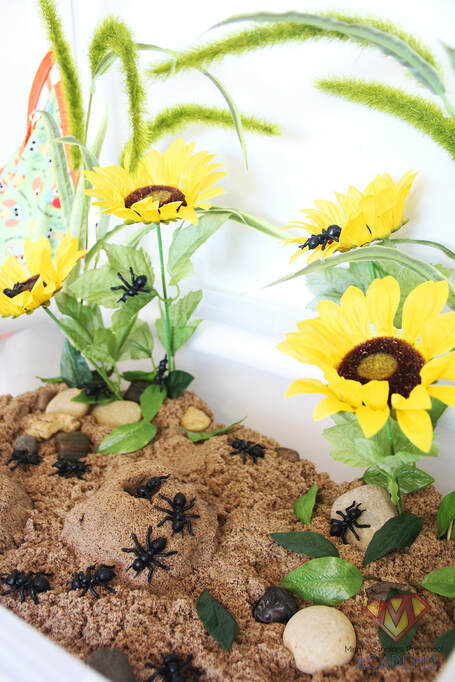
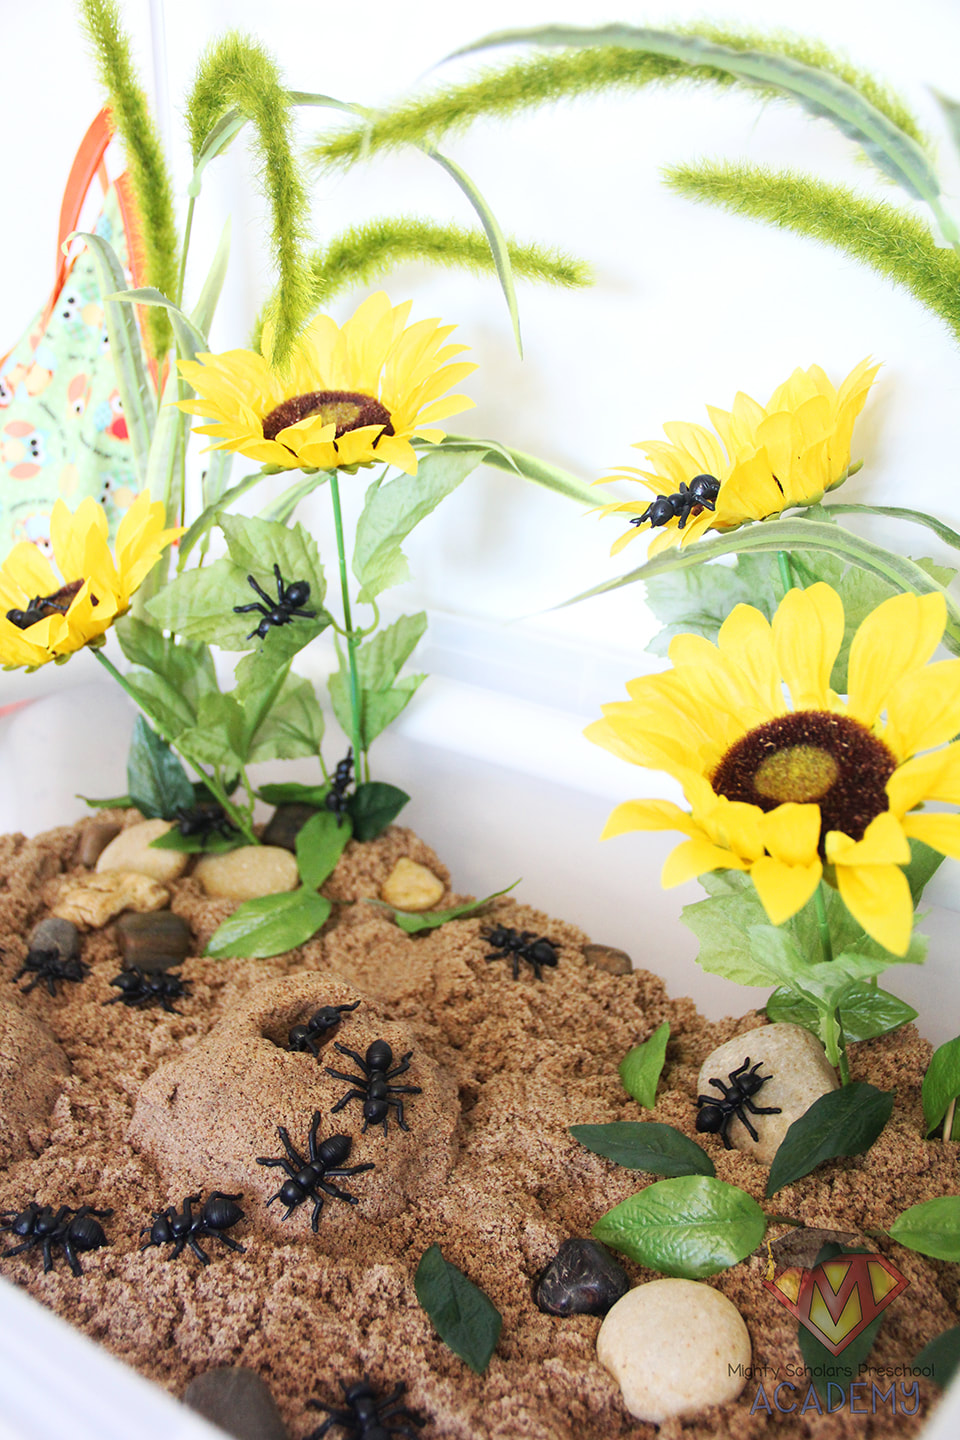
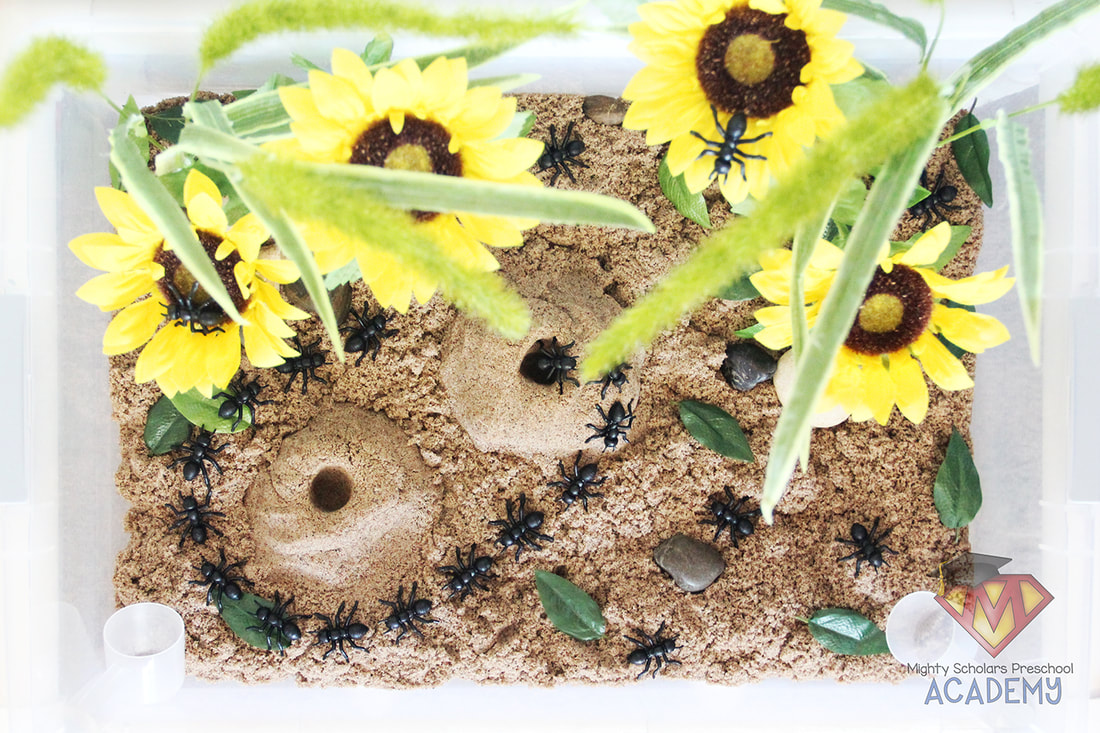
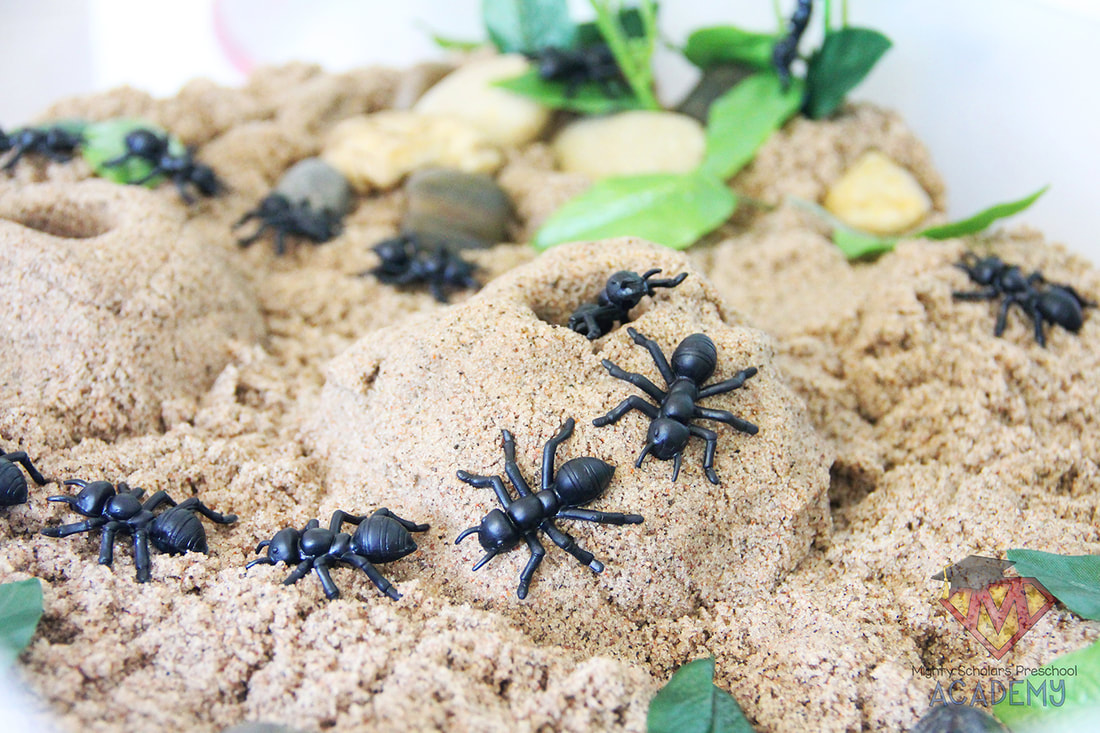
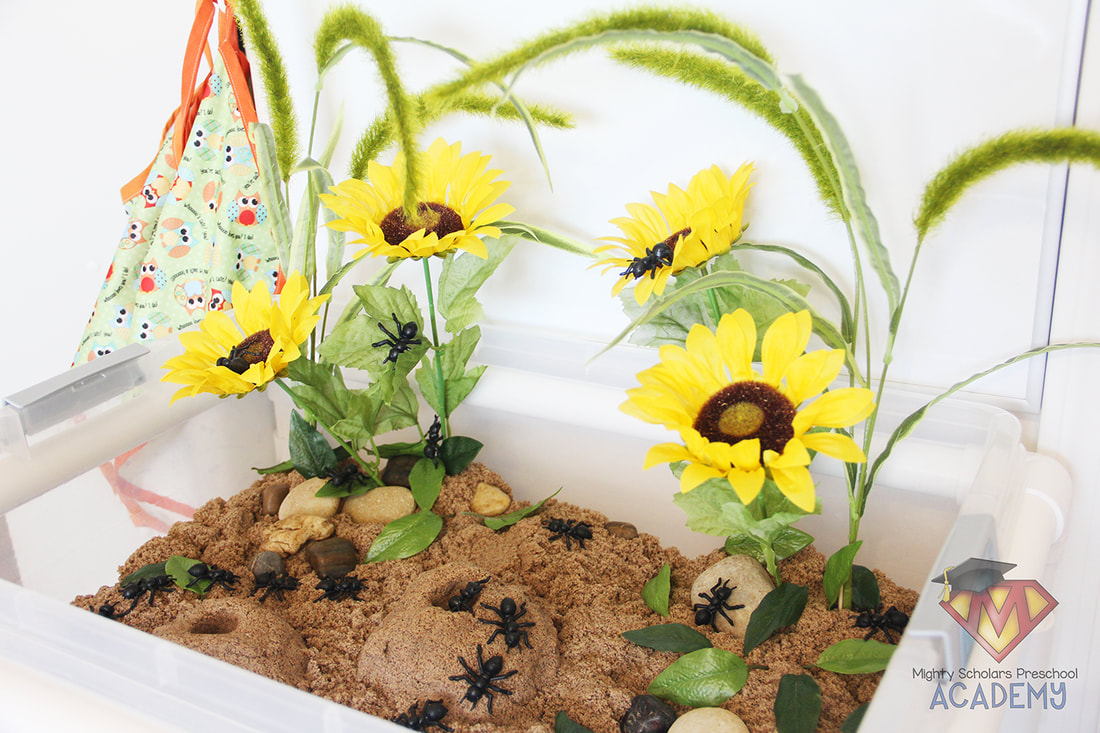
Part of our Spring life cycles unit includes ants. My scholars have the opportunity to observe Harvester ants in our classroom ant farm. They're mesmerized by the tunneling and dedication to teamwork. Since handling the ants isn't an option, the Ant Hill Sensory Table takes the place of that experience. This sensory discovery gives my scholars the opportunity to set up their own ant hill, designing tunnels and mounds.
Kinetic sand is a fantastic, creative sensory medium.
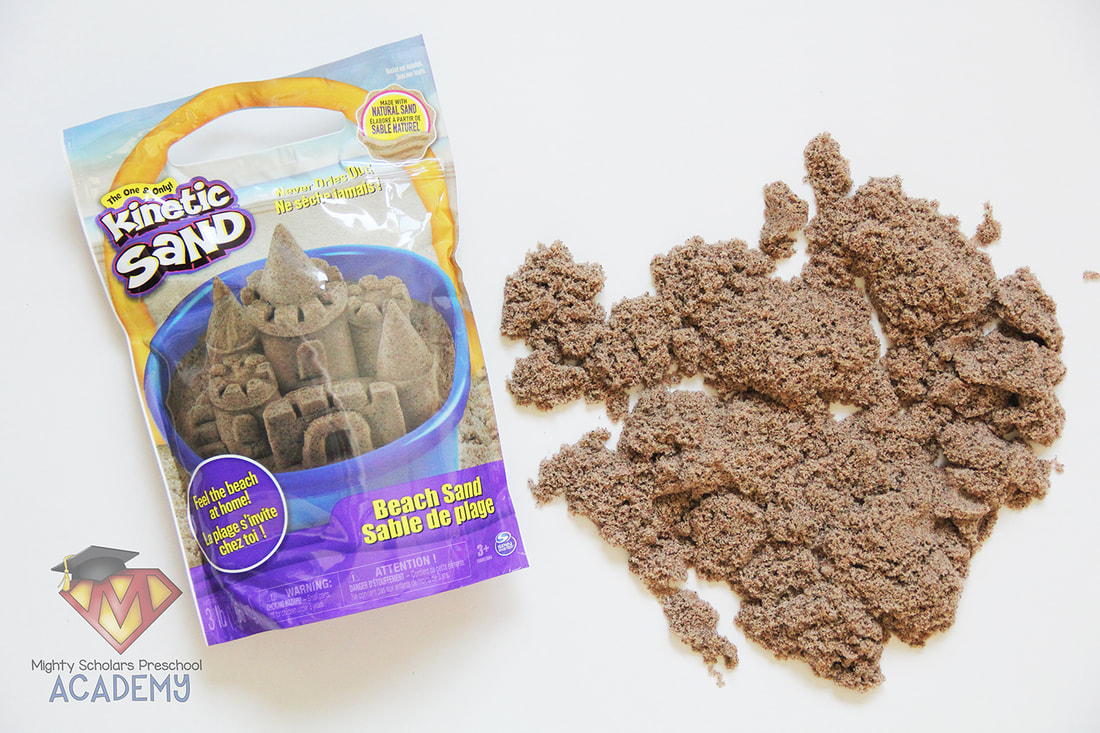
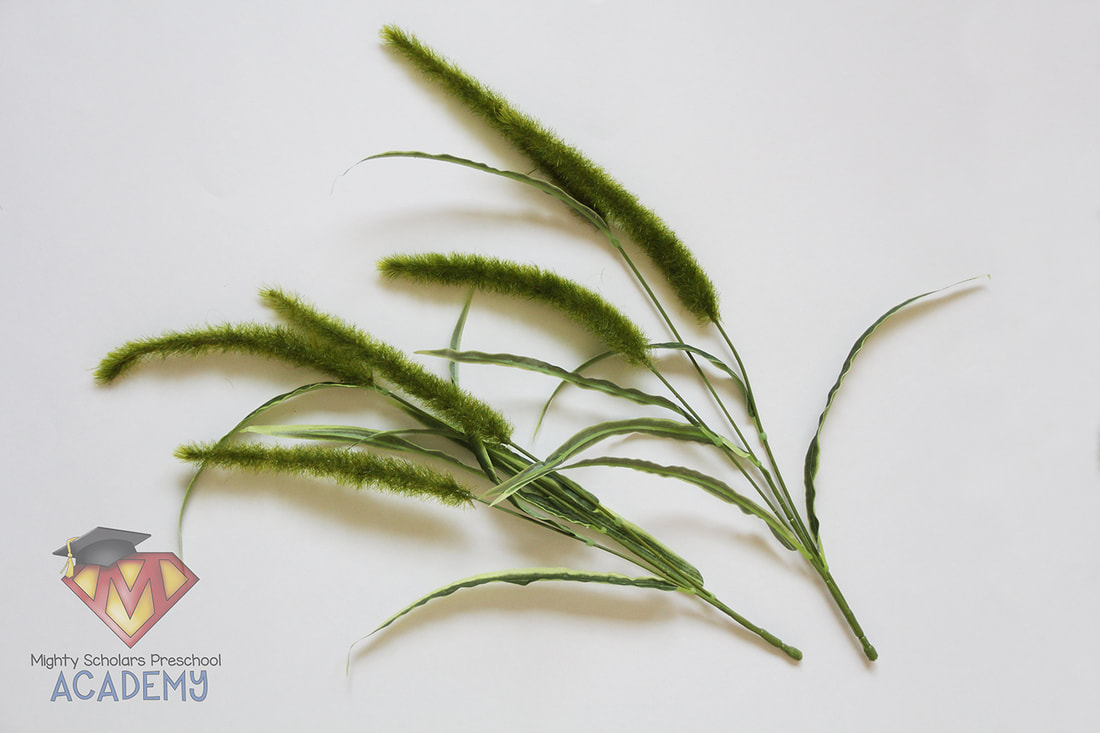
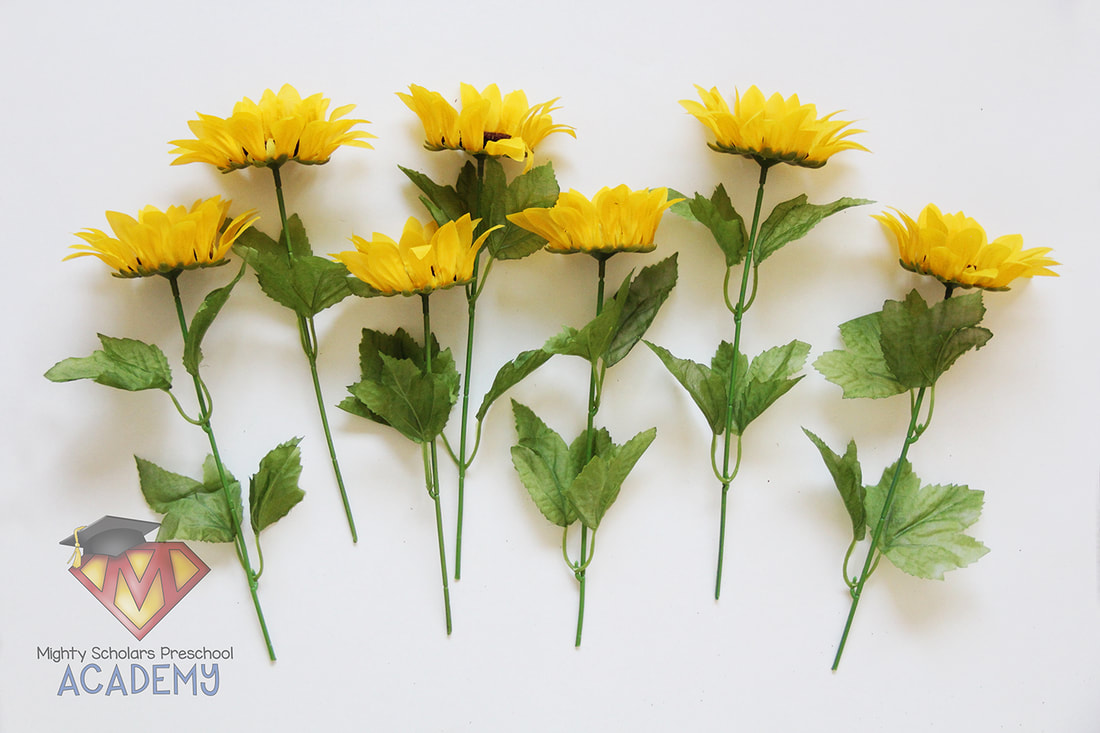
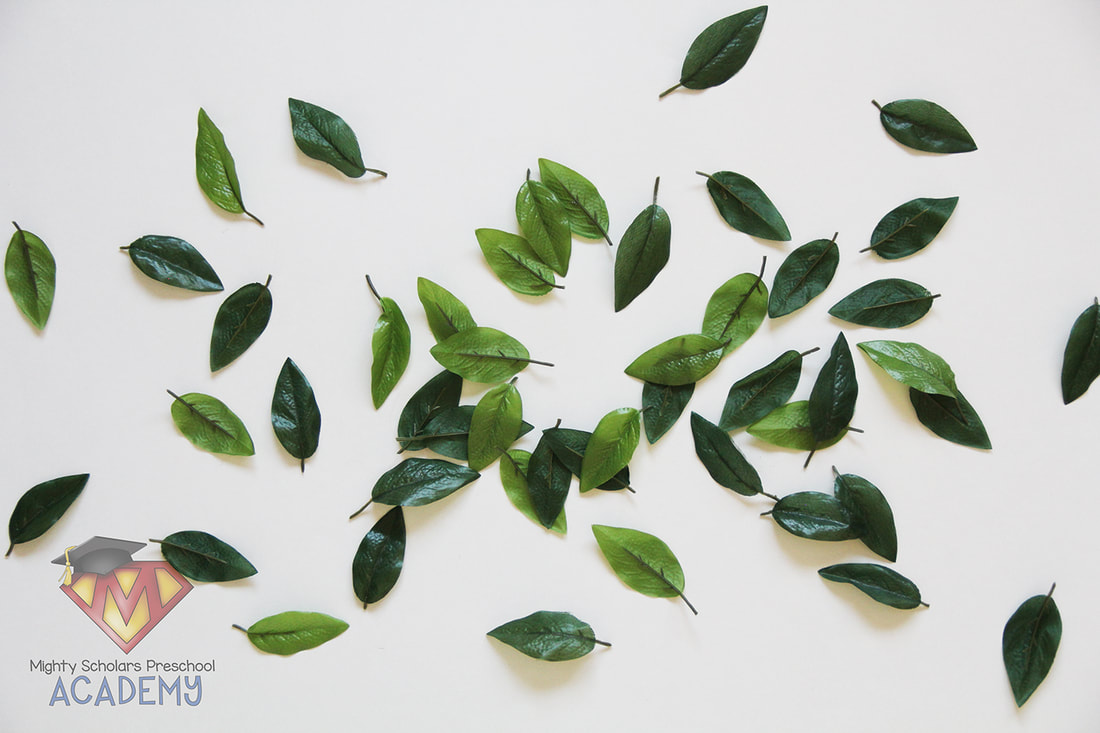
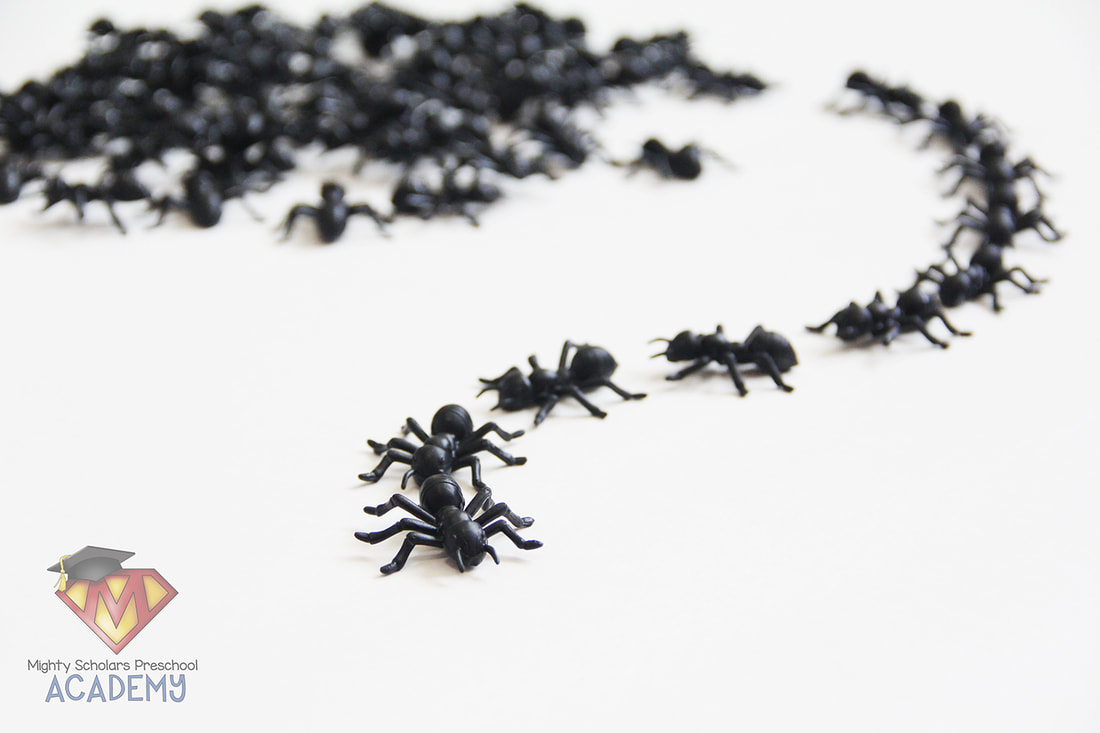
The table filler is beach colored kinetic sand. I purchase the large three pound bags for my classroom activities. I added river rocks (that help to prop up artificial plants), artificial "Dog Tails" from Hobby Lobby, as well as a few artificial sunflowers. Artificial leaves are sprinkled around, for ants to "collect". The ants were ordered online and are much larger than most sold. They're approximately 1.5" long, making them the perfect size for this sensory table. Small, repurposed scoops are also added for additional fine-motor.
Please note, as a participant in the Amazon Services LLC Associates Program, I may earn a small commission on qualified recommended links.
The Amazon Services LLC Associates Program is an affiliate advertising program designed to provide a means for sites to earn advertising fees by advertising and linking to Amazon.com.
My Amazon Picks to complete the Ant Hill Sensory Table are:
Arthropods are the next stop on our Spring Life Cycles adventure.
There are many arthropods that teachers can bring into the classroom, including pill bugs and hermit crabs. I like to have something that stands a part from all the other creatures in the classroom and is impactful. Our classroom is host to two giant millipedes named "Eggs" and "Bacon". They make wonderful class pets. As part of the Myriapod order of Arthropods, millipedes are related to crustaceans and go back millions of years.
Our classroom millipedes are fascinating and captivating creatures.
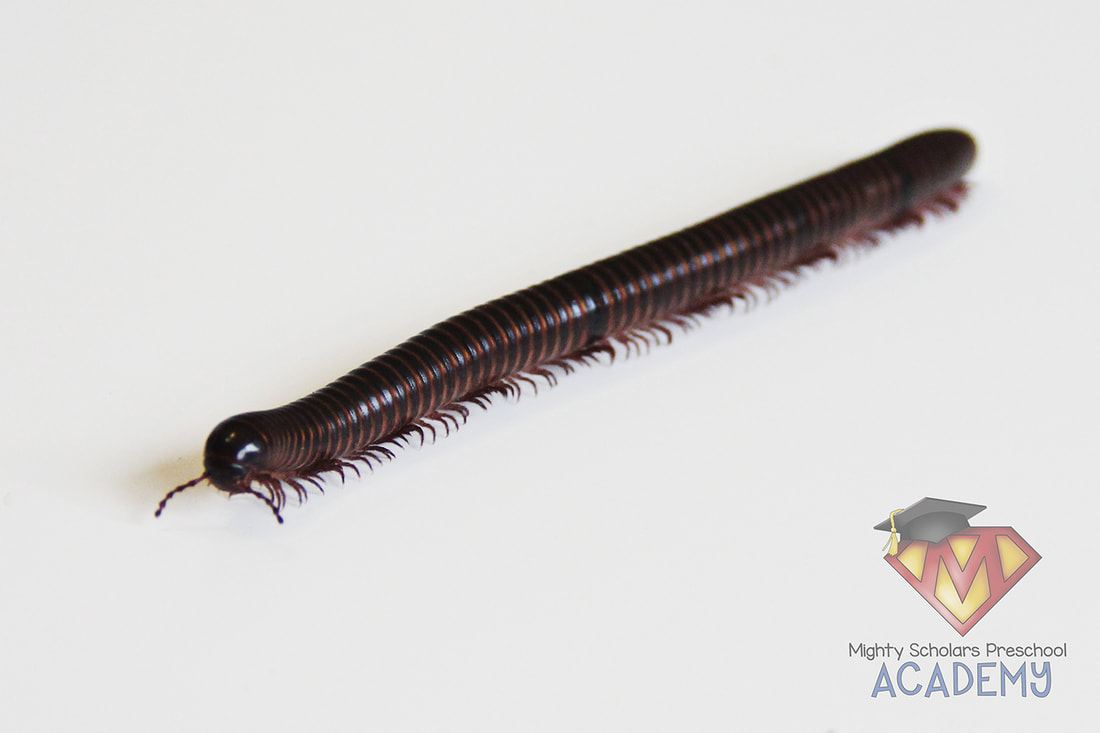
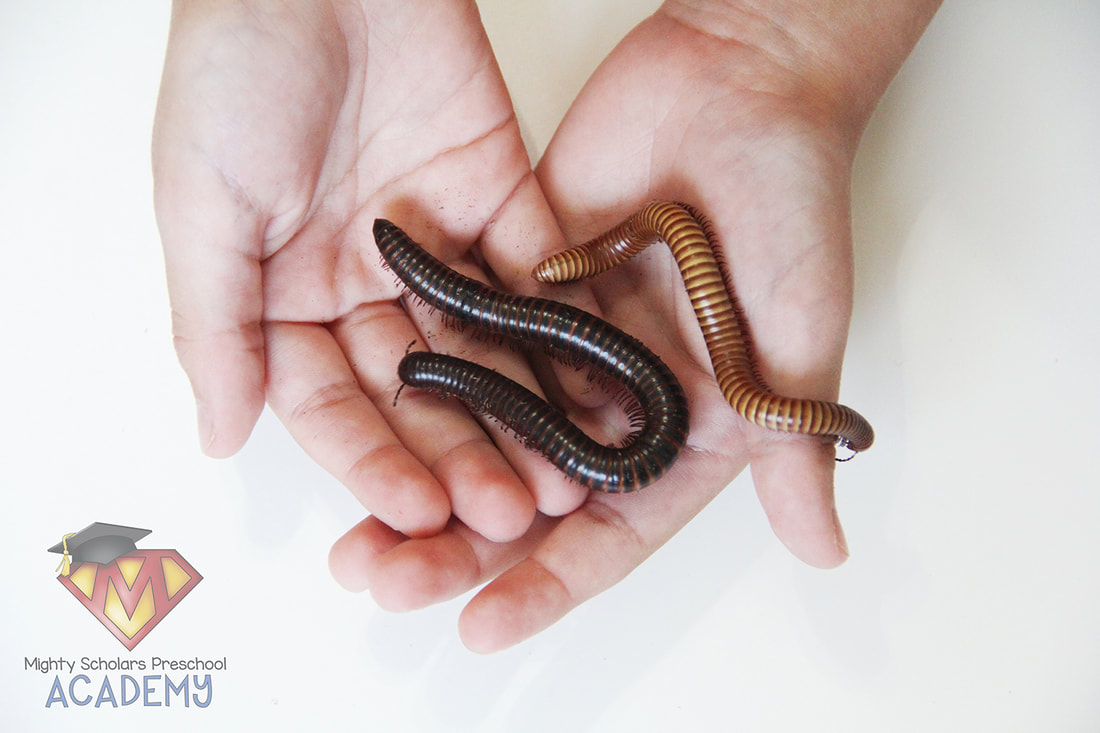
Thankfully, modern day species aren't six feet or longer. However, they do range from less than an inch to over fifteen inches in length, depending on the species. While our class millipedes are only around five inches long, they can grow beyond eight inches. The name "Millipede" means "Thousand-Footed". Millipede legs are impressive, but don't reach a thousand. One of the largest species can have over 250 pairs. When a millipede walks, their legs move in a wave motion, mesmerizing my scholars. Millipedes have two pairs of legs per body segment. They hatch without legs and with each molt, they gain more.
Like earthworms, millipedes are also important macroorganisms in the decomposition world. They also release enzymes through digested food, that nourishes and enriches our soil. They don't however, dig deep down in the ground. They will make shallow burrows in loose, moist soil, under logs or leaf litter.
Look for my blog post on helpful tips for setting up and caring for millipedes in the classroom, following the life cycles unit.
Our Science Center provides an opportunity to discover and create with natural materials.
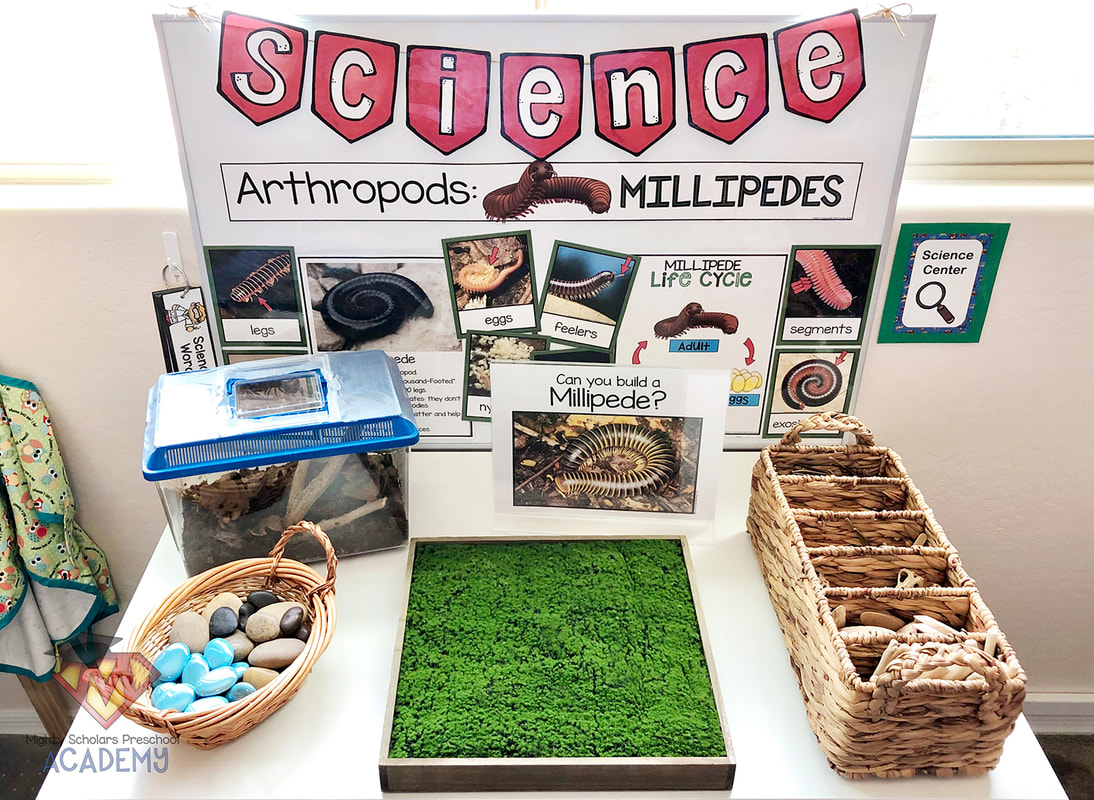
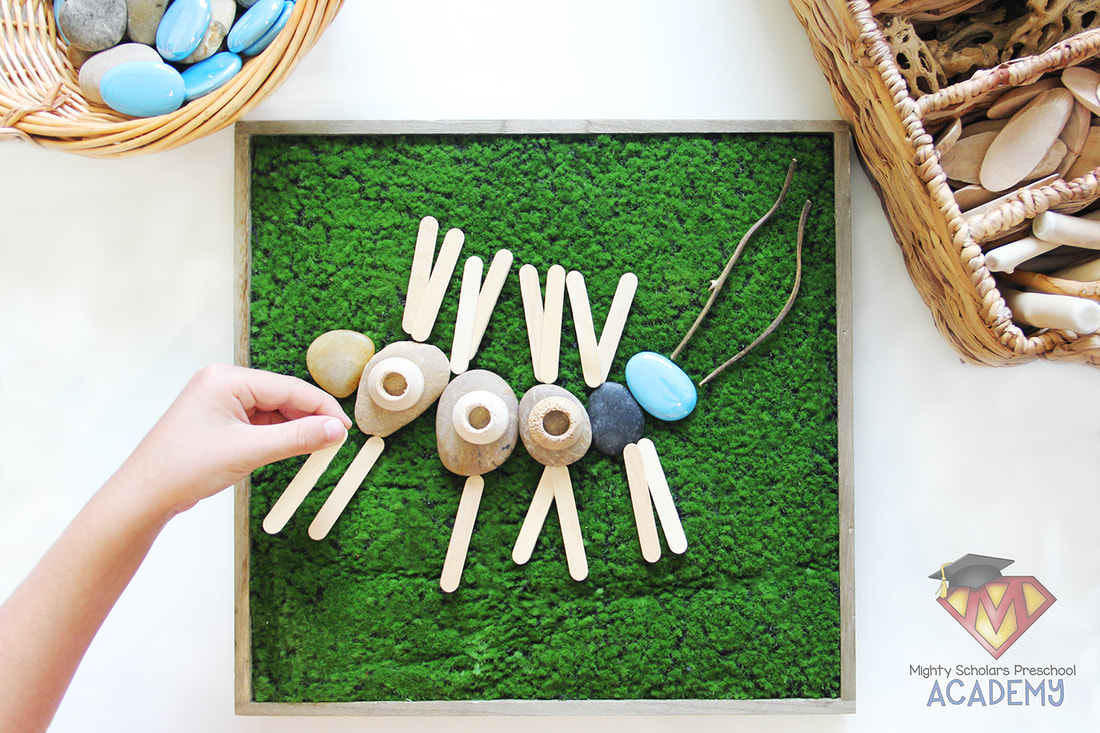
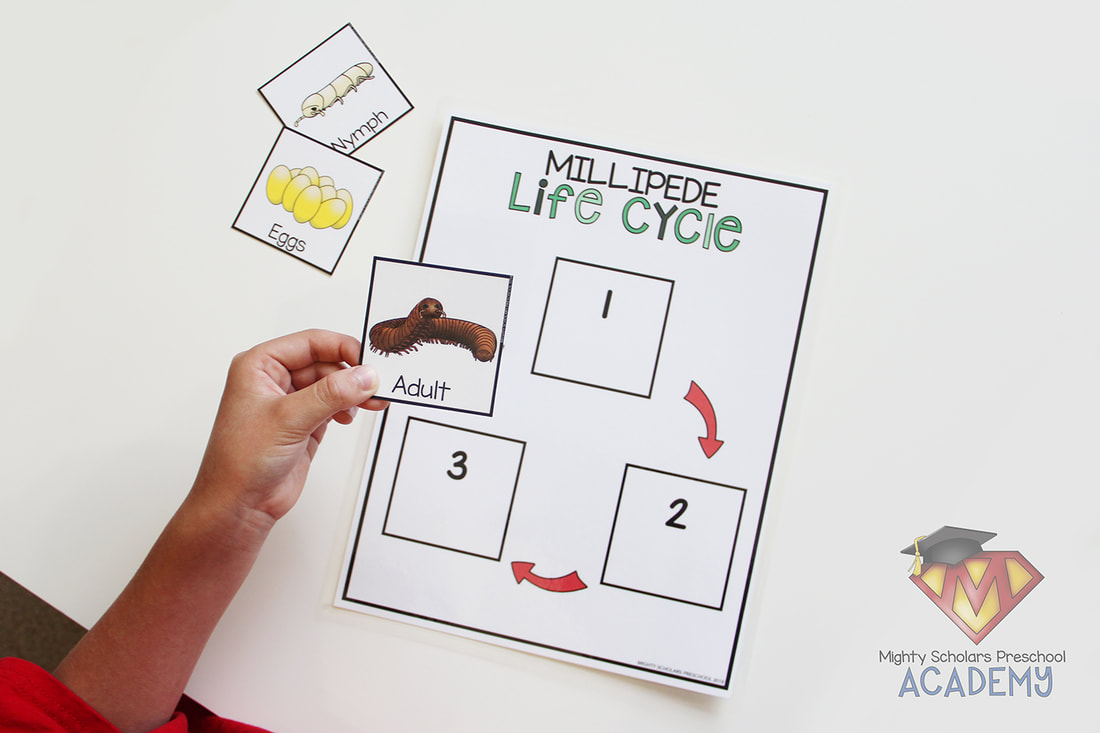
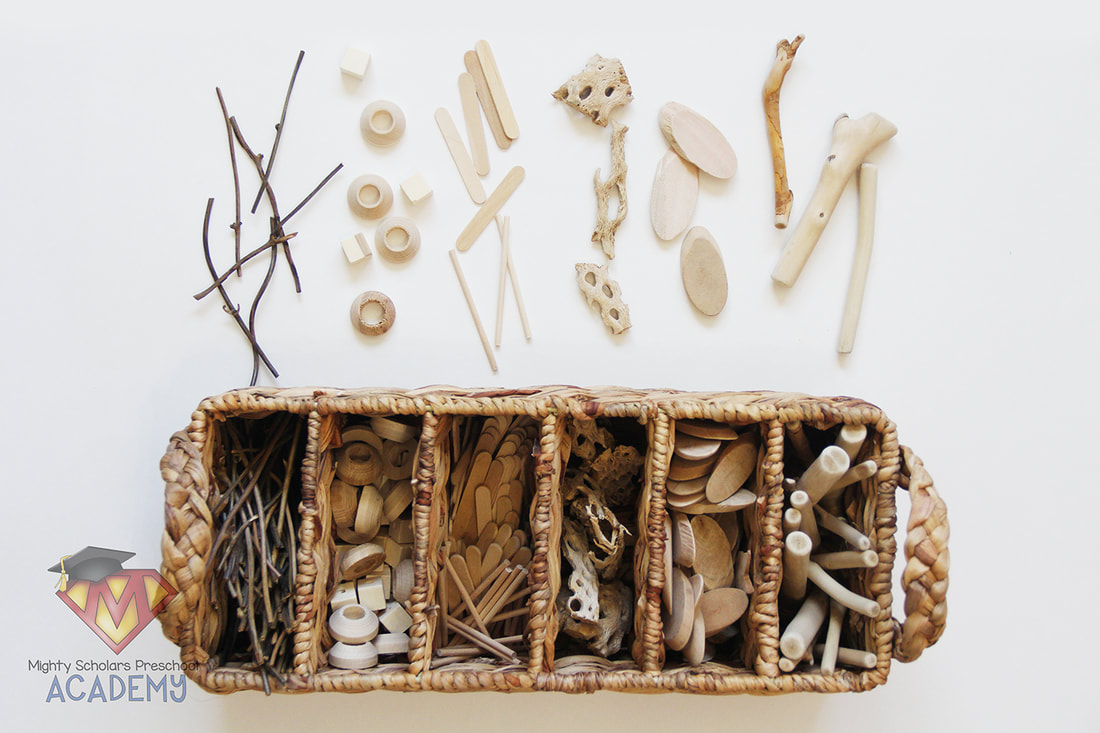
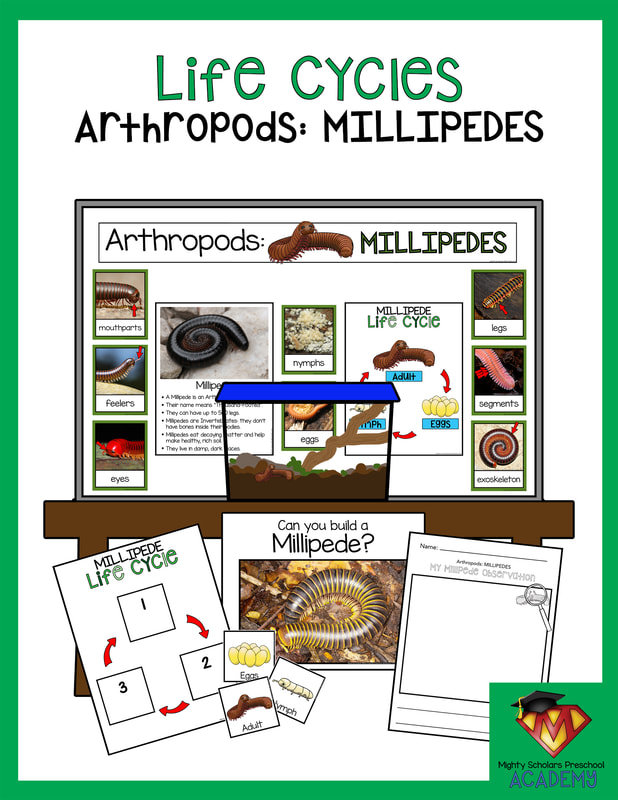
Since the arthropod portion of our Spring Life Cycles unit follows annelids, and a life cycle matching activity was set out during that time, I chose not to set out the similar activity. The arthropod portion of our unit also offers an open loose-parts challenge. The challenge is to build a millipede, using the natural materials at the center. The challenge card has a large photograph of a millipede in the wild, to serve as inspiration. The facts mini poster and vocabulary cards also help to inspire through real photographs. Both the loose-parts challenge and a life cycles matching activities are included in my Arthropods: Millipedes Life Cycles Science Pack.
Natural materials make some of the best loose-parts.
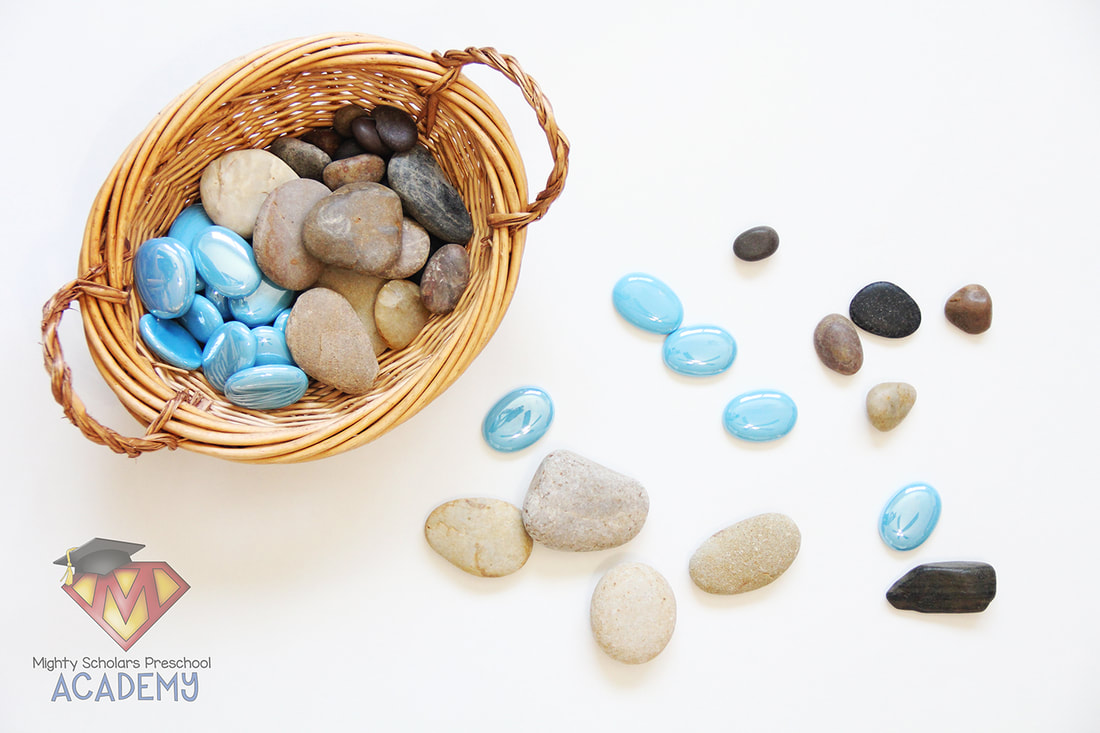
For this particular activity, I chose a wood tray with moss. Felt sheets or work trays work just as well. I offered quite a few different loose-parts to work with, set in weaved baskets. My loose-parts included: flat skipping rocks in various sizes, large flat irridecent glass gems, drift wood and wood slices, cholla wood pieces, natural sticks, wood discs and squares, thin wooden dowels and short pipcicle sticks. Get creative with the loose-parts you set out. Leaves (fresh or dried), pinecones, acorns, moss rocks and pine-needles are just a few more ideas for natural loose-parts.
Handling a millipede, is an incredible experience.
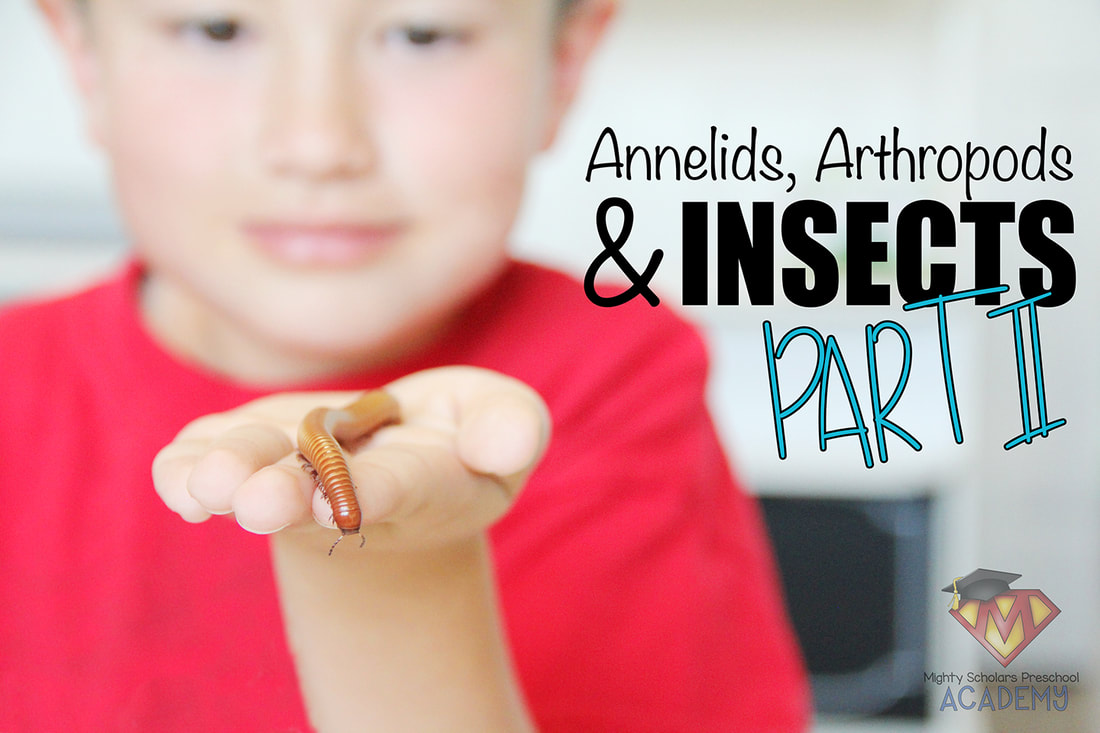
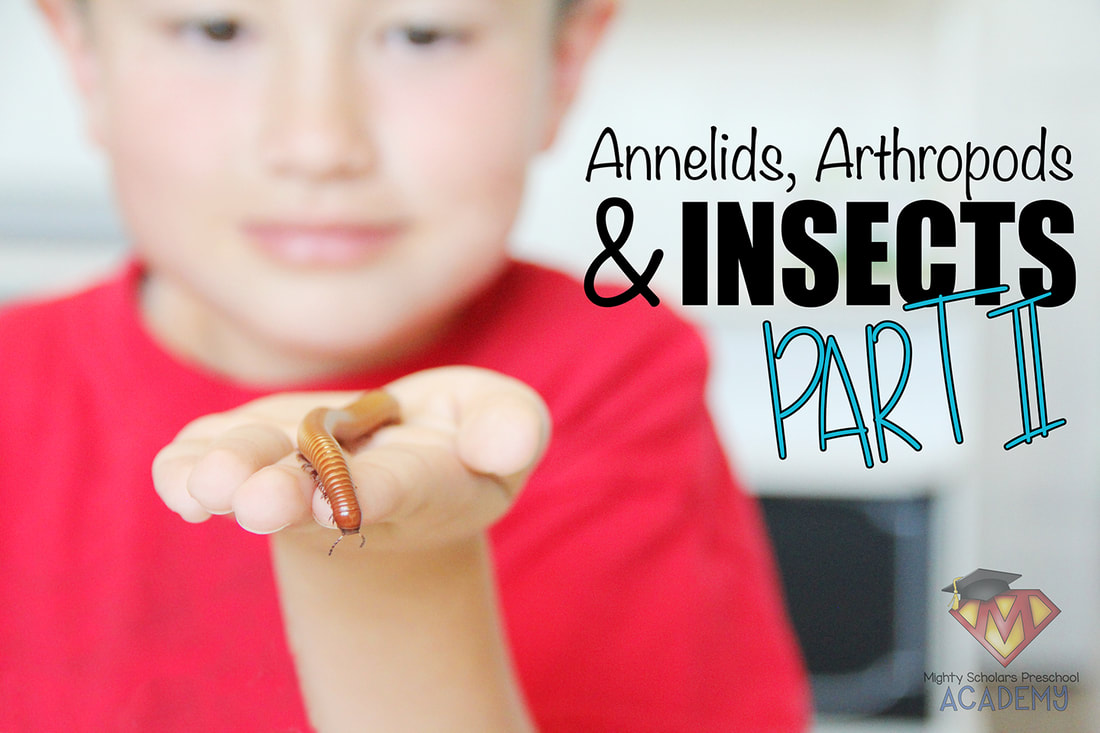
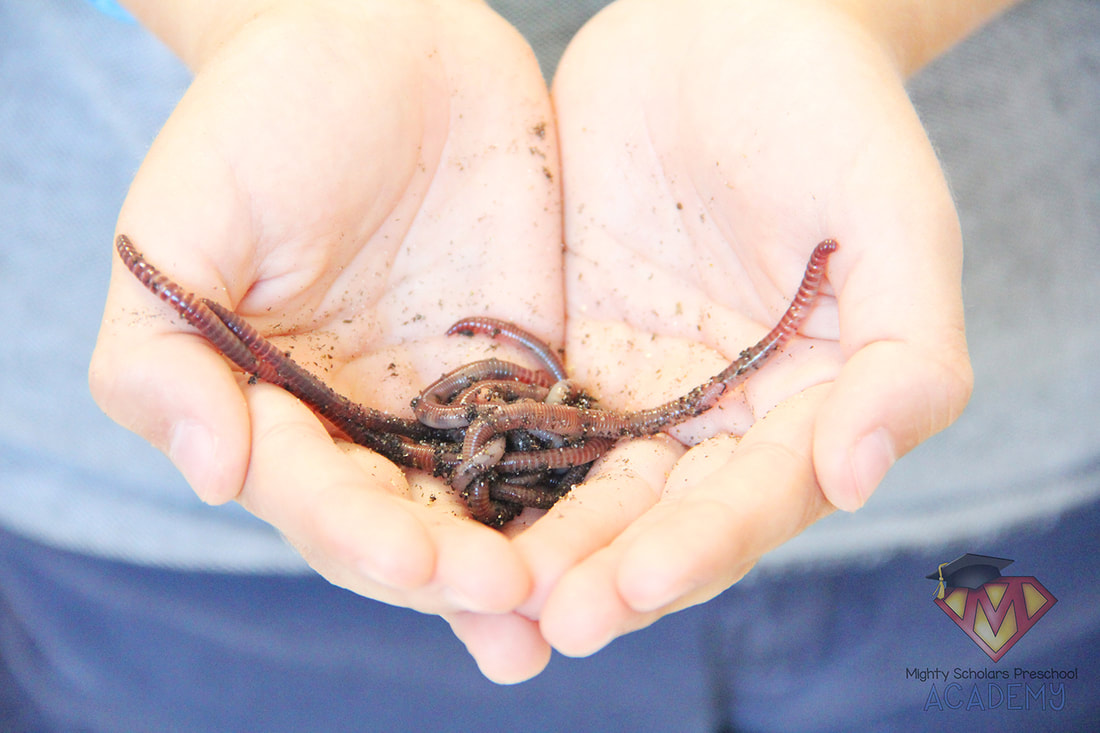
Just like earthworms, millipedes provide an incredible sensory experience. The wave from their leg movement is unique. My scholars have the opportunity to hold or touch a millipede, observing it closely. I have my students follow the same steps with holding millipedes, as I do with earthworms. While working in a small group, my scholars sit criss-cross on the floor, or sit in chairs at our group table and hold their hands in a cupped shape. If your students don't want to handle a millipede, they can touch it gently with one finger and observe it in your hand. Make sure that your students wash their hands afterwards.
While my scholars are handling and closely observing the millipede, I ask a series of questions:
Recording science observations is important for reflection.
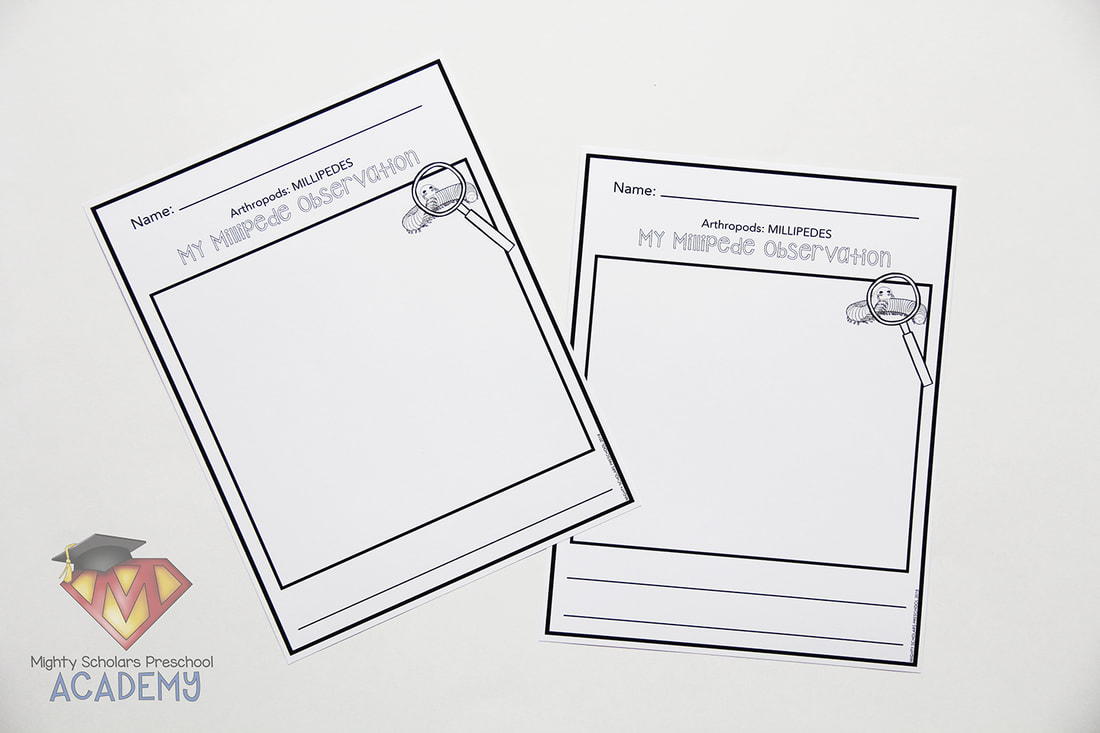
When my scholars have finished handling a millipede and washed their hands thoroughly, they record their close encounter on an observation page. Depending on their level, students may draw and write what they observed, or simply draw a picture. For students who aren't ready to write what they observed, I transcribe what they express about their experience and drawing.
There are only a few books and stories on millipedes, appropriate for preschool aged scholars.
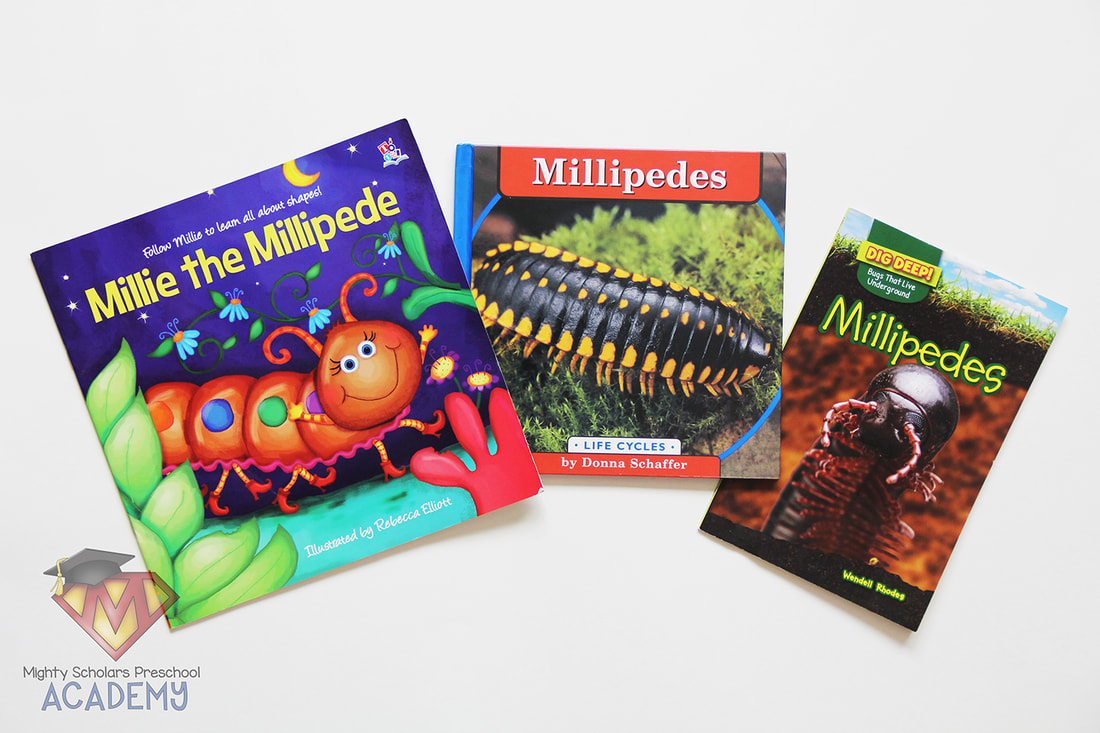
Unfortunately, there is slim pickings, when it comes to children's books on millipedes. There are three that I read and place in my literacy center during our millipede portion of the unit: 'Millipedes (Dig Deep! Bugs That Live Under Ground)' by Wendell Rhodes, 'Millipedes (Life Cycles)' by Donna Schaffer and 'Millie the Millipede' by Erin Ranson. If you know of any additional children's books on millipedes, Please send me an email. I'm always on the lookout for more.
Click below to be taken to the Arthropods: Millipedes Life Cycles Science Pack:
Please note, as a participant in the Amazon Services LLC Associates Program, I may earn a small commission on qualified recommended links.
The Amazon Services LLC Associates Program is an affiliate advertising program designed to provide a means for sites to earn advertising fees by advertising and linking to Amazon.com.
My Amazon Picks for this science unit are:
The light table can make close observation an incredible experience.
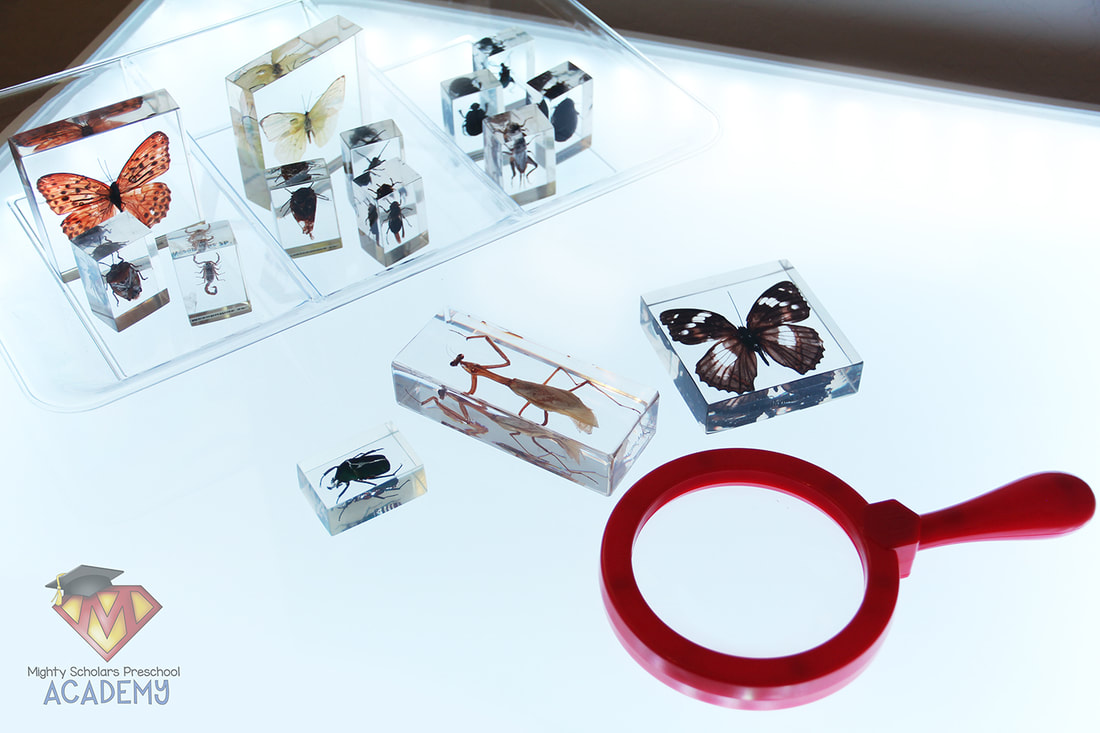
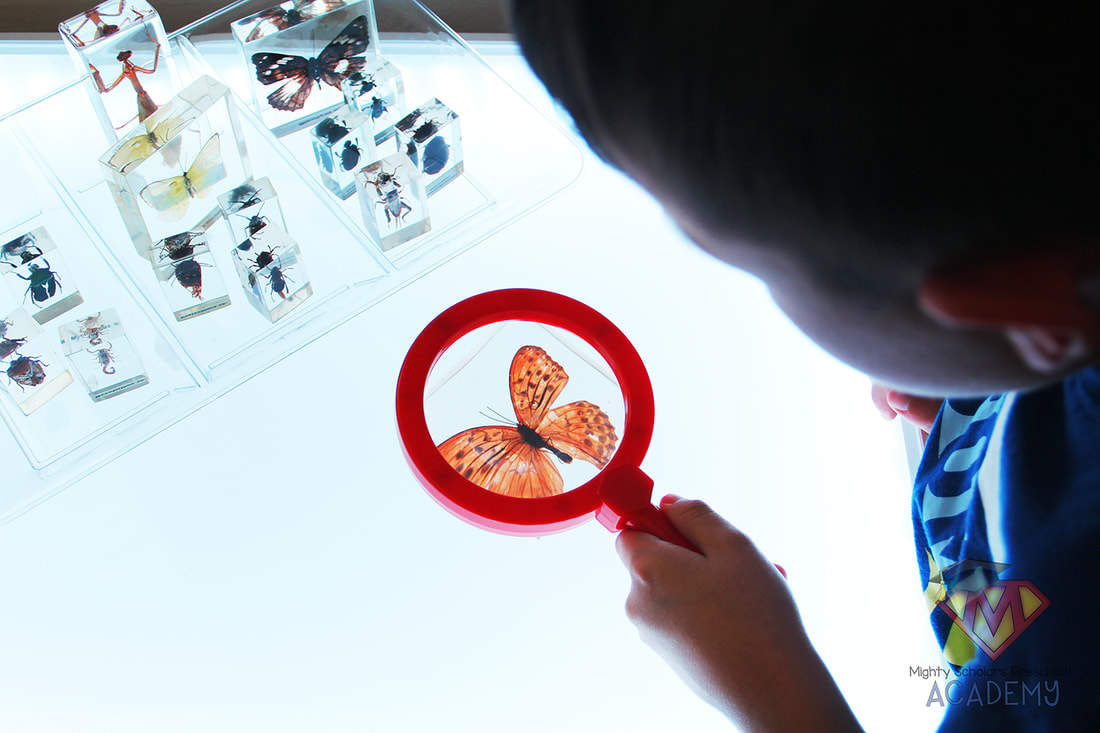
During our Spring Life Cycles Unit, I like to expose my scholars to real creatures, where I'm able. The light table can be a valuable tool with exploration by providing preserved specimens for very close observation. Some of my favorite specimens are those I've preserved from my own collection and purchased separately online.
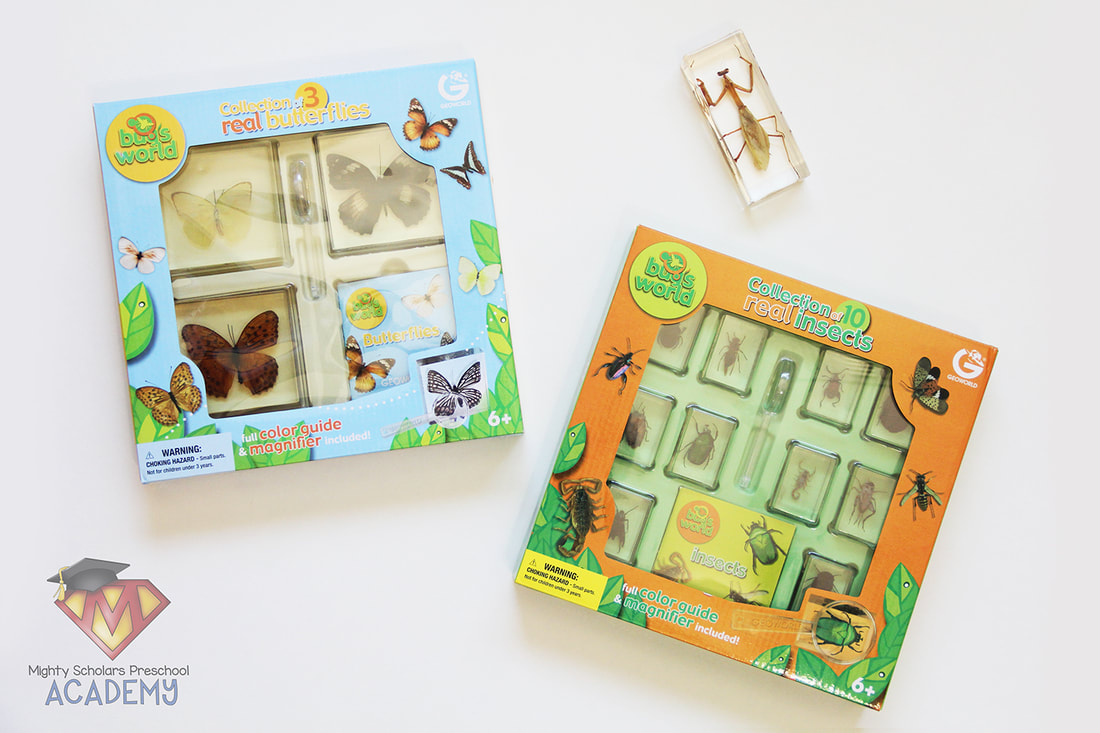
Educational specimens come in a wide range for cost and quality.
As a teacher on a budget, I have opted for the cheaper basic collections in the past. Many of those collections have lasted several years, but are limited in species. I've slowly added individual specimen pieces to my classroom collections, with species from the categories I cover thoroughly in my science units. Something I have learned over time is that the most expensive will scratch just as easily as the cheaper specimens. It's important to model how you want the specimens treated, several times during the time period they're out for light table use.
Be adventurous in making your own.
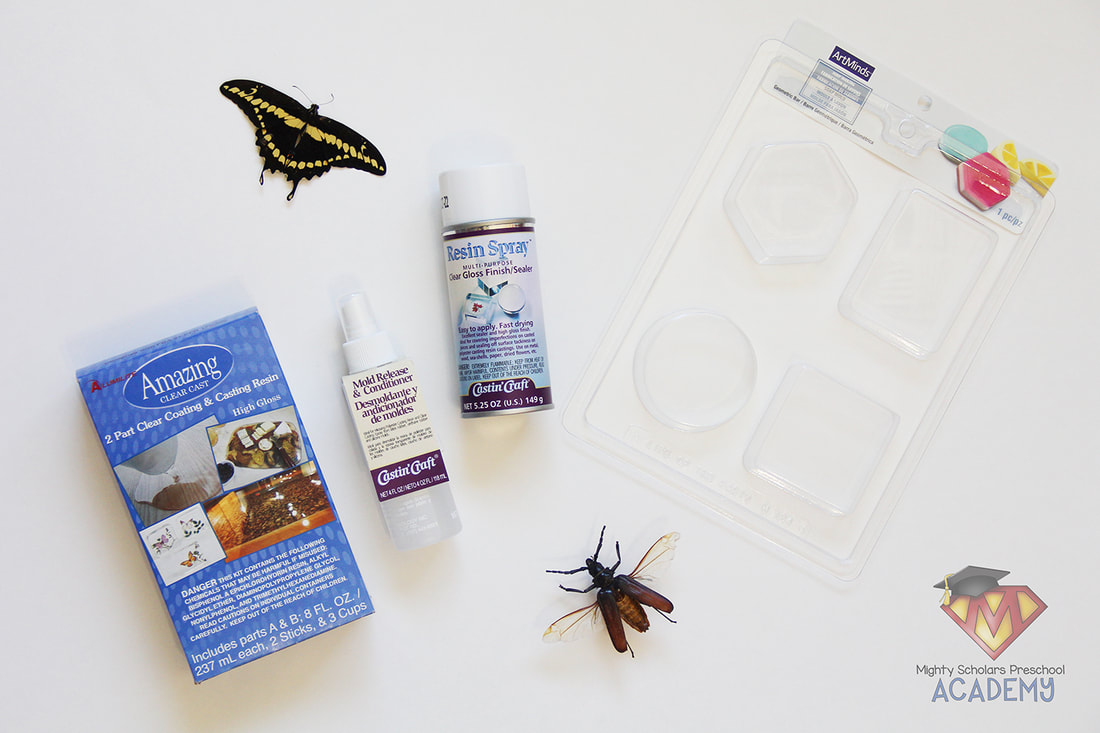
I've enjoyed the challenge in making my own acrylic resin encased specimens. There are several online sites for unmounted, deceased bugs, that work perfectly for classroom specimens. However, they can become costly with purchase minimums and shipping costs. I have an extensive entomology collection for teaching that I choose specimens from and students have also donated deceased specimens that they've found.
You'll need to rehydrate deceased specimens carefully, pin them the way you'd like them to dry and make sure they are dried very thoroughly before encasing in acrylic resin. I allow my specimens to dry for a minimum of a month, before encasing them. It's important to make yourself informed on the various processes of encasing specimens on acrylic resin, before starting. There are plenty of videos available online. As a word of advice, any specimen you work with should be sprayed with a few coats of resin spray before encasing. Once the resin spray has thoroughly cured, much of the visual qualities and characteristics of the specimens will remain intact during encasing. Even with spraying though, there are several species that have characteristics that change when wet and these usually become permanent. The changes are most prominent with wings or iridescence. It's suggested that you practice with some small pieces first, to get the hang of the process before moving onto your cherished specimens.
Please note, as a participant in the Amazon Services LLC Associates Program, I may earn a small commission on qualified recommended links.
The Amazon Services LLC Associates Program is an affiliate advertising program designed to provide a means for sites to earn advertising fees by advertising and linking to Amazon.com.
My Amazon Picks for Arthropods and Insects on the Light Table are:
Each Spring we have the exciting experience to learn about life cycles, with living creatures in our classroom.
Annelids, Arthropods and Insects, are the first hands-on adventure in our Spring life cycles unit. I like to start from deep in the ground and move my way up. For the first week of our unit, I introduce how to identify a bug from other creepy crawlies. From there we learn all about our annelid friends, the earthworms.
It's important to teach children the difference between insects and other creatures, such as arthropods.
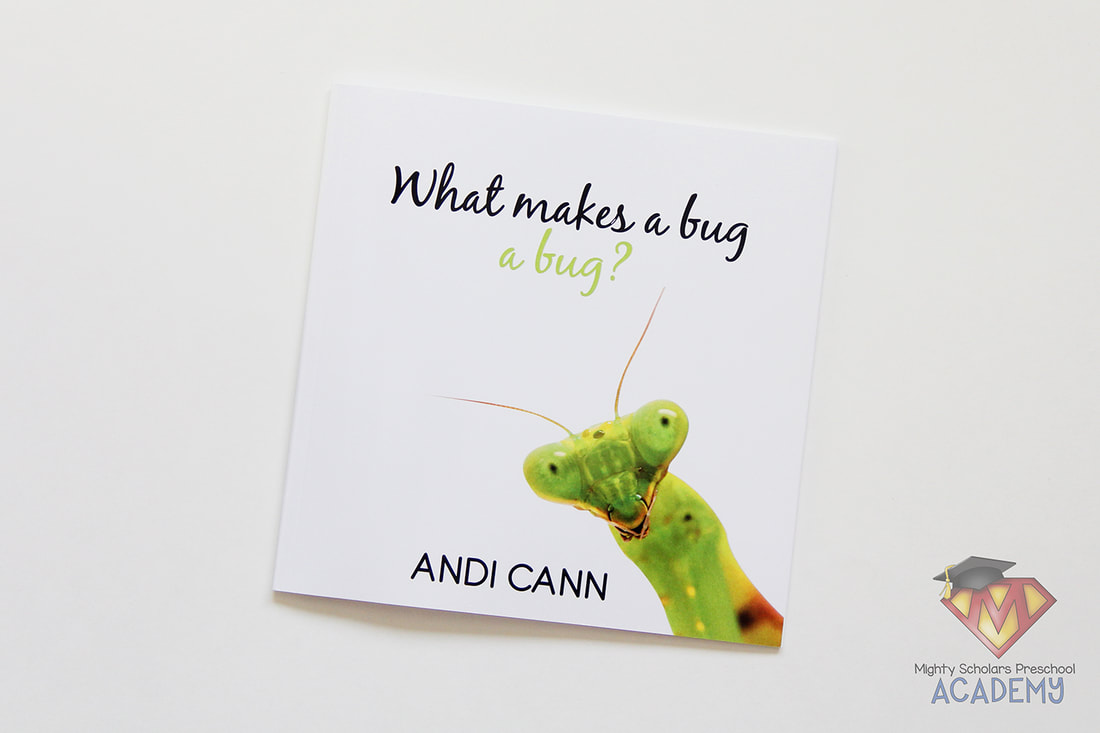
I like to introduce our unit by helping my scholars learn general insect identification. Throughout the unit they will be able to tell me whether or not something is an insect, by looking for three characteristics. The first is to count the legs. The creature needs six legs to fit the criteria of an insect. Second, an insect needs a body with three segments: head, thorax and abdomen. Lastly, an insect needs two anntennea. The best book I've found to follow a simplified 6, 3, 2, identification is 'What Makes a Bug a Bug?' by Andi Cann. The pictures are large and vibrant, helping children to grasp the concept.
Annelids are our first stop on our Spring life cycle adventure.
One of the best ways to learn about annelids is through a small classroom worm composter. Children today don't always have the opportunity to dig for and play with worms. Something that was a common sensory discovery experience when I was a child, has become a lost adventure. Bringing earthworms into the classroom, for observation and hands-on discovery is invaluable for children today.
A small classroom worm composter is easy to put together.
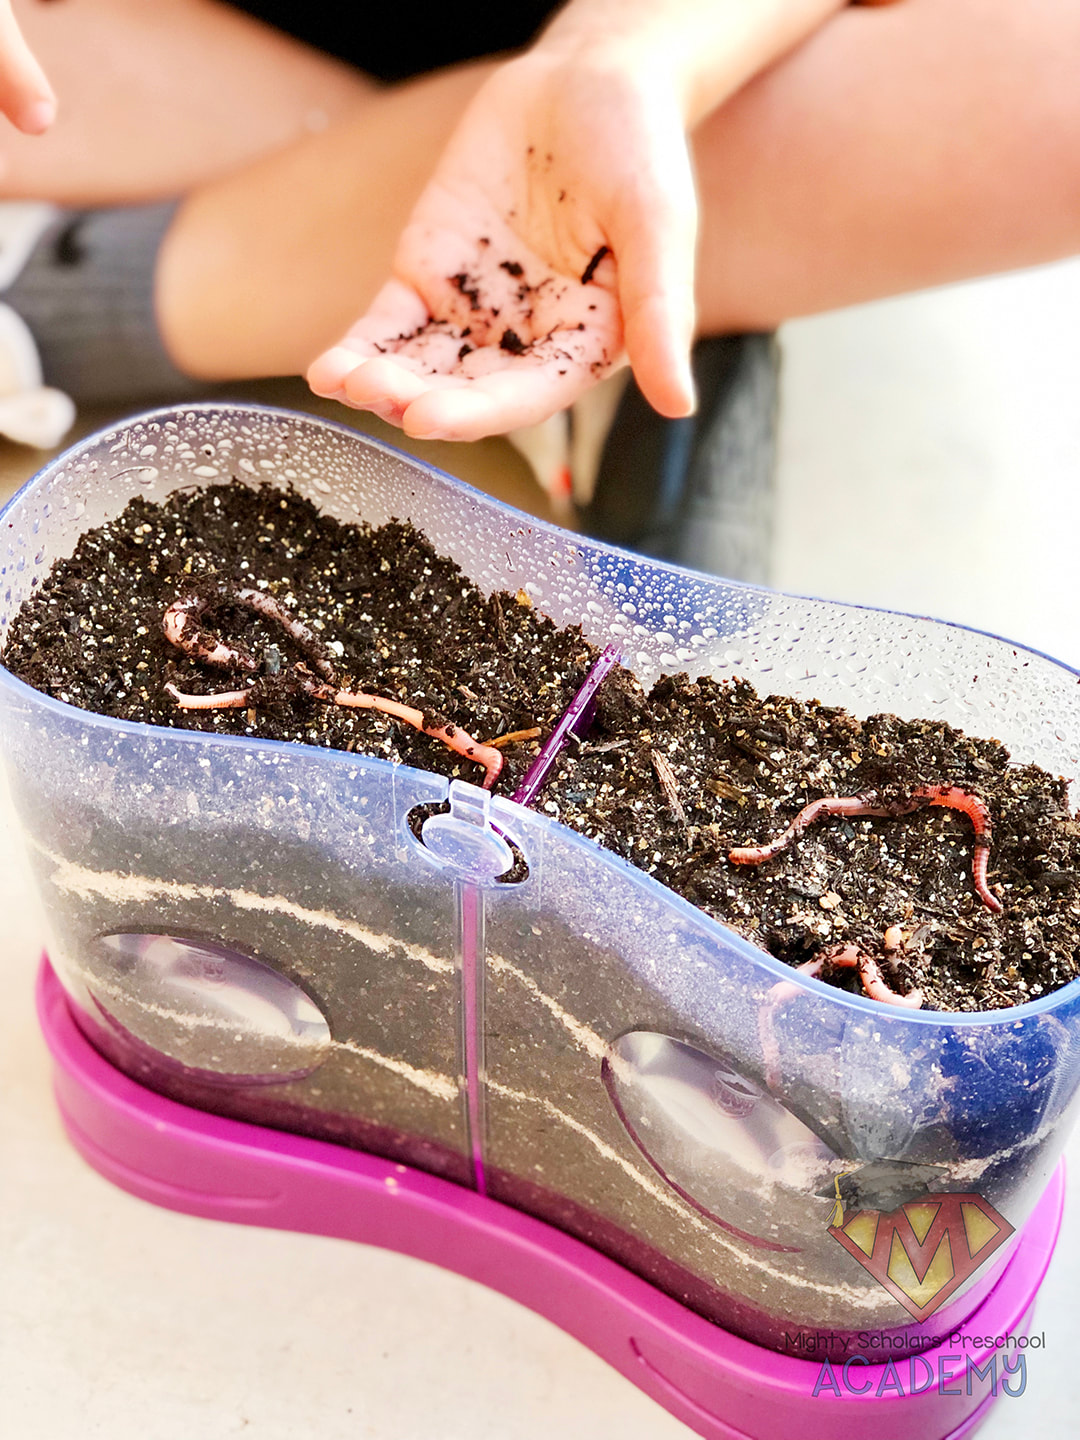
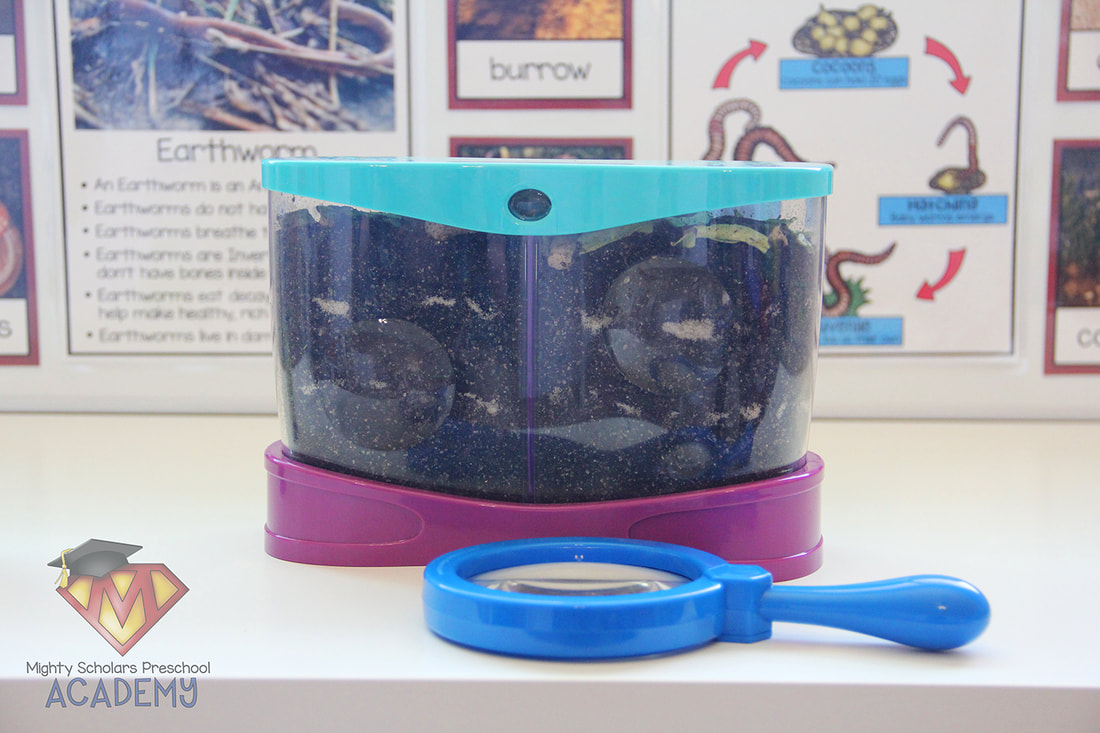
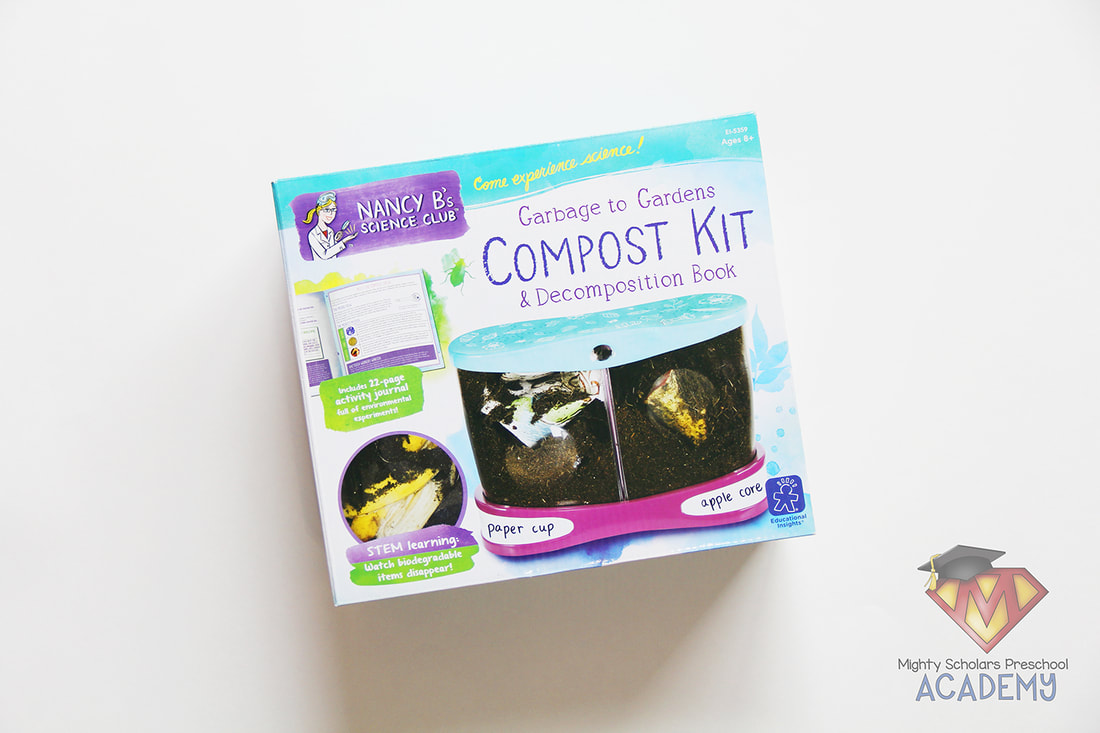
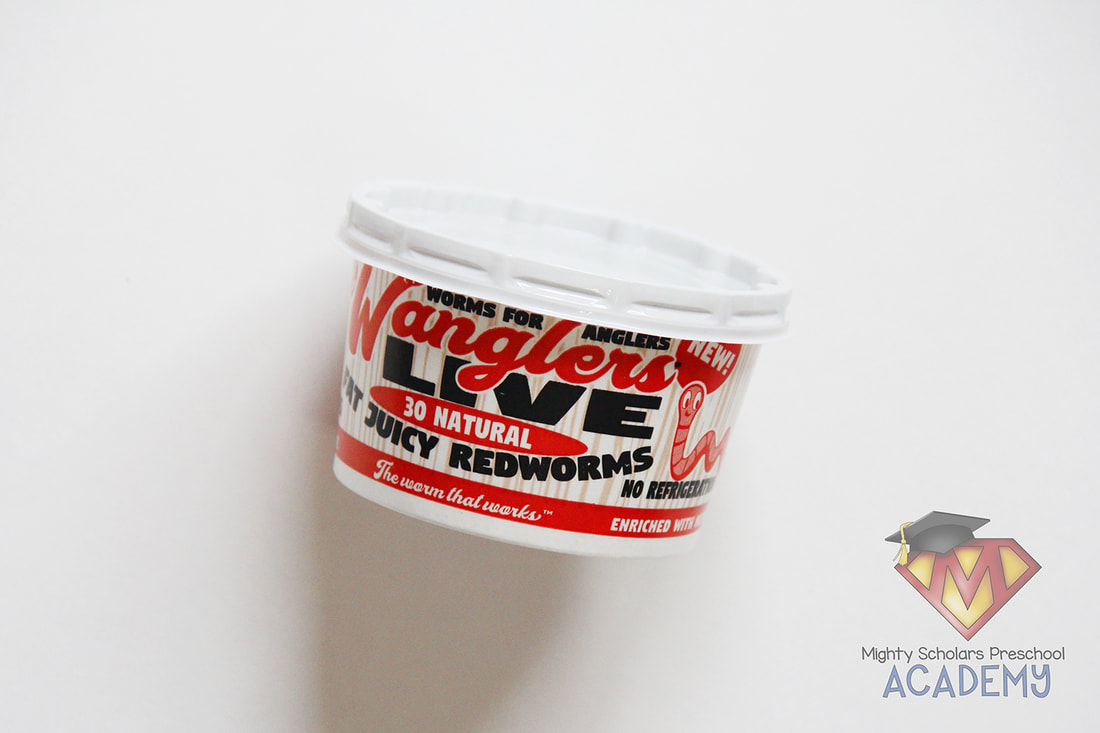
There are several ways to put together a container to house the worms. However, I use the Educational Insights compost kit with great success. It has airation holes in the lid and built-in magnifers. I use clean, organic soil from my garden, layered with fine sand. Layering soil and sand several times, helps your students to see the burrowing and mixing that earthworms do to benefit and enrich our soil. I leave an inch or more space from the top of the soil to the lid, to have my scholars add compostable food for the worms. Live bait redworms can be easily found in the sporting/fishing section of most Walmart stores. One container has more than thirty worms, which is plenty for your classroom worm composter.
To fill the container, first add a layer of pebbles for drainage. Then the layering of MOIST soil and fine sand can be added to the container. Once the substrate has been added, spray the top layer with a waterbottle. Don't soak the soil. Instead, add enough moisture to provide a good environment for the worms to thrive in your care. Add your worms and place a few compostable food scraps, buried just below the top layer of soil. A word of caution: if you don't cover the scraps with at least a thin layer of soil, they may stink up your classroom. Your worm composter shouldn't be loaded with scraps either. Add just enough for the worms to munch on and decompose. If you choose to assemble it together with your students, you can provide them with the opportunity to help add the contents and worms.
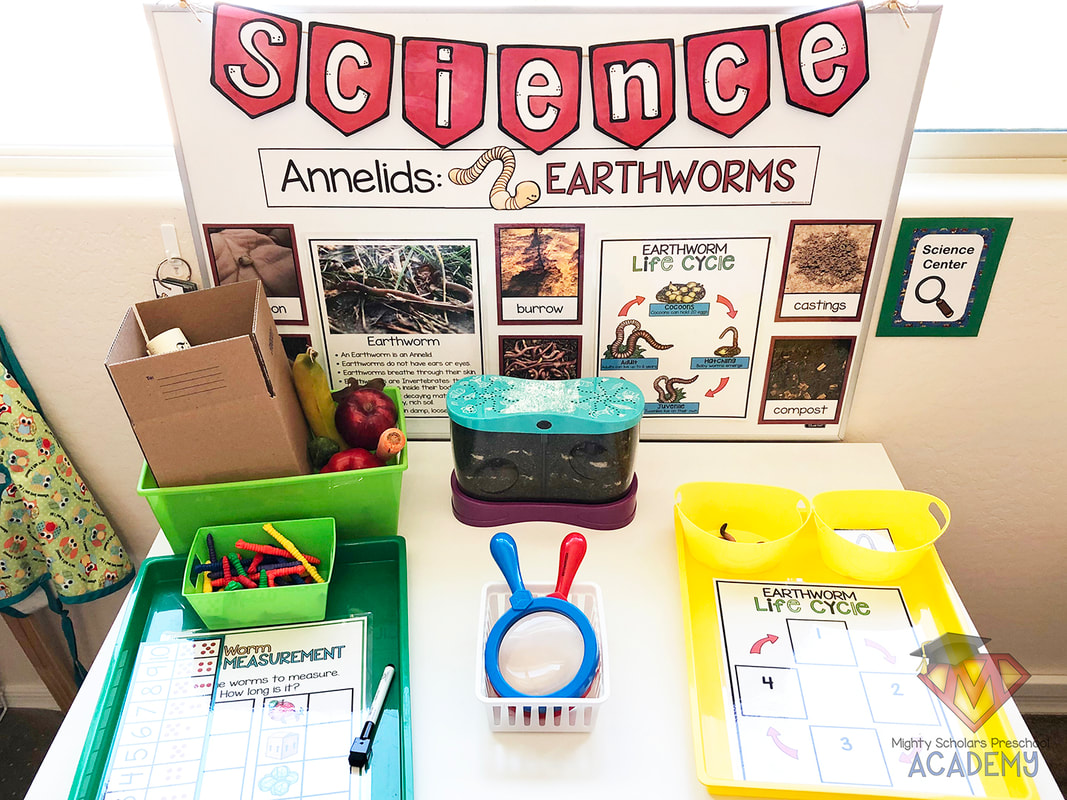
The Science Center is set up with hands-on activities on the life cycle and real compost materials worms eat.
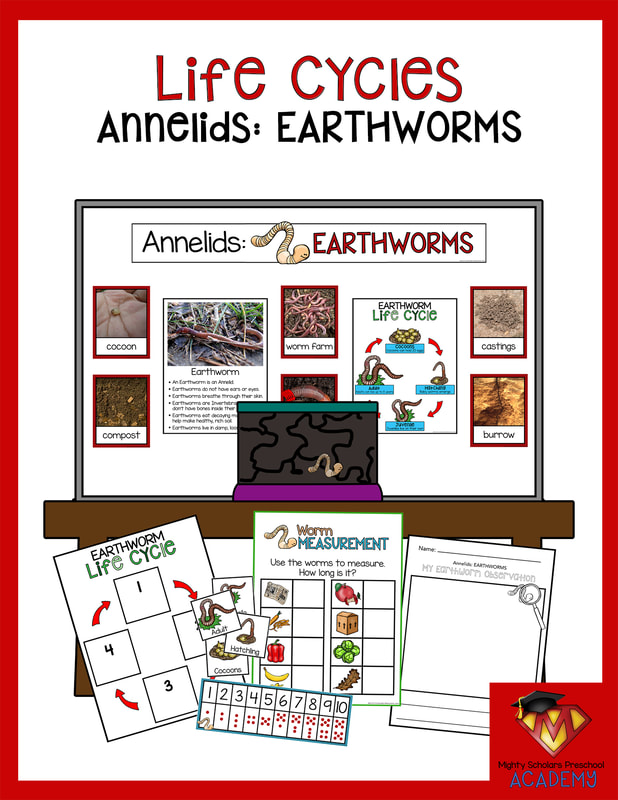
Real photographs accompany vocabulary words and a facts mini poster. The vocabulary cards make discussion of the worms habitat, life cycle and earth benefits easier for my scholars to visually understand the world of annelids. The life cycle mini poster goes hand-in-hand with the life cycle center activity.
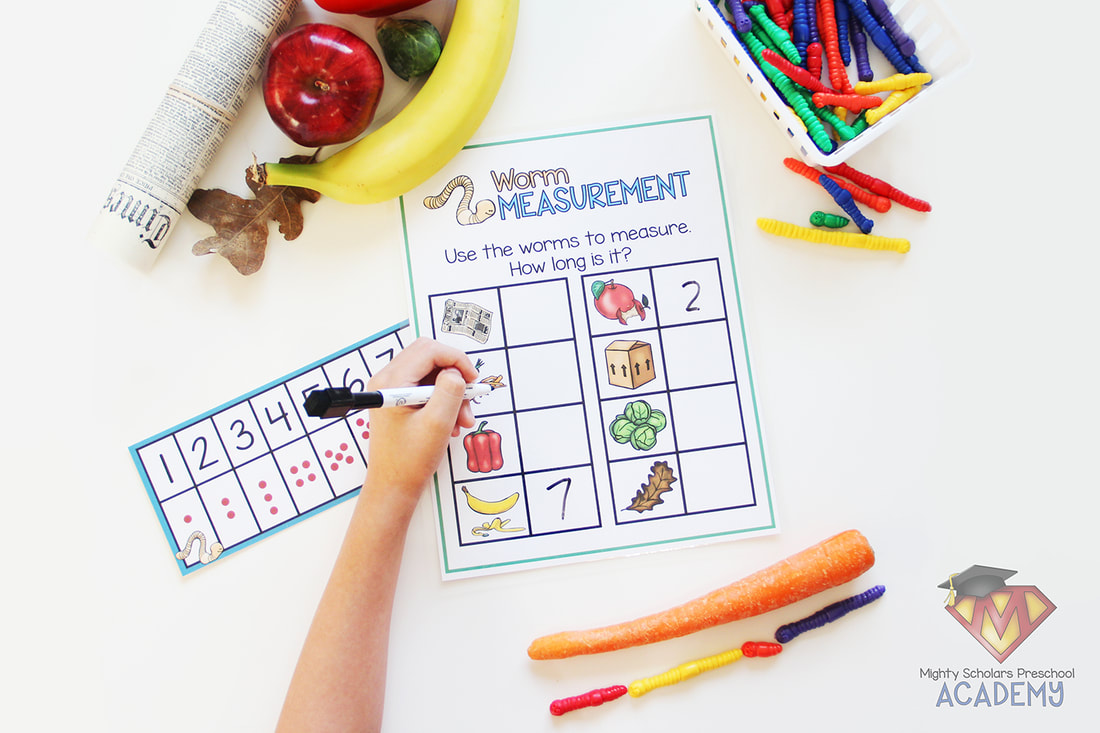
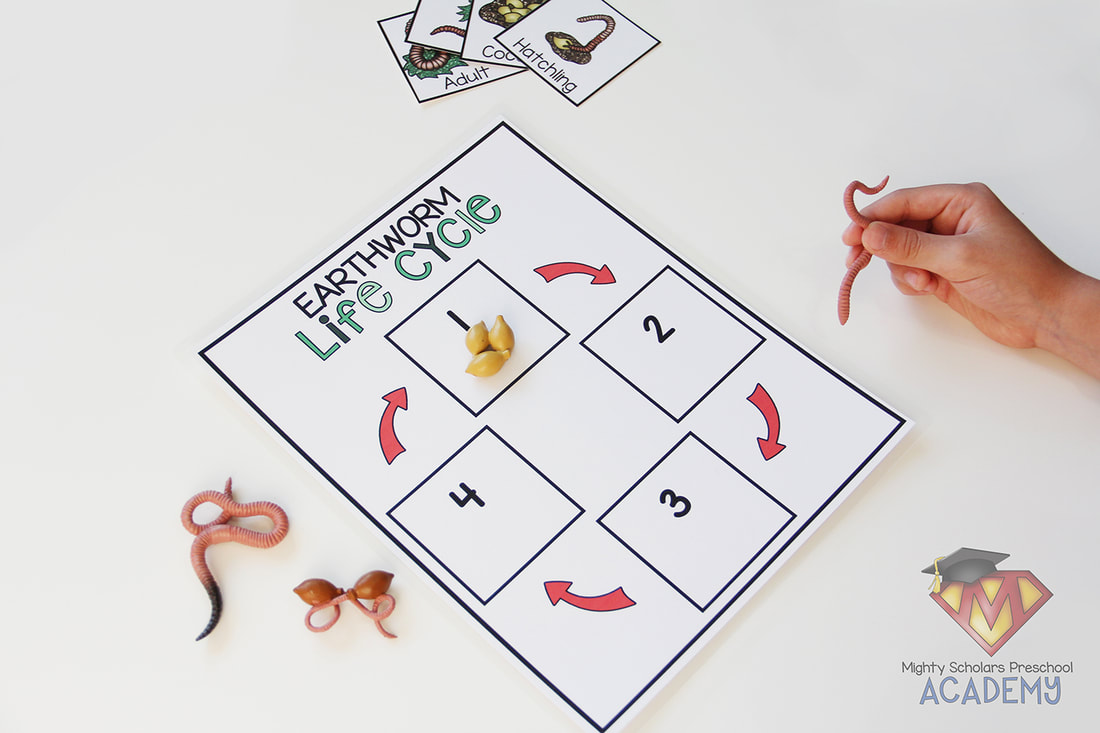
The center is set up with two hands-on activties. First, a life cycle mat is set out with life cycle figures. My scholars can complete the life cycle with either the figures or cards with the same images on the life cycle mini poster. The second activity involves real compostable items listed on the activity page and measuring worms. My scholars have the opportunity to handle, closely observe and use non-standard measurement tools to count a length for each item. I provide dry-erase markers for use on the laminated activity mat. The mat can also be added to a dry-erase pocket, as an alternative to laminating. A worm number line is set out to assist in writing the numbers. All of the vocabulary cards, mini posters and activities are included in my Annelids: Earthworms Science Pack.
Holding and analyzing an earthworm is a very memorable sensory experience.
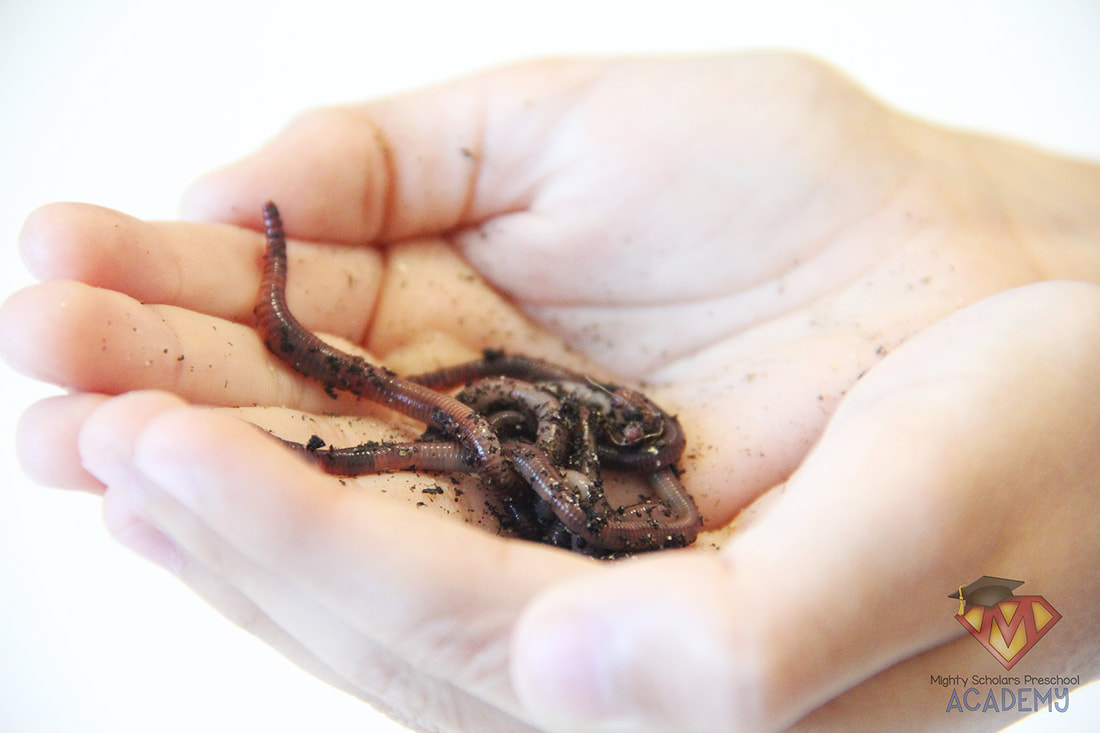
I like to give my scholars the experience of handling and observing a worm closely. If you have a large class, its better to work in a small group for this part of the unit. When handling the worms, my scholars sit criss-cross on the floor, or sit in chairs at our group table and hold their hands in a cupped shape. If your students don't want to handle a worm, they can touch it gently with one finger and observe it in your hand. Make sure that your students wash their hands afterwards.
While my scholars are handling and closely observing the worms, I ask a series of questions:
Documenting what they see will add in another important element to the science unit.
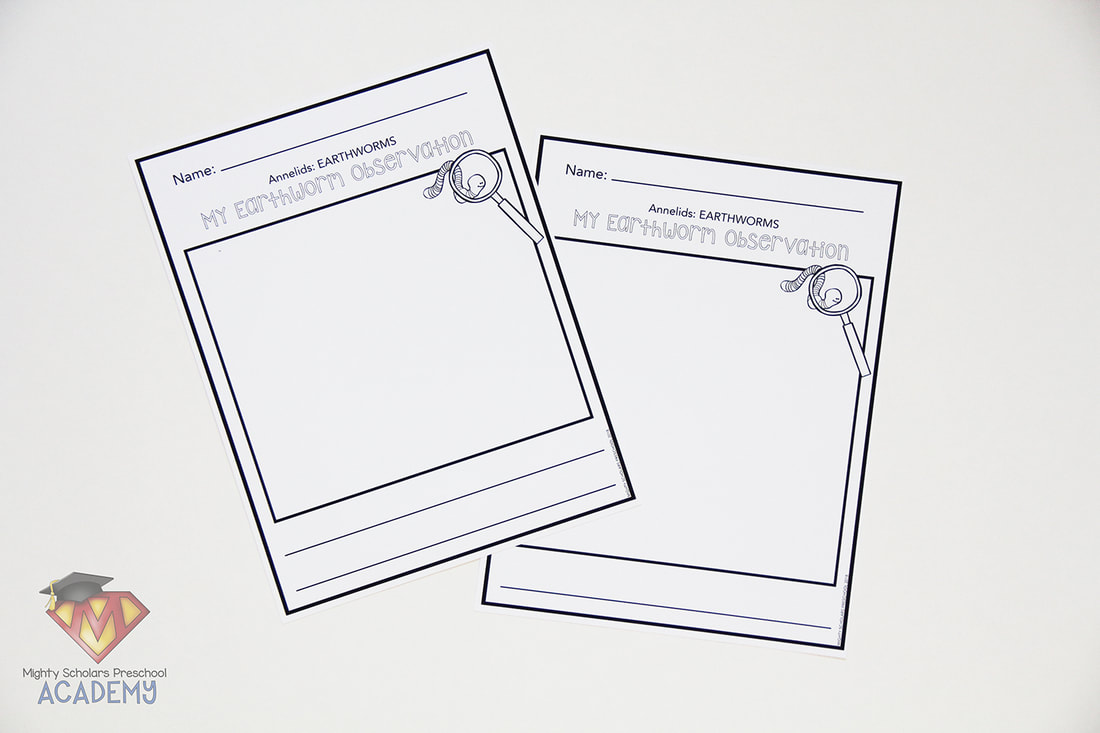
After my scholars have the opportunity to handle and observe a worm, they document what they saw on an observation page. Depending on their level, students may draw and write what they observed, or simply draw a picture. For students who aren't ready to write what they observed, I transcribe what they express about their experience and drawing.
It's important to teach how earthworms help our environment, enrich our soil and the worm composting process.
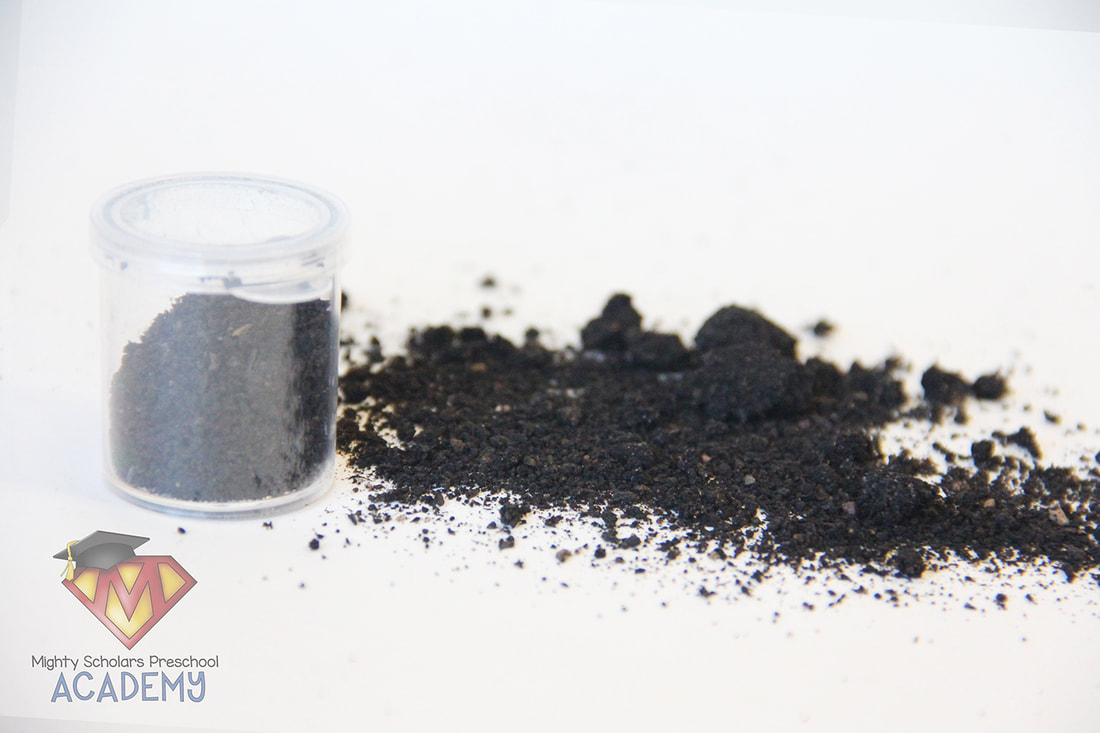
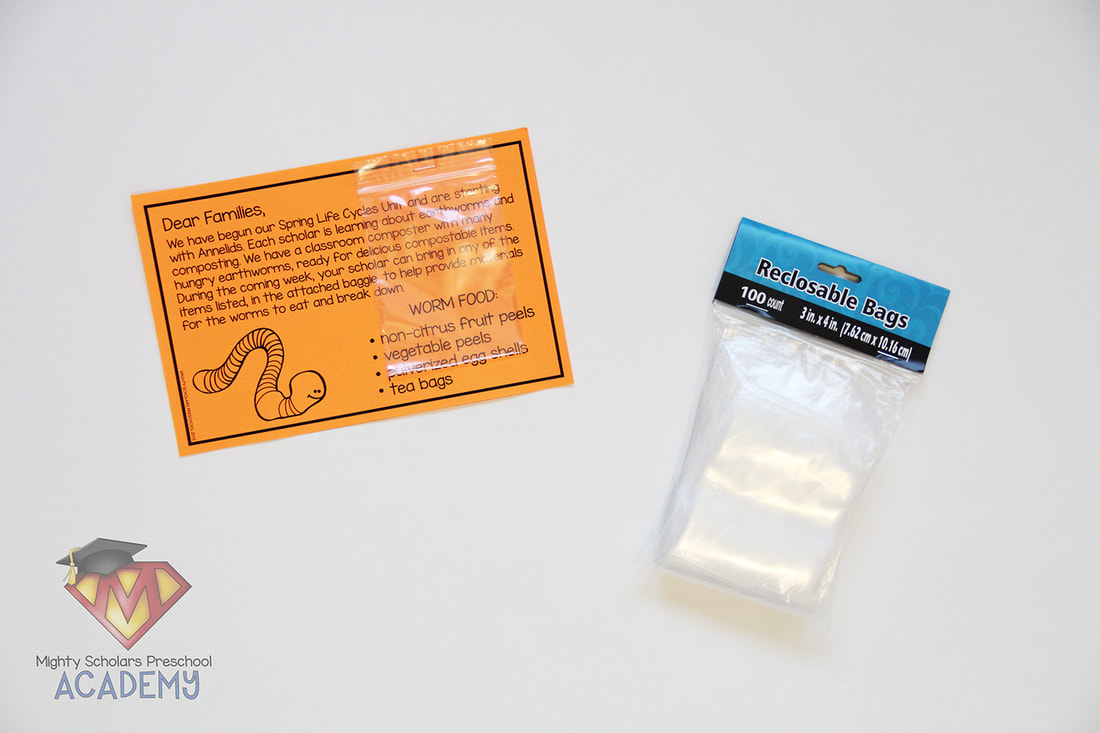
As part of the Annelids and the Arthropods sections of our unit, I help my scholars understand the importance of the Macroorganisms that help break down waste and decaying matter to form rich soil. I use "black gold" (worm castings) in my own garden and explain why, as well as show my scholars worm castings up close. Its important to help students understand that worms don't eat everything that is compostable, but those items will still break down and turn into compost on their own, in time. My scholars are given a parent note with a small baggie, to bring in compostable materials to add to the worm compost container. As we continue through the unit, we return back to the annelids portion, to review worms and check in on the changes of the compostable items that my scholars added to the container.
There are several wonderful books on Annelids.
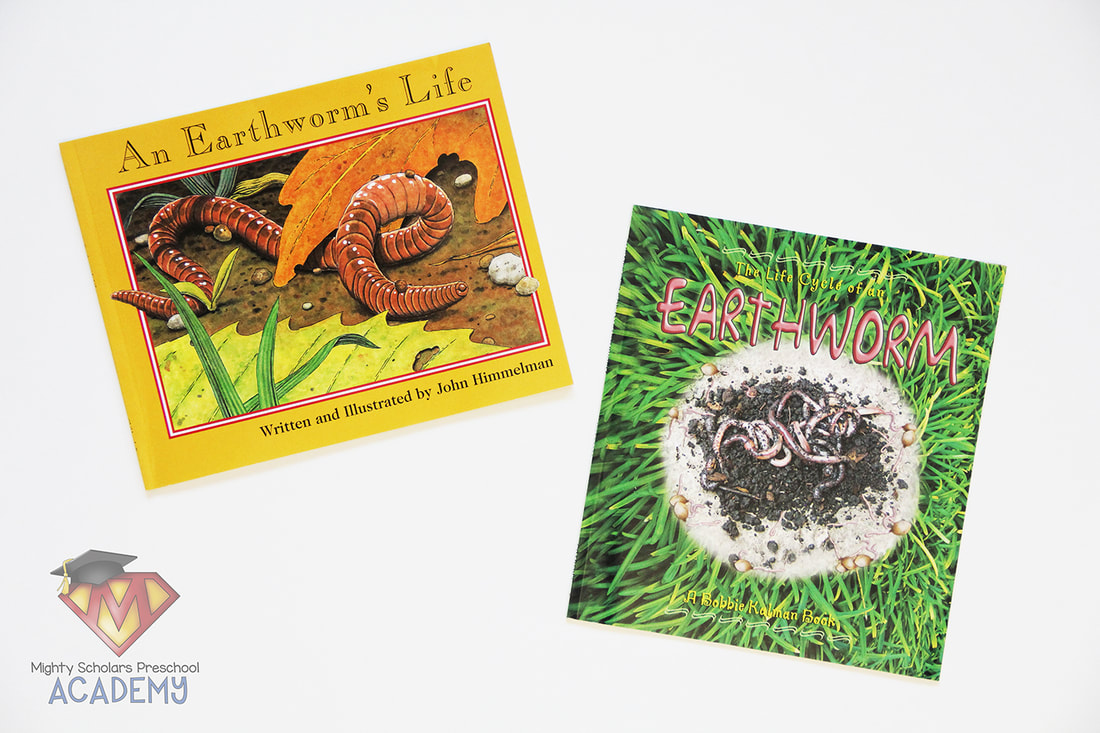
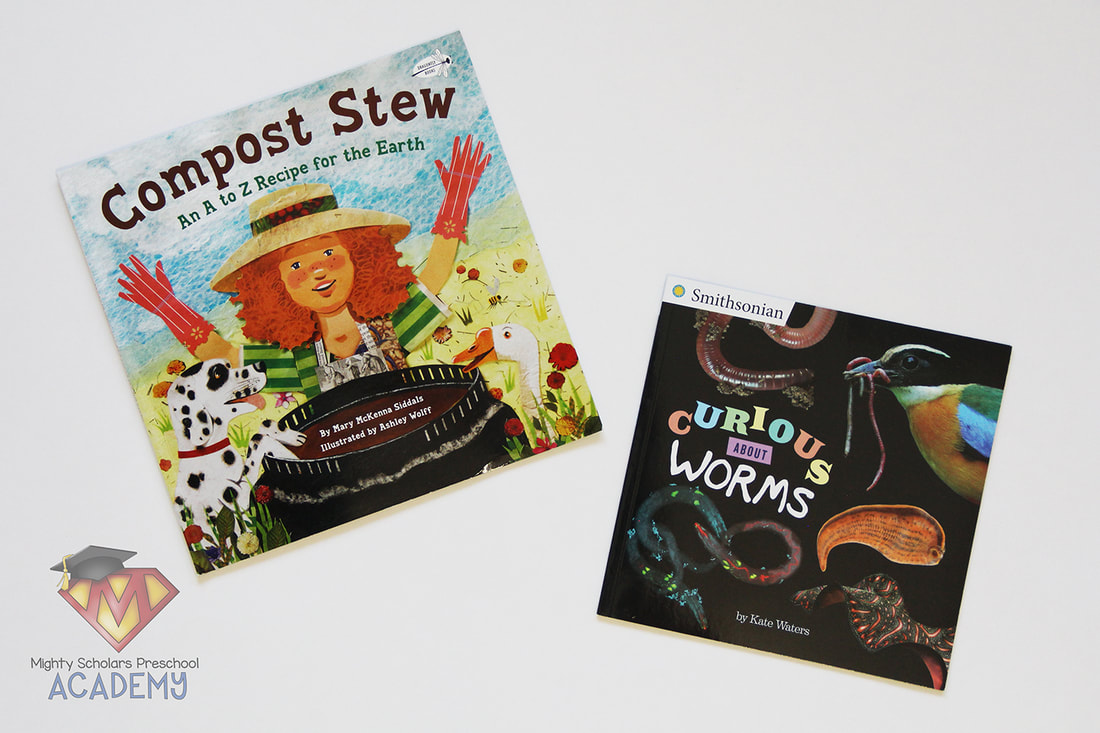
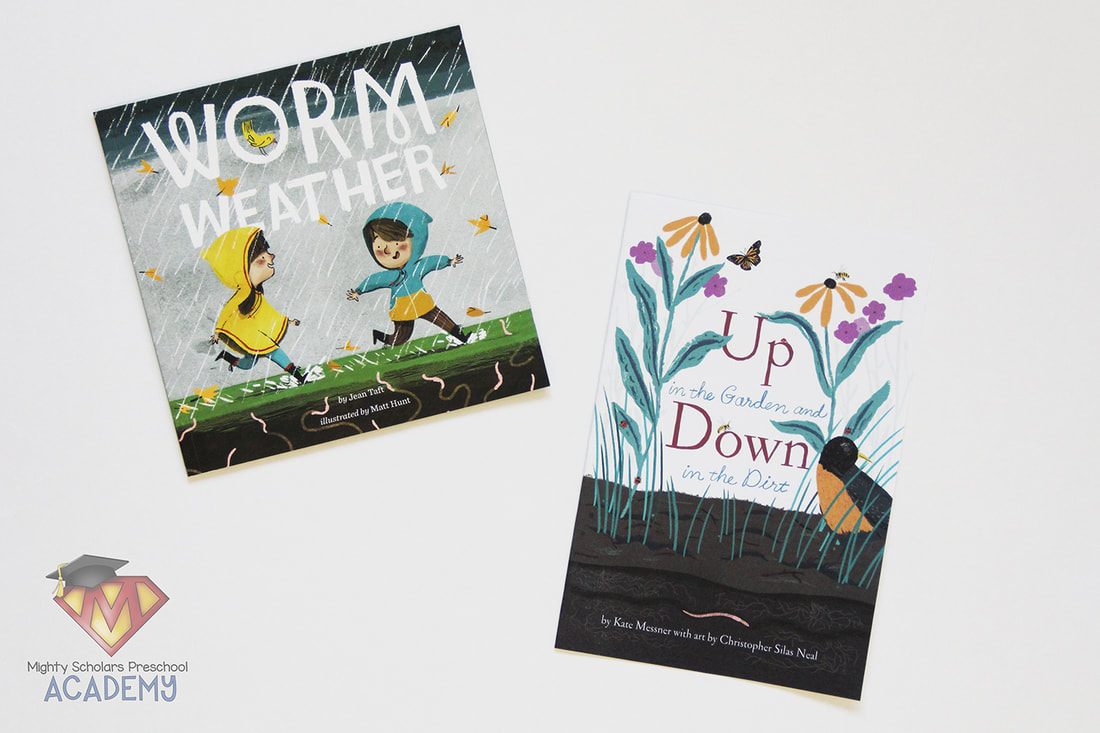
Some of my favorite books to use during the annelids portion of our Spring Life Cycles Unit are: 'An Earthworm's Life' by John Himmelman, 'The Life Cycle of an Earthworm' by Bobbie Kalman, 'Curious About Worms' by Kate Waters, 'Compost Stew: An A to Z Recipe for the Earth' by Mary McKenna Siddals, 'Up in the Garden and Down in the Dirt' by Kate Messner, and 'Worm Weather' by Jean Taft.
Click the image below to be taken to the Annelids: Earthworms Science Pack:
Please note, as a participant in the Amazon Services LLC Associates Program, I may earn a small commission on qualified recommended links.
The Amazon Services LLC Associates Program is an affiliate advertising program designed to provide a means for sites to earn advertising fees by advertising and linking to Amazon.com.
My Amazon Picks for this science unit are:
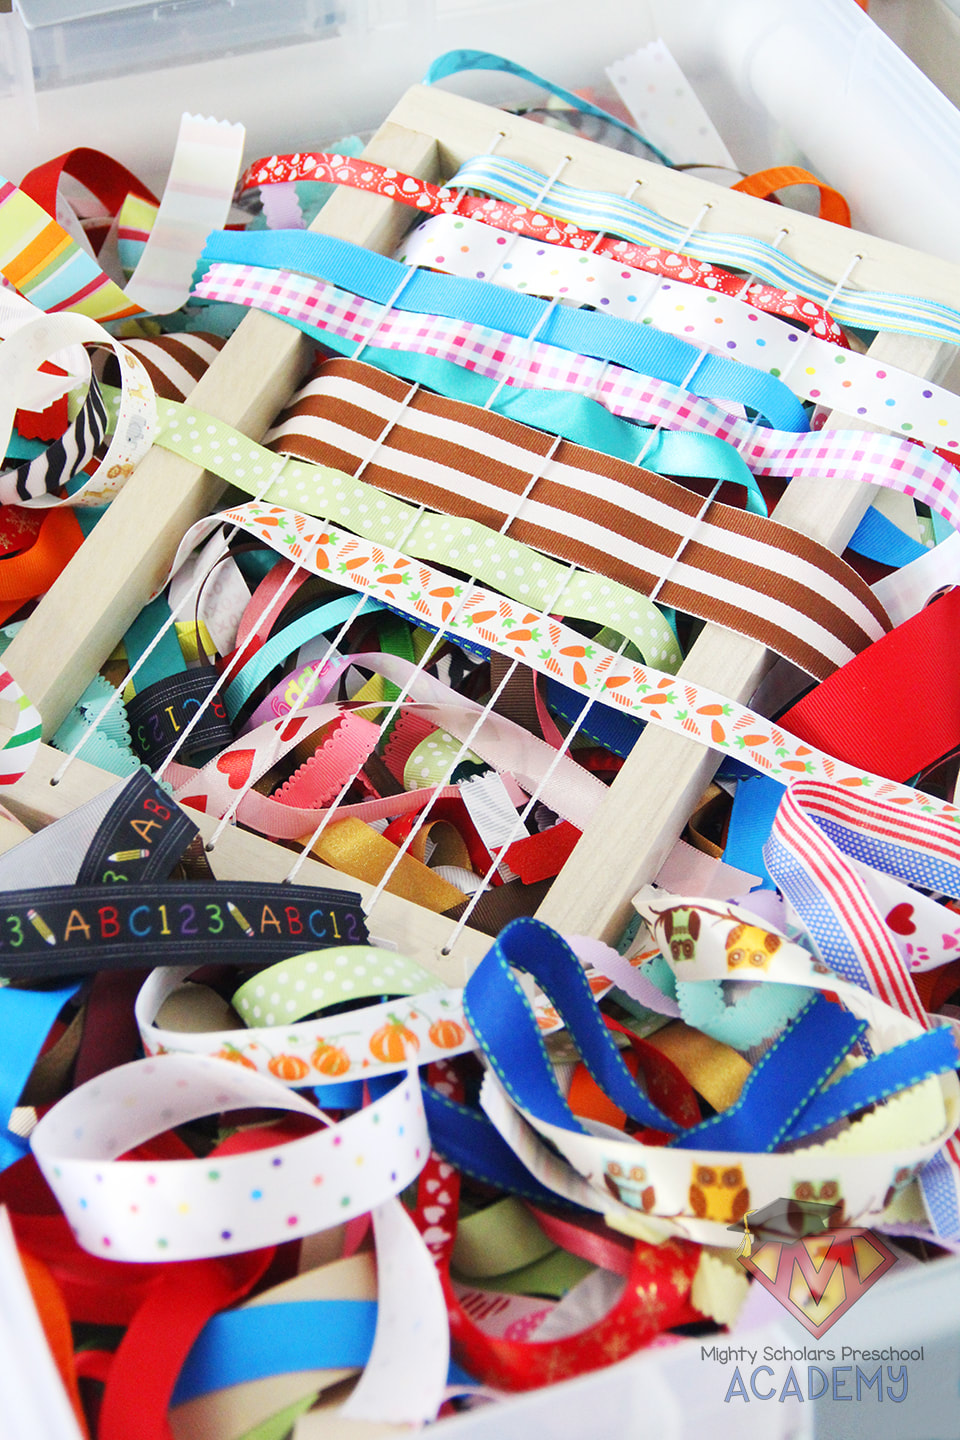
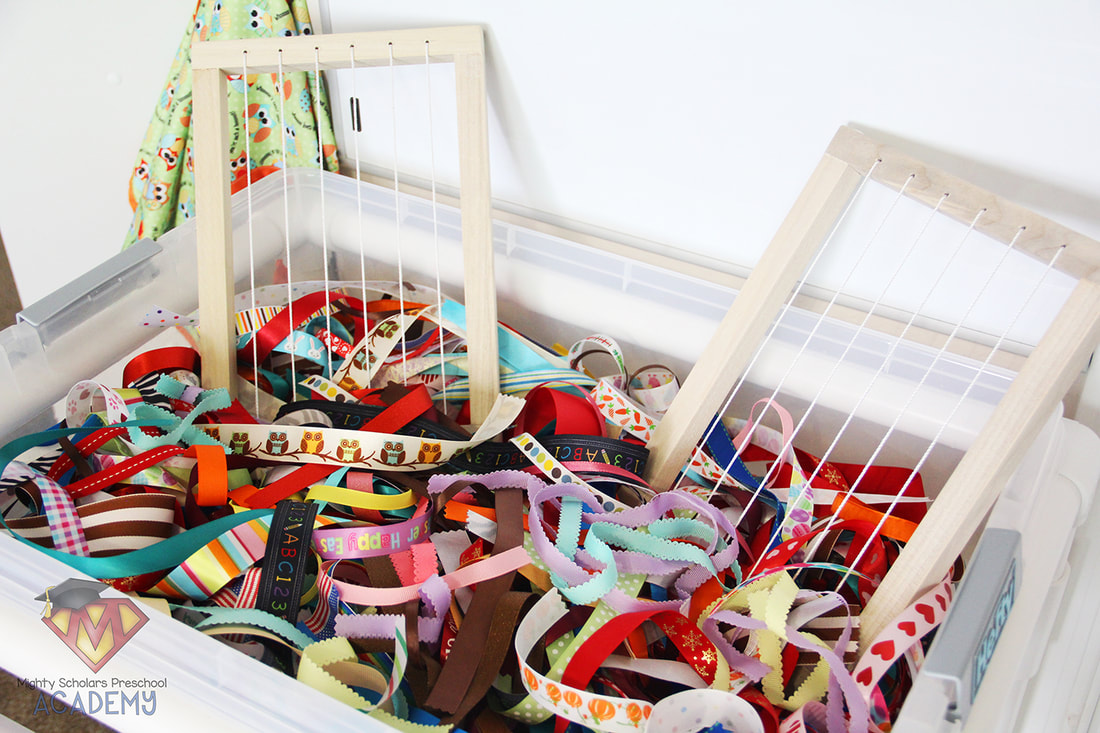
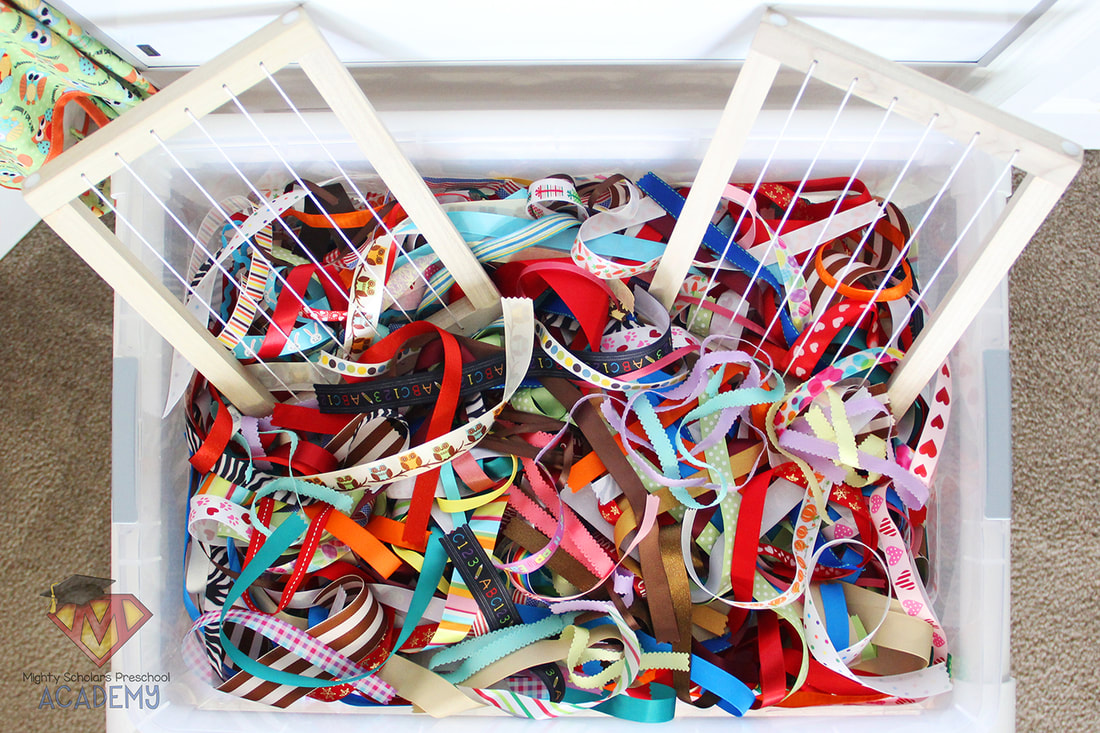
Ribbons of various colors and patterns weave beautiful designs on looms.
Ribbon comes in a variety of textures, colors and patterns. It provides a unique sensory experience through touch, sight and sound. With natural wooden looms, the experience also adds a practice review of an important fine-motor skill that also aides in visual tracking, eye-hand coordination, crossing the midline, math and spacial concepts. My scholars were taught loom weaving, earlier in the school year.
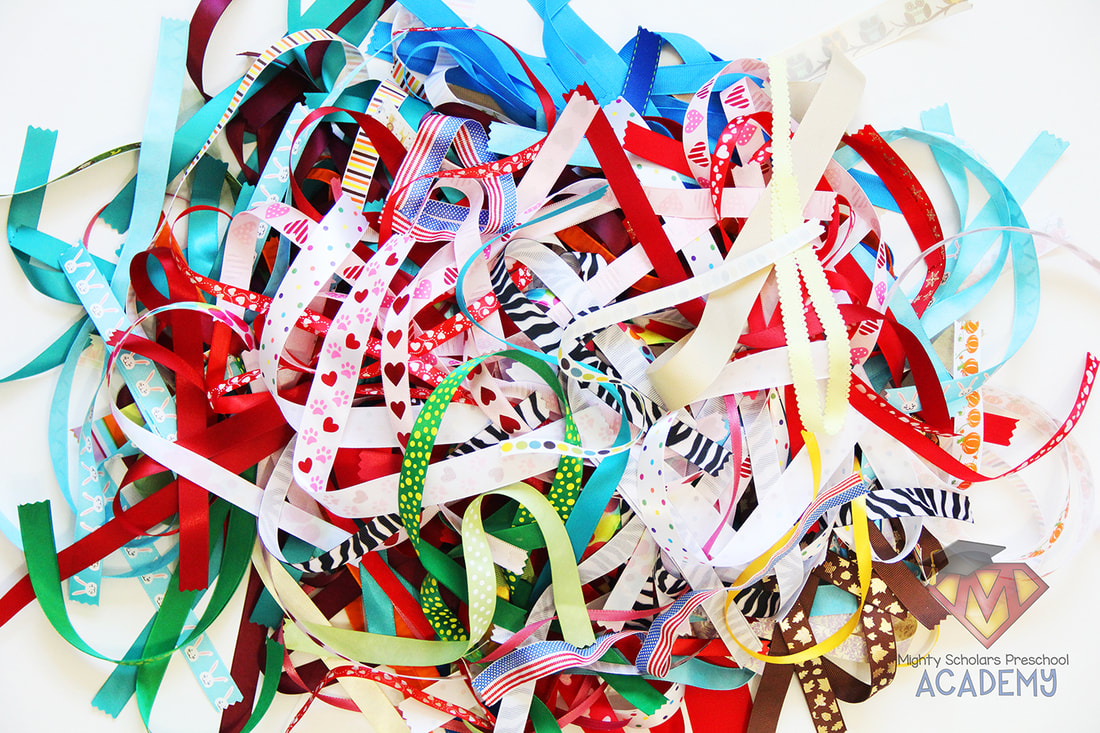
Collecting ribbons from themes and holidays can make a enjoyable variety.
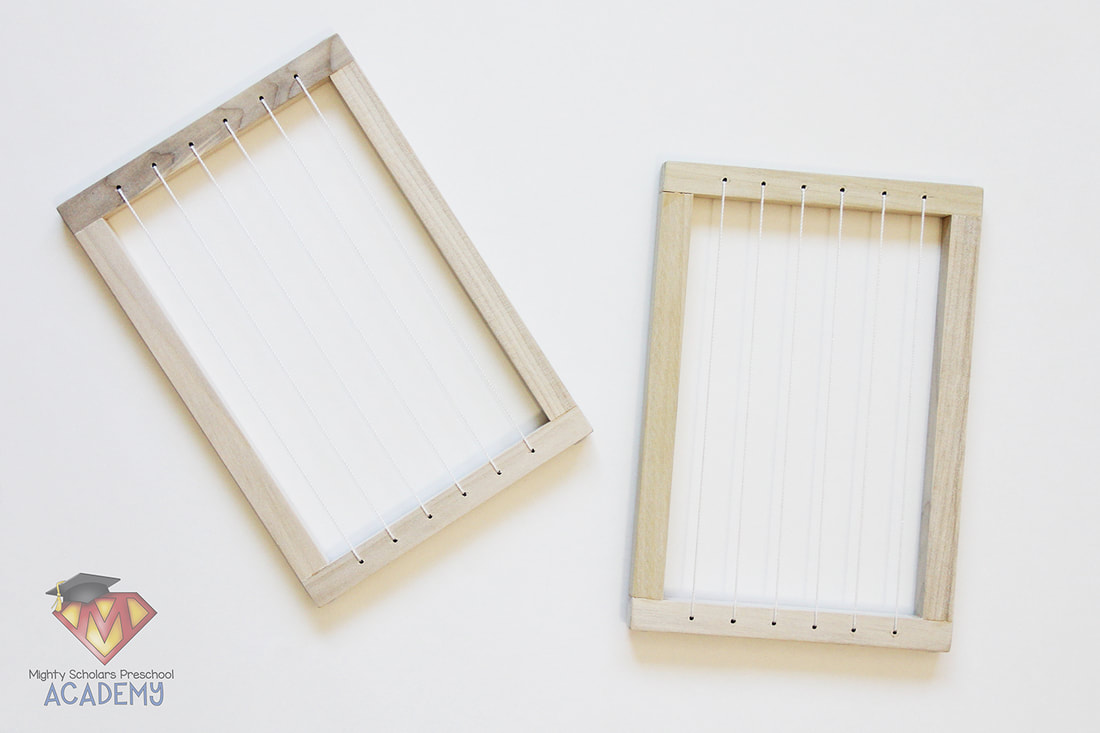
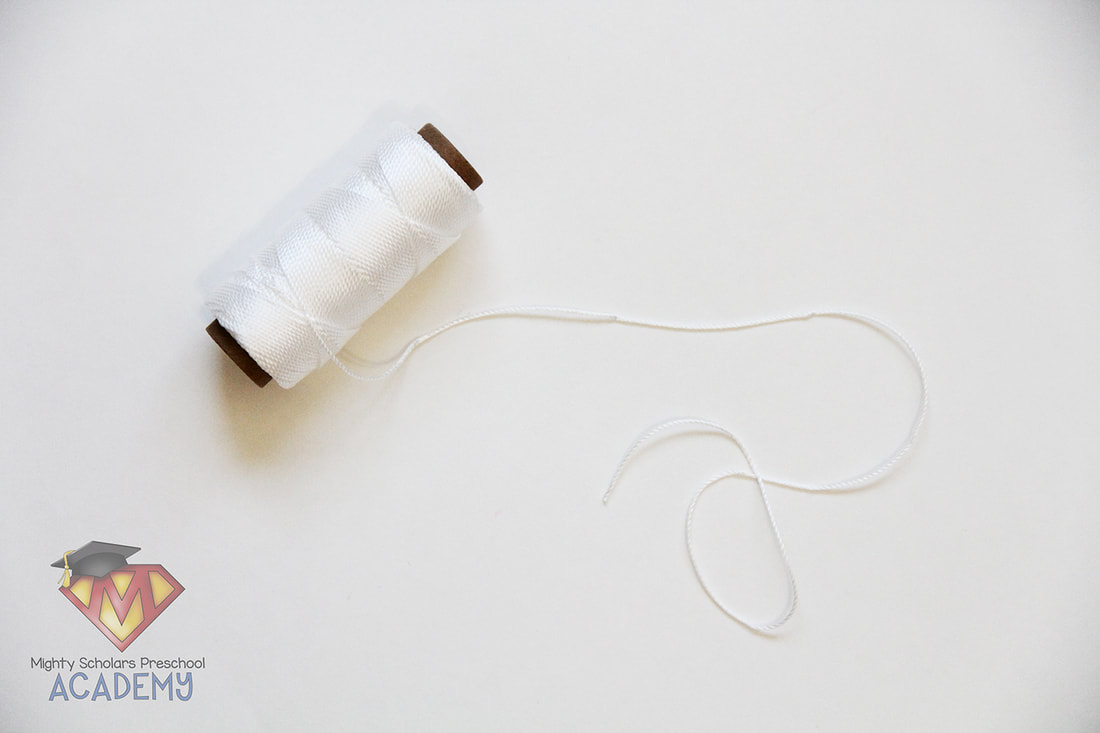
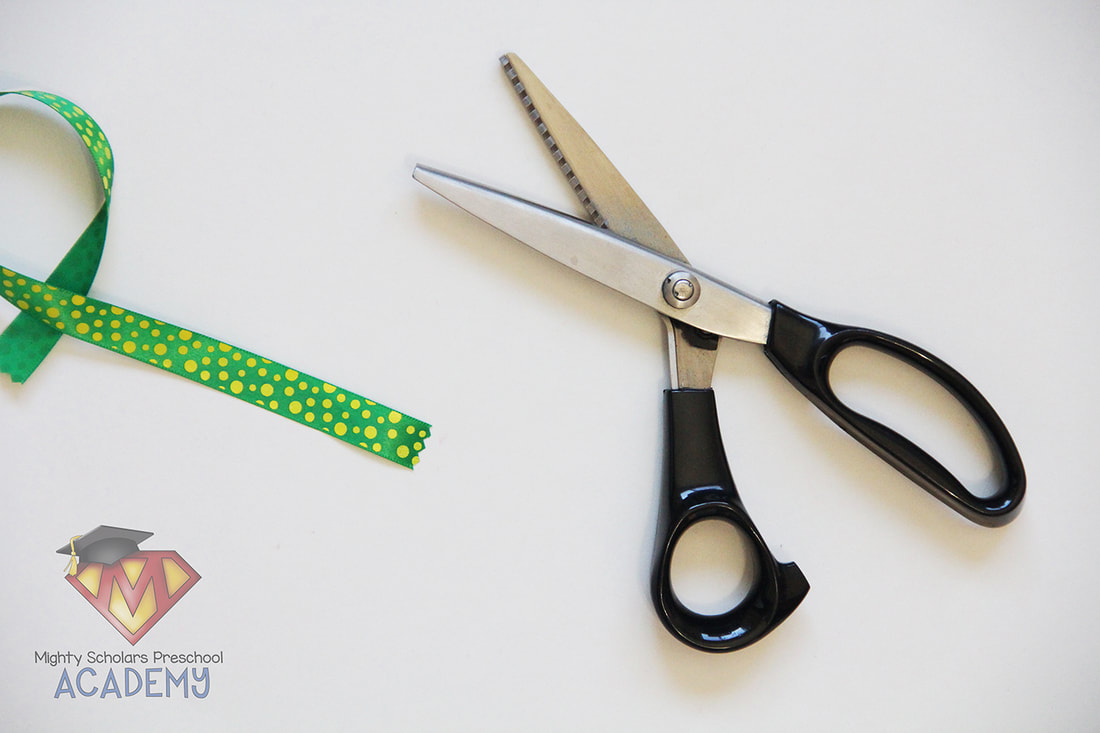
I'm constantly purchasing spools of ribbon from clearance sections. Holiday clearance has some of the most decorative and fun ribbon designs. Dollar stores also sell spools of ribbon that work well for any ribbon project. When cutting ribbon for projects where it will be handled frequently, I recommend cutting the ends with pinking shears. It helps keep the ribbons from fraying. The looms are approximately 8"x12" and are assembled from hardwood 1"x1"s, with wood glue and screws. It's important to use a string or twine that doesn't stretch. Young children tend to pull and stretch strings quite a bit and loose strings can make loom weaving more difficult. I use Mason Line in many of my projects that require string. Mason Line doesn't stretch and can be cleaned easily.
Please note, as a participant in the Amazon Services LLC Associates Program, I may earn a small commission on qualified recommended links.
The Amazon Services LLC Associates Program is an affiliate advertising program designed to provide a means for sites to earn advertising fees by advertising and linking to Amazon.com.
My Amazon Picks to make the Ribbon Loom Sensory Table:
|
Categories
All
©2012–2024 Mighty Scholars Preschool Academy
|

