|
Each Spring we have the exciting experience to learn about life cycles, with living creatures in our classroom.
Annelids, Arthropods and Insects, are the first hands-on adventure in our Spring life cycles unit. I like to start from deep in the ground and move my way up. For the first week of our unit, I introduce how to identify a bug from other creepy crawlies. From there we learn all about our annelid friends, the earthworms.
It's important to teach children the difference between insects and other creatures, such as arthropods.
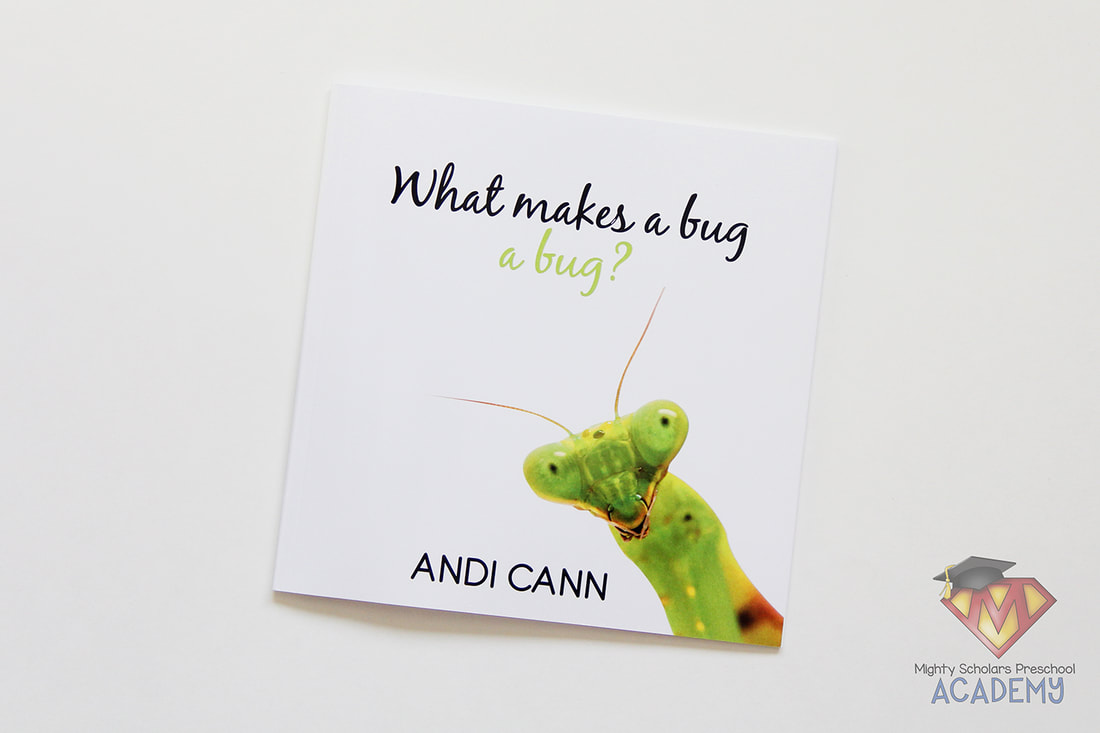
I like to introduce our unit by helping my scholars learn general insect identification. Throughout the unit they will be able to tell me whether or not something is an insect, by looking for three characteristics. The first is to count the legs. The creature needs six legs to fit the criteria of an insect. Second, an insect needs a body with three segments: head, thorax and abdomen. Lastly, an insect needs two anntennea. The best book I've found to follow a simplified 6, 3, 2, identification is 'What Makes a Bug a Bug?' by Andi Cann. The pictures are large and vibrant, helping children to grasp the concept.
Annelids are our first stop on our Spring life cycle adventure.
One of the best ways to learn about annelids is through a small classroom worm composter. Children today don't always have the opportunity to dig for and play with worms. Something that was a common sensory discovery experience when I was a child, has become a lost adventure. Bringing earthworms into the classroom, for observation and hands-on discovery is invaluable for children today.
A small classroom worm composter is easy to put together.
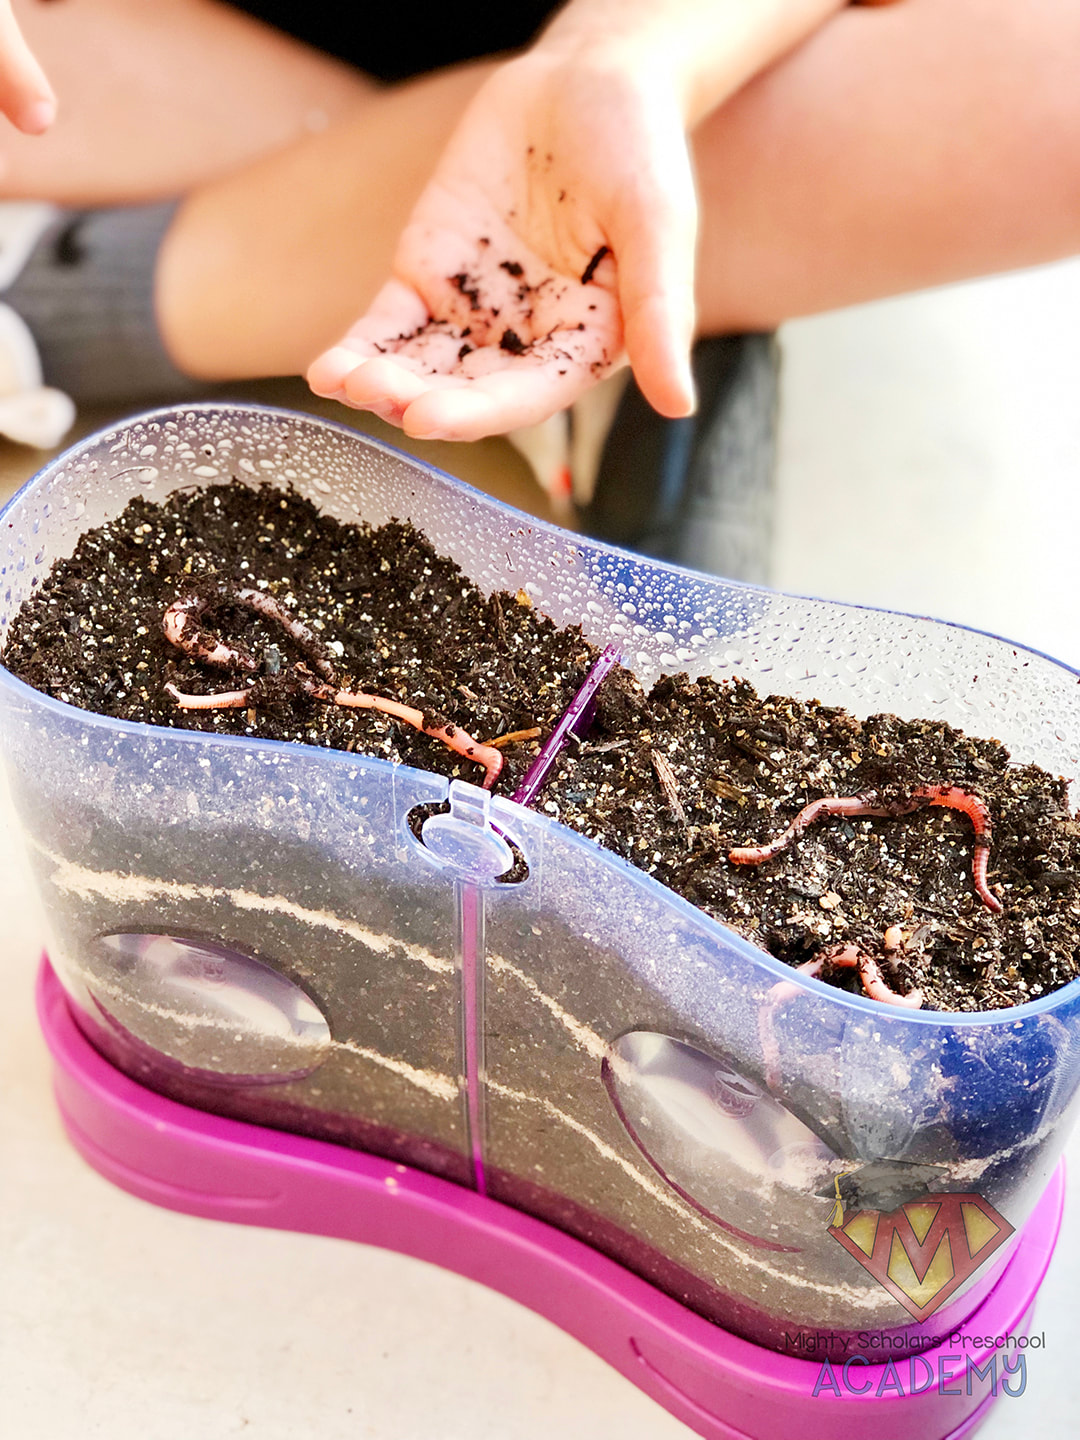
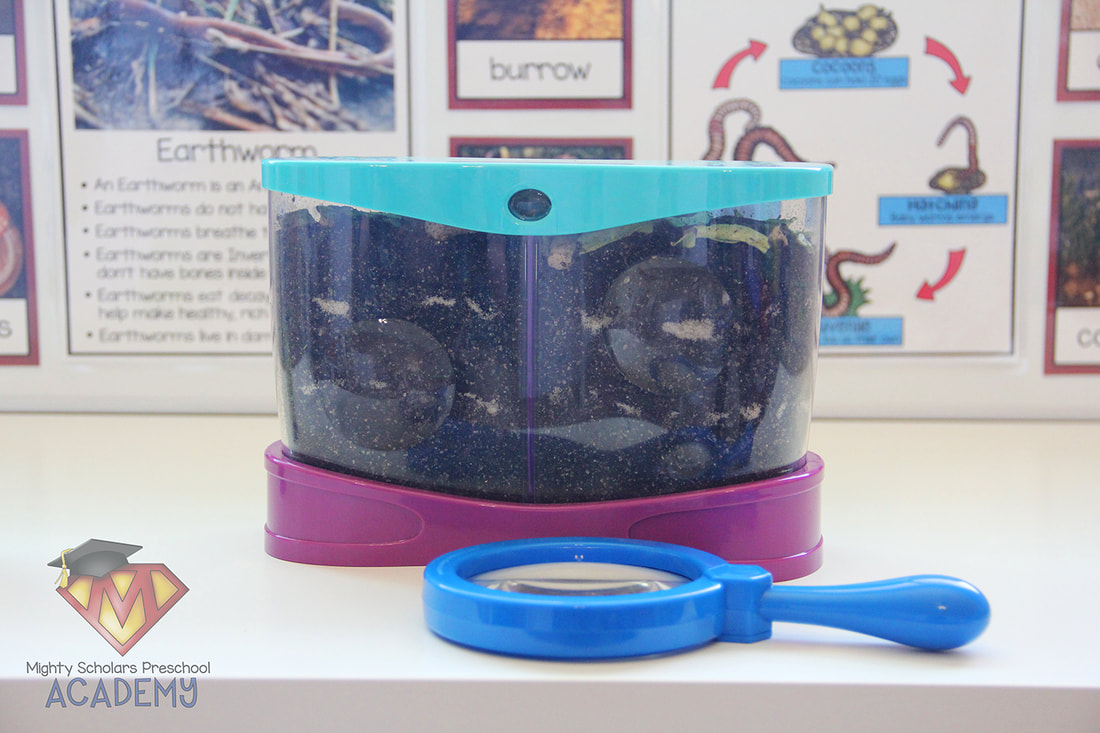
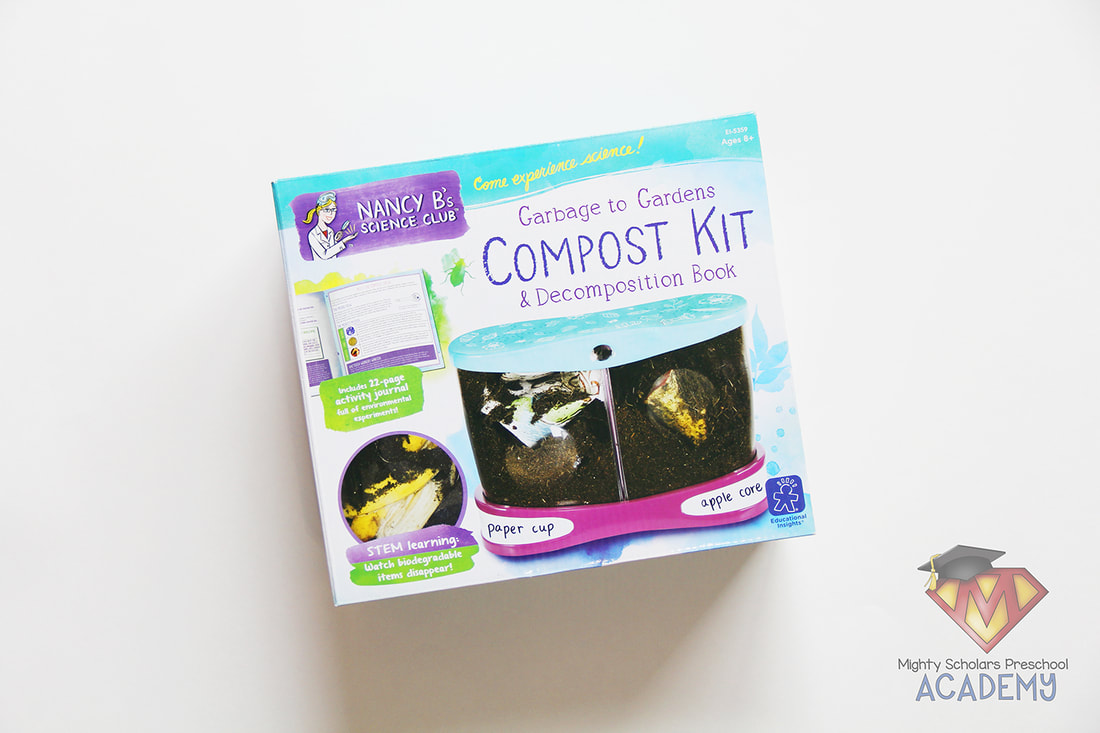
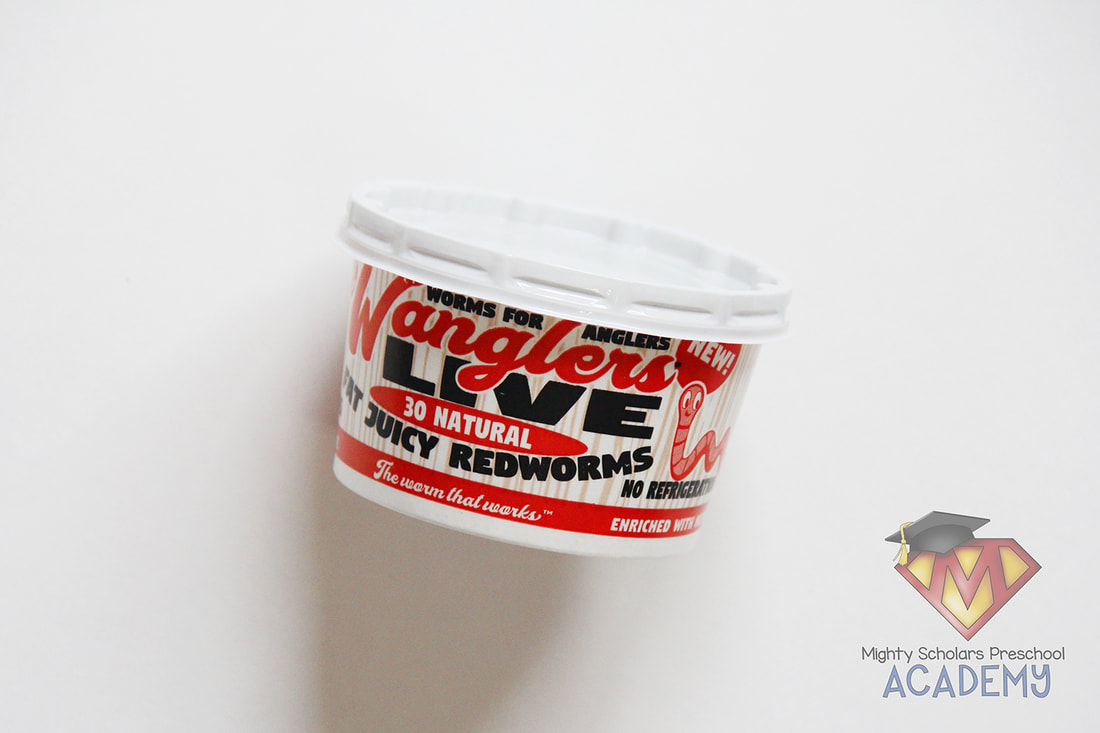
There are several ways to put together a container to house the worms. However, I use the Educational Insights compost kit with great success. It has airation holes in the lid and built-in magnifers. I use clean, organic soil from my garden, layered with fine sand. Layering soil and sand several times, helps your students to see the burrowing and mixing that earthworms do to benefit and enrich our soil. I leave an inch or more space from the top of the soil to the lid, to have my scholars add compostable food for the worms. Live bait redworms can be easily found in the sporting/fishing section of most Walmart stores. One container has more than thirty worms, which is plenty for your classroom worm composter.
To fill the container, first add a layer of pebbles for drainage. Then the layering of MOIST soil and fine sand can be added to the container. Once the substrate has been added, spray the top layer with a waterbottle. Don't soak the soil. Instead, add enough moisture to provide a good environment for the worms to thrive in your care. Add your worms and place a few compostable food scraps, buried just below the top layer of soil. A word of caution: if you don't cover the scraps with at least a thin layer of soil, they may stink up your classroom. Your worm composter shouldn't be loaded with scraps either. Add just enough for the worms to munch on and decompose. If you choose to assemble it together with your students, you can provide them with the opportunity to help add the contents and worms.
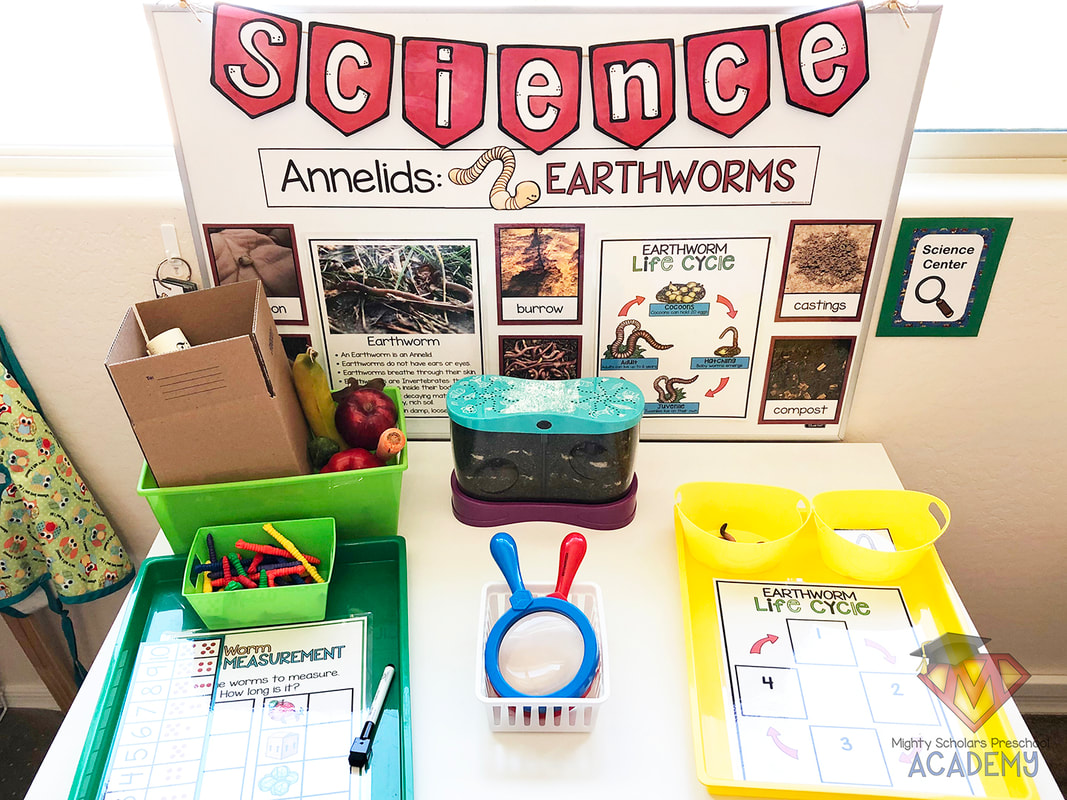
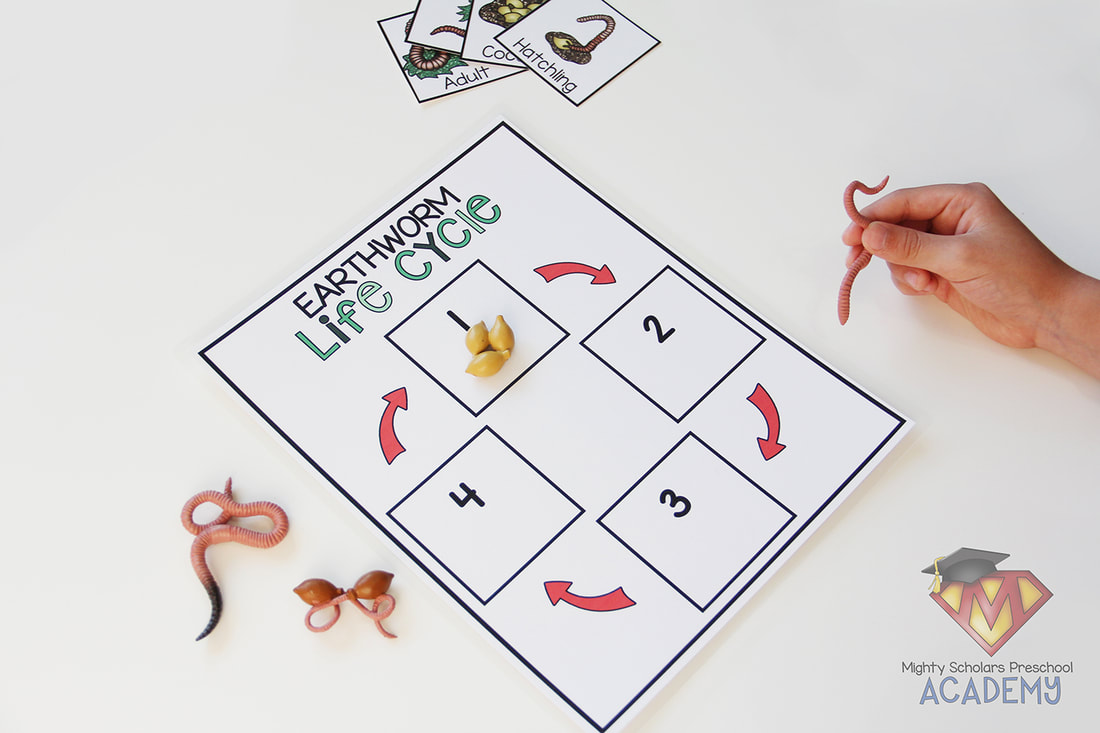
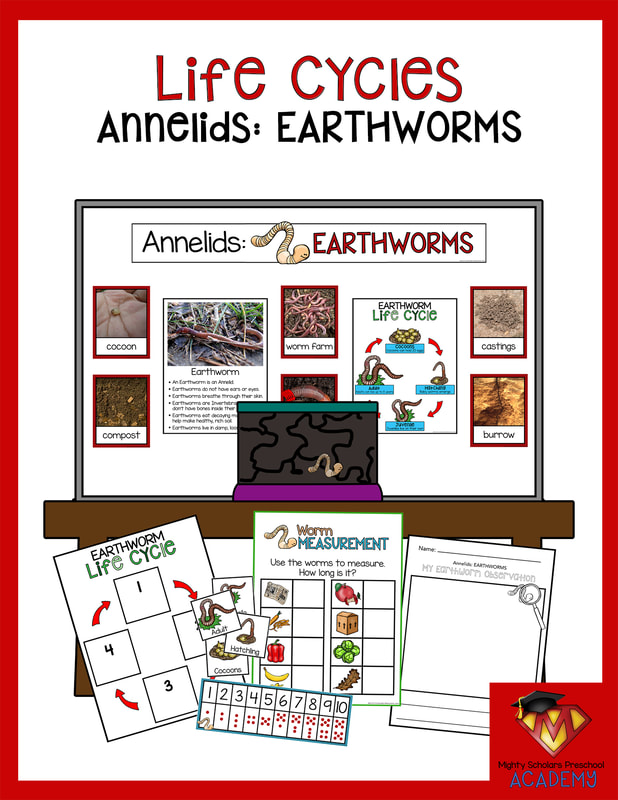
The Science Center is set up with hands-on activities on the life cycle and real compost materials worms eat.
Real photographs accompany vocabulary words and a facts mini poster. The vocabulary cards make discussion of the worms habitat, life cycle and earth benefits easier for my scholars to visually understand the world of annelids. The life cycle mini poster goes hand-in-hand with the life cycle center activity.
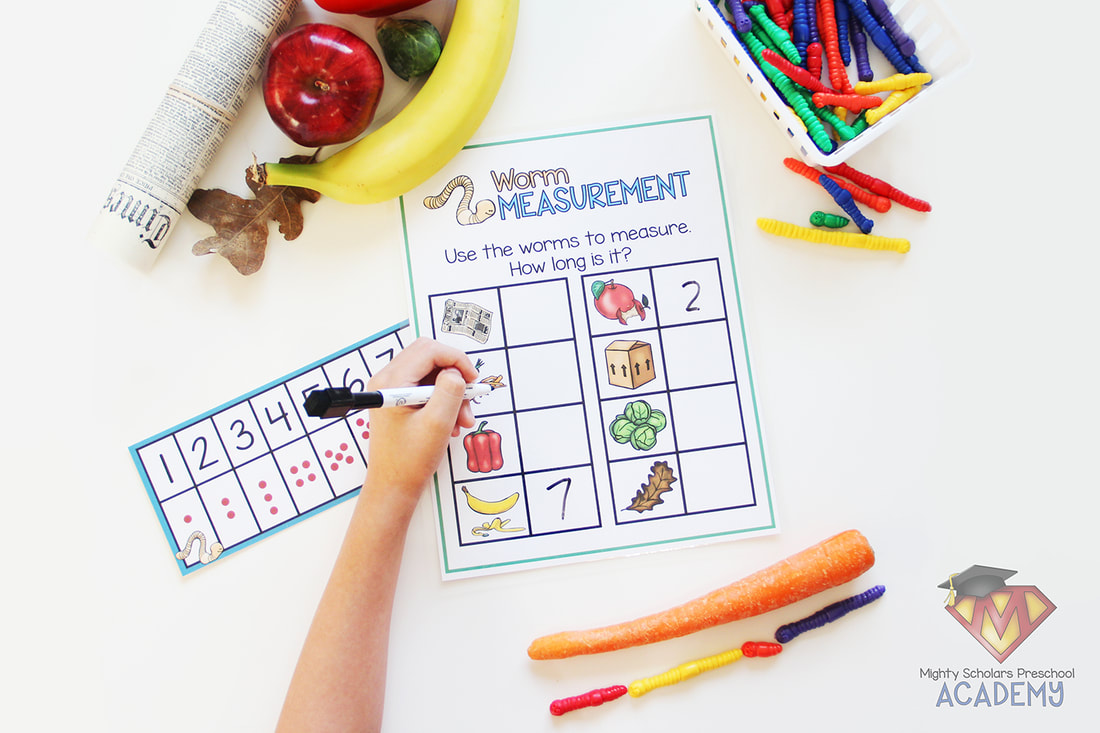
The center is set up with two hands-on activties. First, a life cycle mat is set out with life cycle figures. My scholars can complete the life cycle with either the figures or cards with the same images on the life cycle mini poster. The second activity involves real compostable items listed on the activity page and measuring worms. My scholars have the opportunity to handle, closely observe and use non-standard measurement tools to count a length for each item. I provide dry-erase markers for use on the laminated activity mat. The mat can also be added to a dry-erase pocket, as an alternative to laminating. A worm number line is set out to assist in writing the numbers. All of the vocabulary cards, mini posters and activities are included in my Annelids: Earthworms Science Pack.
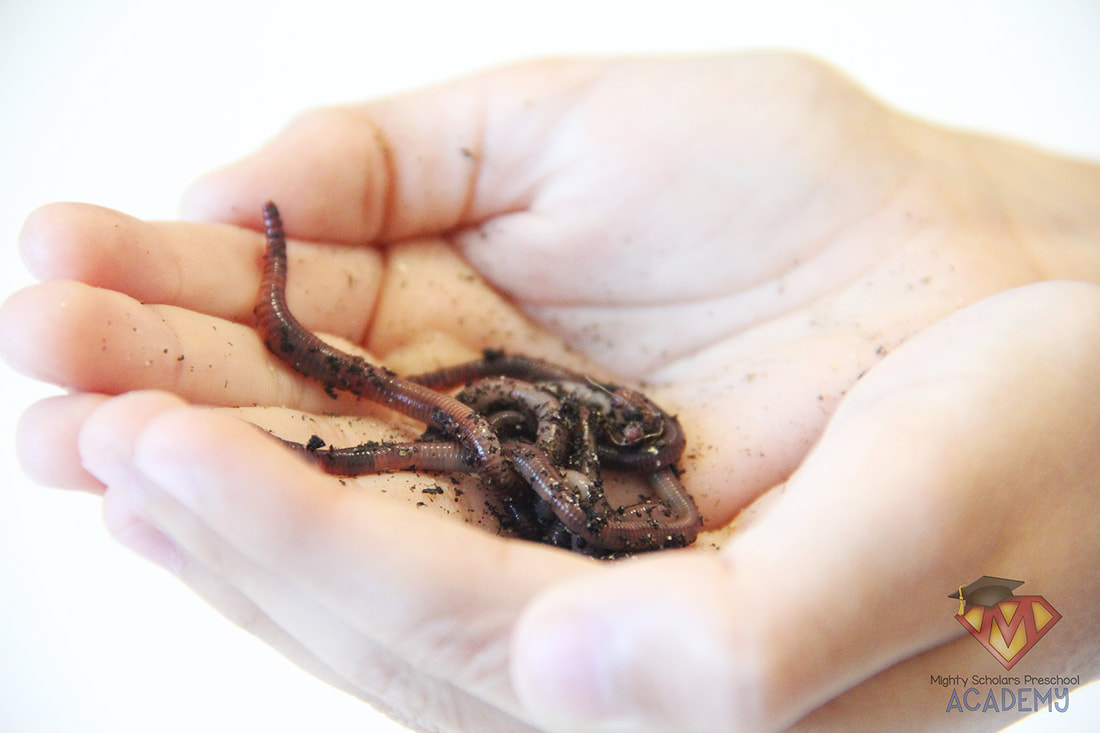
Holding and analyzing an earthworm is a very memorable sensory experience.
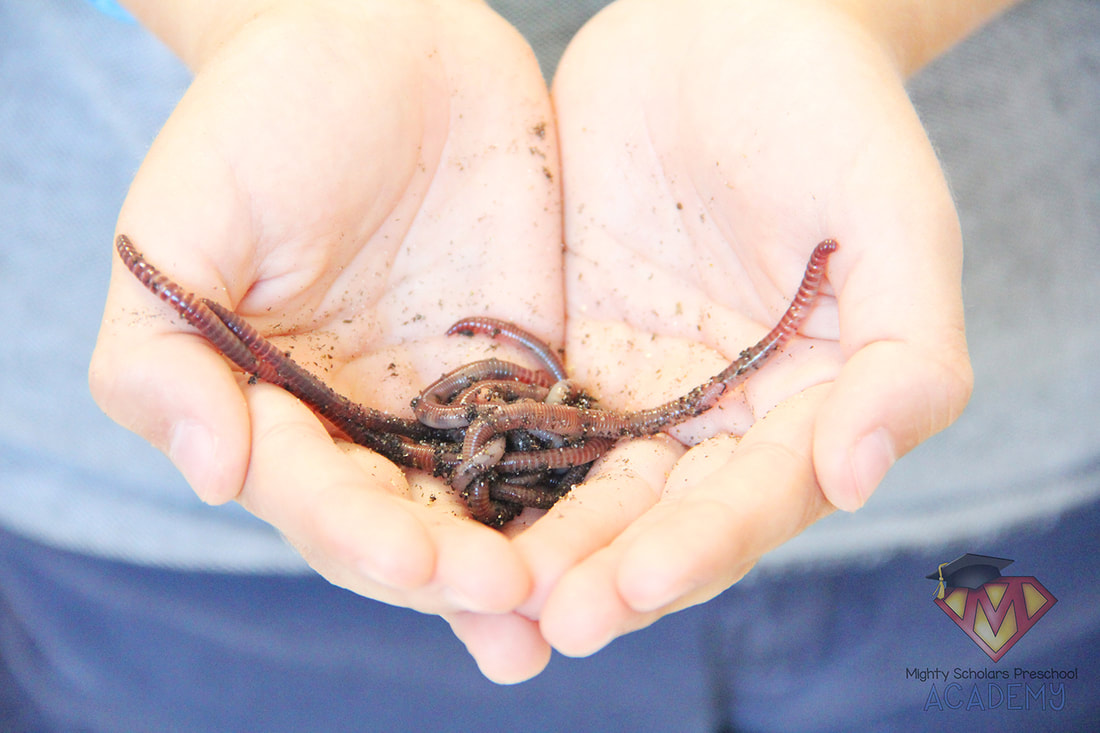
I like to give my scholars the experience of handling and observing a worm closely. If you have a large class, its better to work in a small group for this part of the unit. When handling the worms, my scholars sit criss-cross on the floor, or sit in chairs at our group table and hold their hands in a cupped shape. If your students don't want to handle a worm, they can touch it gently with one finger and observe it in your hand. Make sure that your students wash their hands afterwards.
While my scholars are handling and closely observing the worms, I ask a series of questions:
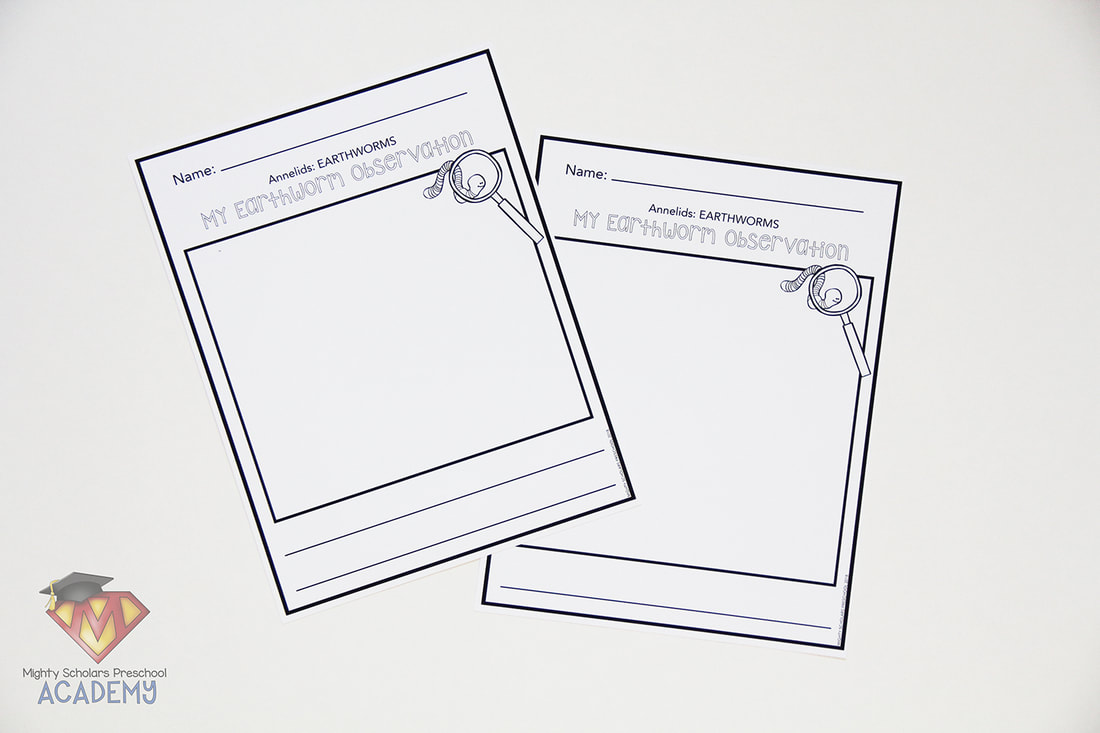
Documenting what they see will add in another important element to the science unit.
After my scholars have the opportunity to handle and observe a worm, they document what they saw on an observation page. Depending on their level, students may draw and write what they observed, or simply draw a picture. For students who aren't ready to write what they observed, I transcribe what they express about their experience and drawing.
It's important to teach how earthworms help our environment, enrich our soil and the worm composting process.
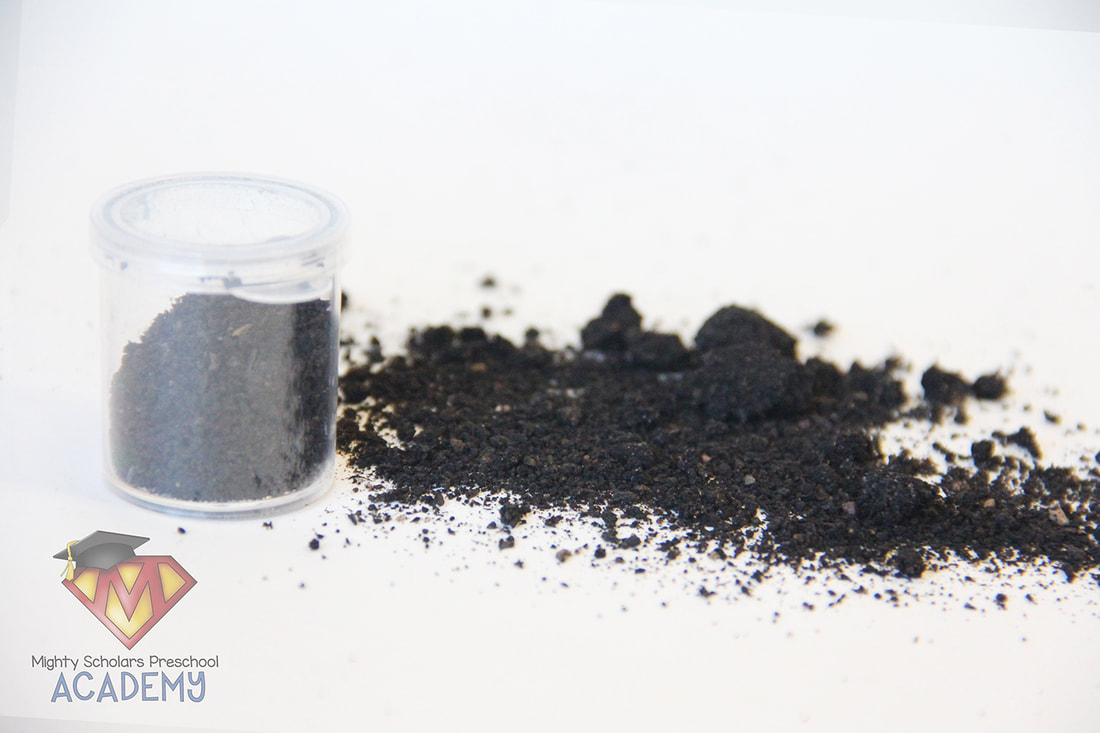
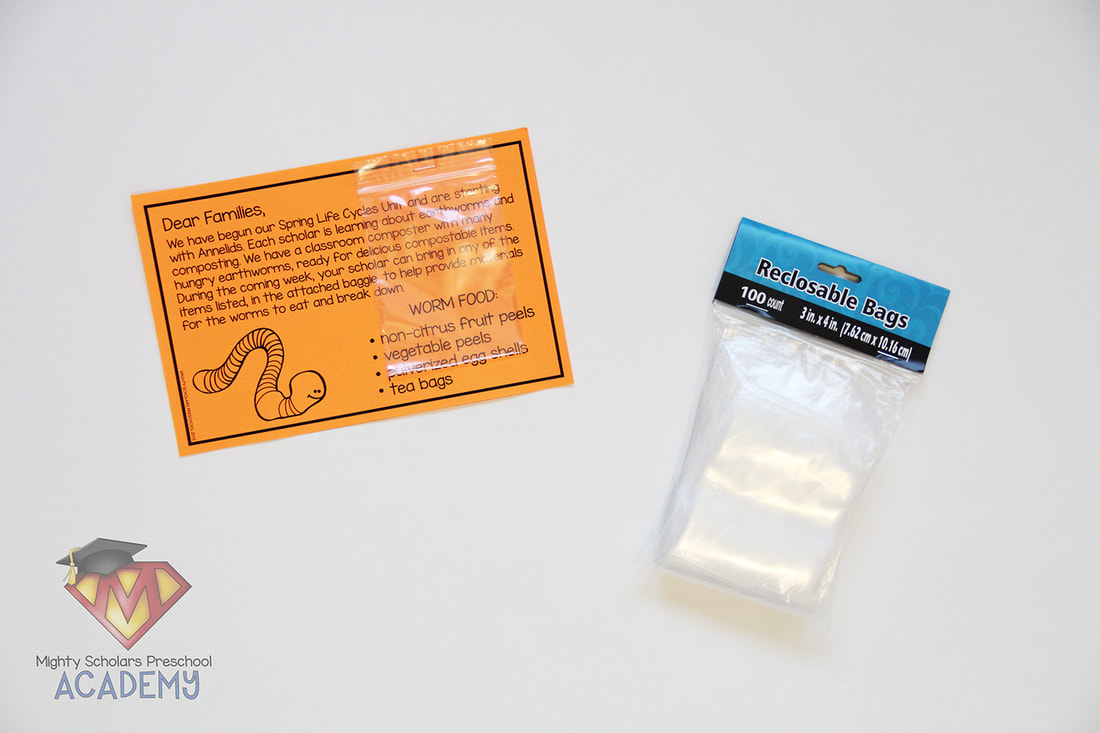
As part of the Annelids and the Arthropods sections of our unit, I help my scholars understand the importance of the Macroorganisms that help break down waste and decaying matter to form rich soil. I use "black gold" (worm castings) in my own garden and explain why, as well as show my scholars worm castings up close. Its important to help students understand that worms don't eat everything that is compostable, but those items will still break down and turn into compost on their own, in time. My scholars are given a parent note with a small baggie, to bring in compostable materials to add to the worm compost container. As we continue through the unit, we return back to the annelids portion, to review worms and check in on the changes of the compostable items that my scholars added to the container.
There are several wonderful books on Annelids.
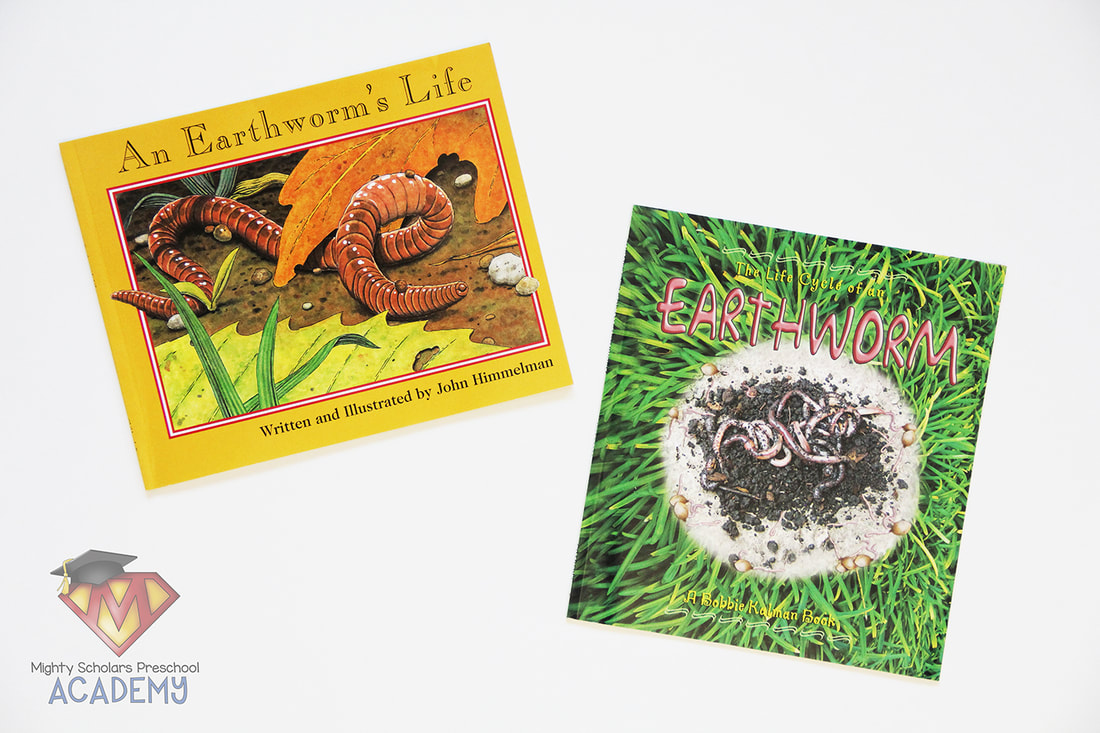
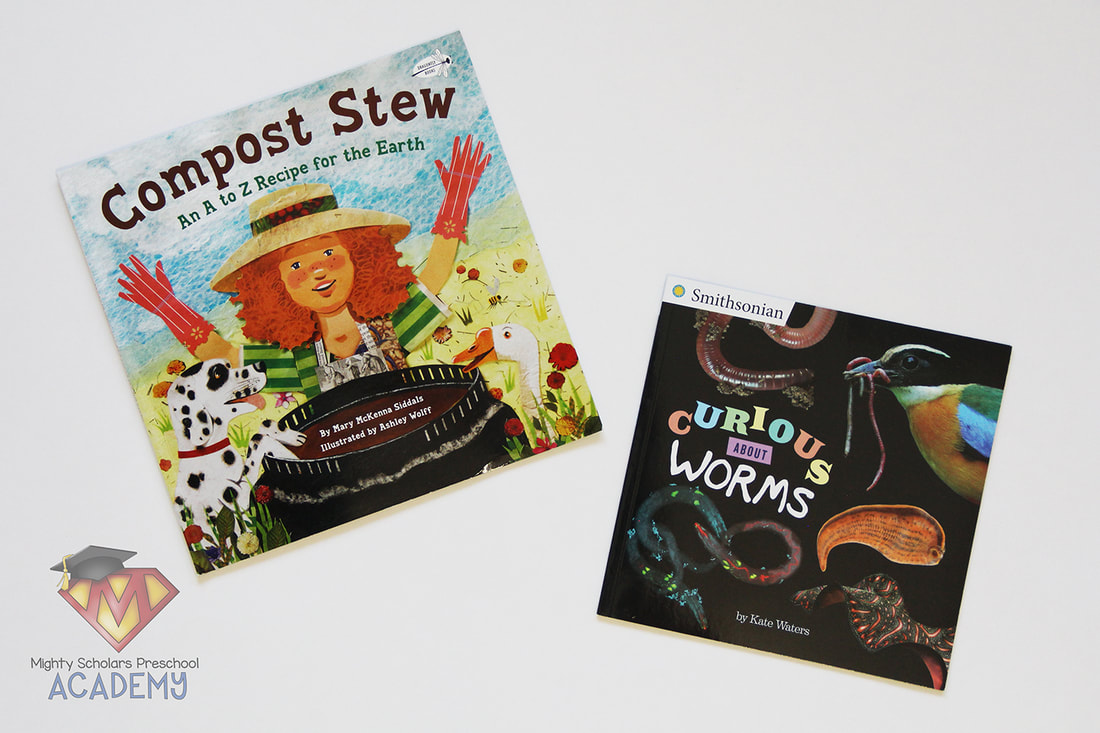
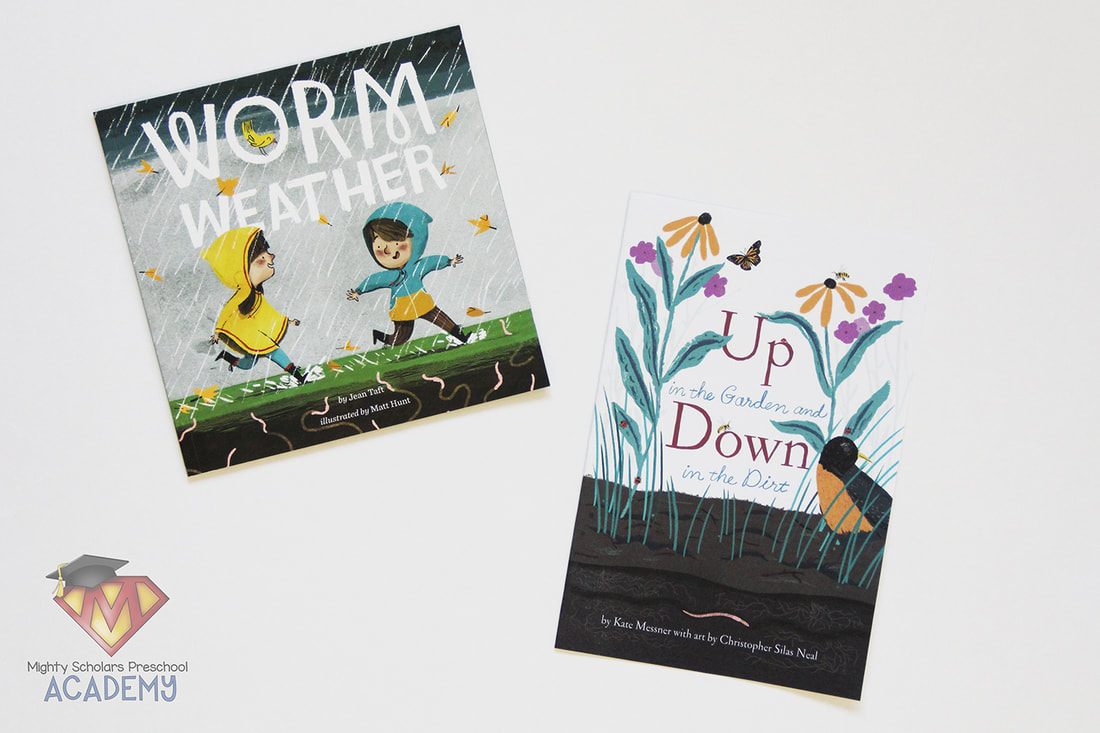
Some of my favorite books to use during the annelids portion of our Spring Life Cycles Unit are: 'An Earthworm's Life' by John Himmelman, 'The Life Cycle of an Earthworm' by Bobbie Kalman, 'Curious About Worms' by Kate Waters, 'Compost Stew: An A to Z Recipe for the Earth' by Mary McKenna Siddals, 'Up in the Garden and Down in the Dirt' by Kate Messner, and 'Worm Weather' by Jean Taft.
Click the image below to be taken to the Annelids: Earthworms Science Pack:
Please note, as a participant in the Amazon Services LLC Associates Program, I may earn a small commission on qualified recommended links.
The Amazon Services LLC Associates Program is an affiliate advertising program designed to provide a means for sites to earn advertising fees by advertising and linking to Amazon.com.
My Amazon Picks for this science unit are:
Comments are closed.
|
Categories
All
©2012–2024 Mighty Scholars Preschool Academy
|

