|
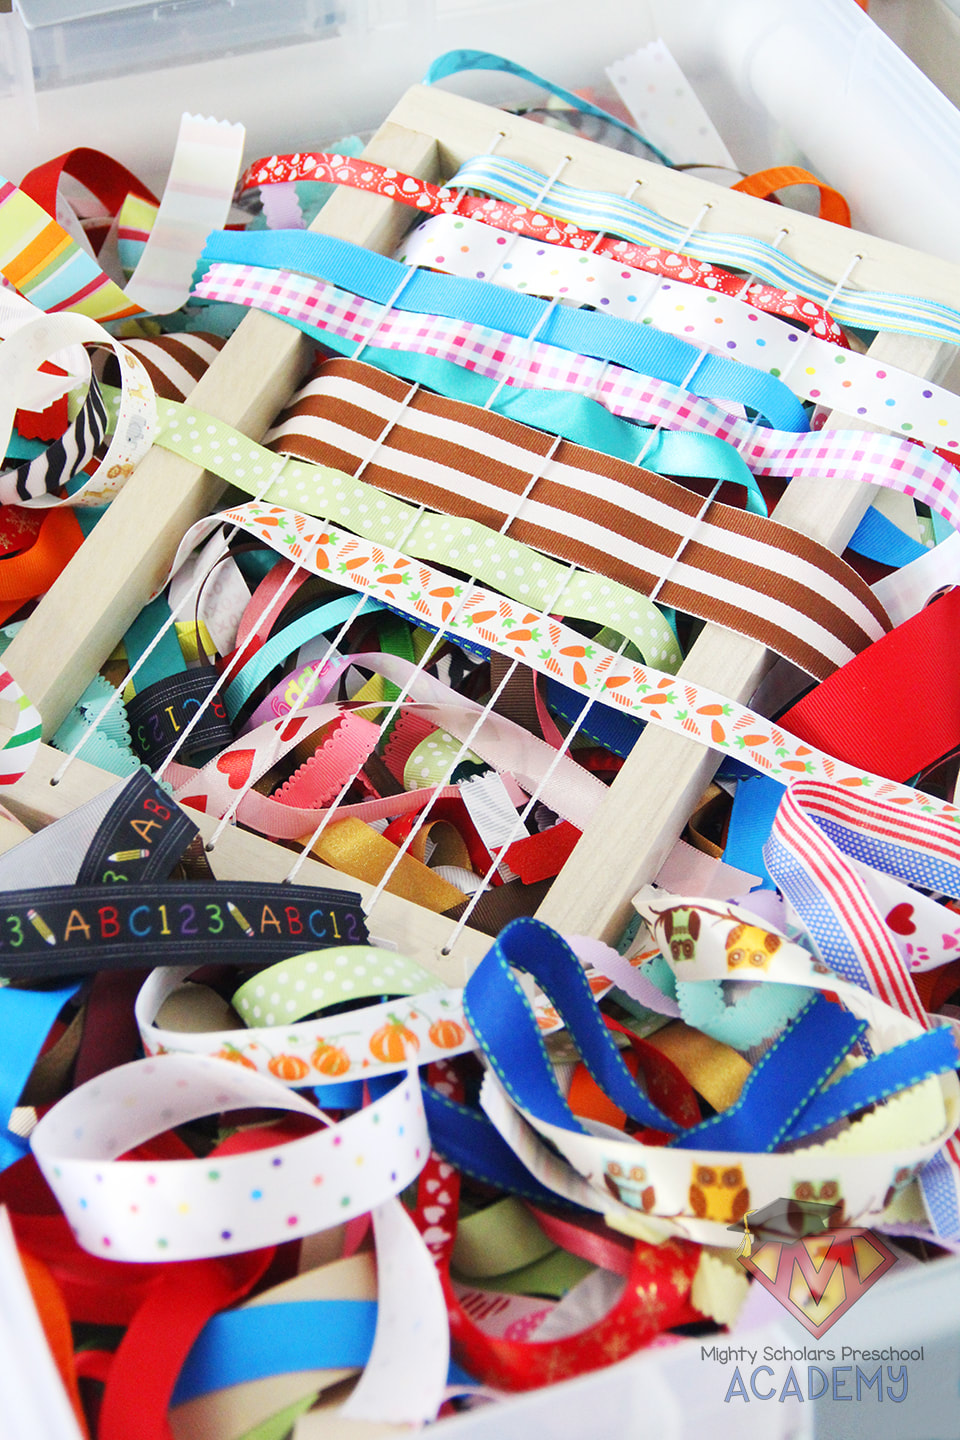
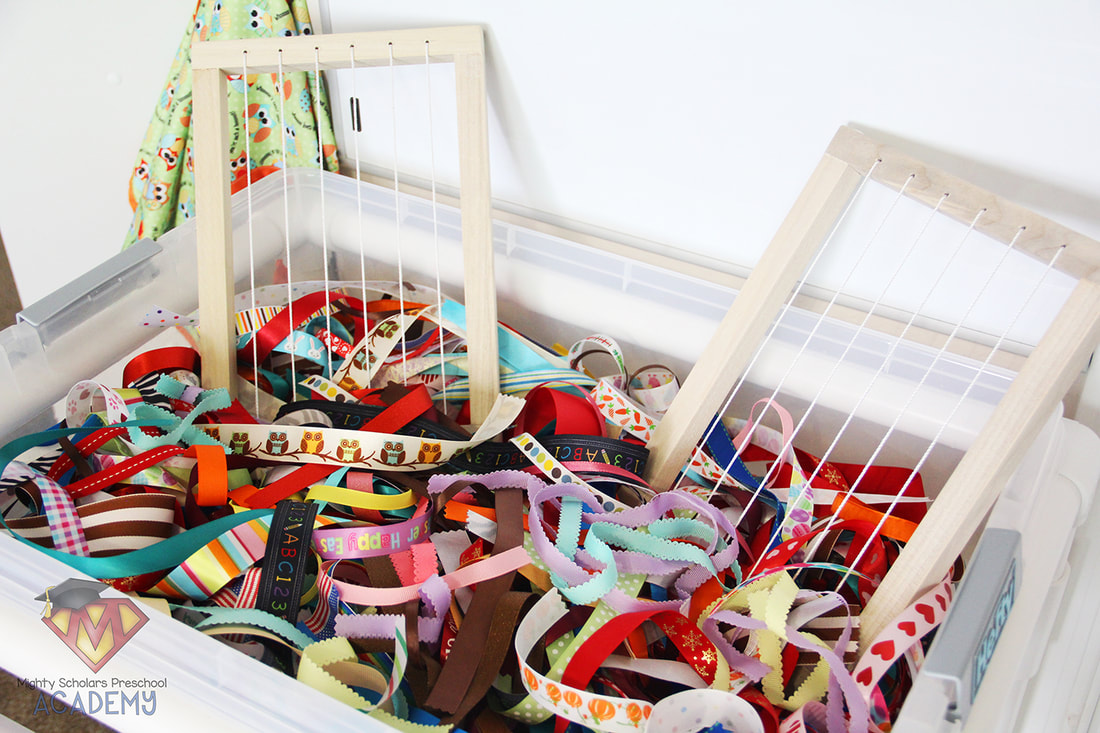
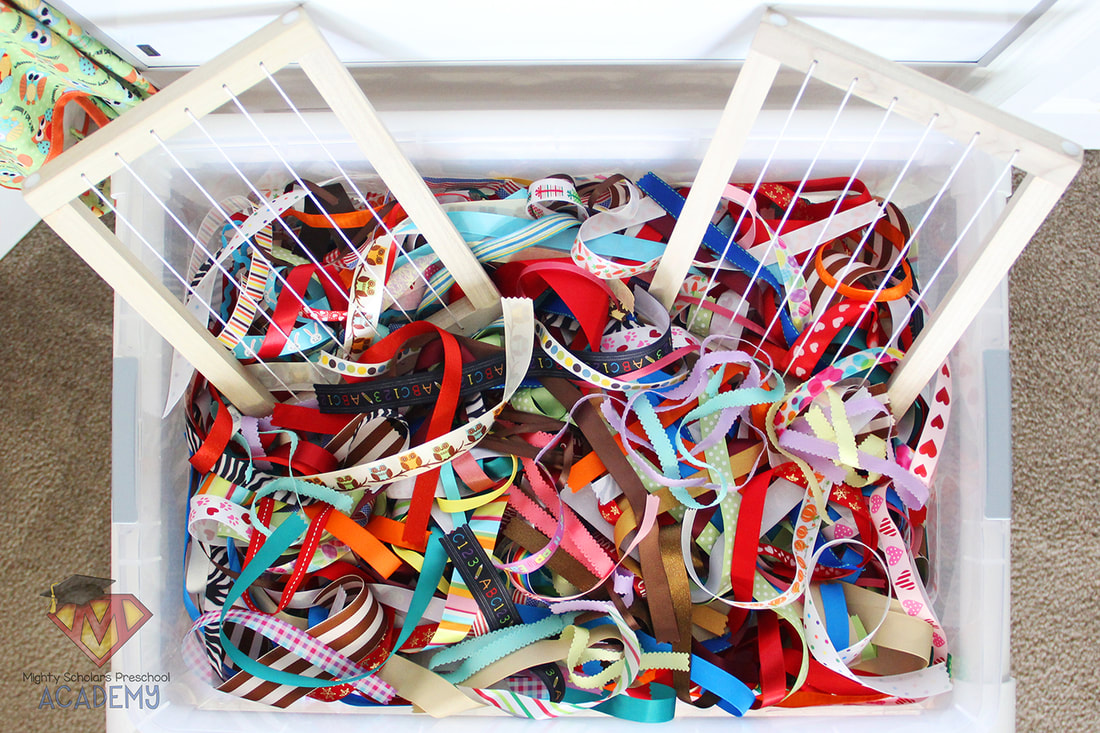
Ribbons of various colors and patterns weave beautiful designs on looms.
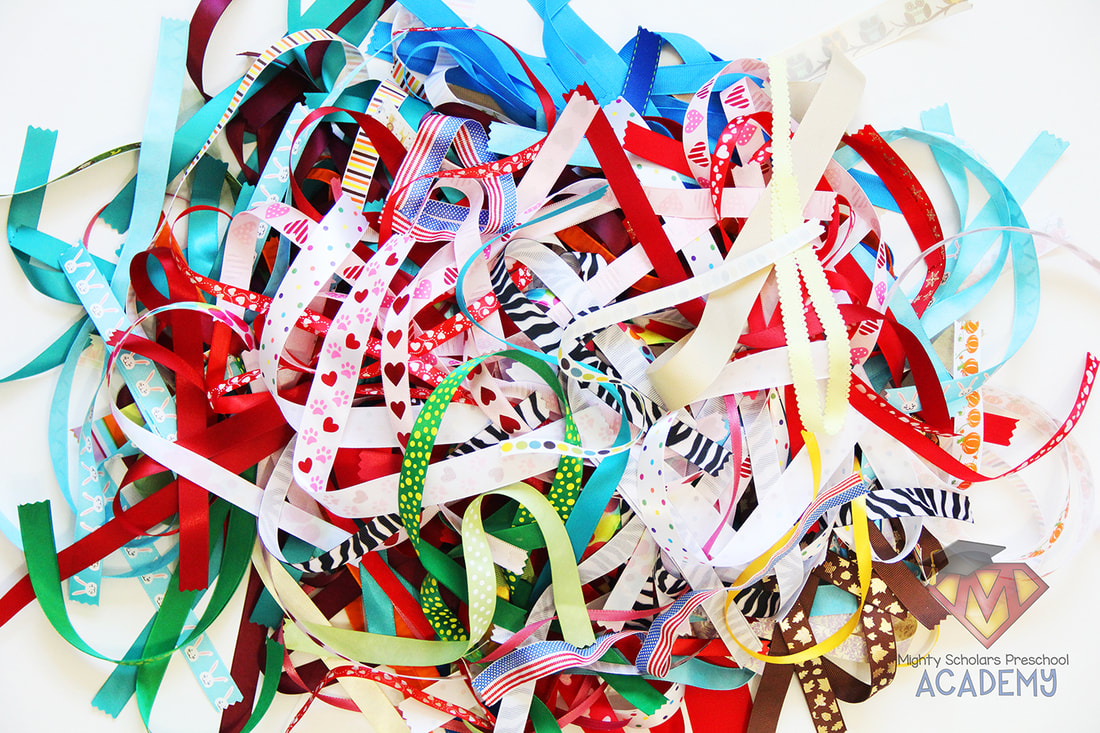
Ribbon comes in a variety of textures, colors and patterns. It provides a unique sensory experience through touch, sight and sound. With natural wooden looms, the experience also adds a practice review of an important fine-motor skill that also aides in visual tracking, eye-hand coordination, crossing the midline, math and spacial concepts. My scholars were taught loom weaving, earlier in the school year.
Collecting ribbons from themes and holidays can make a enjoyable variety.
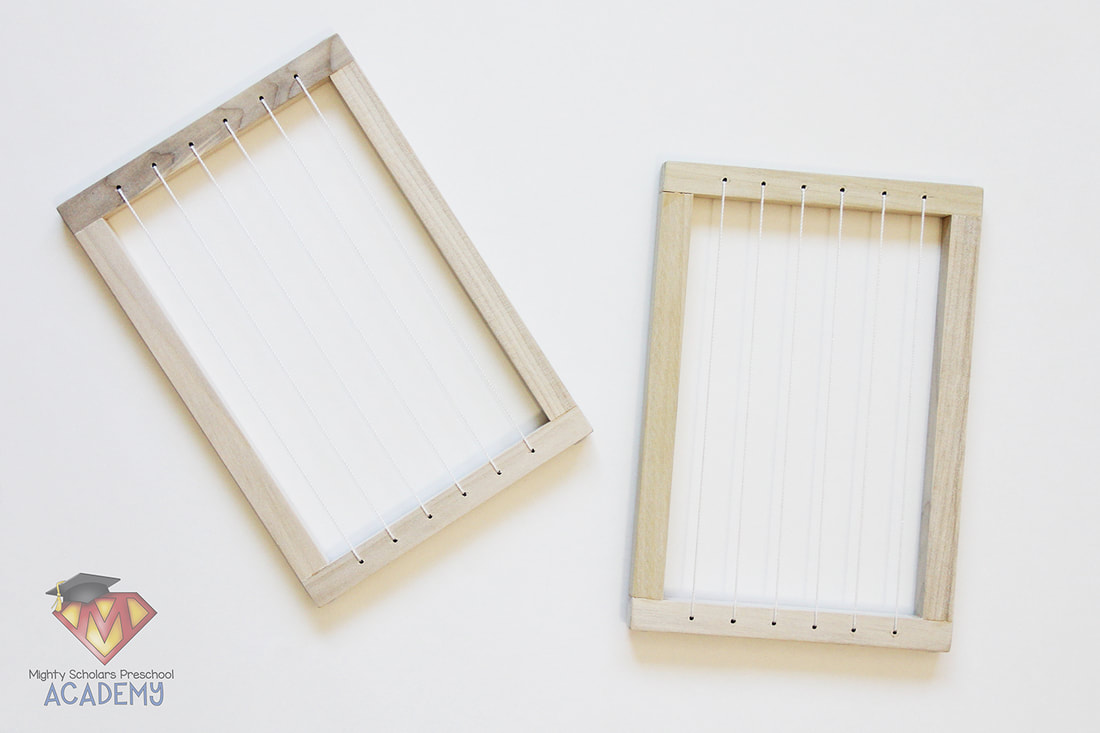
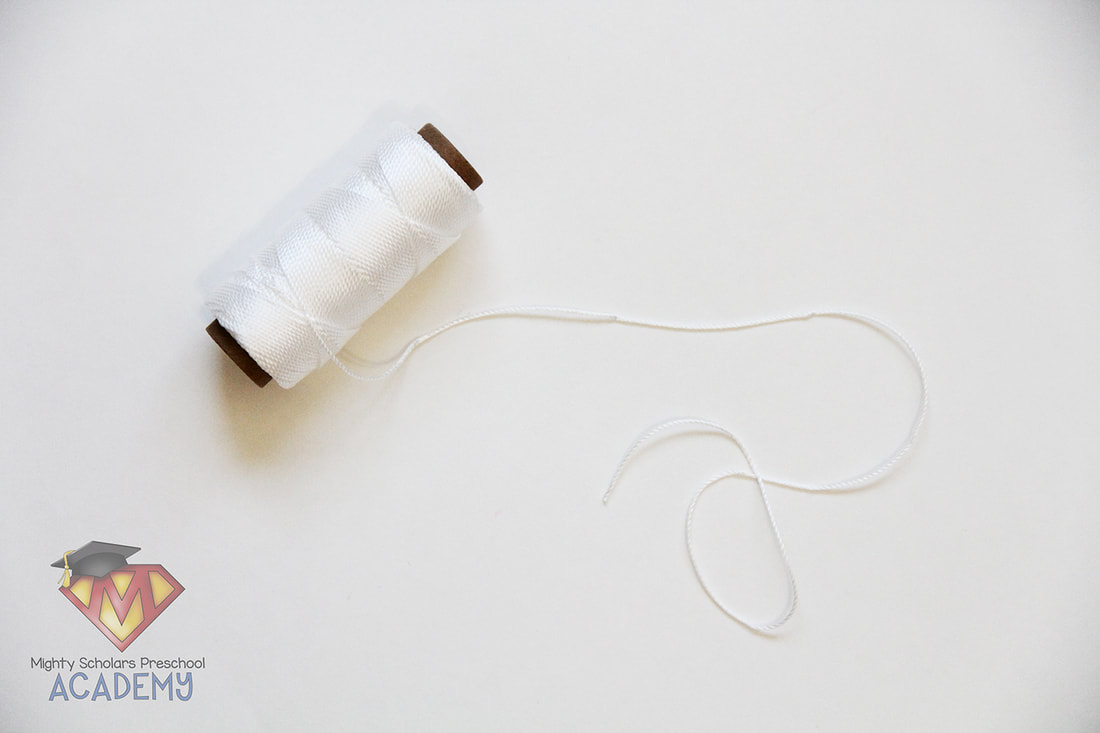
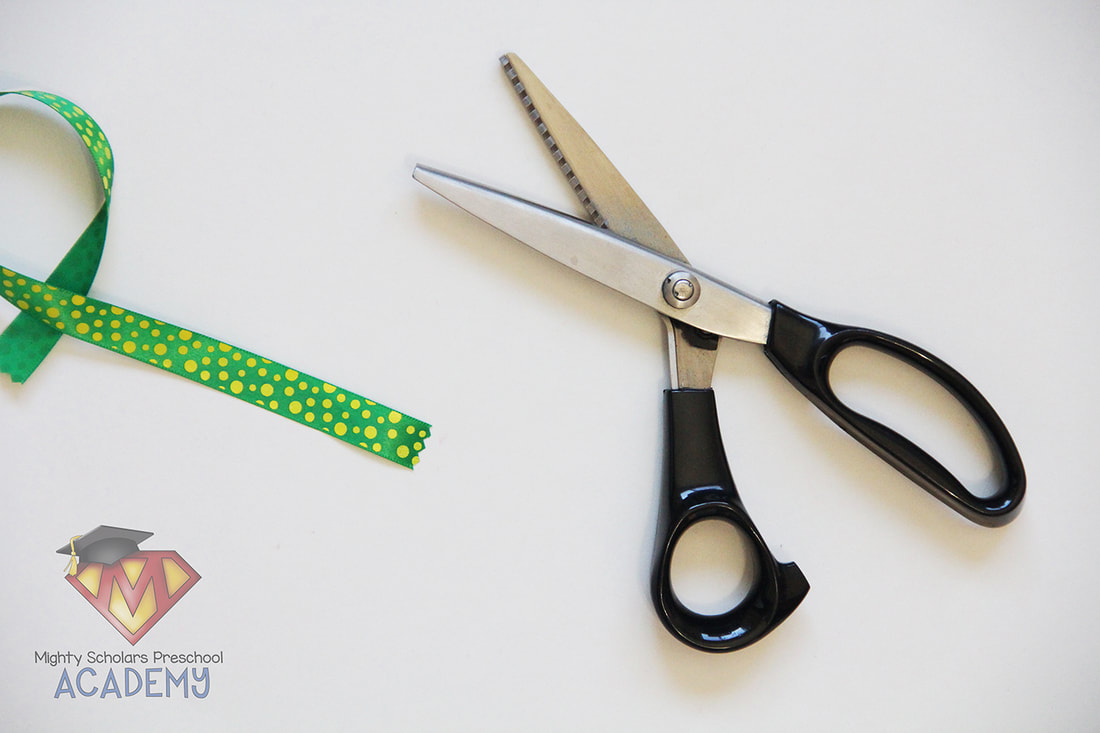
I'm constantly purchasing spools of ribbon from clearance sections. Holiday clearance has some of the most decorative and fun ribbon designs. Dollar stores also sell spools of ribbon that work well for any ribbon project. When cutting ribbon for projects where it will be handled frequently, I recommend cutting the ends with pinking shears. It helps keep the ribbons from fraying. The looms are approximately 8"x12" and are assembled from hardwood 1"x1"s, with wood glue and screws. It's important to use a string or twine that doesn't stretch. Young children tend to pull and stretch strings quite a bit and loose strings can make loom weaving more difficult. I use Mason Line in many of my projects that require string. Mason Line doesn't stretch and can be cleaned easily.
Please note, as a participant in the Amazon Services LLC Associates Program, I may earn a small commission on qualified recommended links.
The Amazon Services LLC Associates Program is an affiliate advertising program designed to provide a means for sites to earn advertising fees by advertising and linking to Amazon.com.
My Amazon Picks to make the Ribbon Loom Sensory Table:
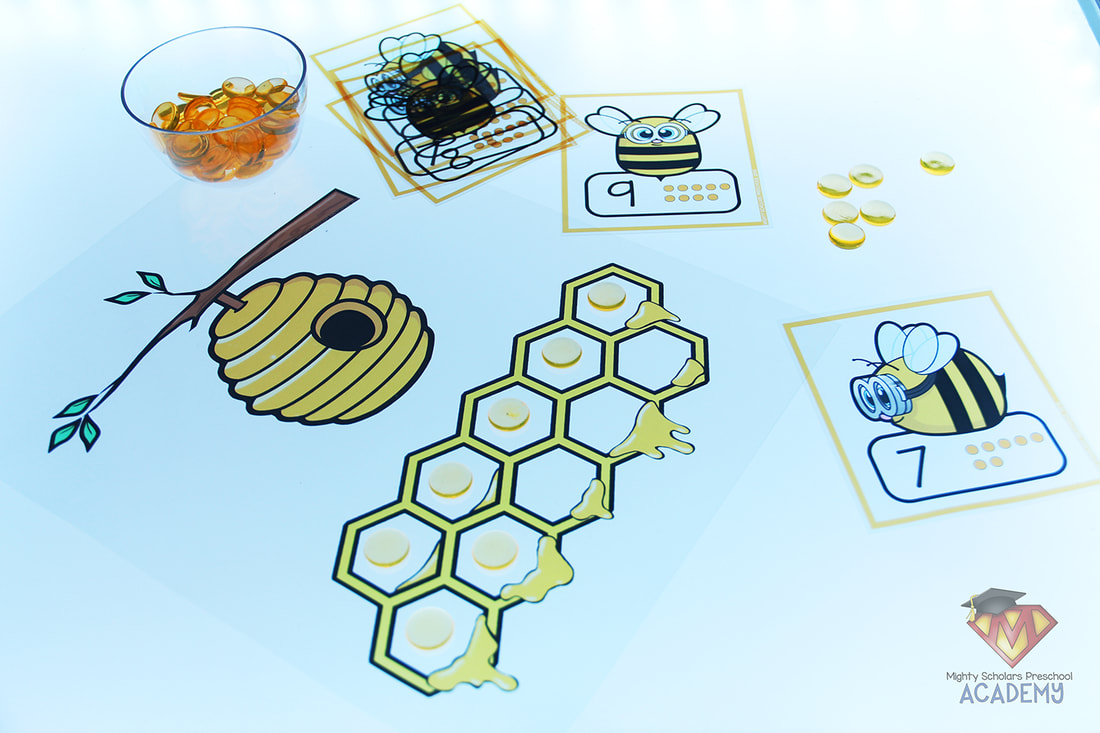
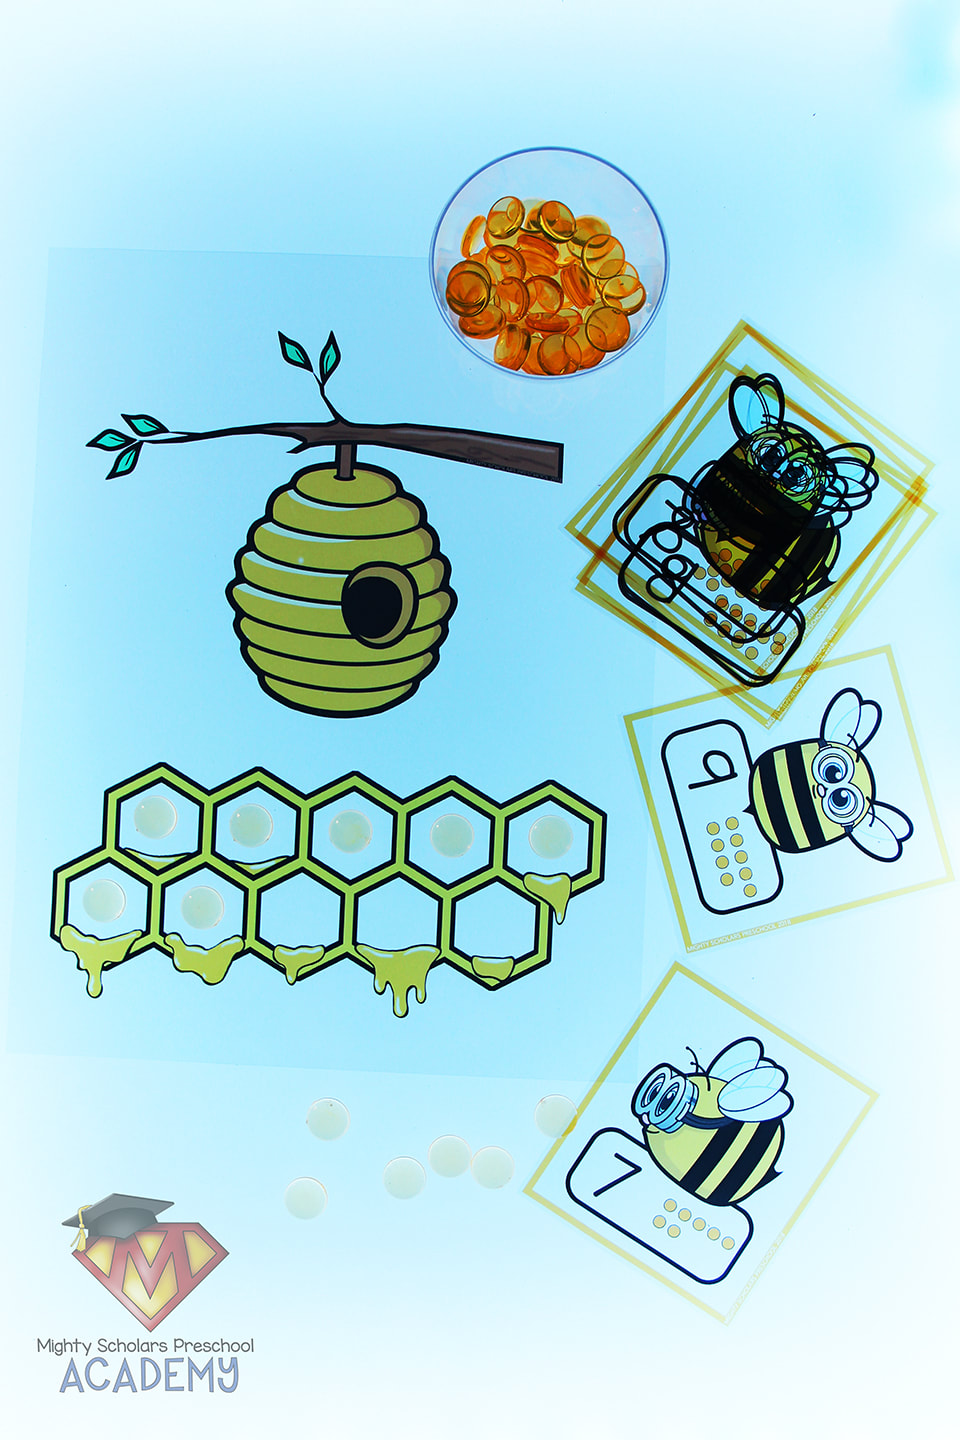
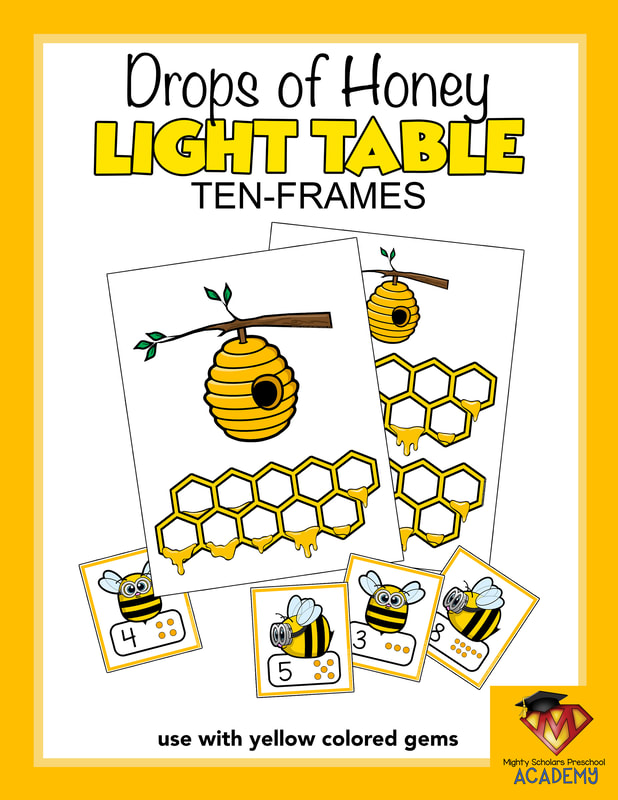
Spring is finally in the air and the bees are busy with all the new blossoms. Bees are a popular theme in our Spring center activities. This light table ten-frame activity can be differentiated for different levels of learning. The Drops of Honey LIGHT TABLE Ten-Frames include a sheet with one ten-frame set and another with two ten-frame sets, to allow scholars to use numbers up to twenty. It also has two different sets of number bee cards, up to twenty. I use yellow translucent acrylic gems from Hobby Lobby's party section. Helpful hints for light table transparencies:
Click on the image below to be taken to the Drops of Honey LIGHT TABLE Ten-Frames:
Light table activities can enhance math, literacy and science, taking them to a whole new level.
One of my favorite things to be on the hunt for, to use in my classroom, is translucent objects for activities on the light table. Sometimes the objects are found where thinking outside the box and using creativity is key. When I come across new items, its also exciting to be able to introduce something different to my scholars.
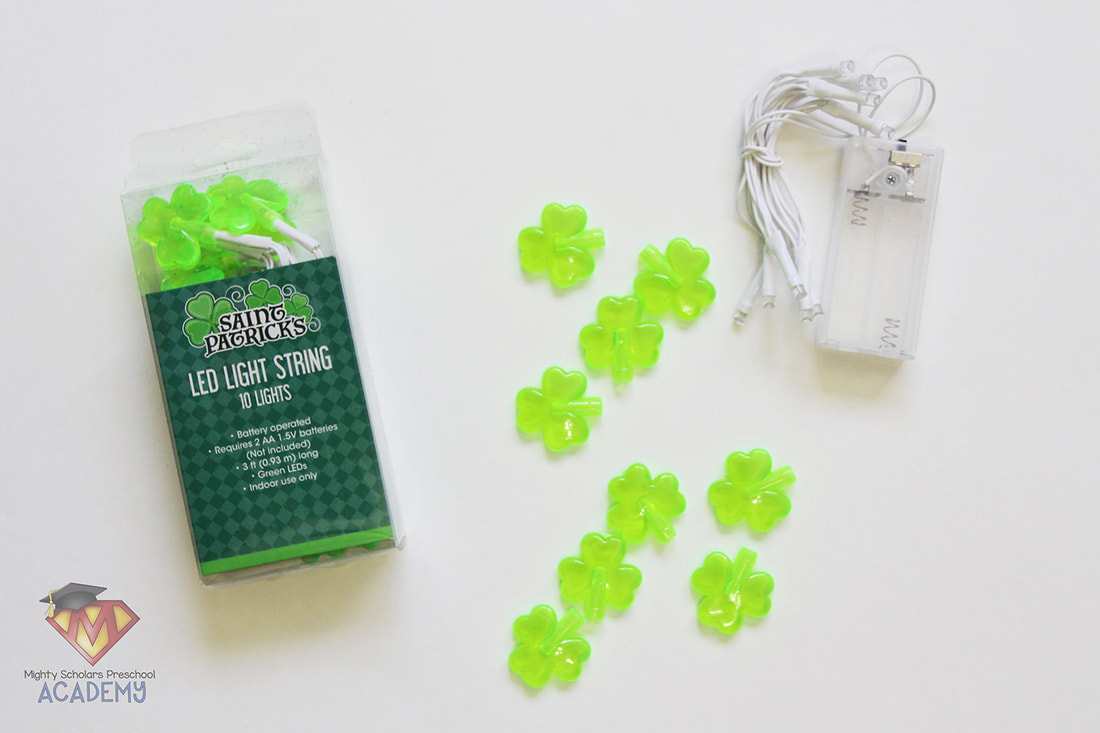
Dollar store LED light strings can easily become manipulatives for the light table.
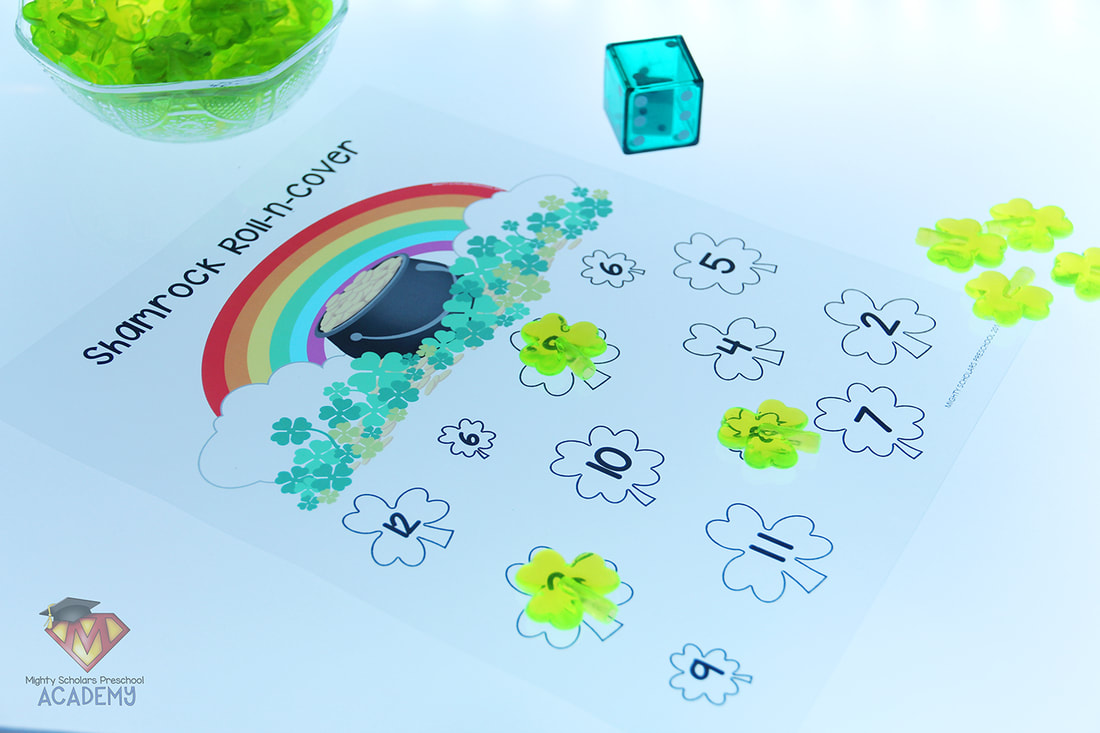
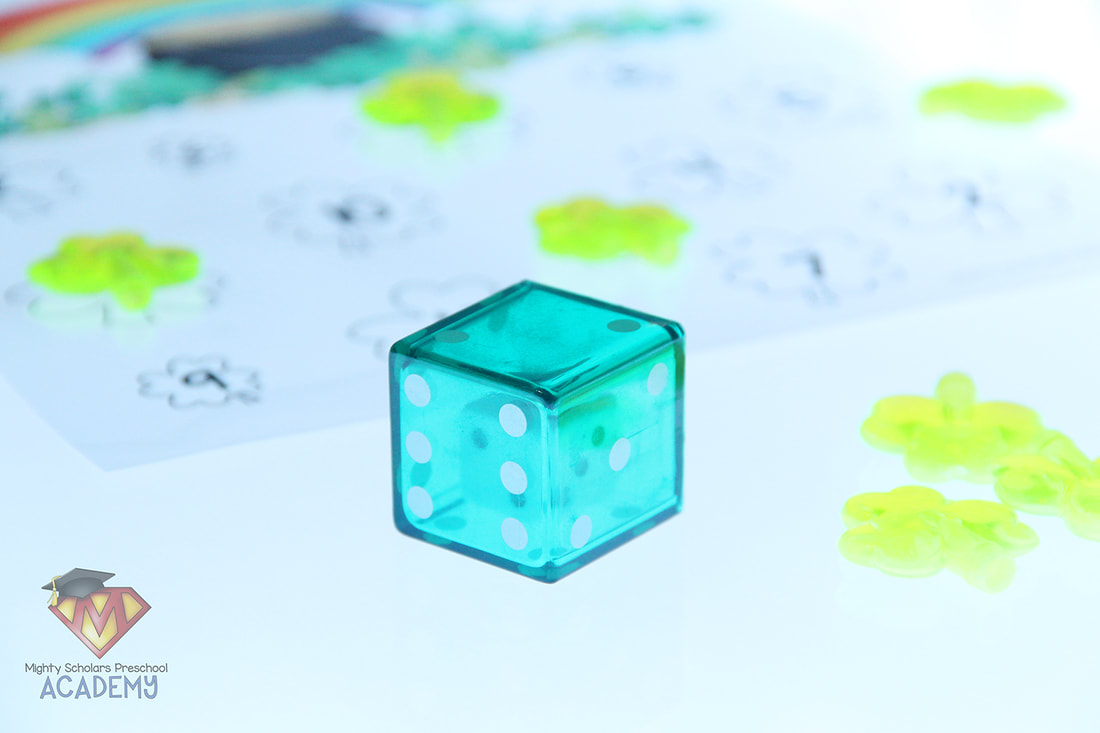
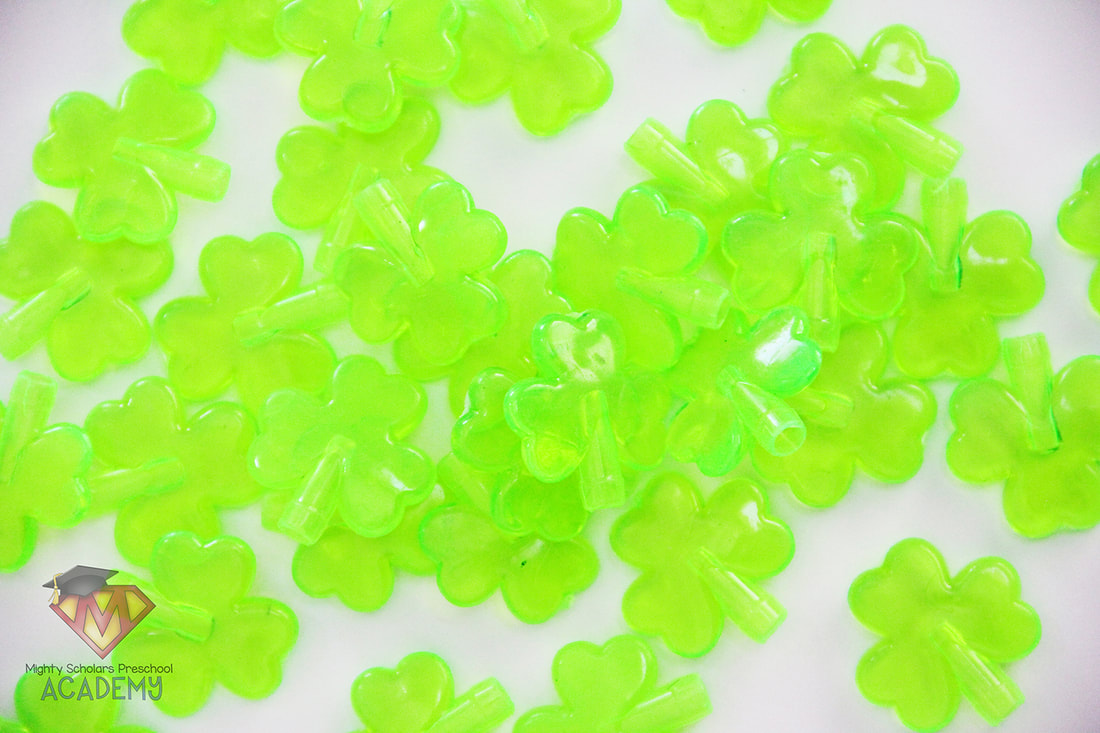
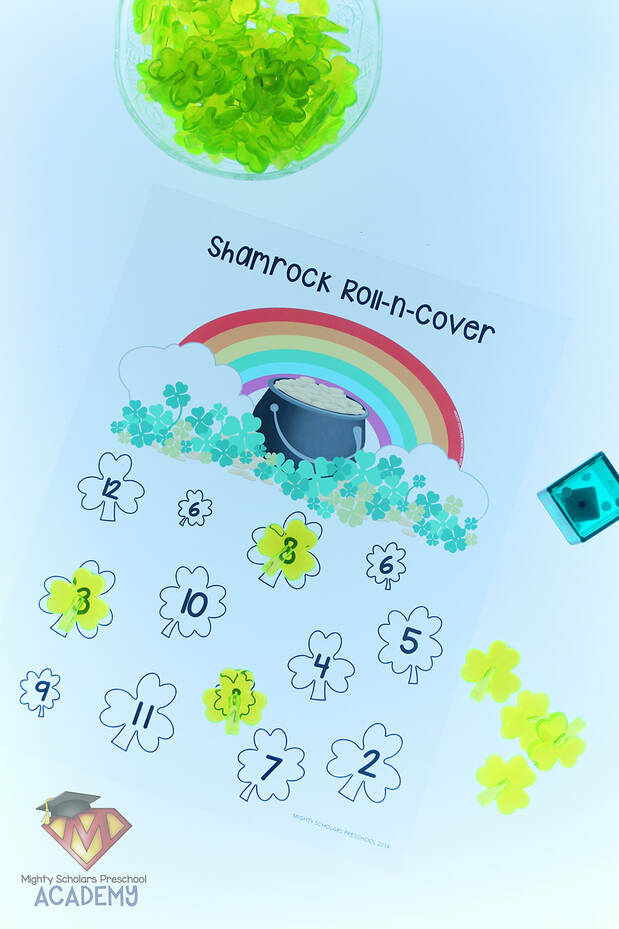
The LED light strings have translucent green shamrocks that effortlessly slide off, while allowing the lights to be undamaged and used for something else in the classroom. Learning Resources translucent Dice in Dice make the Roll-n-Cover activity easily differentiated. Students can either count only the outer dice, or the total between the inner dice and the outer dice. The Shamrock LIGHT TABLE Roll-n-Cover includes two sets of boards, to help differentiate the activity for different learning levels.
Helpful hints for light table transparencies:
Click on the image below to be taken to the Shamrock LIGHT TABLE Roll-n-Cover:
Please note, as a participant in the Amazon Services LLC Associates Program, I may earn a small commission on qualified recommended links.
The Amazon Services LLC Associates Program is an affiliate advertising program designed to provide a means for sites to earn advertising fees by advertising and linking to Amazon.com.
My Amazon Picks for the Shamrock LIGHT TABLE Roll-n-Cover:
Once a year, my Pre-K scholars participate in a memorable math and literacy extension activity.
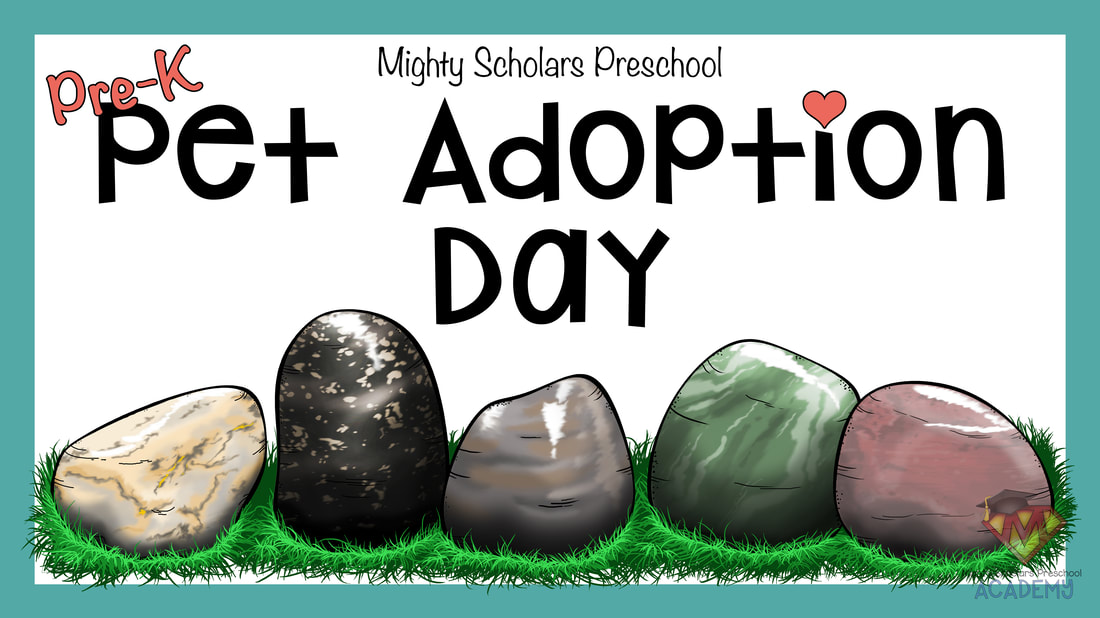
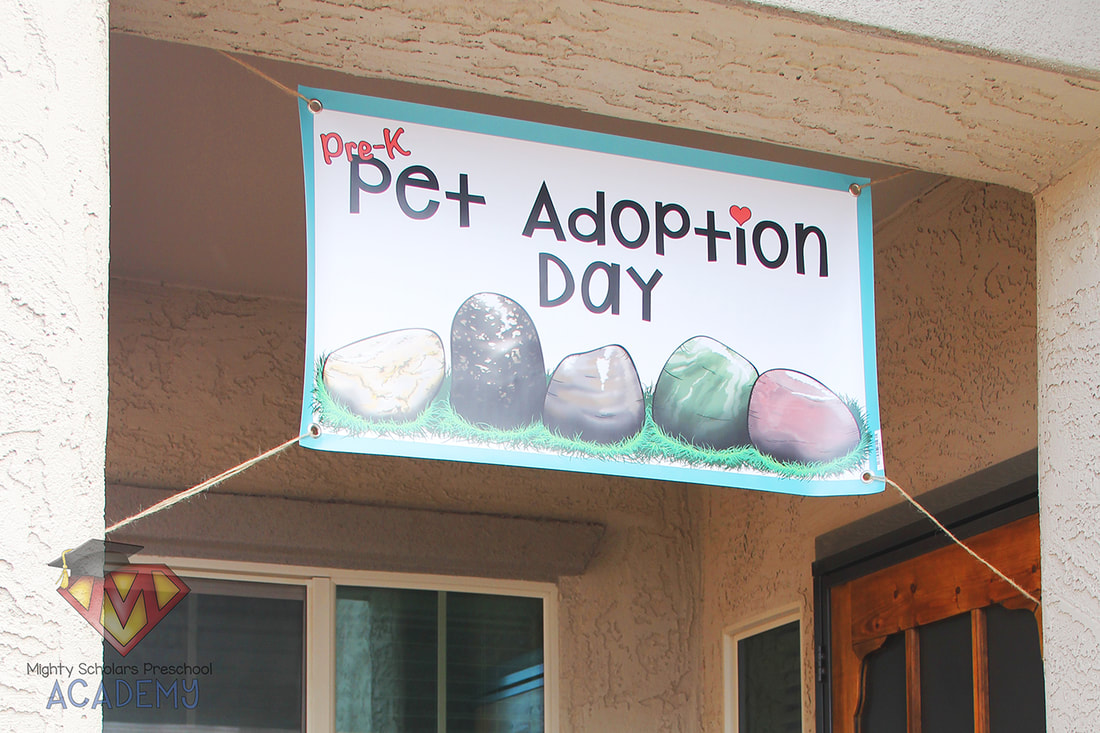
Pre-K Pet Adoption Day is a highly anticipated activity, filled with wonder and excitement. My Pre-K scholars learn about: pet care, earning and saving money, following a shopping list to purchase supplies, and being responsible for a pet like no other. Pet Adoption Day can be an extension activity added to any pet or animal theme/unit, or a study on rocks.
For three weeks, my scholars earn money by being engaged in their centers and building up their classroom family members.
On the first day of our extension activity, each of my scholars decorate a large, brightly colored envelope. The decorated envelope transforms into their personal class currency wallet. Randomly throughout each days work-cycle, as I engage with students in small group, tutoring or centers, I give scholars class currency. They learn to immediately place it in their wallet, they leave in their school cubby.
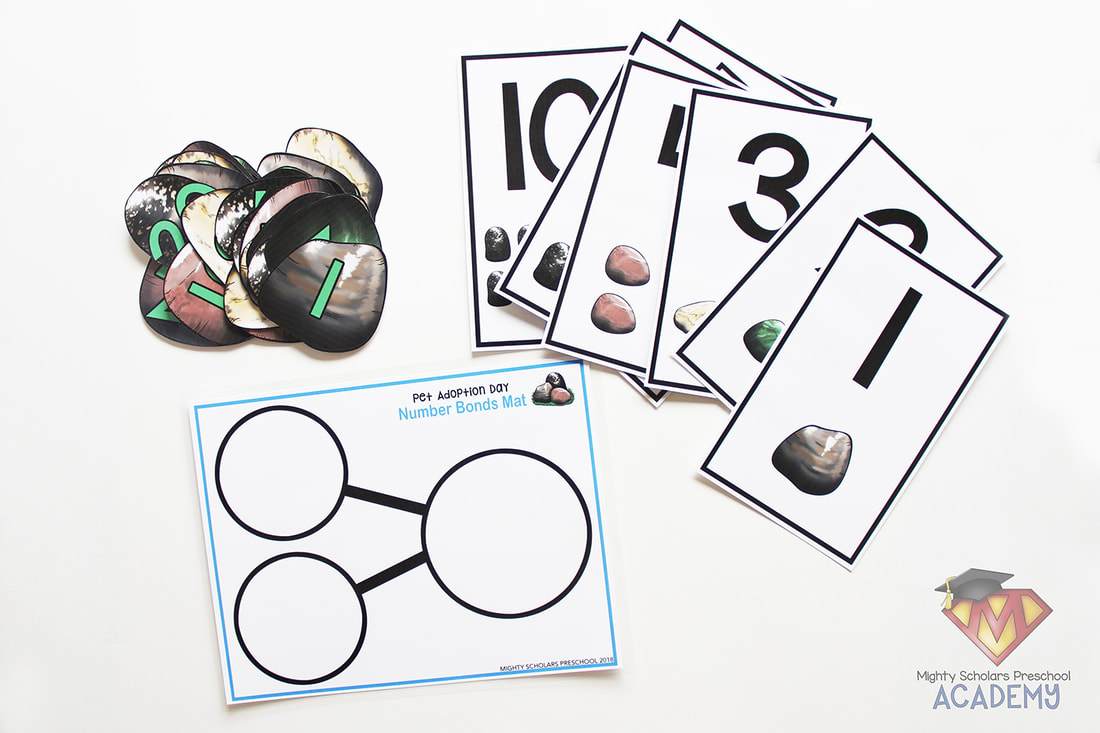
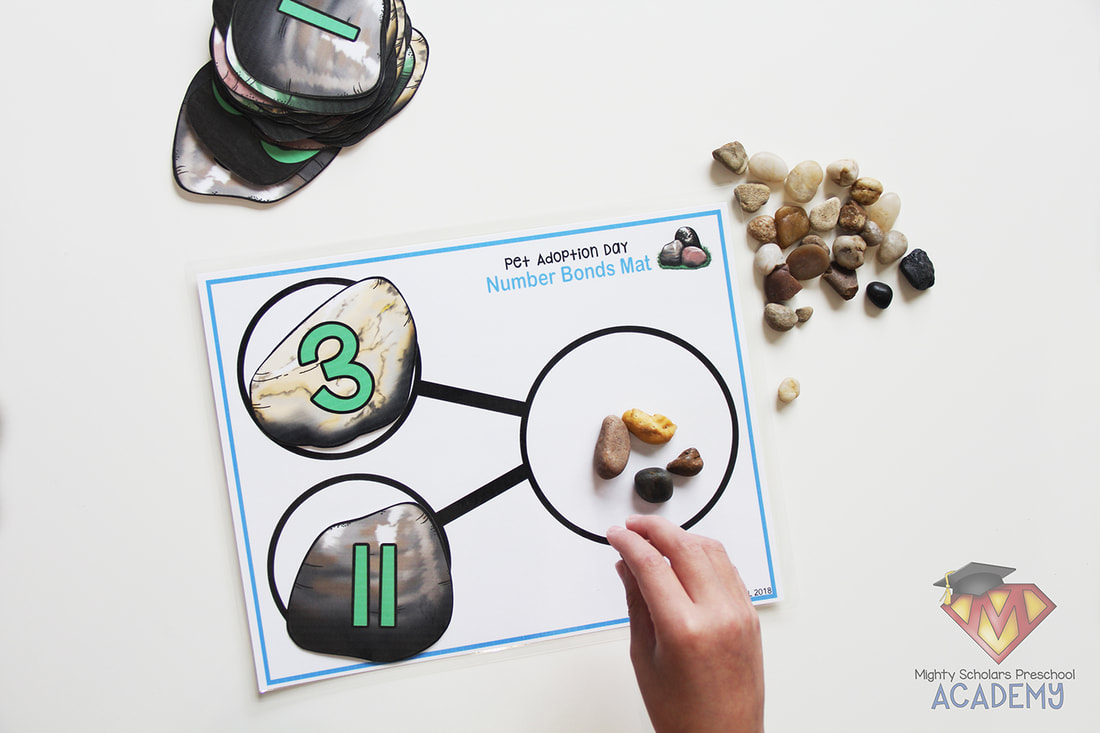
Each morning, we do a small group number bonds activity. My scholars bring their wallet to the group table and count their class currency. From there I give them a number that fits into the range of their saved currency total. Each of my scholars count out the given number in class currency and place it in one of the number bond circles. I add between one and three additional dollar bills to a separate circle on their number bonds mat and then they count the total. They find the corresponding number card to place on the large number bonds circle. We move around the piles on the mat and go over the addition/subtraction problem in more detail. During the week of our activity, I use small pebbles, rather than class currency. The pebbles are a fantastic connection to the adoption of their pet rocks. Over the three weeks, my scholars learn the basics of a mathematical concept that they can then demonstrate to others.
Children's books help lead up to the special event.
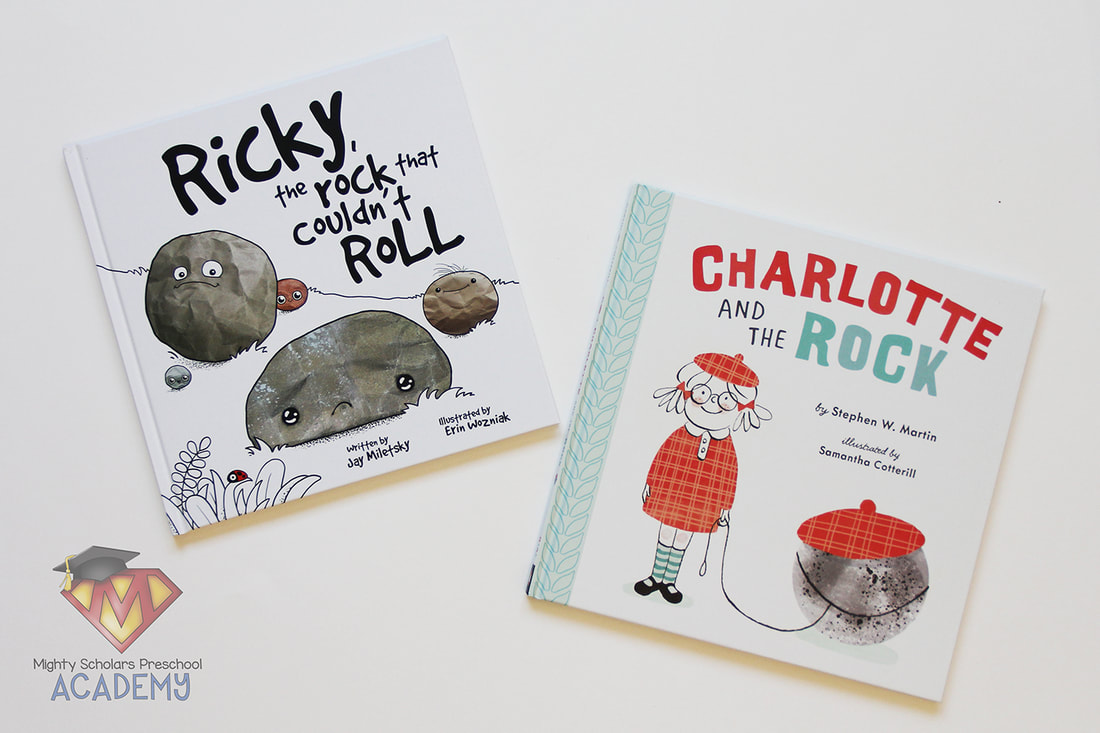
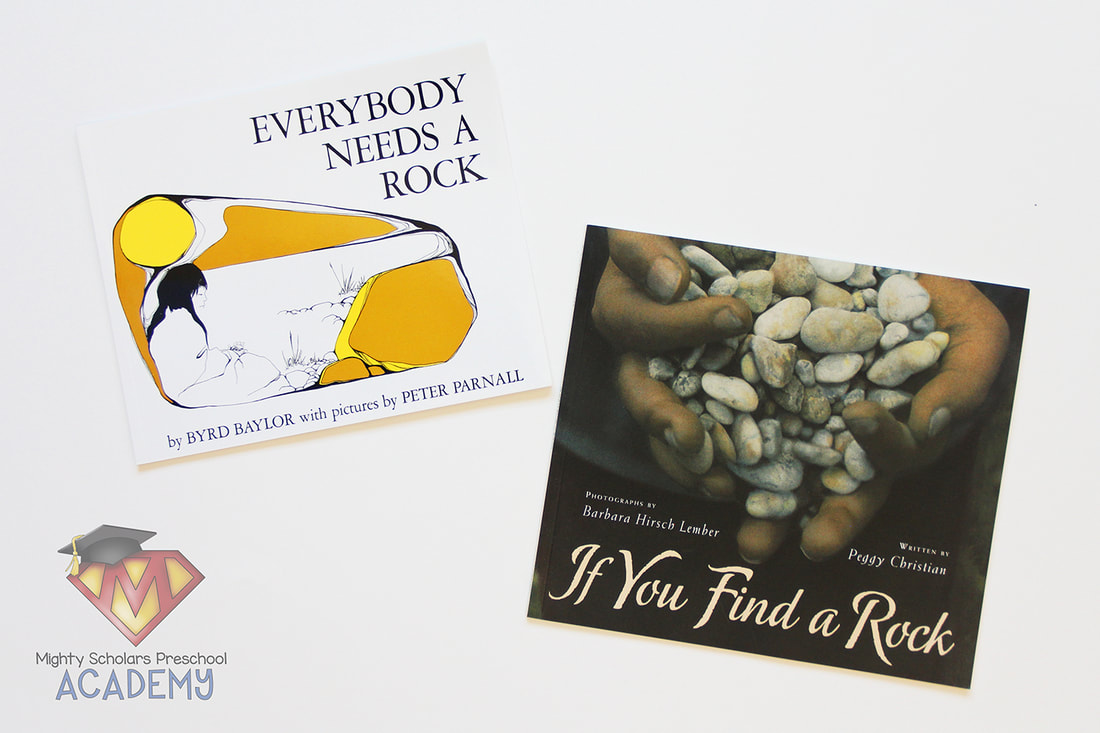
There are four books I like to read, in the days leading up to our Pet Adoption Day. I like to start out with 'Ricky, The Rock That Couldn't Roll' by Jay Miletsky. Second, I read 'If You Find a Rock' by Peggy Christian. Third, I like to read 'Everybody Needs a Rock' by Byrd Baylor. On the school day prior to Pet Adoption Day, I like to read the book 'Charlotte and The Rock' by Stephen W. Martin. Since children are naturally fascinated with rocks and rock treasures are so abundant, you can ask your scholars about rocks they may have found, or bring different types of rocks in for them to observe closely as you read one of the books. I like to have my science center lesson activities about rocks as well.
Signs and set-up help foster excitement.
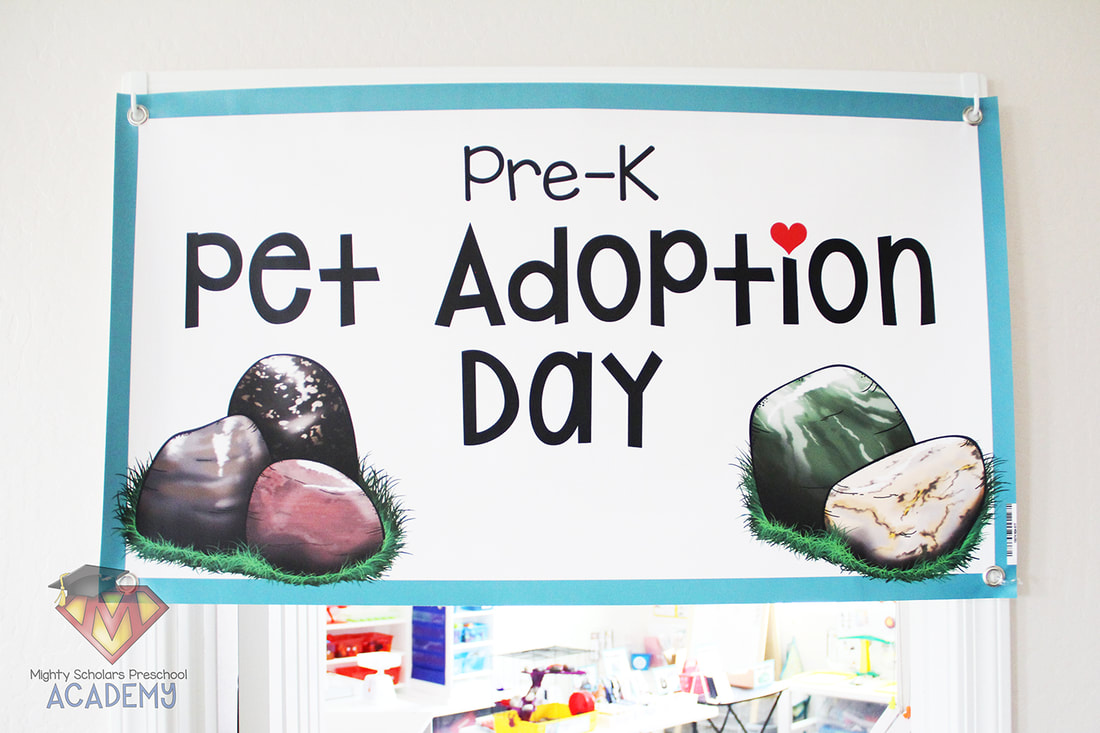
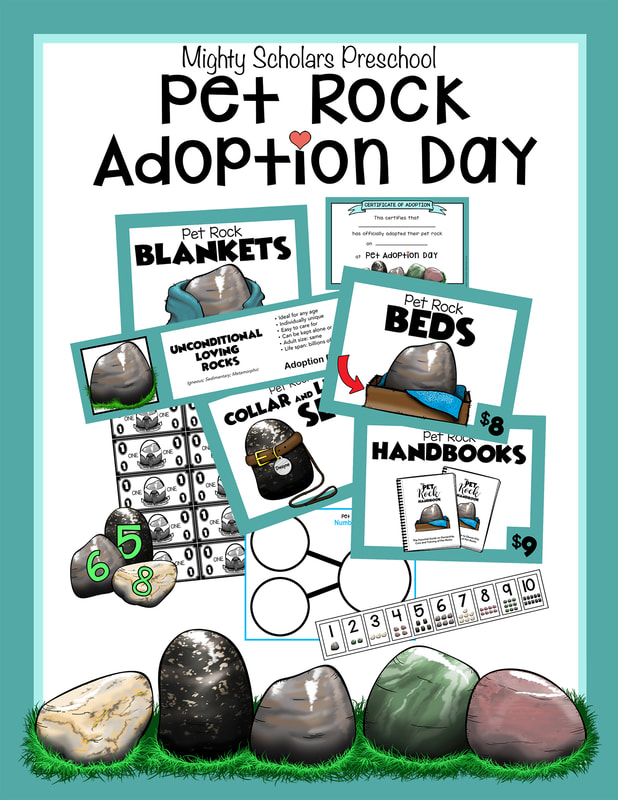
On Pet Adoption Day, my scholars are greeted with an event banner, as they enter the doors. The goal is to set it up as a life-like adoption event. The more realistic the event, the more students enjoy the entire process. Having banners made isn't required, but I like to make specific educational memories for my scholars, that I hope they carry with them for years to come. I have my banners printed through VistaPrint, when they throw a sale. The signs can also be printed on 11x17 paper and laminated, as another alternative. My Pet Rock Adoption Activity Pack has options that range from banners, down to regular printer paper.
Pet care supplies can be easily made.
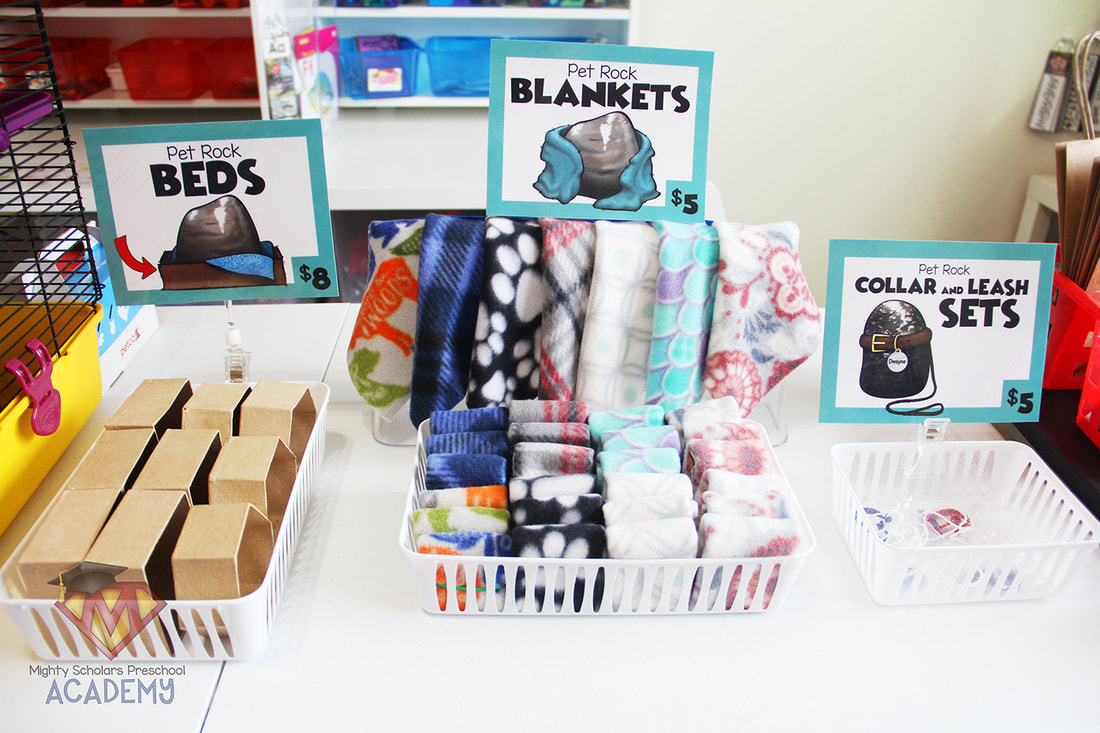
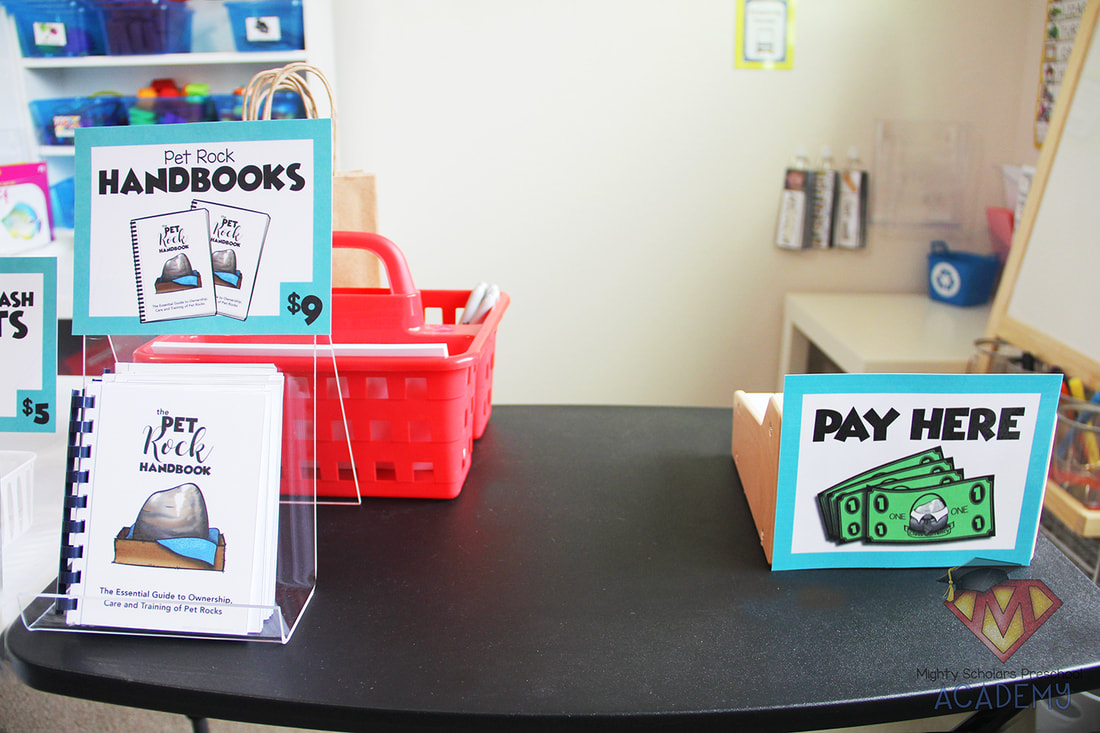
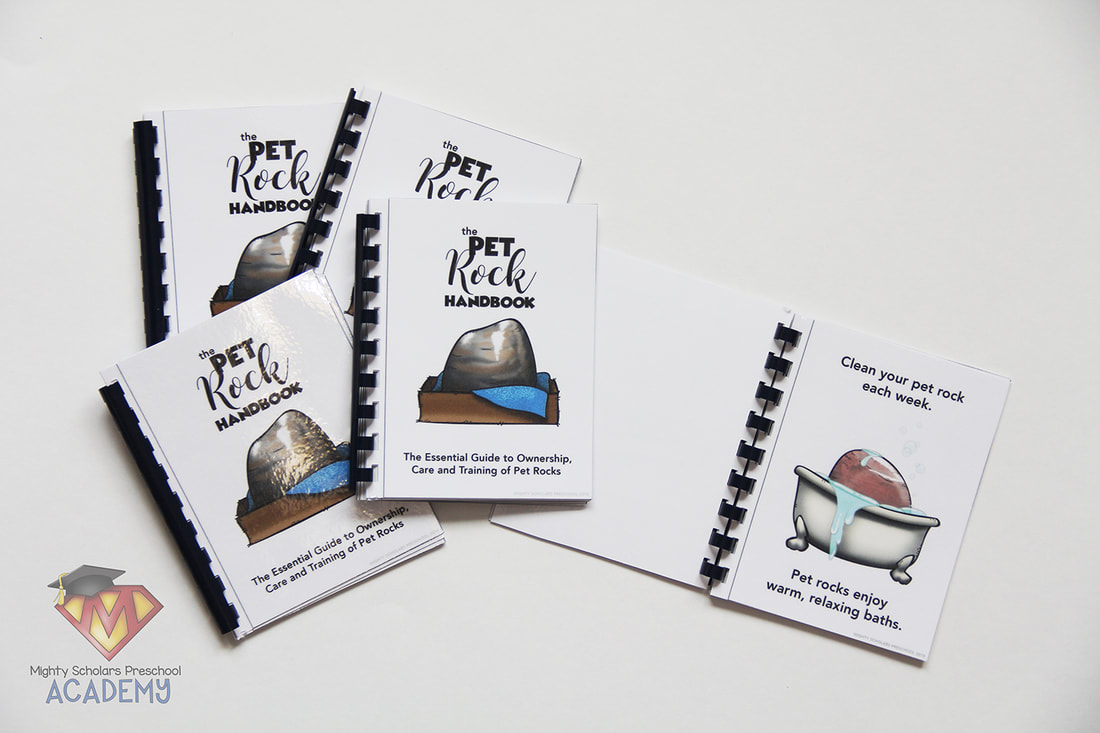
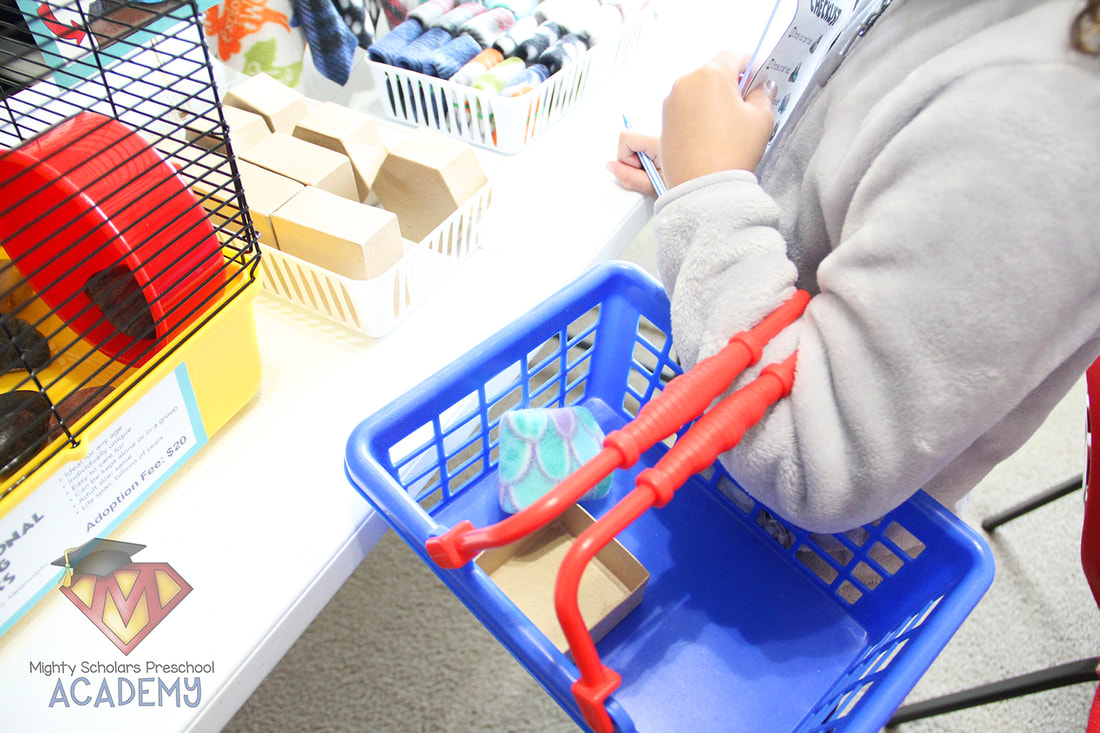
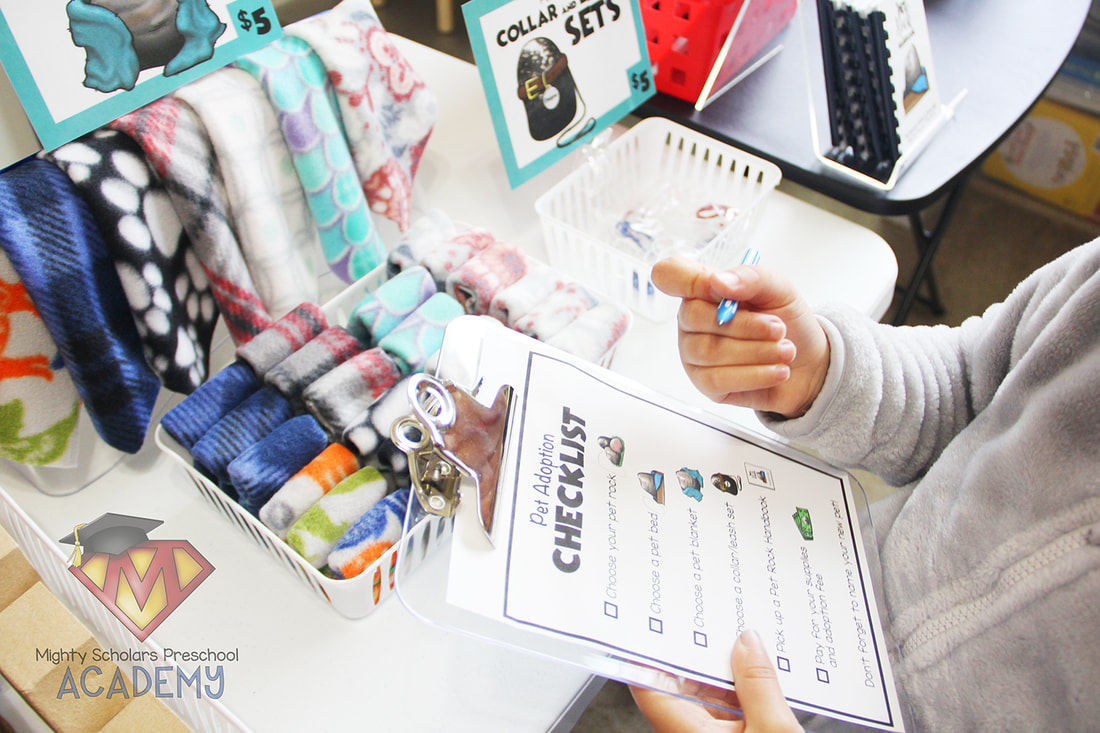
When my scholars arrive on Pet Adoption Day, they receive a shopping list, collect their wallet from their cubby and pick up a shopping basket. The items on the shopping list are: 1. Choose your pet rock, 2. Pick out a pet bed. 3. Choose a pet blanket, 4. Pick out a collar/leash set, 5. Collect a Pet Rock Handbook, 6. Pay for supplies and adoption fee.
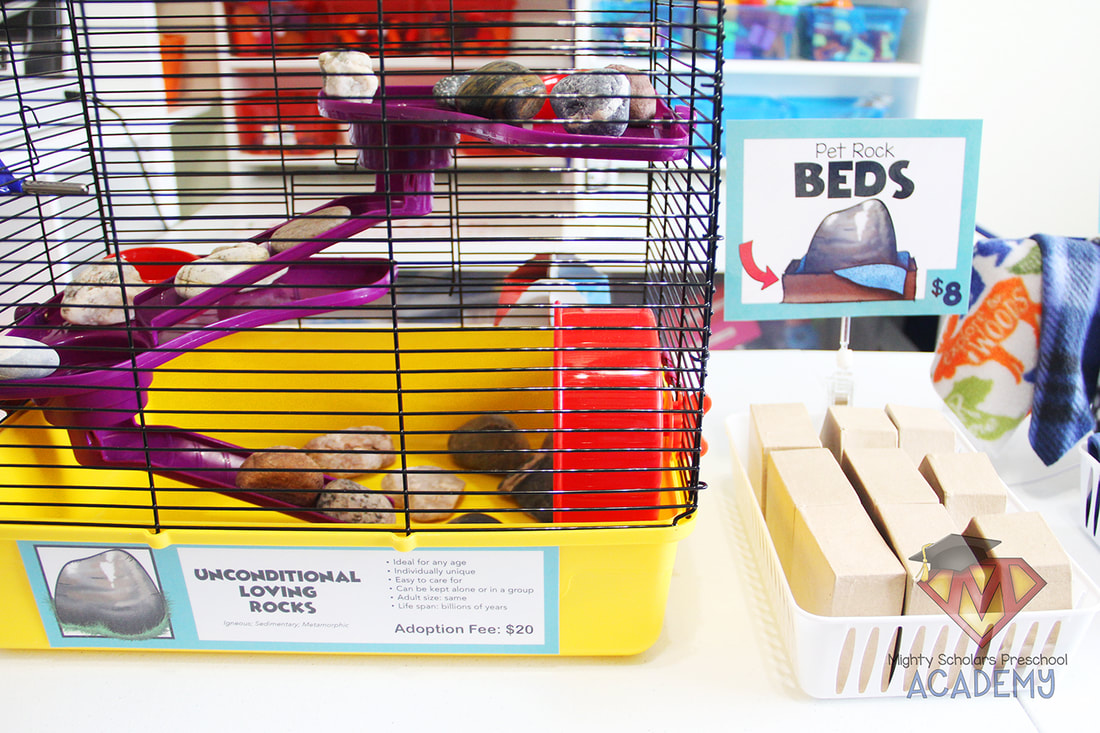
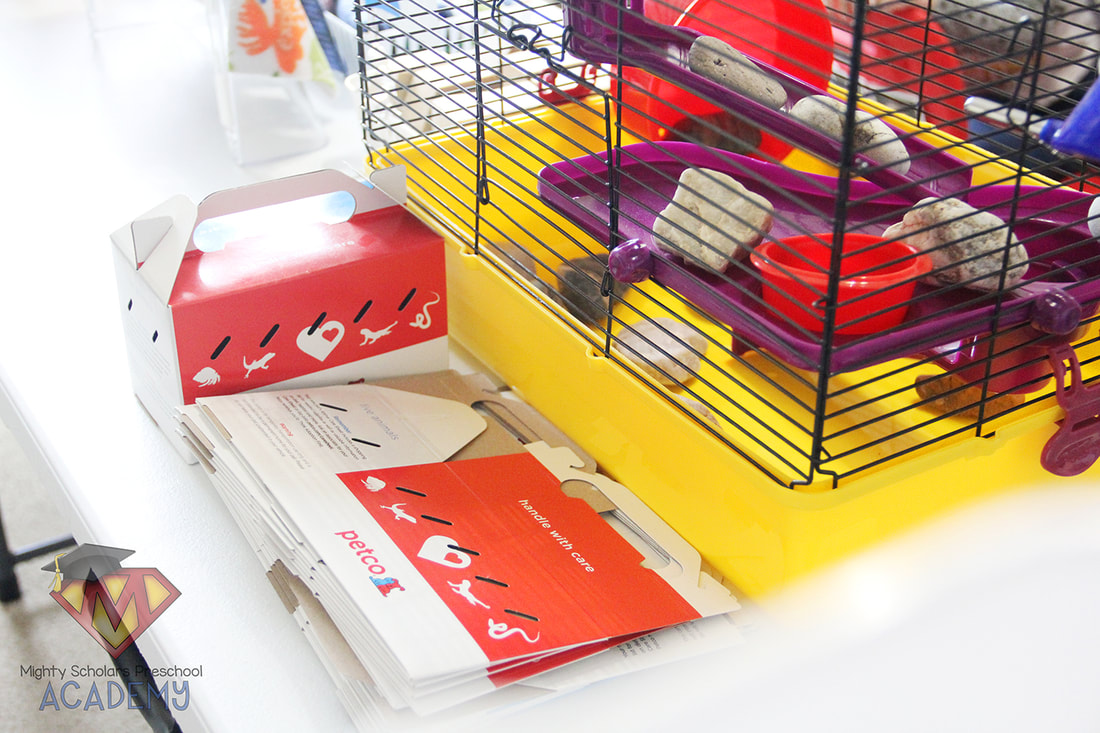
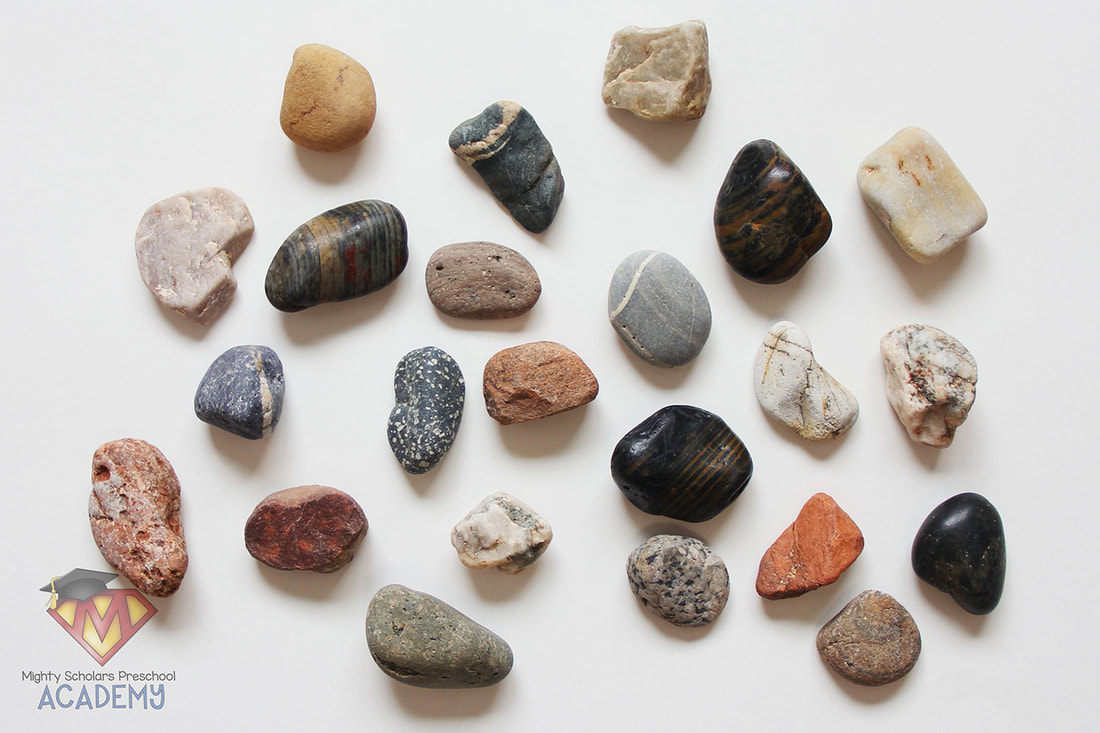
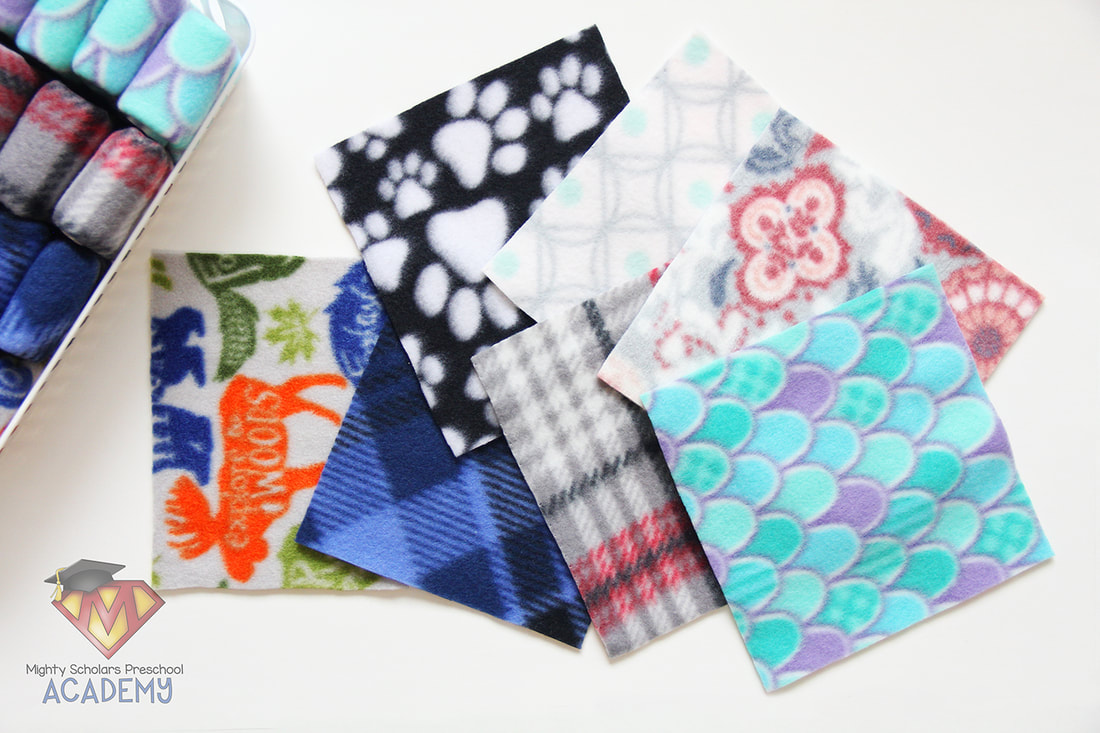
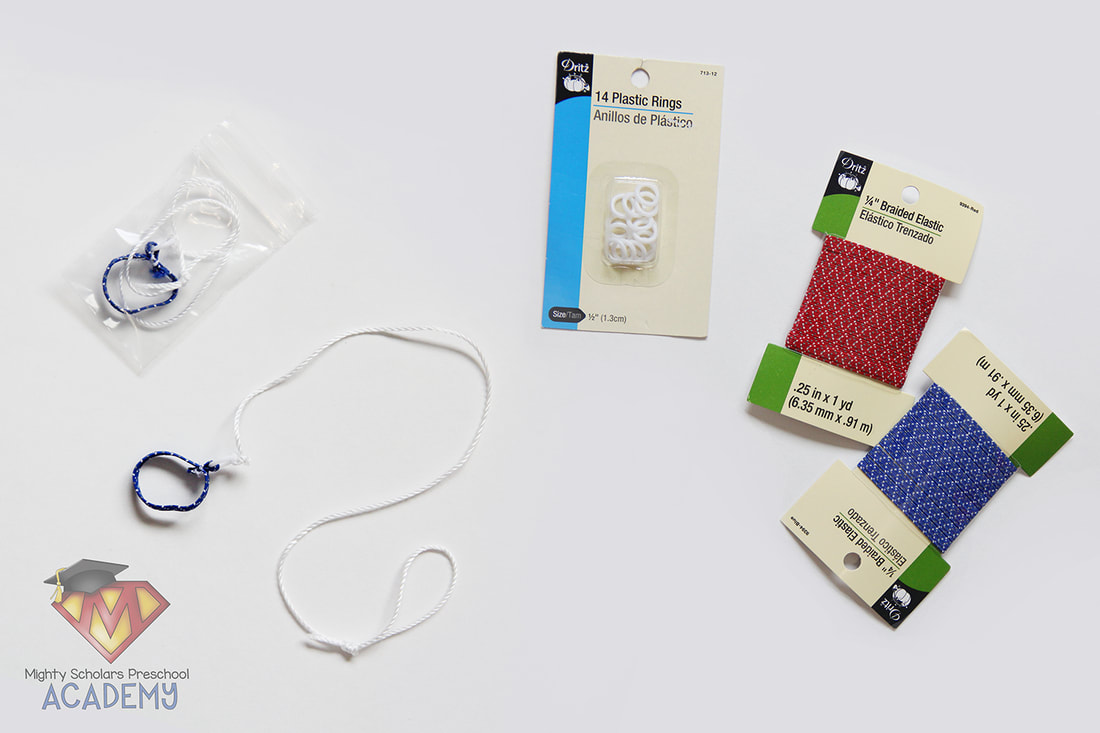
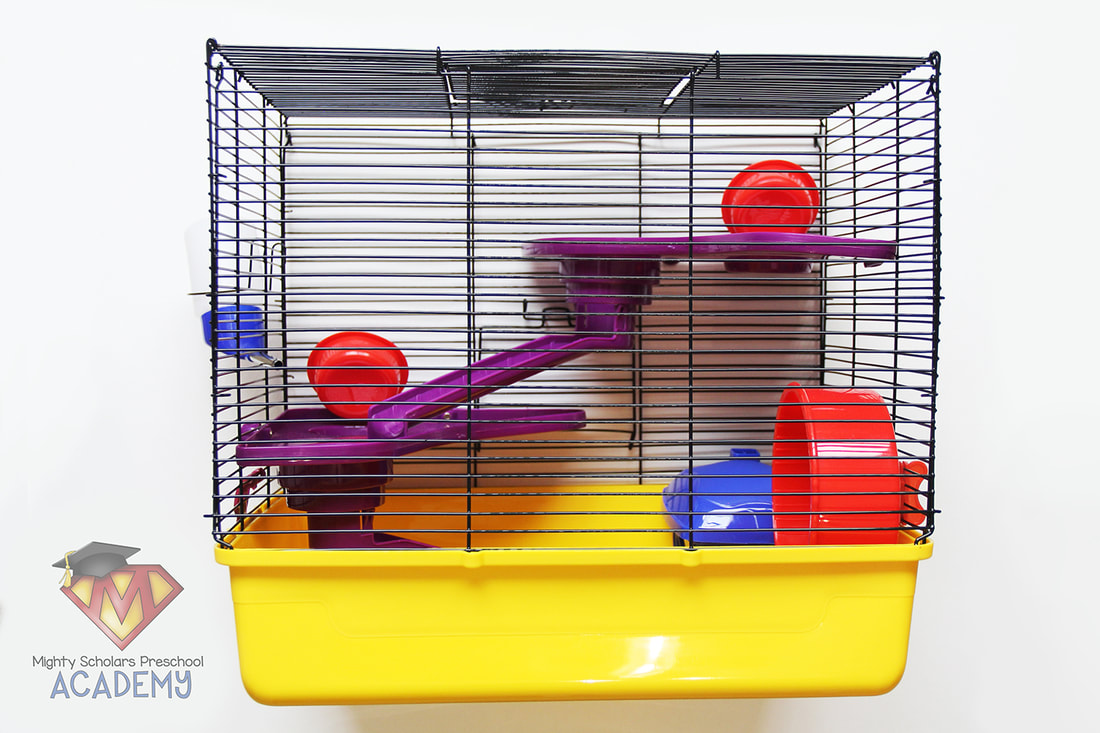
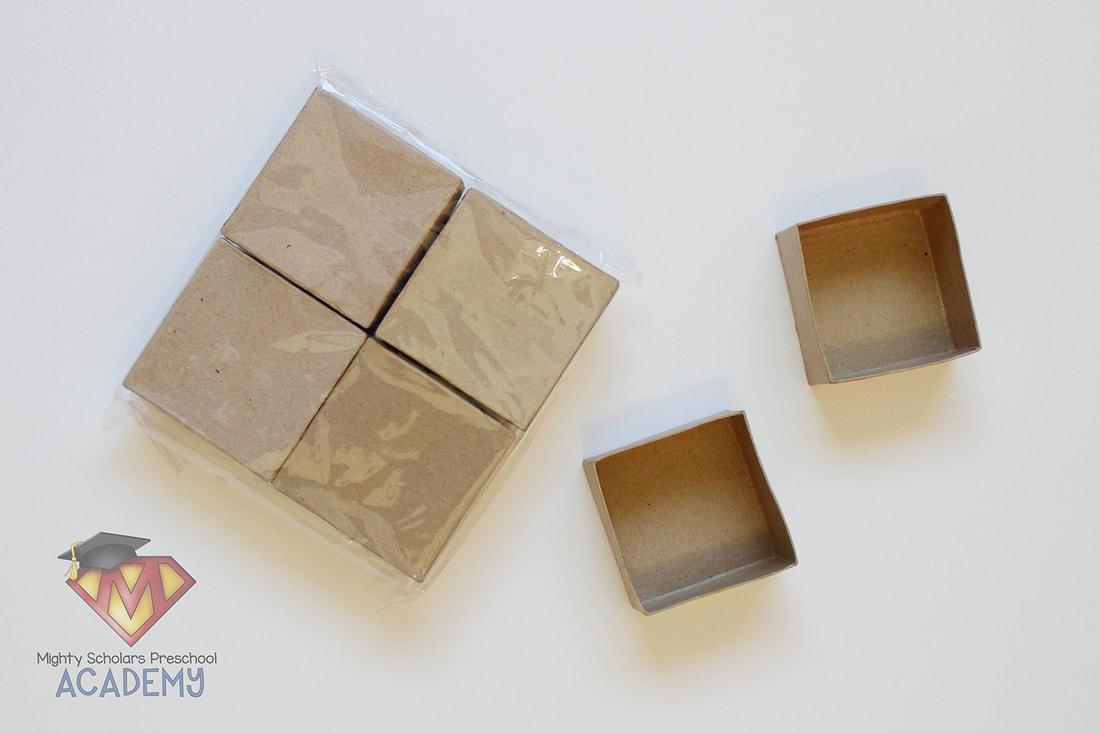
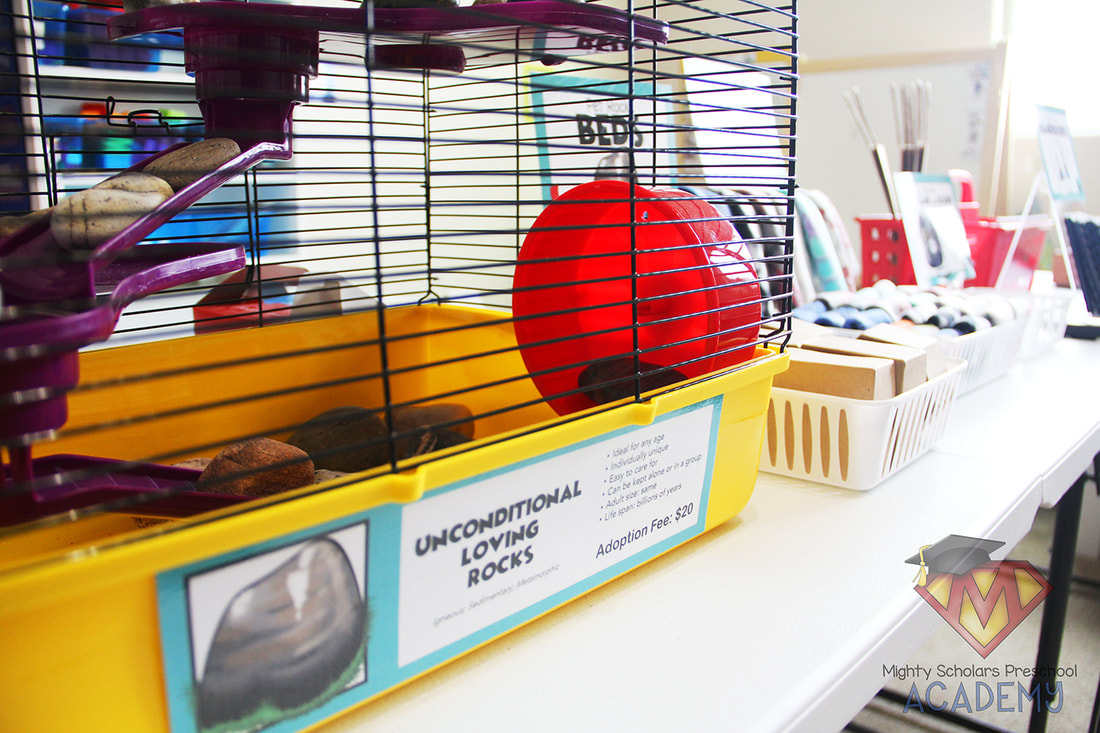
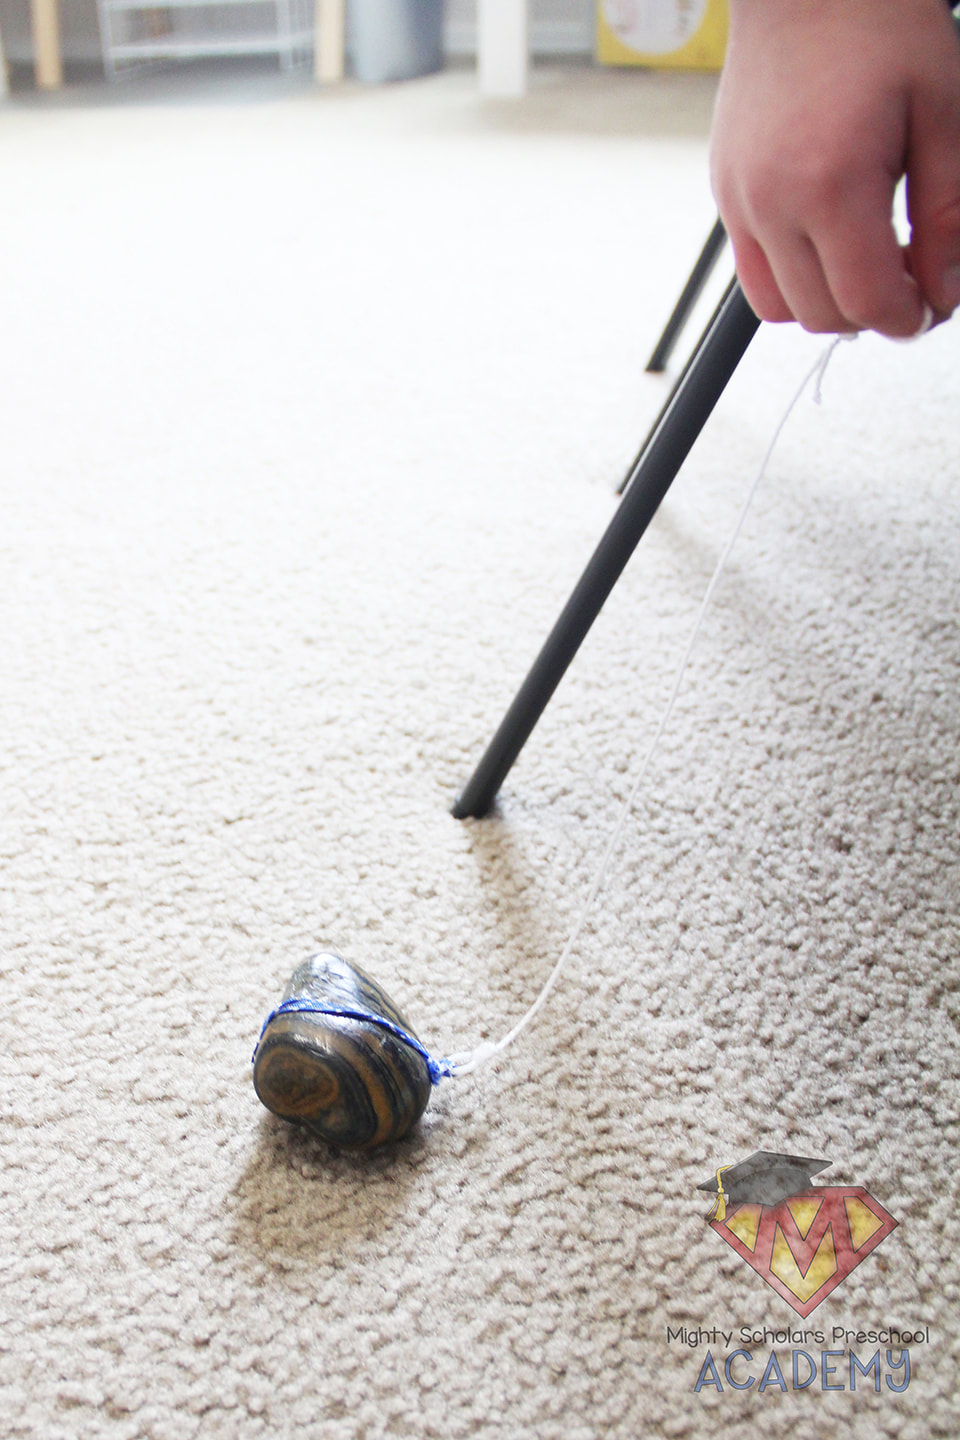
The cage isn't required, but I found a small pet cage on clearance, making it the perfect set up for the adoptable rocks. The rocks are mix of some special finds while on vacations and large river rocks from the craft store. Like most teachers, my upcoming activities are always on my mind. Even on vacation. The pet beds are small papermaché gift/jewelry boxes, I'm always collecting during holiday clearance at stores. The pet blankets are cut from an eighth of a yard of fleece, purchased from the fabric store. Look for sales on fleece allowing you to choose a few different patterns, without it costing very much. That much fleece goes a long way too, making enough for a large class or saving it to repeat the acivity each year. Fleece doesn't fray, so stitching the edges isn't required. I cut the fleece to easily cover the size rocks I chose for the adoption event. The collar/leash combo sets can be made two different ways. First, small lengths of quarter inch-wide elastic can either be glued or sewn together, to form the collar. Then, string can be added by tying or connecting via a small plastic ring. The second collar/leash combo method is to use a thick rubberband and tying the string leash around the band. Pet Rock Handbooks can optionally be laminated. Since I have access to both a laminator and a binding machine, I chose to laminate and bind them, using binding combs I cut in half. The handbooks are included in the Pet Rock Adoption Day Activity Pack.
Pet carriers and adoption certificates make it official.
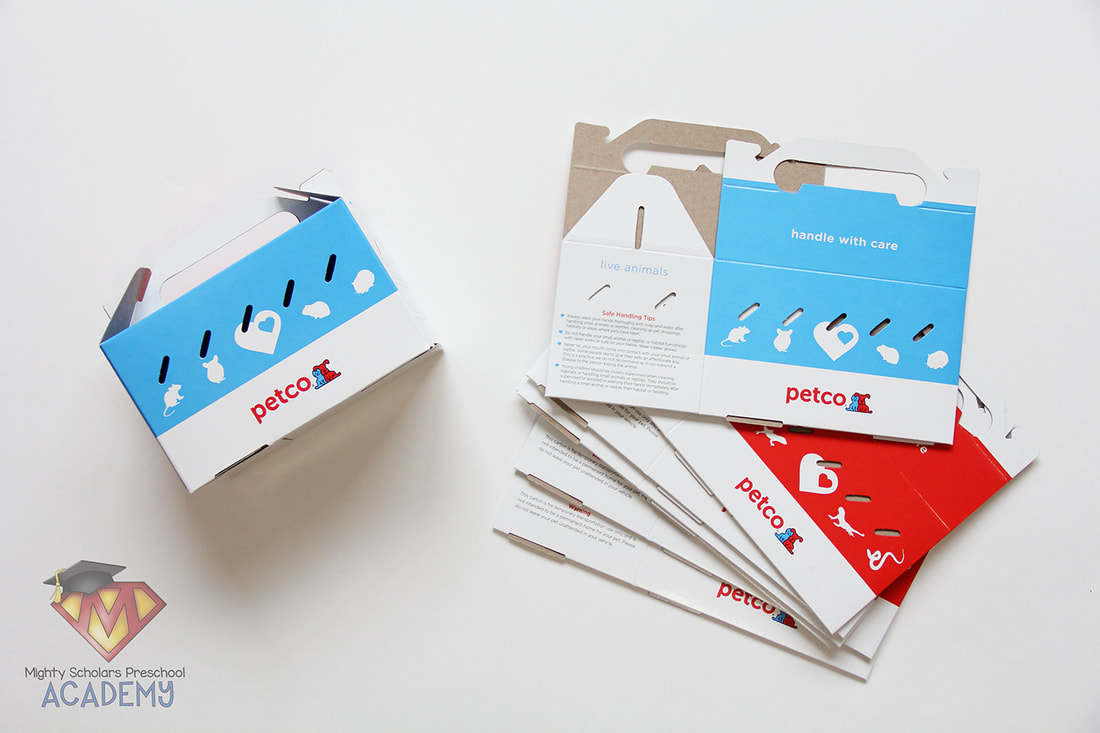
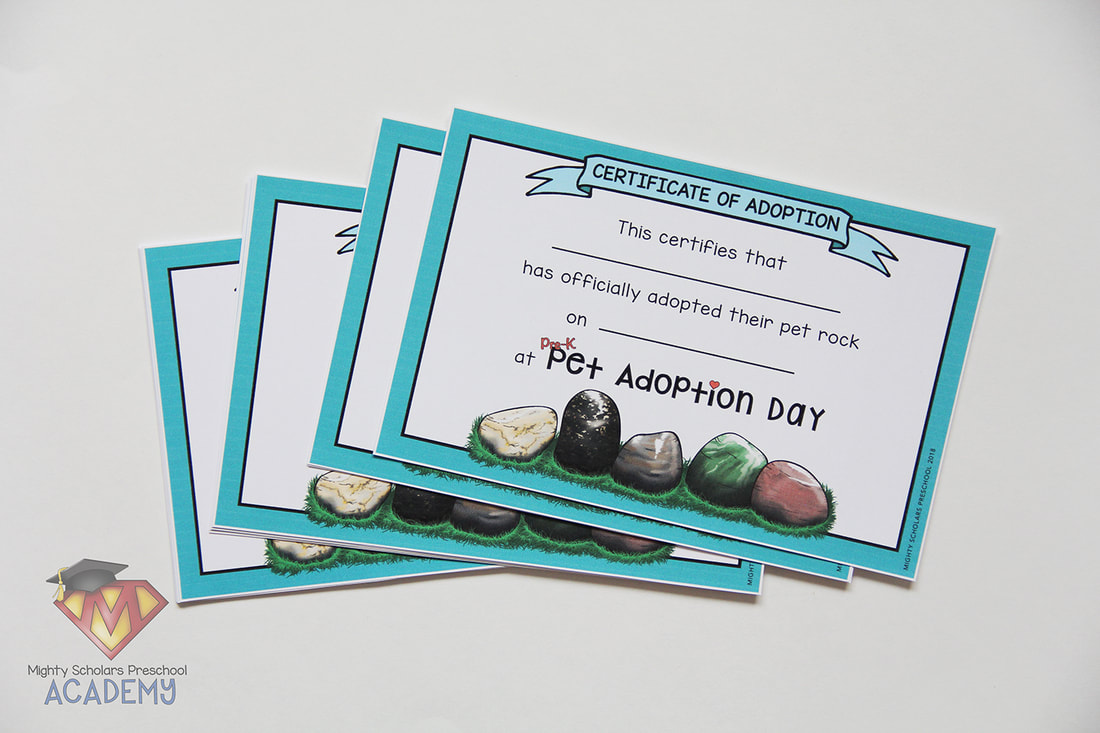
Small animal carrier boxes are the perfect fit for pet rocks. This years boxes were donated to my school by my local Petco. Most big box petstores will happily donate a class set, by explaining the activity to the store manager. After a scholar chooses a pet rock, I write their name on the cardboard carrier and place the chosen pet rock inside. Their carrier is set aside, until they've finished shopping and are at checkout. The last step, before paying at the register, is to be given an official adoption certificate.
The checkout process provides a wonderful math opportunity.
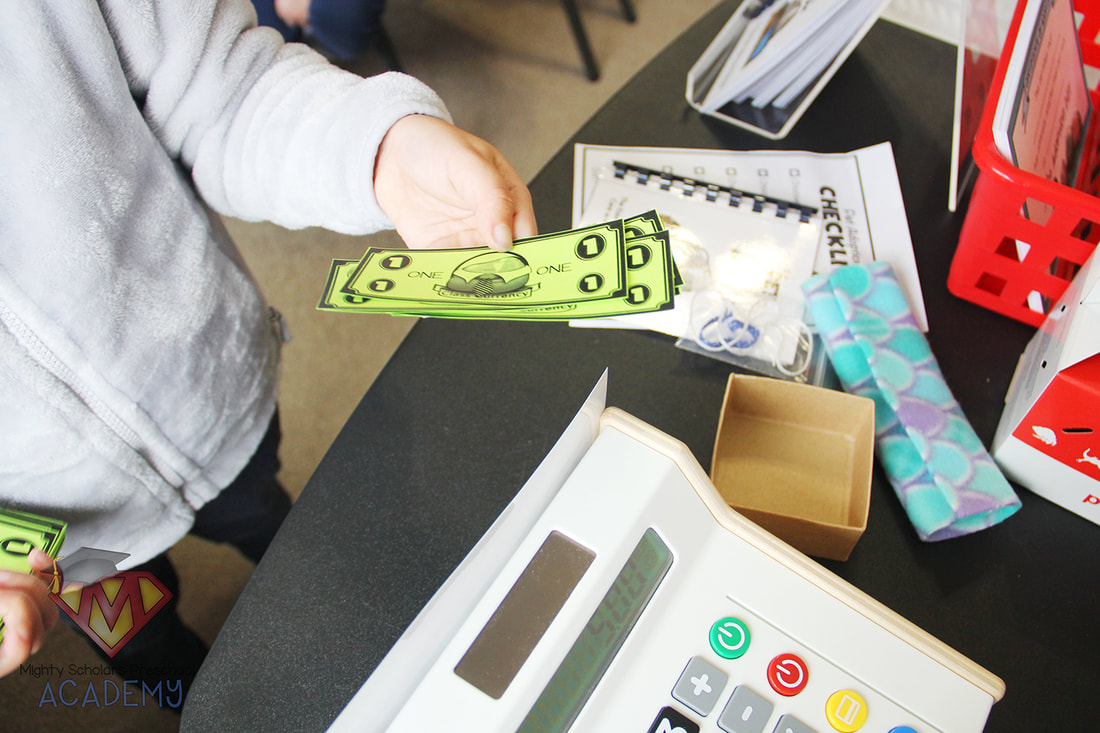
When my scholars have completed their shopping experience and are ready to pay at the register, they pay for one item at a time. This offers multiple opportunities to count class currency, to reach a certain number. Since I use this activity for Pre-K, the largest number they need to count out is twenty. Alternatively, if this activity is being used for an older group, the scholar could count out the total. After they've paid for each item, I place the item in the shopping bag (minus the pet carrier box). Once a scholar has completed the activity, I give them an opportunity to go through their new treasures together, at the group table. Before class is over, I read the Pet Rock Handbook with them, to teach them how to care for their new pet.
All of the signs, labels and activity pages can be found in the Pet Rock Adoption Day Activity Pack.
If you are interested in holding your own pet rock adoption day and would like to use the signs, labels and activity pages seen here, the Pet Rock Adoption Day Activity Pack can be found in my store on Teachers Pay Teachers, by clicking the link at the bottom of this blog post.
Additional Activity Ideas
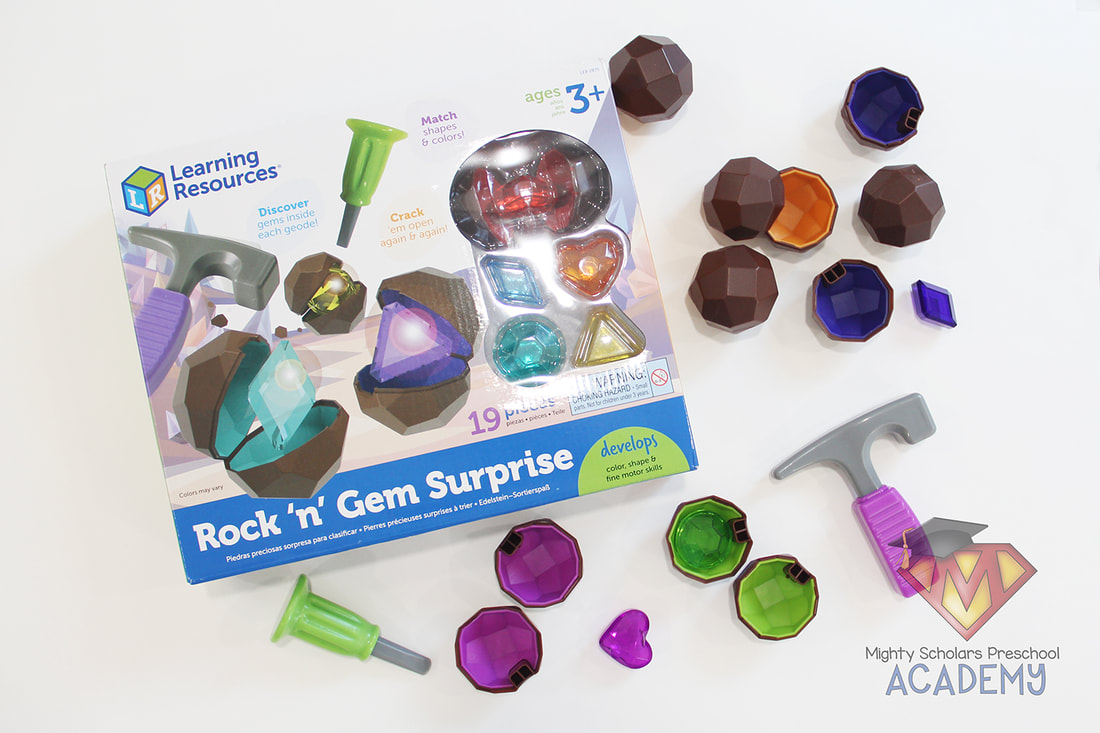
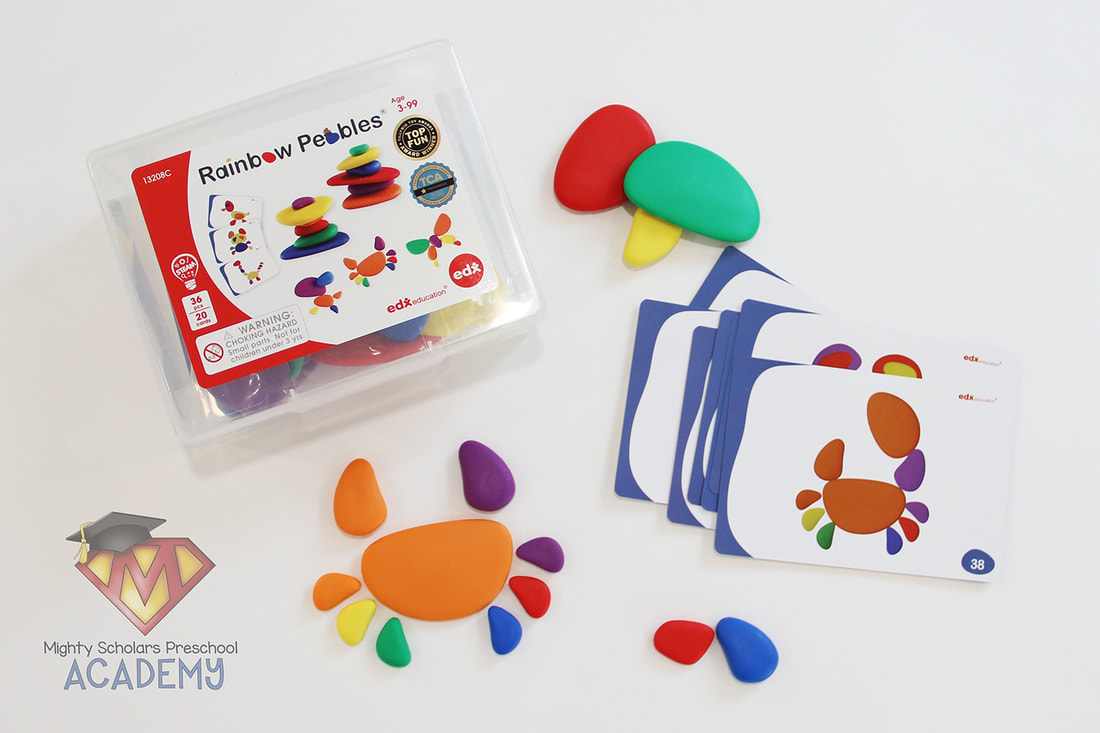
There are a growing number of rock based games on the market. Our two new favorites are 'Rock 'n' Gem Surprise' by Learning Resources and 'Rainbow Pebbles' by EDX Education. 'Rock 'n' Gem Surprise' works on eye-hand coordination, fine-motor, sorting and color matching with reusable play geodes. 'Rainbow Pebbles' is wonderful for sorting, counting, imaginative design, fine-motor and one-to-one correspondence. Both of these activities work a wonderful array of skills.
Click on the image below for the Pet Rock Adoption Day Activity Pack:
Please note, as a participant in the Amazon Services LLC Associates Program, I may earn a small commission on qualified recommended links.
The Amazon Services LLC Associates Program is an affiliate advertising program designed to provide a means for sites to earn advertising fees by advertising and linking to Amazon.com.
My Amazon Picks for the Pre-K Pet Adoption Day:
Farming is a very important part of our lives.
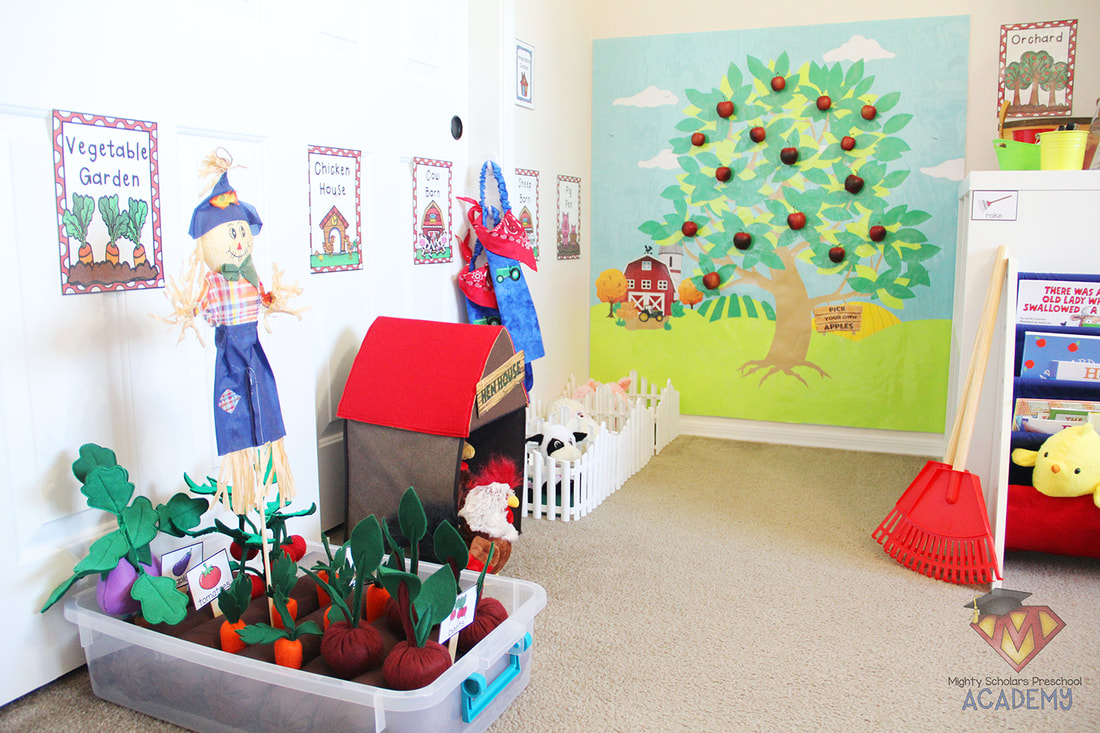
Whether we are personally farming or not, farming and agriculture are an invaluable part of our lives. Without farmers, we wouldn't have the necessary food for survival. Teaching this in early childhood is very important. All the fruits, vegetables, meats, eggs, milk, and grains come from farms. During our Farm and Harvest theme, I teach mini lessons on the importance of farmers, farms and the process or sequence in which animals or plants are cared for correctly. My scholars learn the sequence of growing and harvesting a garden. They'll receive a follow-up lesson later in the school year, as Spring approaches, learning about the parts of plants and growing their own vegetable plant to nurture at home.
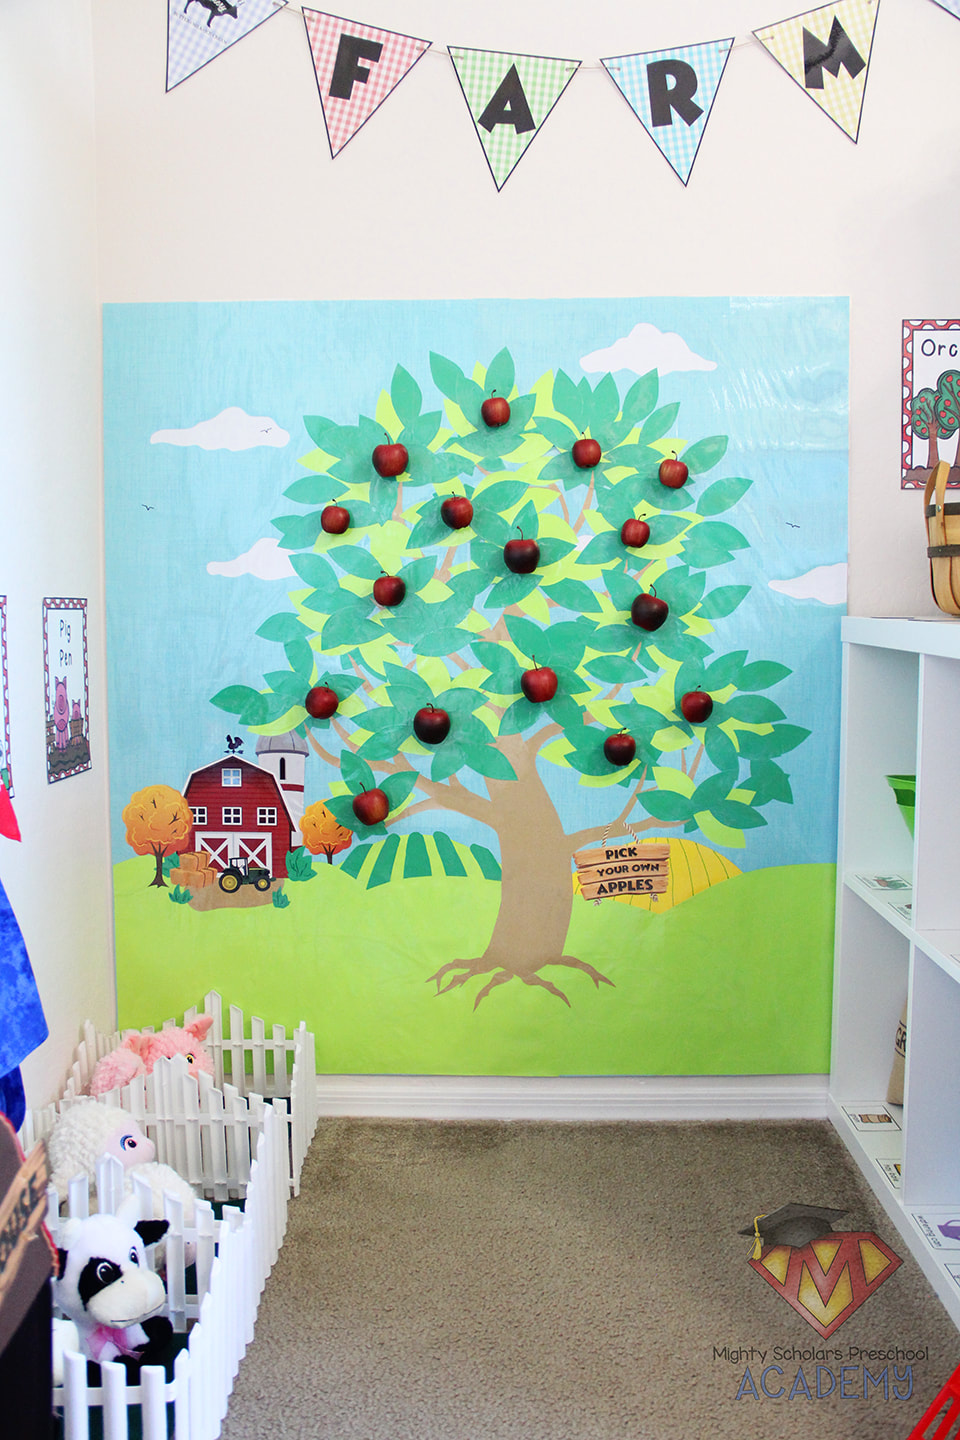
Our mural focuses on an apple tree, full of ripe apples to pick and count.
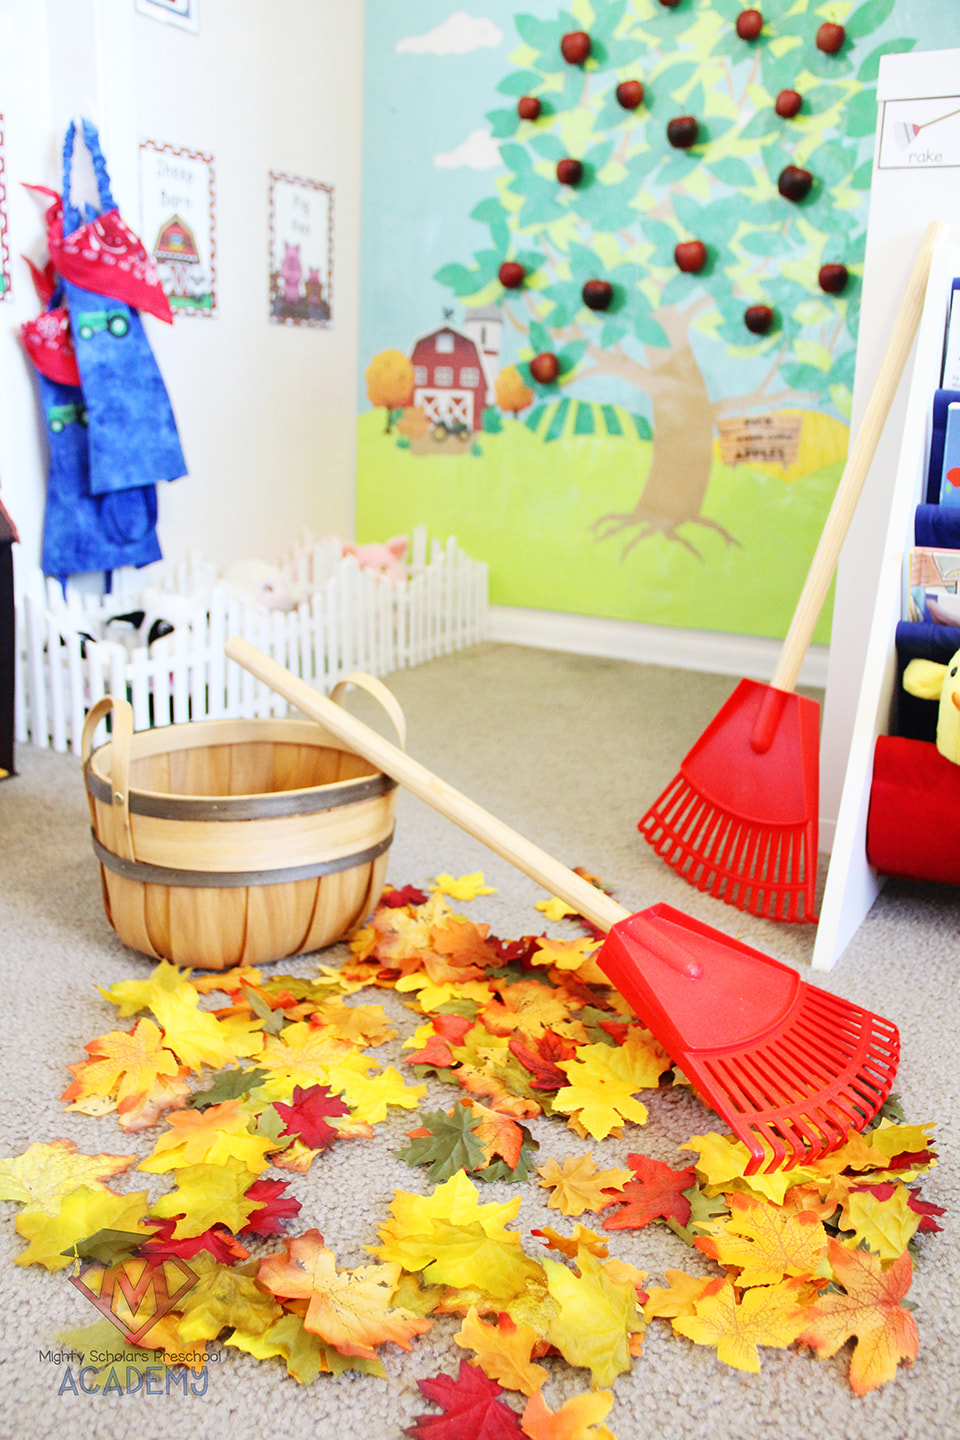
As with all the murals I make for our themes, I start with a base of rolled paper. For our farm and harvest mural I started with a base of blue banner paper and cut light green banner paper into the shape of a long grassy, hilly landscape. The clouds are randomly cut from plain copy paper. The barn, silo, tractor and Fall trees are printed clipart. To add farming fields, I used a light orange-yellow Astrobrights paper hill and dark green Astrobrights paper field rows. I cut a tree trunk shape, freehand, from brown banner paper. The leaves are also cut freehand from Astrobrights paper and glued into position, individually. The "Pick Your Own Apples" sign was made in Photoshop and I've attached it as a freebie, along with a few other goodies, at the end of this blog post.
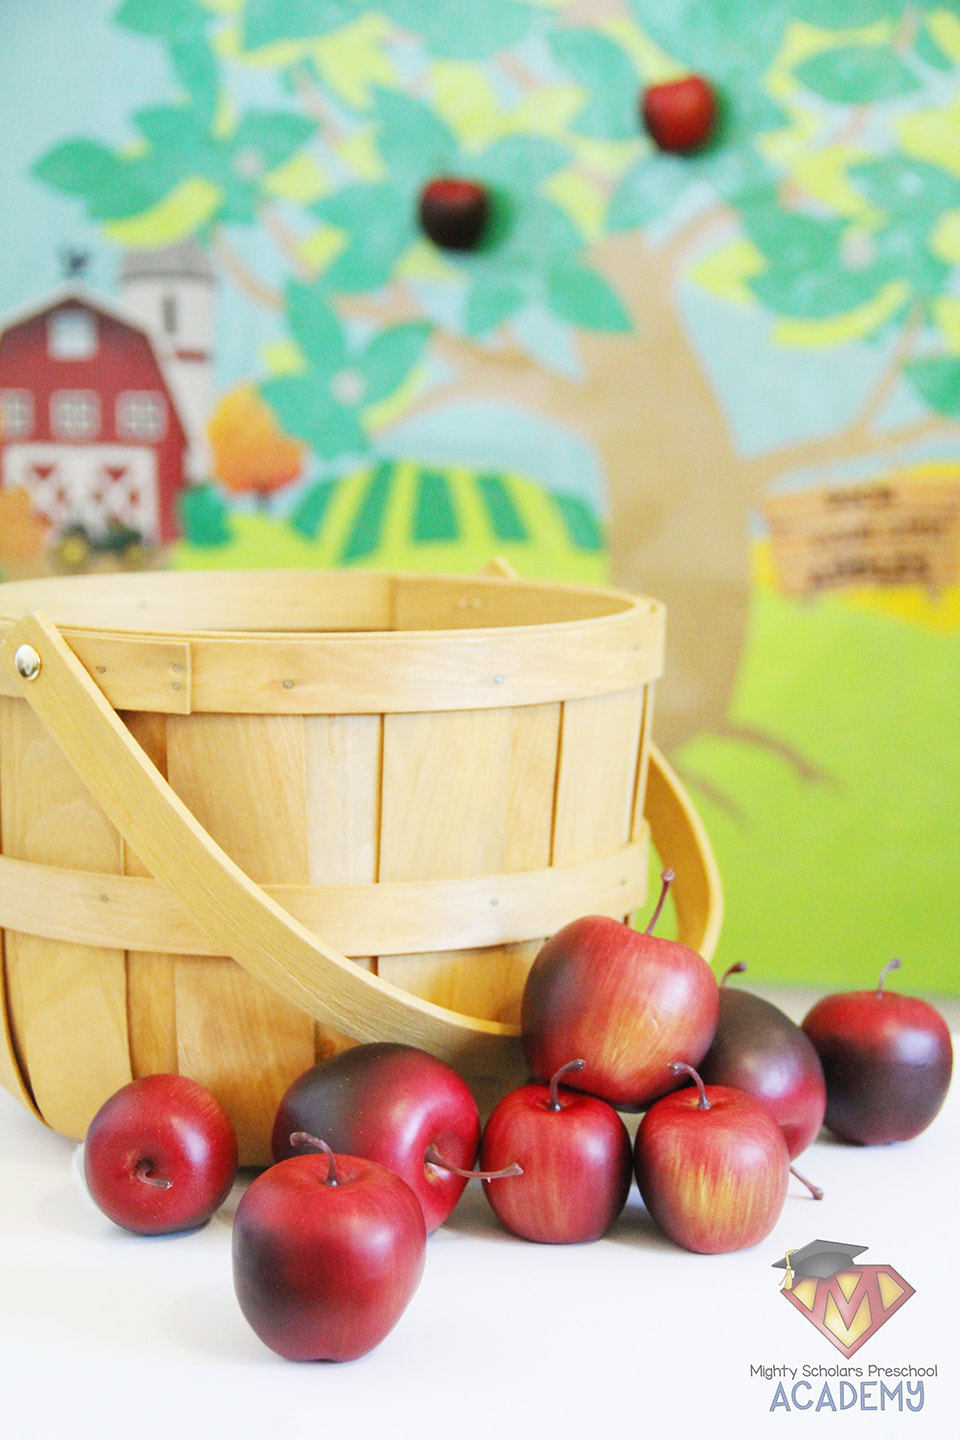
Every mural I create is laminated and stored in an artwork tube, when not in use. To attach the apples to the tree, I used velcro dots, placing the rough loop side on the tree. The soft side is placed onto the apples, that I purchased in the faux display food section of Hobby Lobby. They are the perfect size for small hands and our apple tree mural. The apples provide the perfect, natural opportunity to count. My scholars naturally count the apples as they pick or place the apples back on the tree. These particular apples have slight differences in size, making it possible for many of my scholars to compare and sort them.
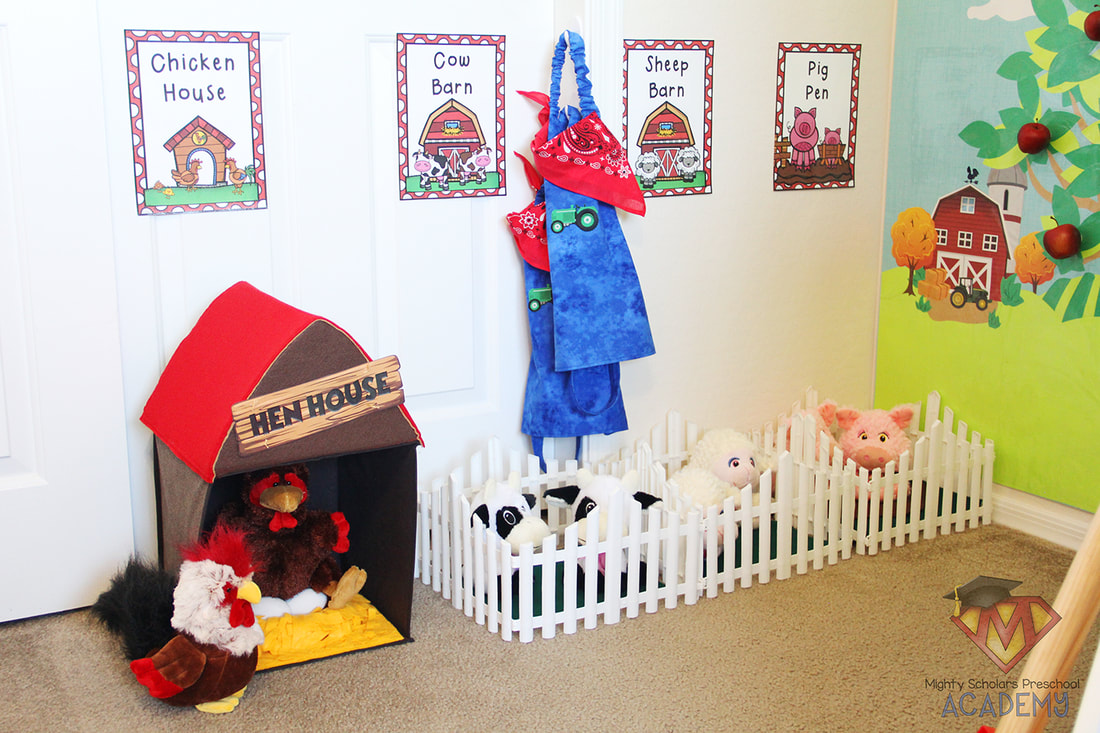
Four different species of farm animals give our little farmers the opportunity to imagine being responsible for other living things.
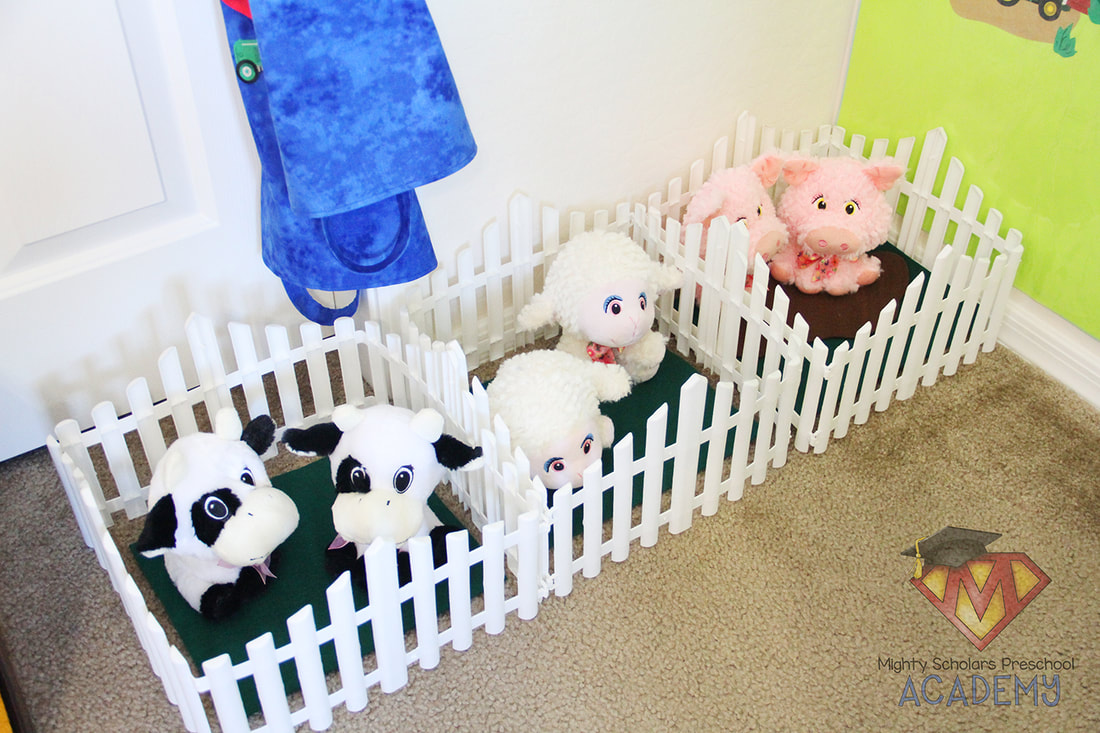
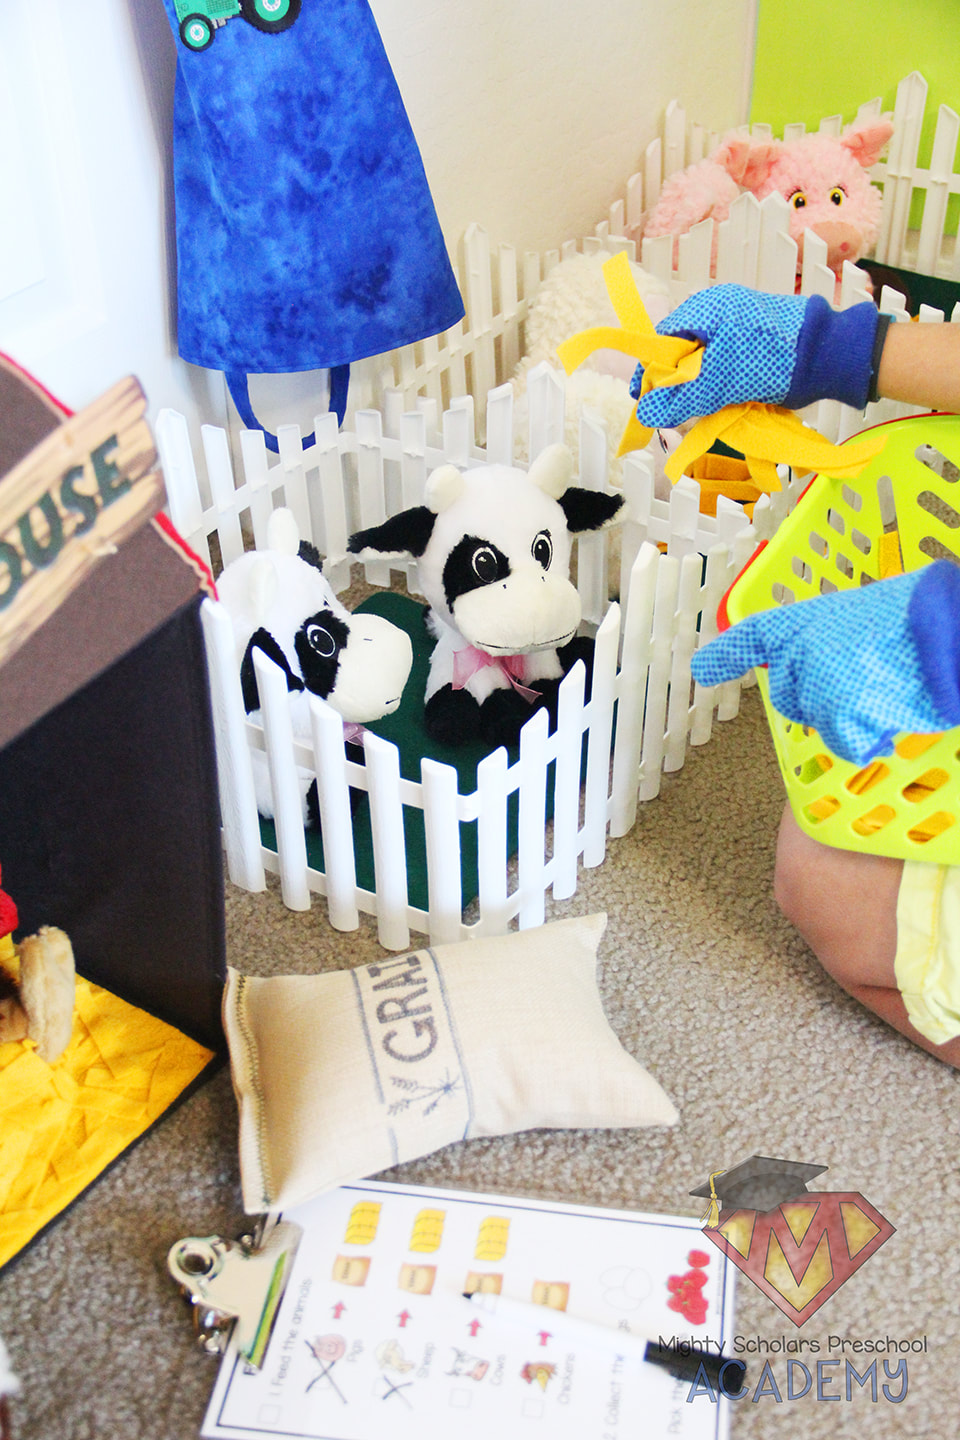
Our little classroom farm animals include pigs, sheep and cows. The groups of animals have their own pens. The stuffed animals are from Walmart and were purchased during an Easter clearance. The pens are connectable, plastic garden fencing. The pig pen has a randomly cut brown felt sheet for a big mud puddle. The sheep and cow pens have green felt squares for grass.
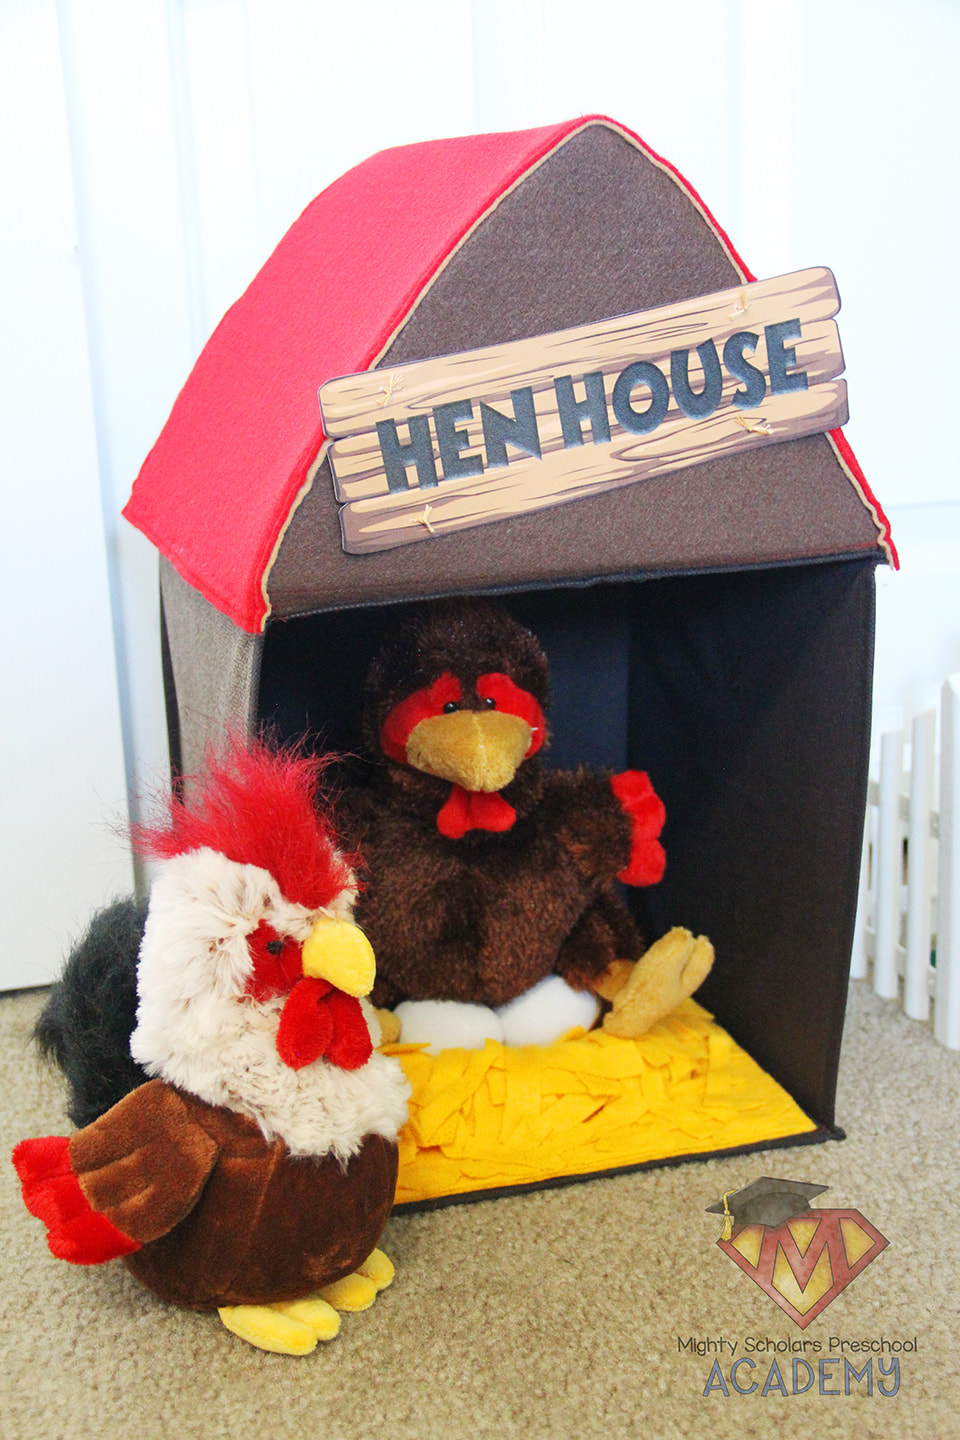
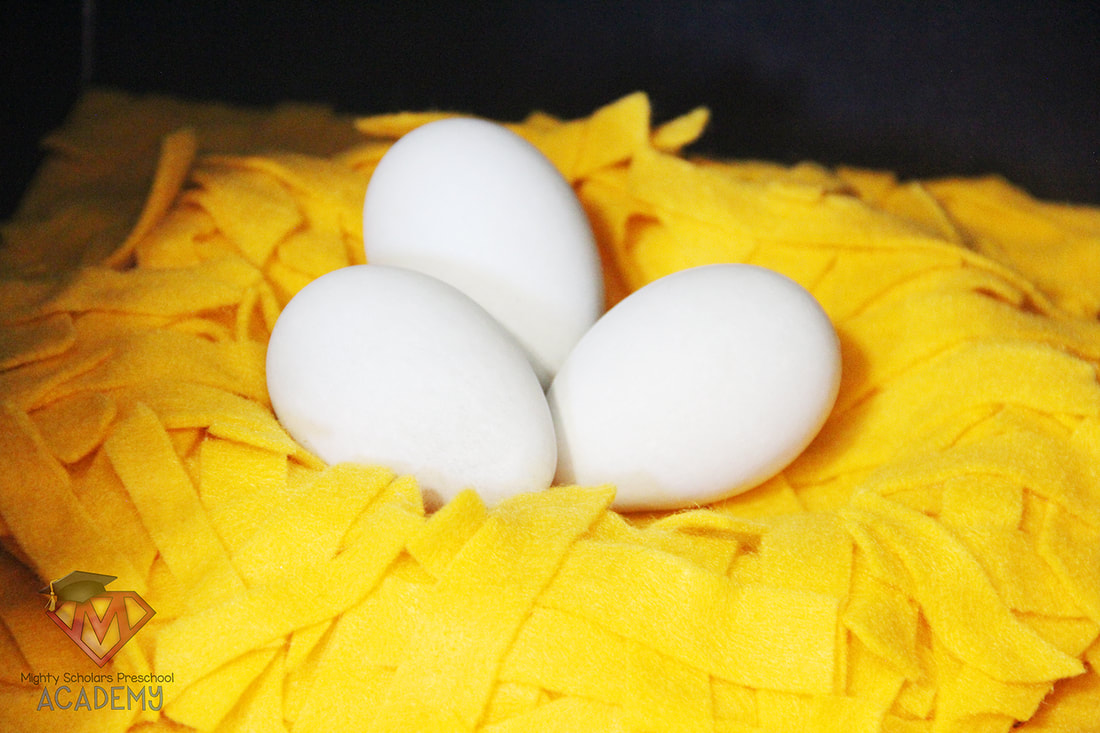
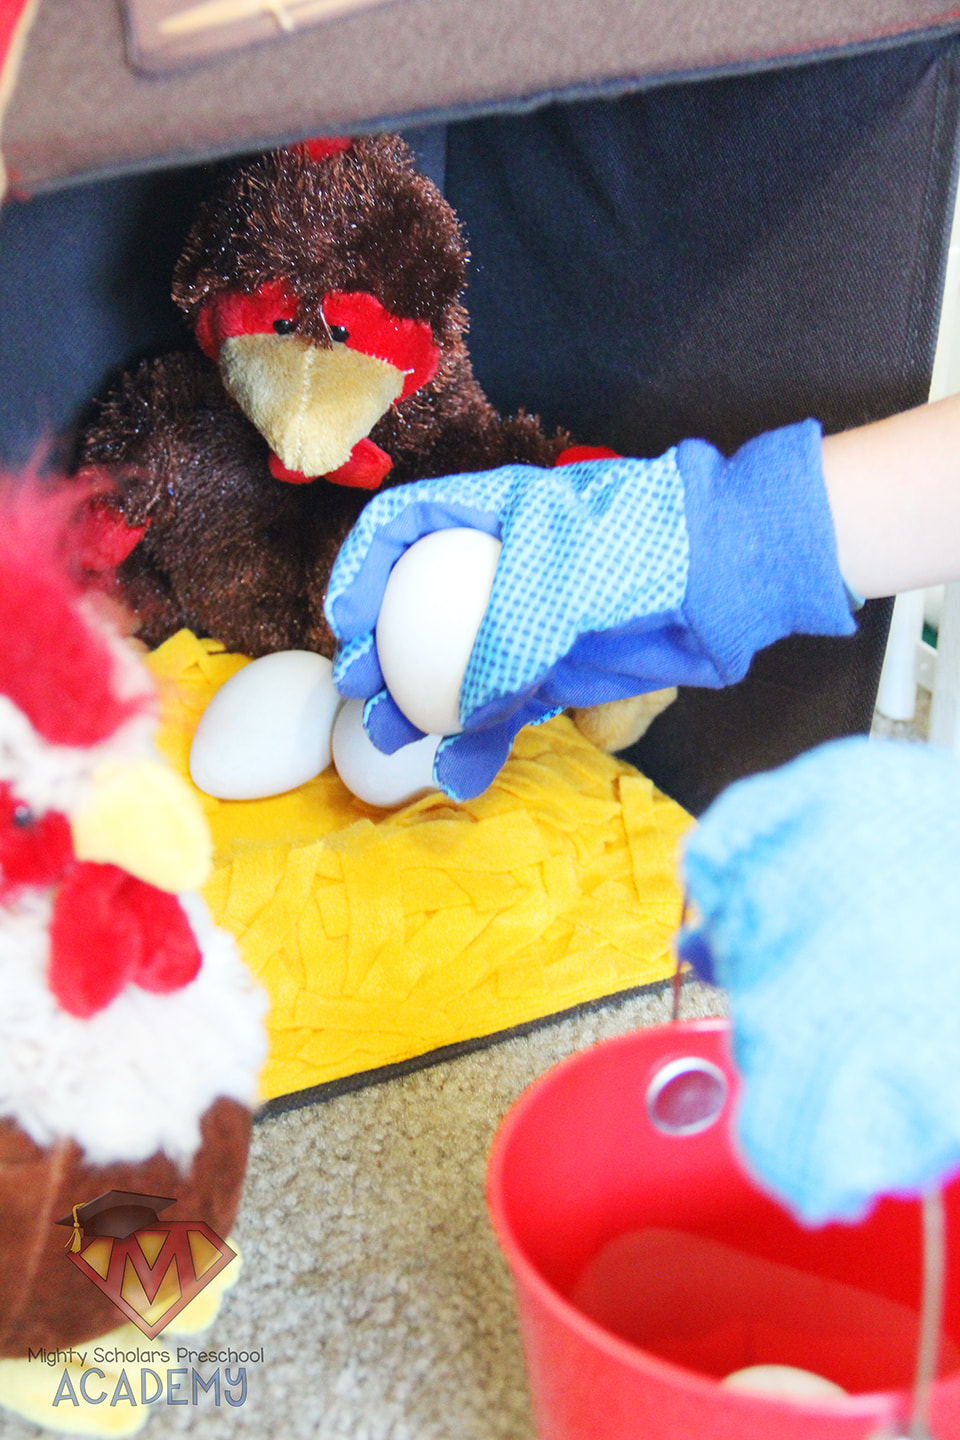
The hen house is made from a collapsable shelf bin, felt and plastic canvas to shape the roof. Sewing isn't required for this project, if the felt is securely attached together using hot glue. The chicken and rooster were purchased online (link below). The eggs are plastic. I've attached the 'HEN HOUSE' sign freebie at the bottom of this blog post, along with others.
Simple farming supplies are provided to fuel the imagination.
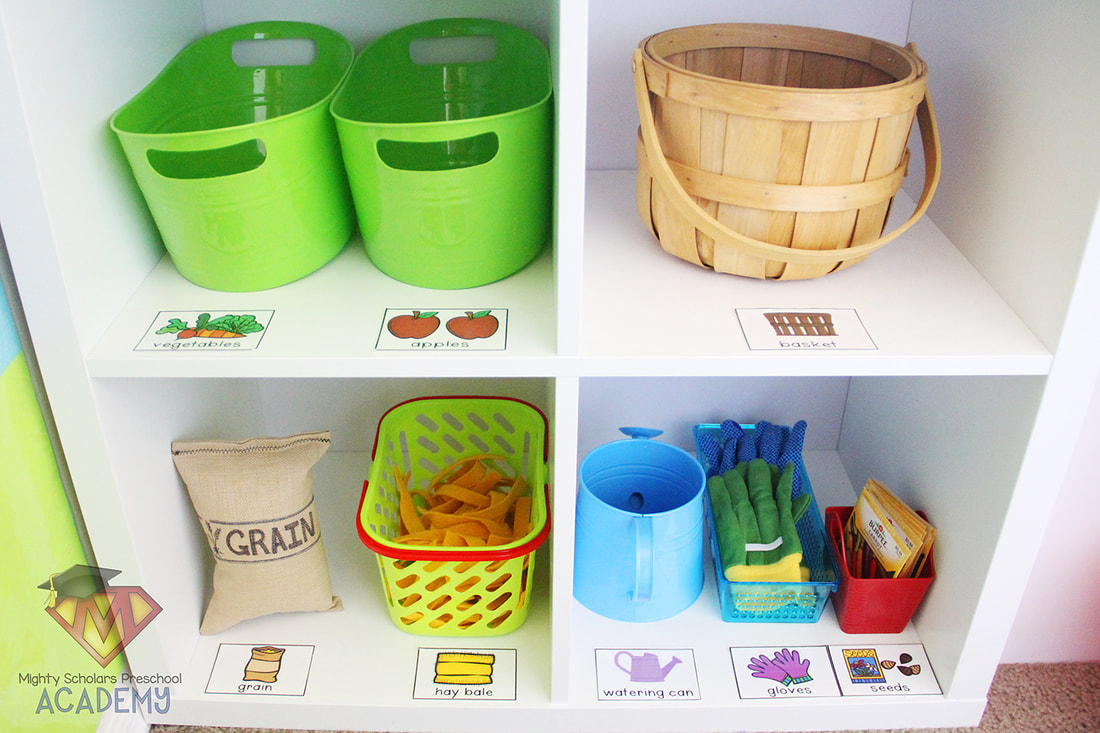
The farming supplies are all individually labeled, using another one of the amazing products from Pocket of Preschool, in the Pocket of Preschool Farm Dramatic Play Pack that can be found HERE. The wall signs for the animal pens, garden and orchard are also from the same dramatic play pack.
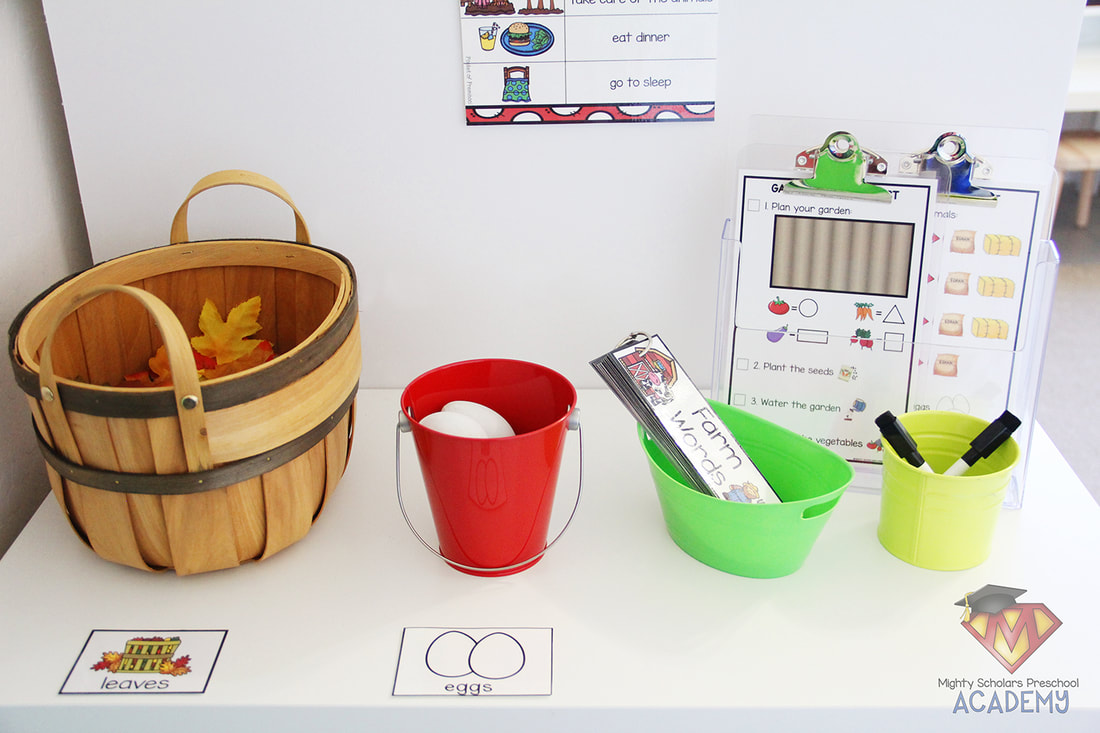
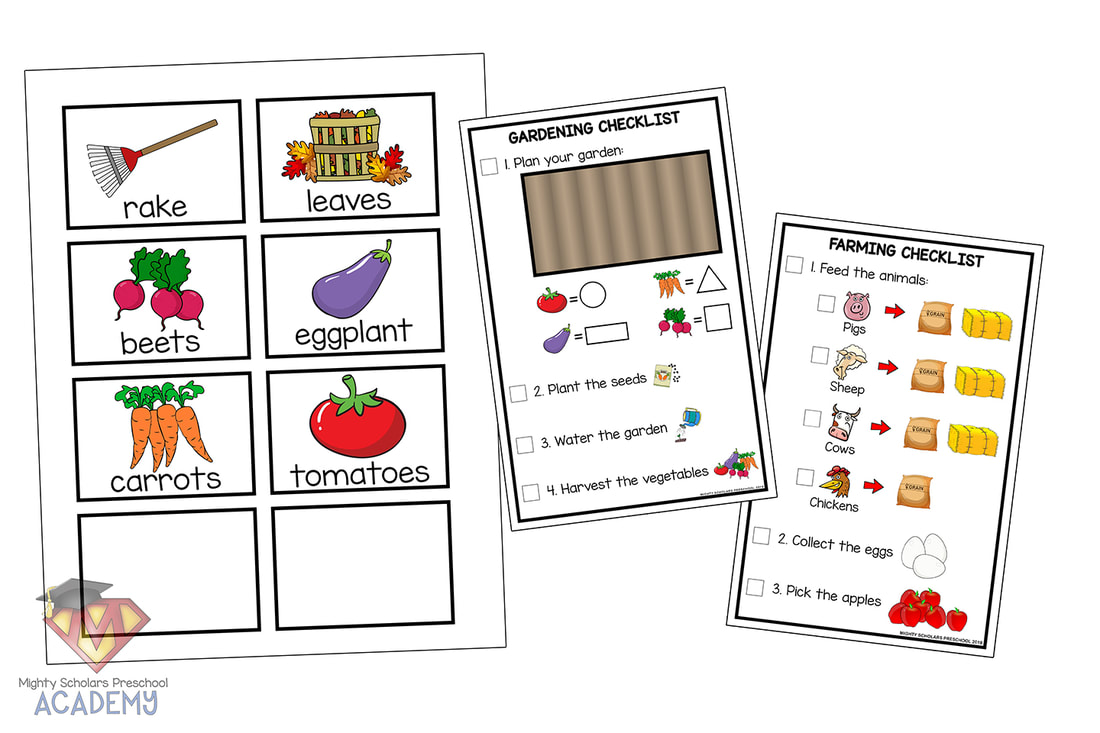
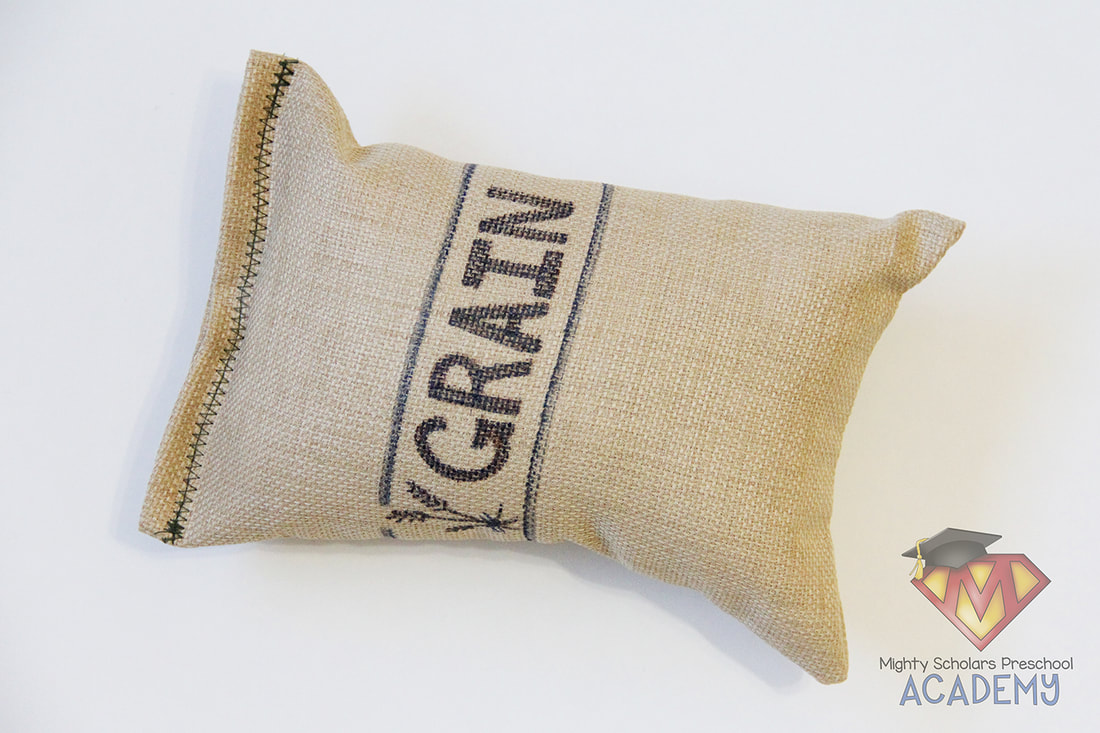
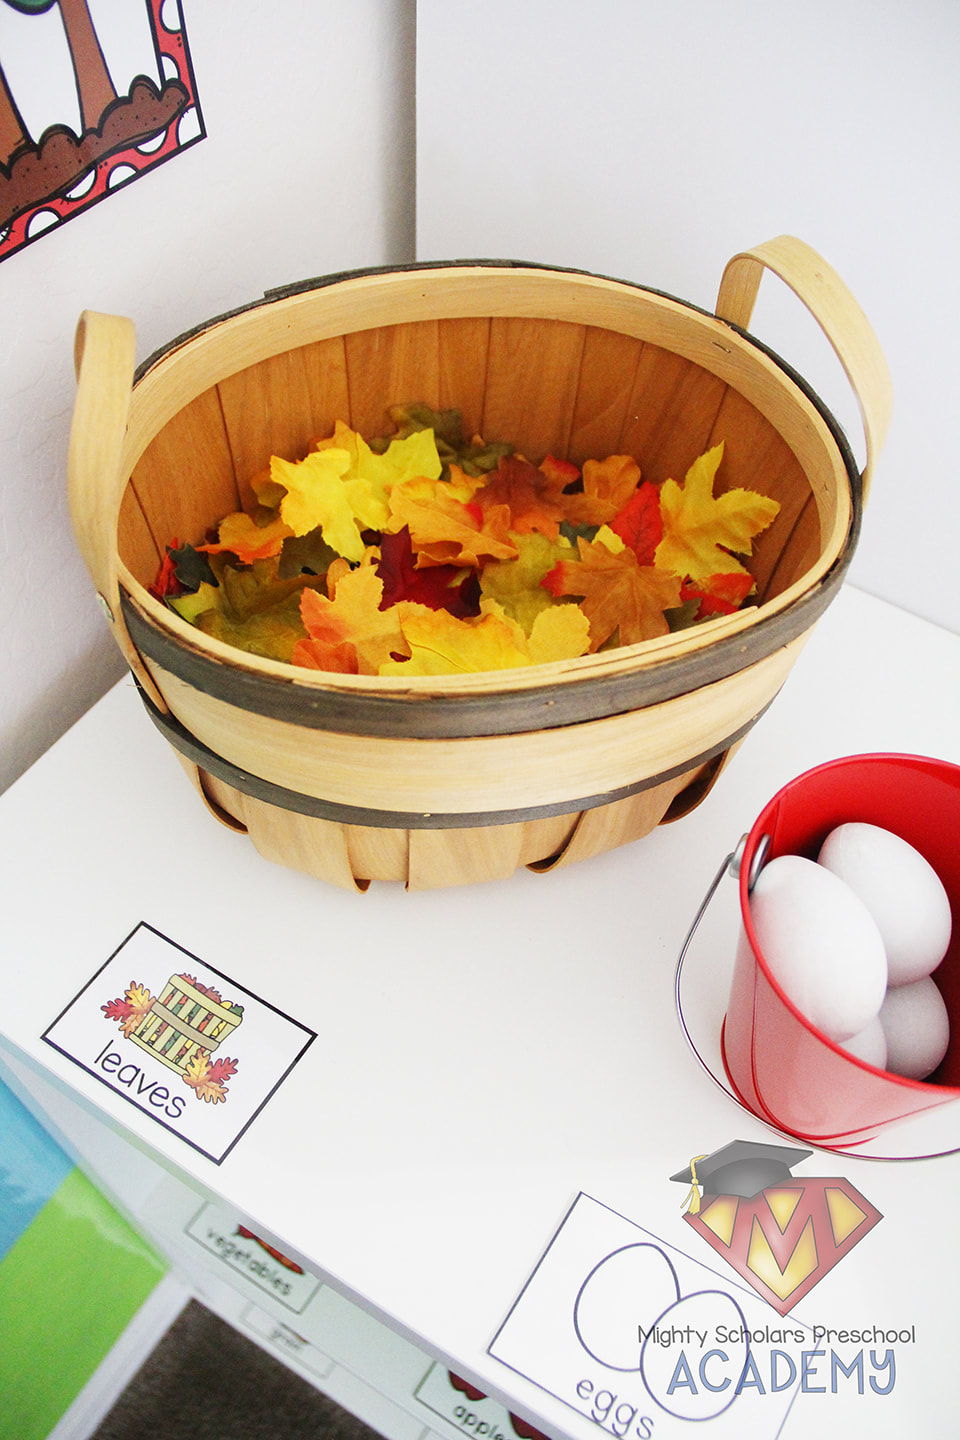
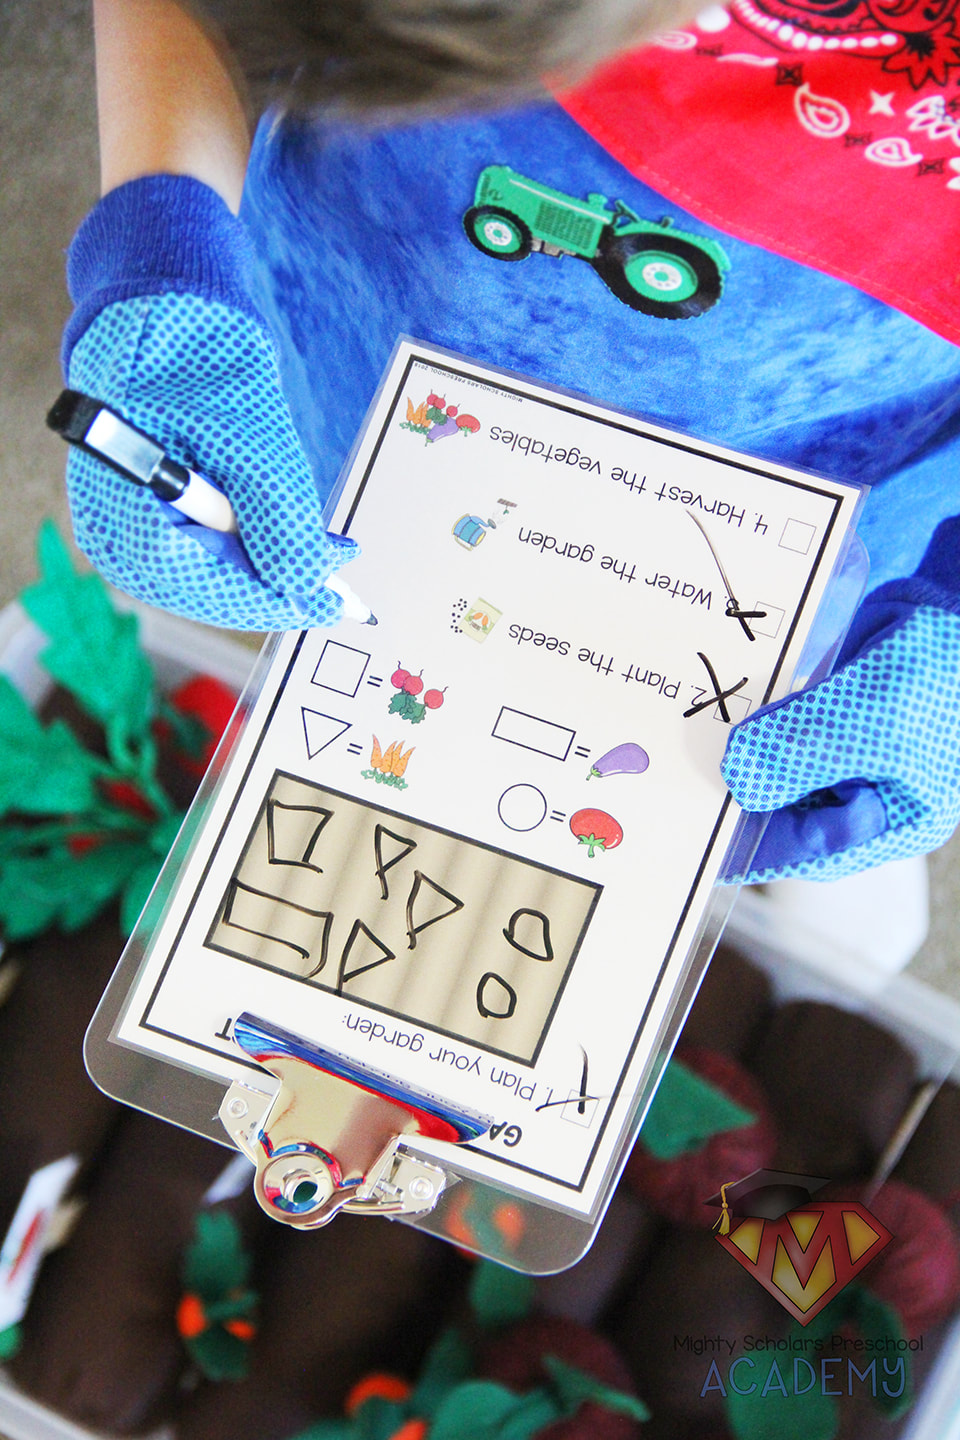
Labels for the rake(s) and basket of leaves were not included in the POP dramatic play pack, so I made those labels to complete the supplies I have provided in the center. I made a Gardening Checklist for my scholars to review the sequence of garden planning, planting and harvesting. The Farming Checklist I produced, helps the farmers check off the duties of caring for their small farm. My additional labels and checklists are attached as a freebie at the end of this blog post. The grain bag is made form a small cloth bag, stuffed with polyfill and labeled with permanent markers. The hay is strips of yellow felt. I wrapped unopened seed packets in clear contact paper, so the seeds can still be heard when my scholars shake them over the garden to be "planted". I wanted them to be able to feel the difference in the size and weight of the types of seeds. Being able to also hear the difference in the sound, when they shake the packets, is very important.
Dressing the part adds to the imagination.
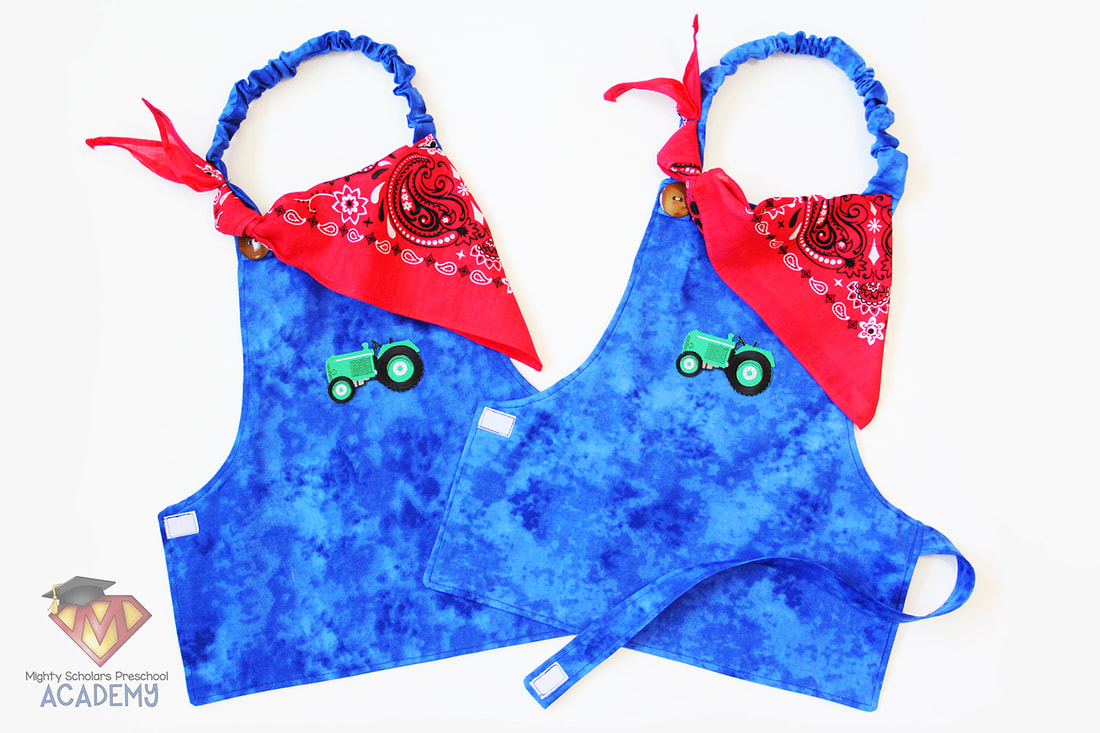
Simplifying dress-up makes a world of difference when working with such a small area. Less really does allow for more imagination, so I made farmer aprons with all the characteristics of a typical children's book farmer. The aprons are my regular go-to Montessori style, that allow complete independence. The neck is encased elastic and one simple strap can be easily swung around the back and attached with a small strip of velcro. Each apron required two fat quarters of mottled blue cotton material, a fourth of a red bandana, two extra-large brown buttons and one tractor patch. The red bandana is sewn directly onto the apron as decoration. I made these aprons slightly shorter than my regulars. My own gardening apron is very short, so it doesn't get in the way of kneeling down to work with the soil and plants. I wanted the farmer aprons to be similar, for the same reason.
Learning to follow lists and sequencing is an important skill.
The Farming Checklist helps my scholars care for the animals on the farm, as well as the apple tree. Its a simple visual for them to follow and check off as they complete each farming task.
One of our mini lessons is on the various farm animals and what they eat. My scholars learn that many of the farm animals eat quite a large amount of different types food during the day. Its also very important to collect the eggs each day, to keep them clean and reduce the chance of them getting broken. Later in the school year I reintroduce chickens, as we learn about the life cycle of a bird through hatching eggs in the classroom.
Although we don't see many leaves change color in Arizona, or have the need to rake large amounts of fallen leaves during the Fall season, I wanted to include the experience in our center.
Learning to help with the yard work is a skill lesson most parents would applaud. However, raking silk leaves with an appropriately sized rake is developing something much more than that. The movement associated with raking leaves is called crossing the midline. The midline is the center "line" down the body, essentially separating the right and left side. Crossing the midline is necessary in the developmental process for coordination, brain development, fine motor and more. My scholars enjoy the chance to dump out the basket of leaves and rake the leaves into piles. They've also enjoyed using the leaves to sort and make patterns.
Gardening is a skill that is no longer passed down, generation to generation.
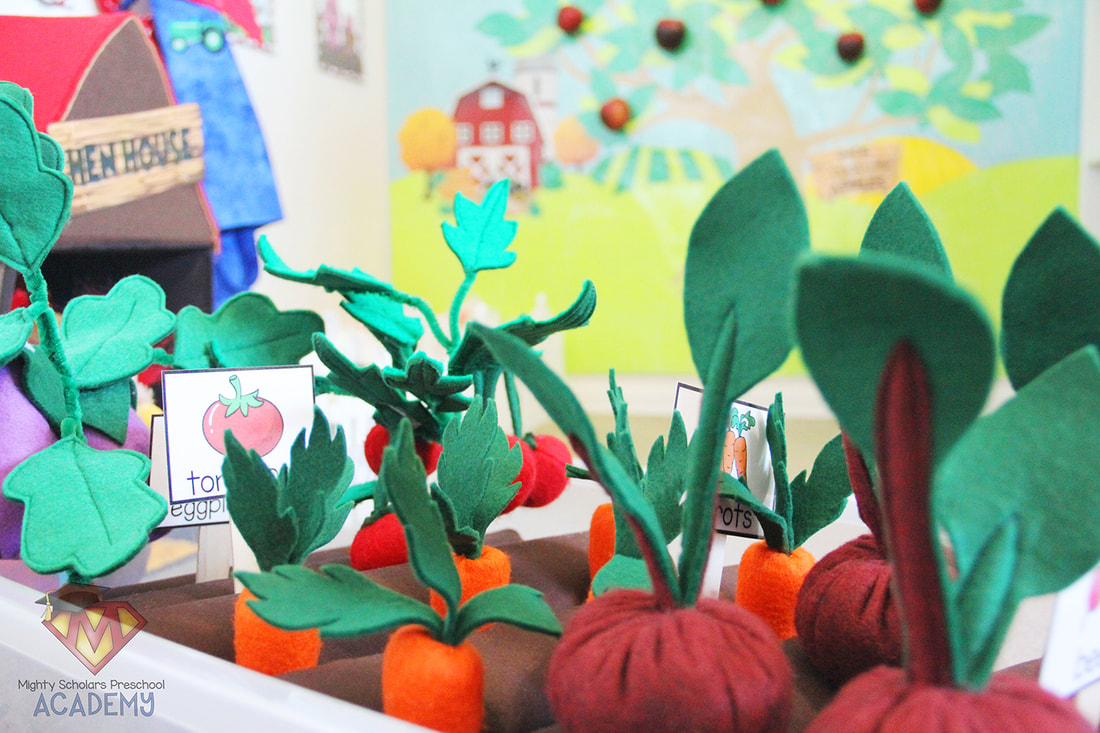
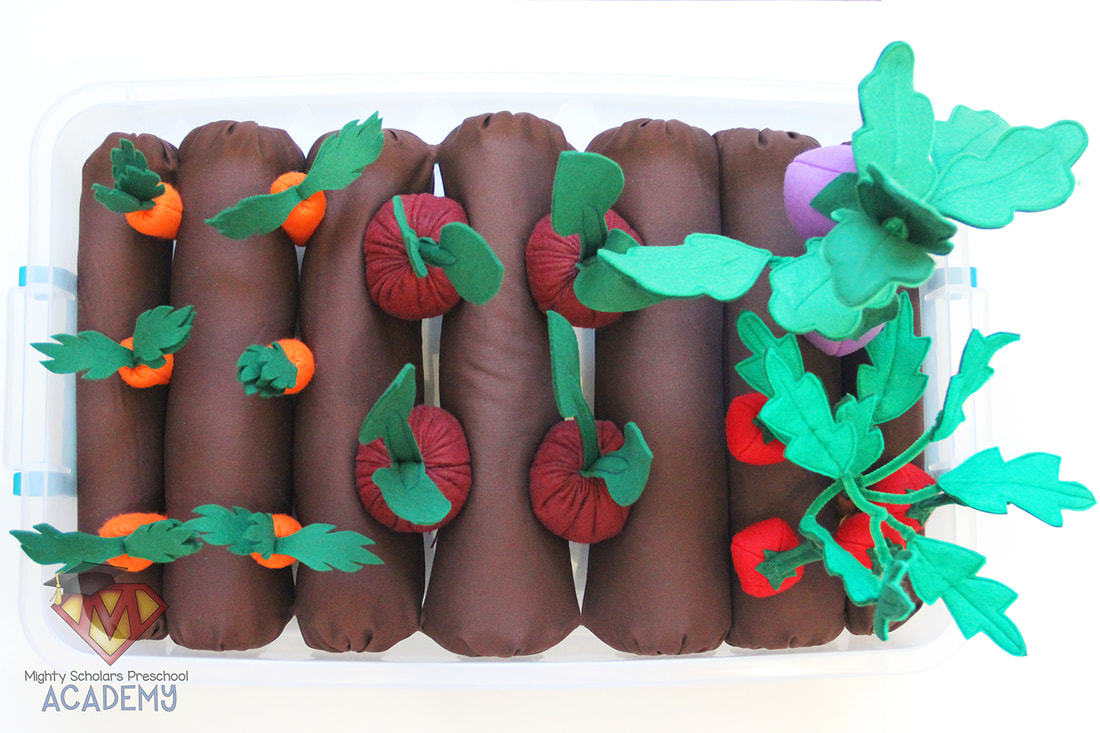
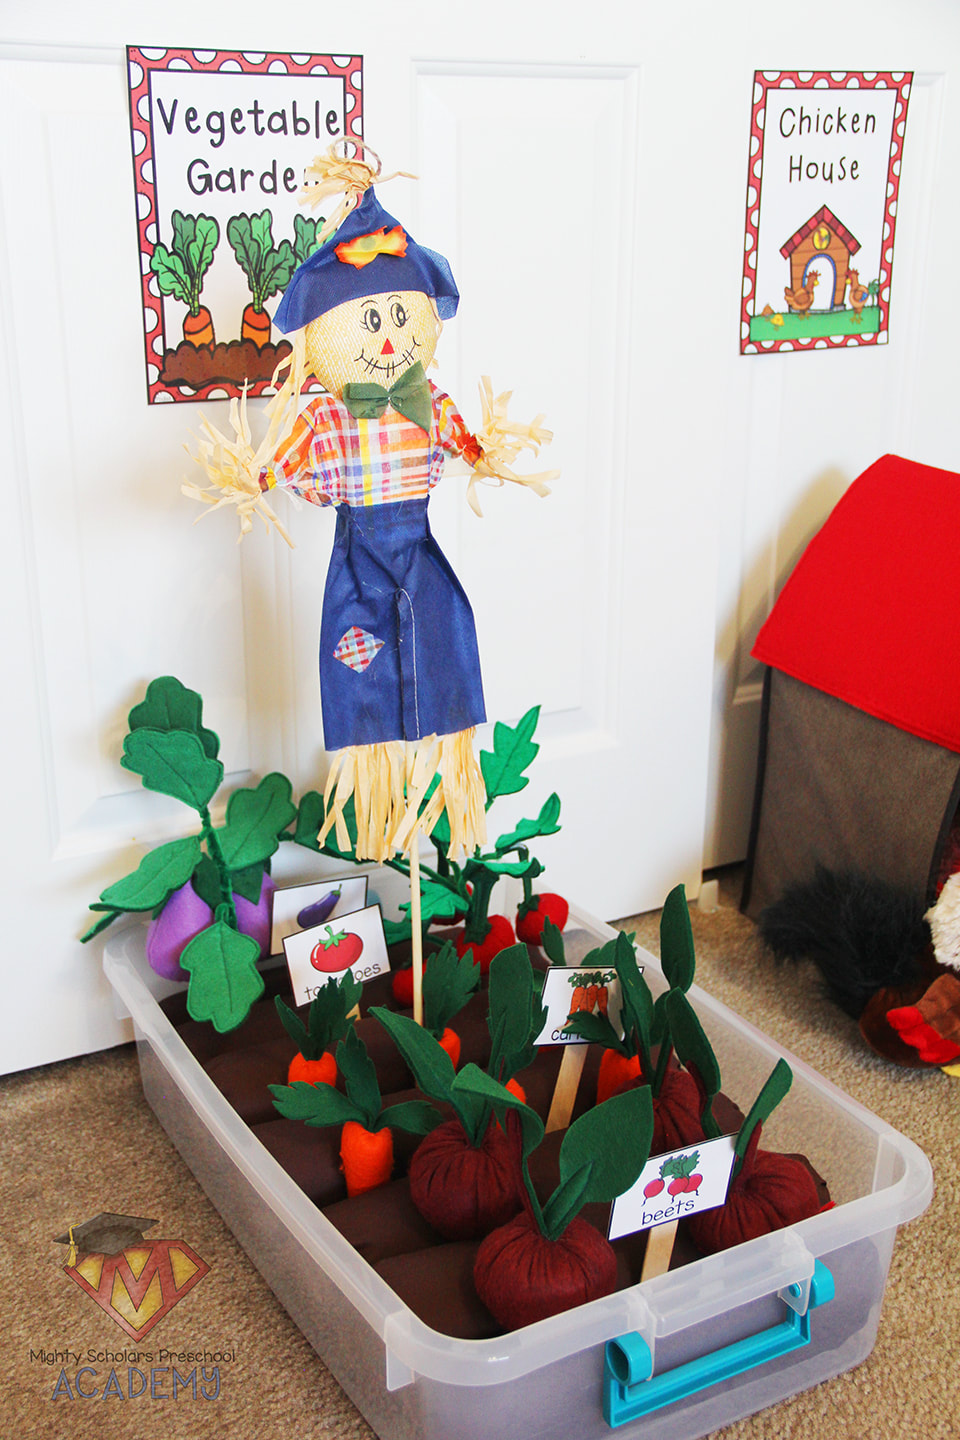
Learning where our food comes from, how it is grown and why its healthy, are all reinforced through the felt and fabric garden. Being able to role-play planting and harvesting a garden, helps to develop skills we take for granted as adults. Young children have a desire to learn about gardening and how things grow. A play garden in the farm/harvest theme is essential.
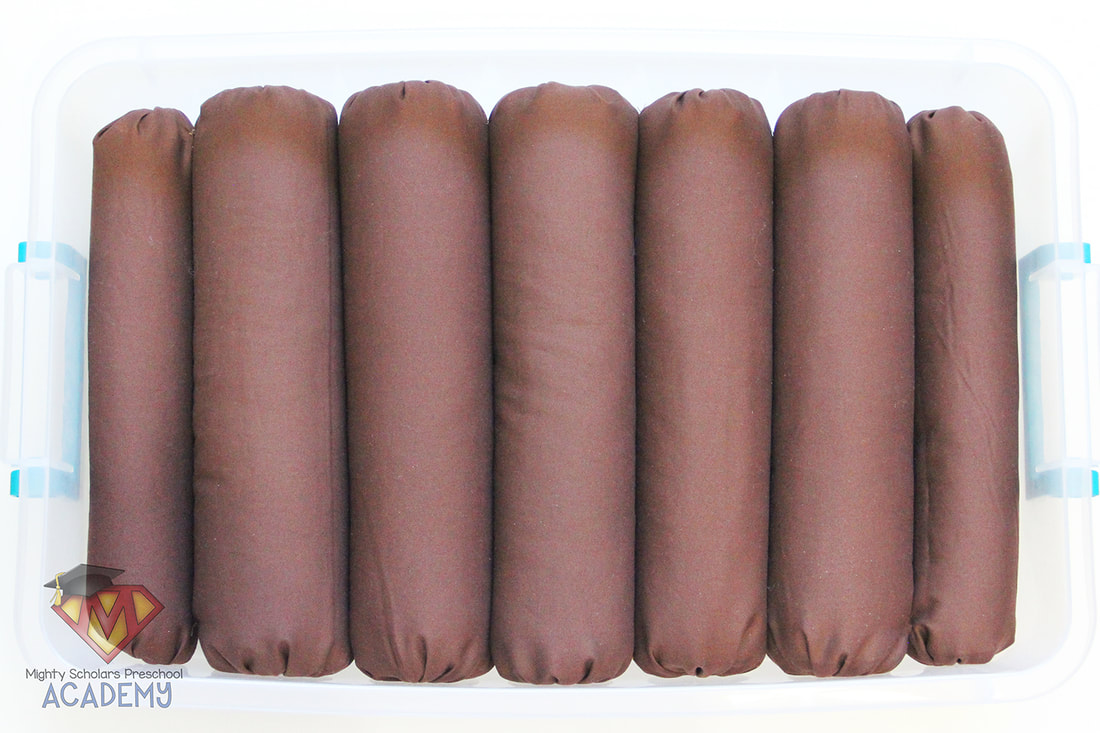
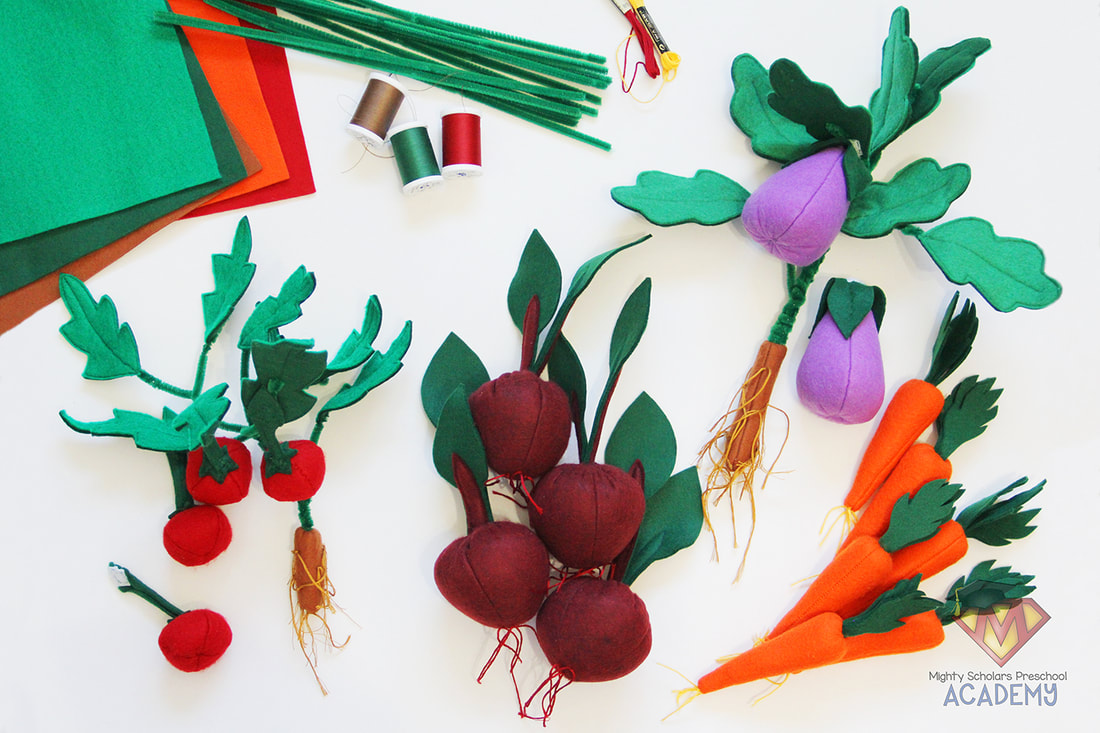
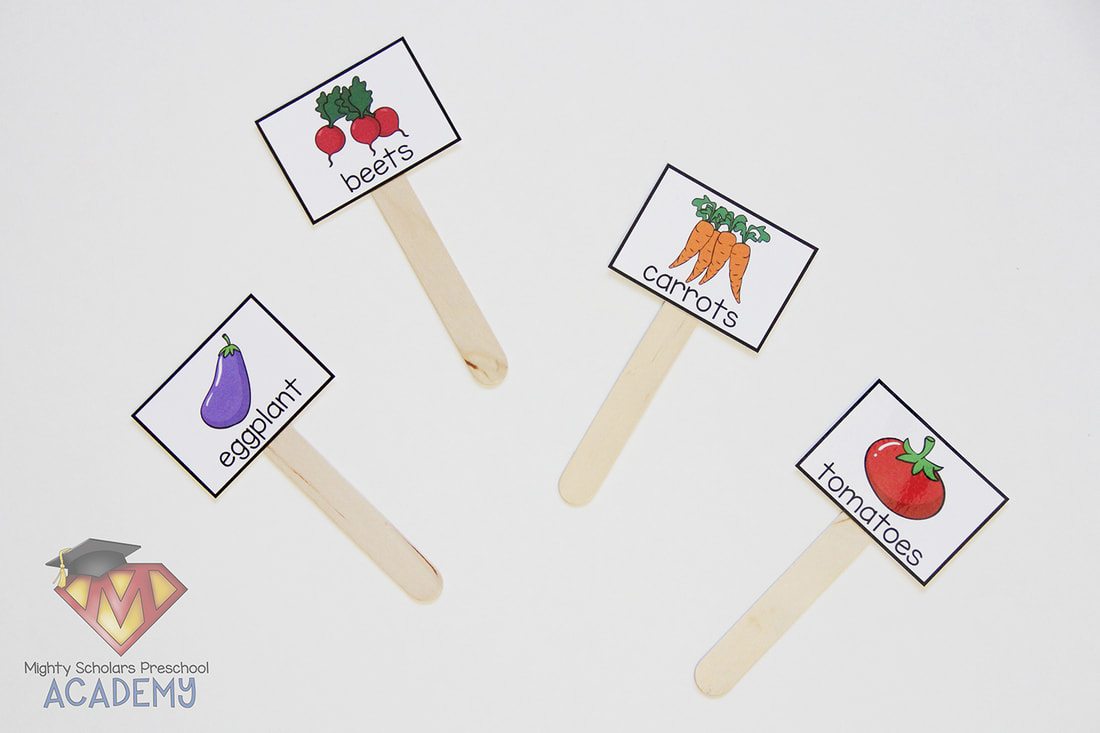
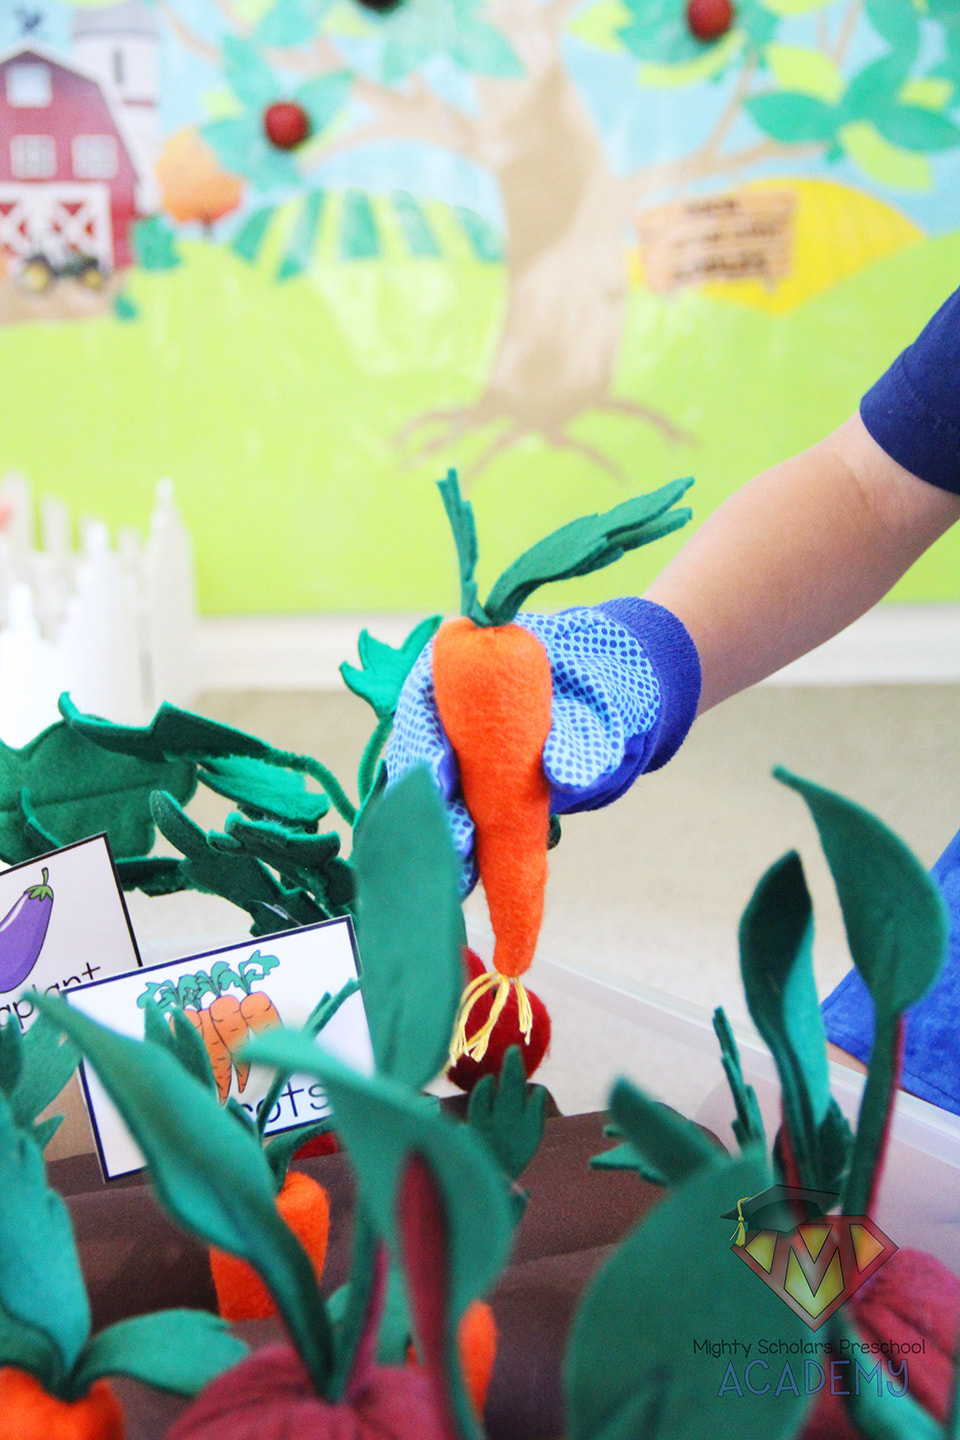
My garden was adapted from the instructions on the blog: Adventures In Making. I used fabric as the covering for my dirt rolls to reduce friction and make it easier for the vegetables to be pushed and pulled around. Rather than filling my dirt rolls with polyfill, I cut pool noodles to size, wrapped them in two layers of quilt batting and then covered them with the brown cotton fabric. The rolls were stitched together at the ends, to help keep them in place. By doing this, the dirt rolls were sturdy, kept their shape and stayed in place. The vegetables needed roots, to add more realism and help my scholars be able to recognize where the plants take in their water and nutrients to grow. I added the roots by knotting whole strands of embroidery thread in random lengths. The tomato and eggplant greenery was made with pipe cleaners and felt leaves in two shades: lighter on the top of the leaf and darker on the bottom. The garden markers were printed on cardstock, laminated and then hot glued to extra large craft sticks. They're also in the file attached to the end of this blog post, if you'd like markers for the same vegetables.
Gardening requires planning and following a sequential process.
While learning how to garden and the process in which plants are grown and harvested, my scholars enjoy planning, "planting", caring for and harvesting their own garden. Some of my scholars even imagine dirt around the base of the picked vegetables, dusting them off before placing them in the basket. When they care for the plants, I've had a student check the leaves for pests and pretend to release ladybugs, to defend their precious garden plants. Imagination is incredible.
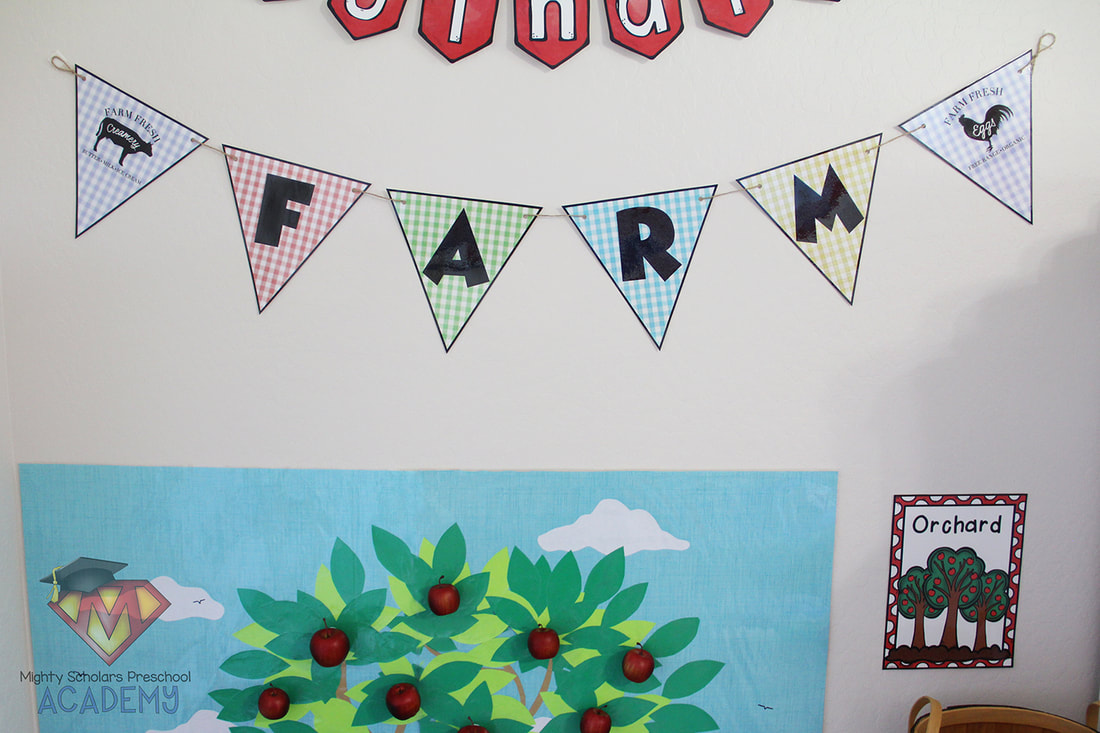
No theme is complete without a banner, sign, or bunting.
Gingham is a farm decor favorite. The bunting is hung with jute and attached to the wall with Command Strips. I've added the farm bunting as a freebie in the files attached to the end of the blog post below.
There are an incredible amount of wonderful children's books for farm and harvest themes.
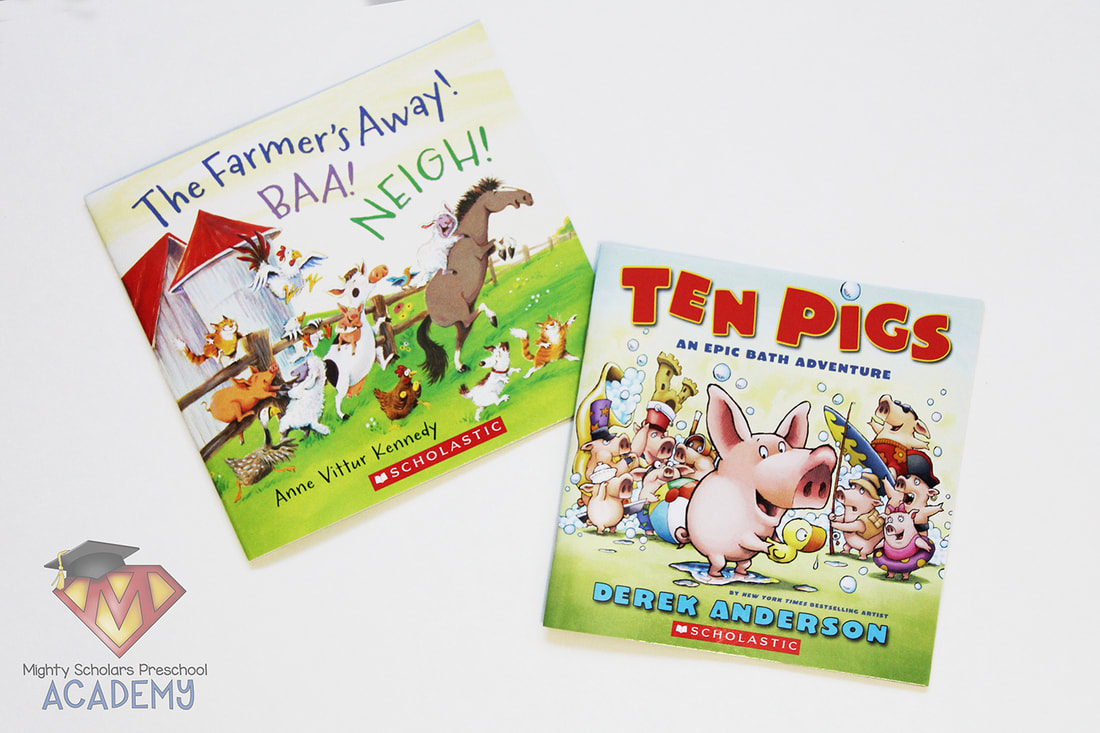
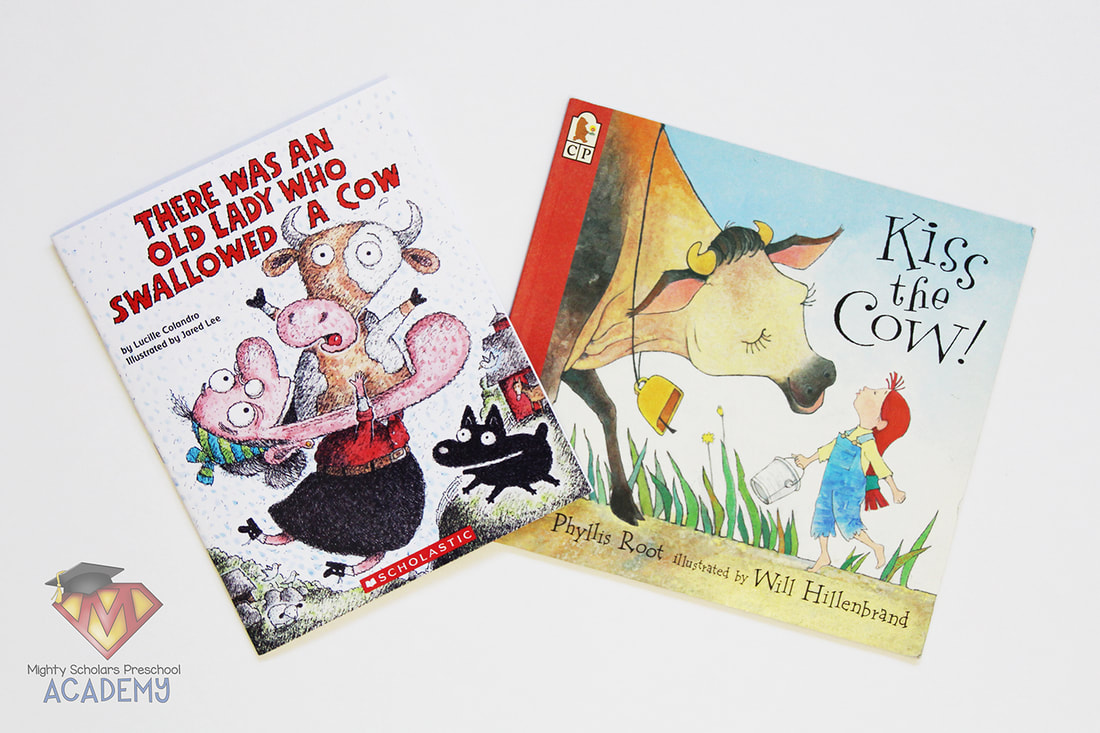
It's difficult to pick my favorites, since I have so many. My reading center is filled with wonderful picture books to fit the theme. However, if I had to choose, I'd recommend: 'The Farmer's Away! BAA! NEIGH!' by Anne Vittur Kennedy, 'Ten Pigs: An Epic Bath Adventure' by Derek Anderson, 'There Was An Old Lady Who Swallowed a Cow' by Lucille Colandro and one of my oldie-but-goodie favorites, 'Kiss the Cow' by Phyllis Root. I like to place 'Ten Pigs' and 'There Was An Old Lady Who Swallowed a Cow' in my mathematics center. They teach counting and sequencing.
The freebie files for the apple tree sign, labels, checklists, hen house sign and the farm banner
can be downloaded by clicking the links below:
Please note, as a participant in the Amazon Services LLC Associates Program, I may earn a small commission on qualified recommended links.
The Amazon Services LLC Associates Program is an affiliate advertising program designed to provide a means for sites to earn advertising fees by advertising and linking to Amazon.com.
My Amazon Picks to complete the Farm/Harvest theme:
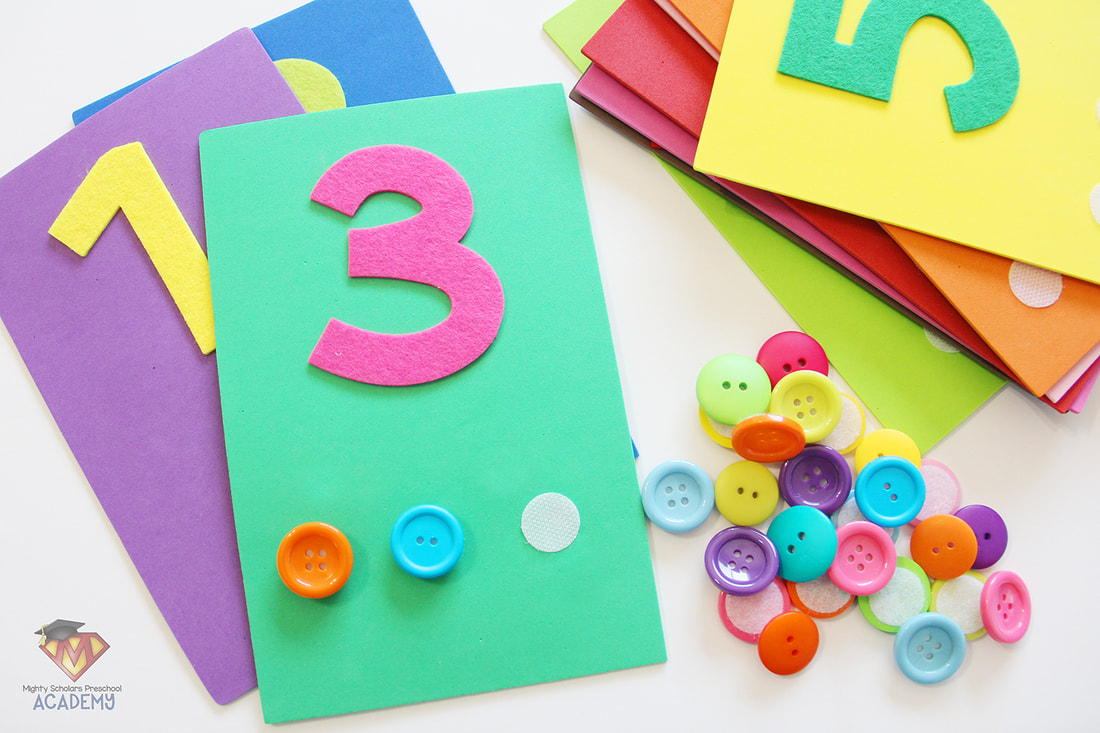
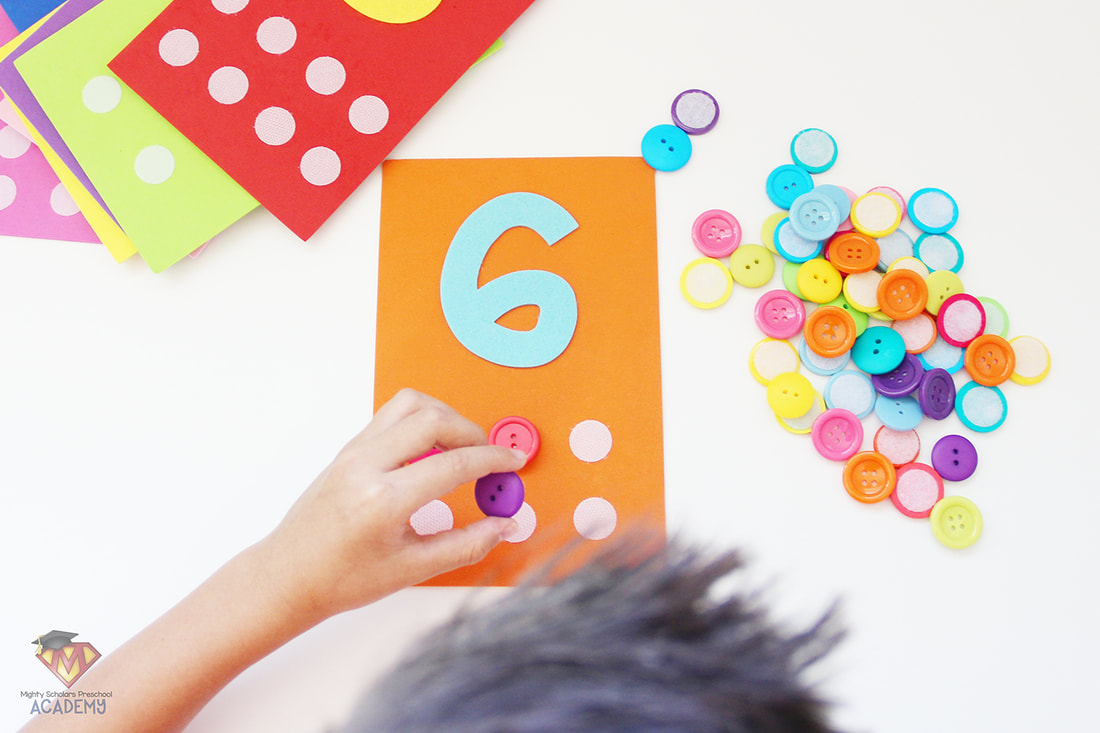
Button Counting Mats
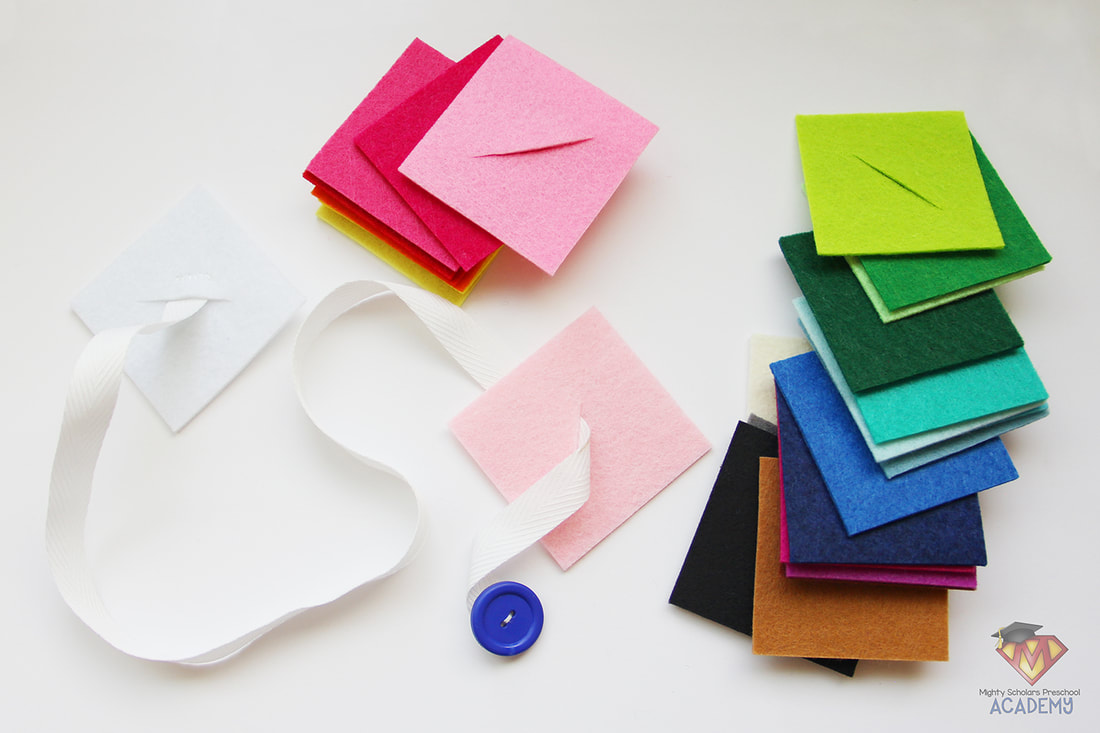
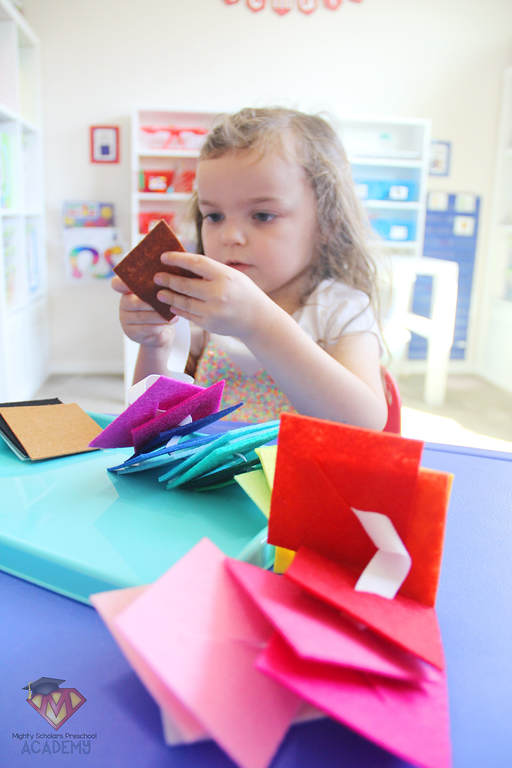
Button Snake
Buttons aren't limited to use in practical life.
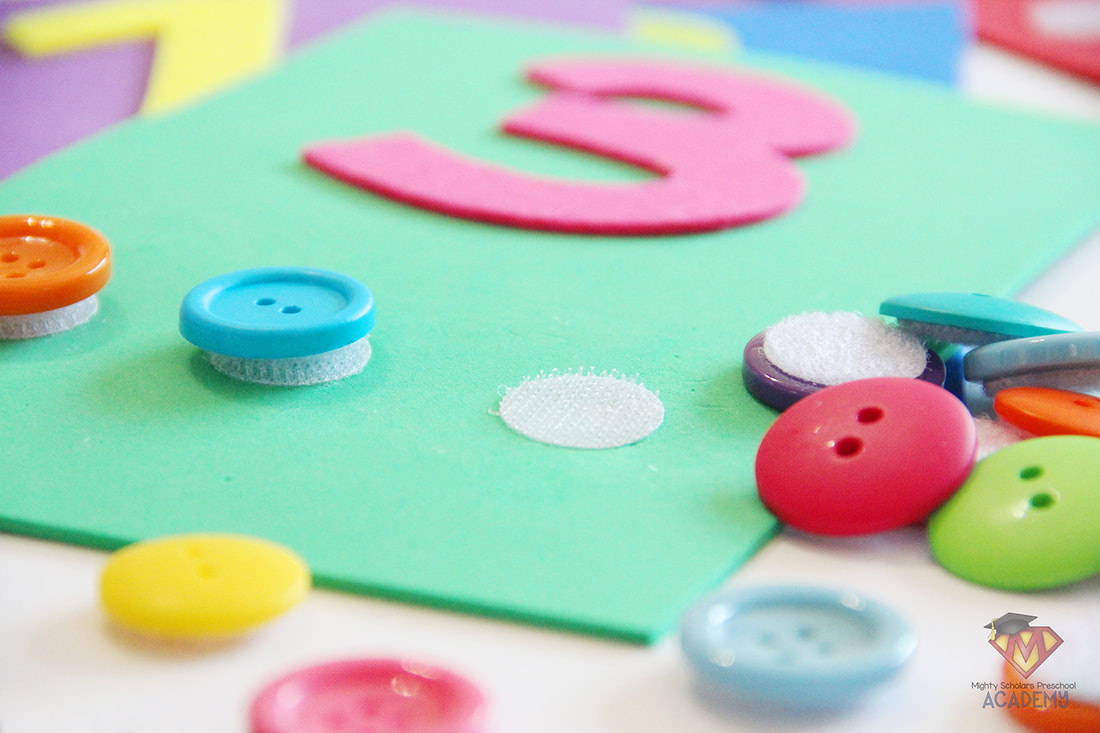
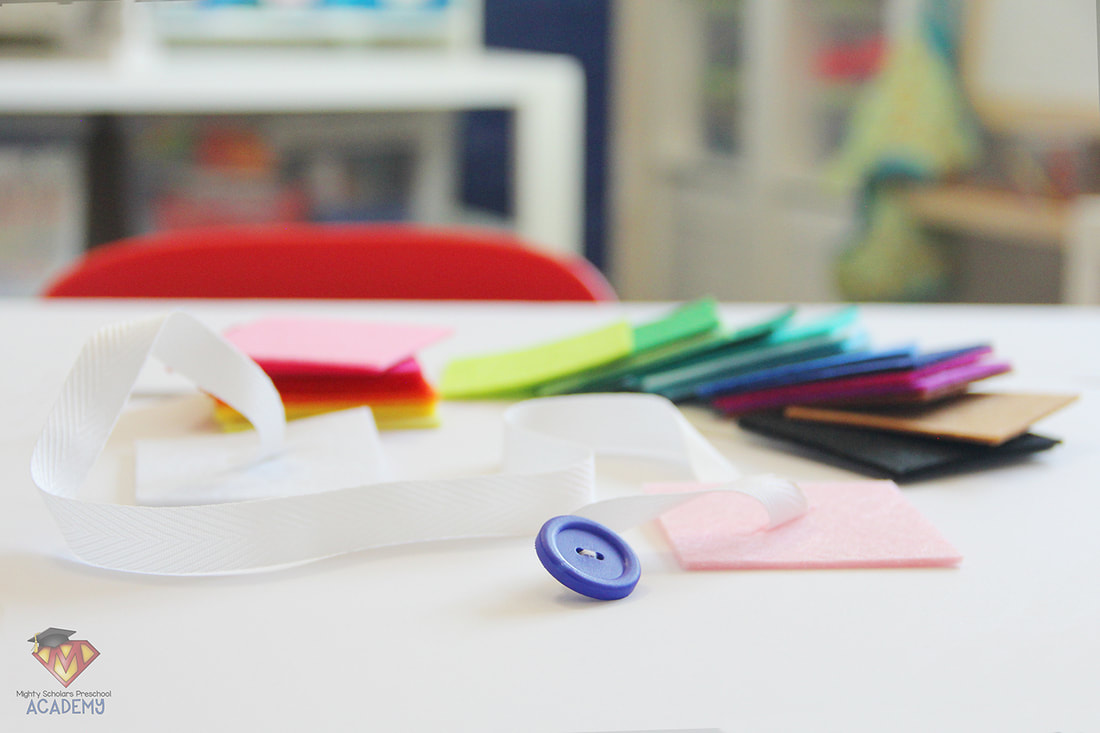
While they are an incredibly important practical life skill to master, my students have loved working with buttons to: sort, count, shape match, weigh, line up to make letters, decorate their fine motor Play-Doh creations, sew onto plastic canvas and practice fine motor skill work with buttoning and unbuttoning through button holes. The buttons we use in the classroom are all different colors, sizes and shapes, making them fun to work with. Two of our favorite button activities are the Button Counting Mats and the Button Snake. The Button Counting Mats we use in my classroom are made from craft foam rectangles, large felt number stickers, various buttons and self-stick hook and loop coins. My mats only go up to number 20, since I found the space for the corresponding amount of buttons on the foam very limited at that point. The reason felt number stickers were used was to add an extra tactile/sensory component to the activity, similar to sandpaper letters and numbers in Montessori. Children learn and remember best by also using their sense of touch and the raised felt numbers provide that developmental need, helping my students comprehend how the numbers are formed by feeling with their fingertips. I found the felt number stickers in the Target dollar section. If you aren't able to find large felt number stickers, large number stickers or large glitter number stickers would also work just fine. When my students are working with the Button Counting Mats, I have them first trace the number with their finger tips and say its name. Then, I have my students count out the buttons as they add them to the mat and once as again after they have all been added. The hook and loop coins not only attach the buttons to the foam sheet, they also provide a fine motor component in addition to the regular grasp and placement of the buttons. Removing the buttons requires stronger pincer grip strength. The Buttons Snakes are made from woven ribbon, felt squares and a large button. To make The Button Snakes, its important to use a button large enough for very young children to grasp and manipulate through the button holes easily. The buttons I use are approximately the size of a quarter. The ribbon width is smaller than that of the button, and the ribbon is cut approximately 20" long. The button needs to be secured by stitching to one end. I found that flat rolling the end of the woven ribbon, two or three times, and stitching through the flat roll made a stronger, longer lasting snake and kept the ribbon from fraying. I used the stiffer craft felt, since its much easier to manipulate and will hold its structure better in the long run with how much use they will get. The regular weight felt can be too flimsy for some children to use and the button hole can stretch out of shape or tear. My Button Snakes have withstood multiple uses and are still going strong. Its important to cut the squares of felt larger than the button, usually between two and three inches square. Once all the felt squares have been cut, fold them in half and cut a diagonal button hole slit that is larger than the button. Hand stitch one of the felt squares to the other end of the woven ribbon. Again, I found that making a tight, flat roll (roll two or three times) on the end of the ribbon before stitching the ribbon end to the felt, provided a more secure tail/stopping point for the buttoning squares and kept the ribbon from fraying. Button Snakes are a simple and colorful activity that can keep children engaged for extended periods of time, especially in a group setting. I introduce button snakes in small group or for our morning table time activity. My students talk with each other about the colors and patterns they are forming. You can differentiate for different ages and skill levels by the amount of buttoning squares you set out for them to use. If a student seems to be engaged and isn't frustrated, you may want to add more buttoning squares to their tray as they go along. Once all the felt buttoning squares have been added to the snake, I have my students remove them. The unbuttoning skill is just as important as the buttoning. Please note, as a participant in the Amazon Services LLC Associates Program, I may earn a small commission on qualified recommended links. The Amazon Services LLC Associates Program is an affiliate advertising program designed to provide a means for sites to earn advertising fees by advertising and linking to Amazon.com.
My Amazon Picks used for these activities are:
|
Categories
All
©2012–2024 Mighty Scholars Preschool Academy
|
||||||||||||||||||||||||||||||

