|
Our year-long science unit is all about The Human Body,
starting from the outside in.
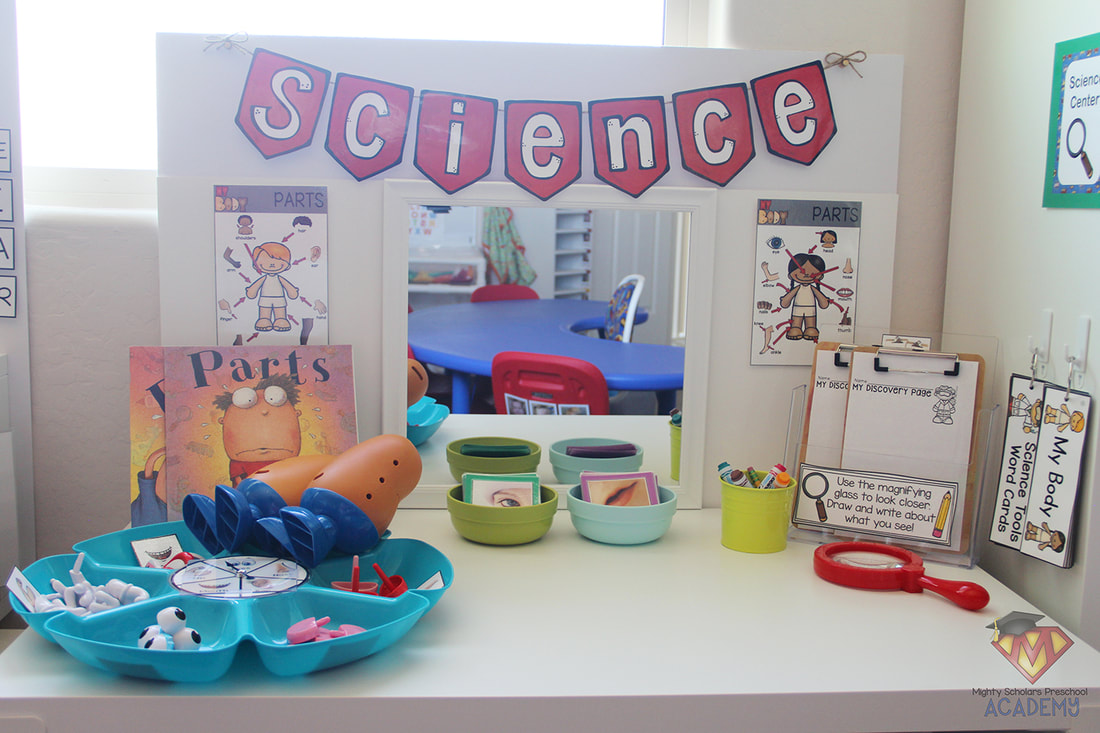
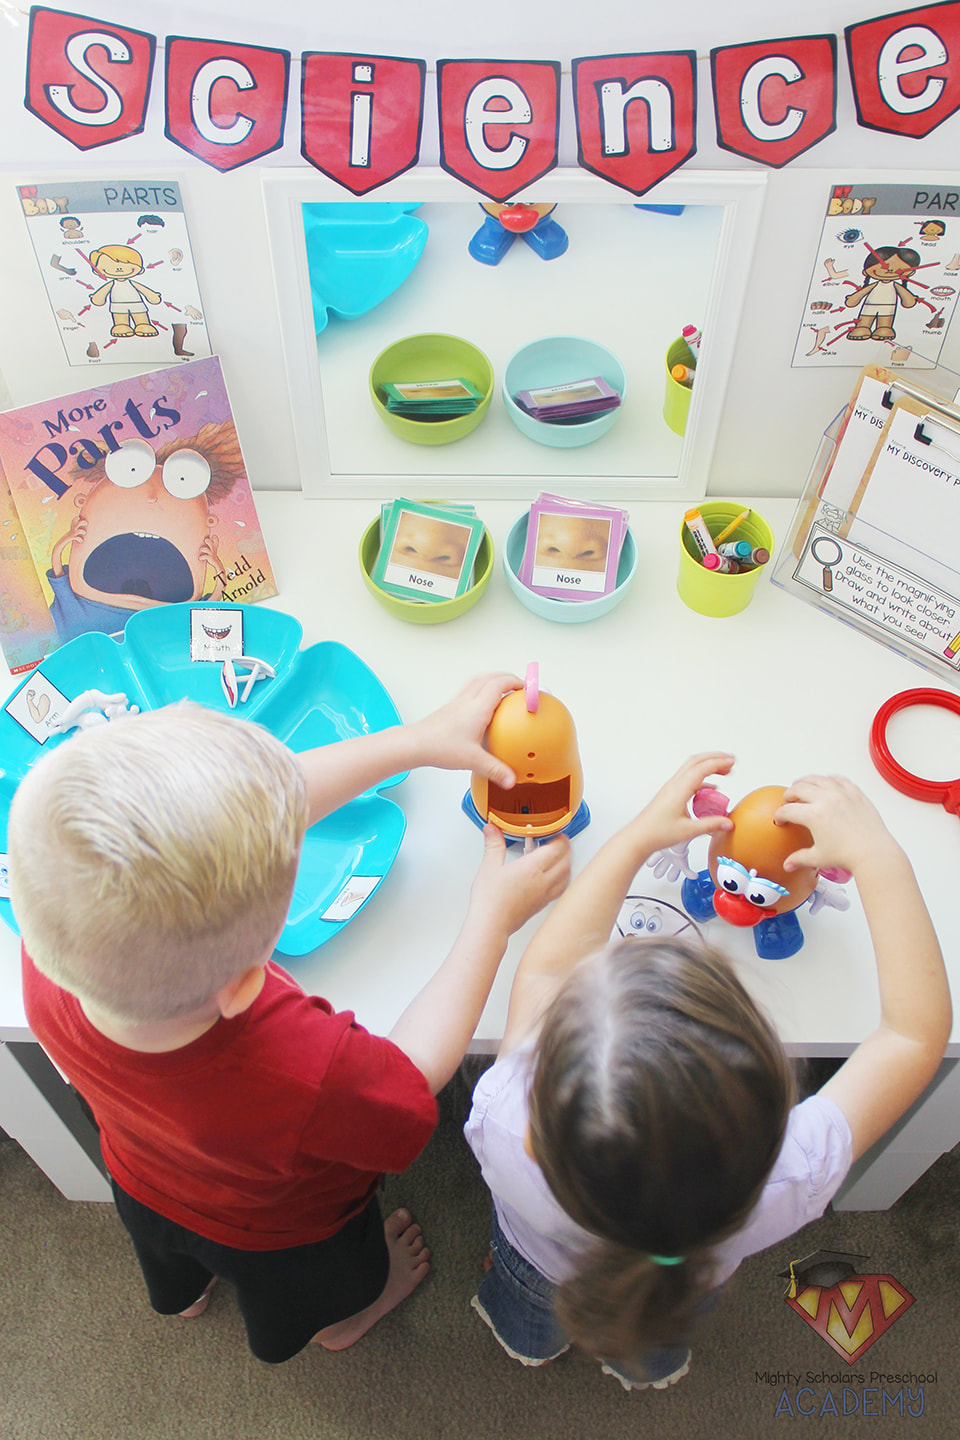
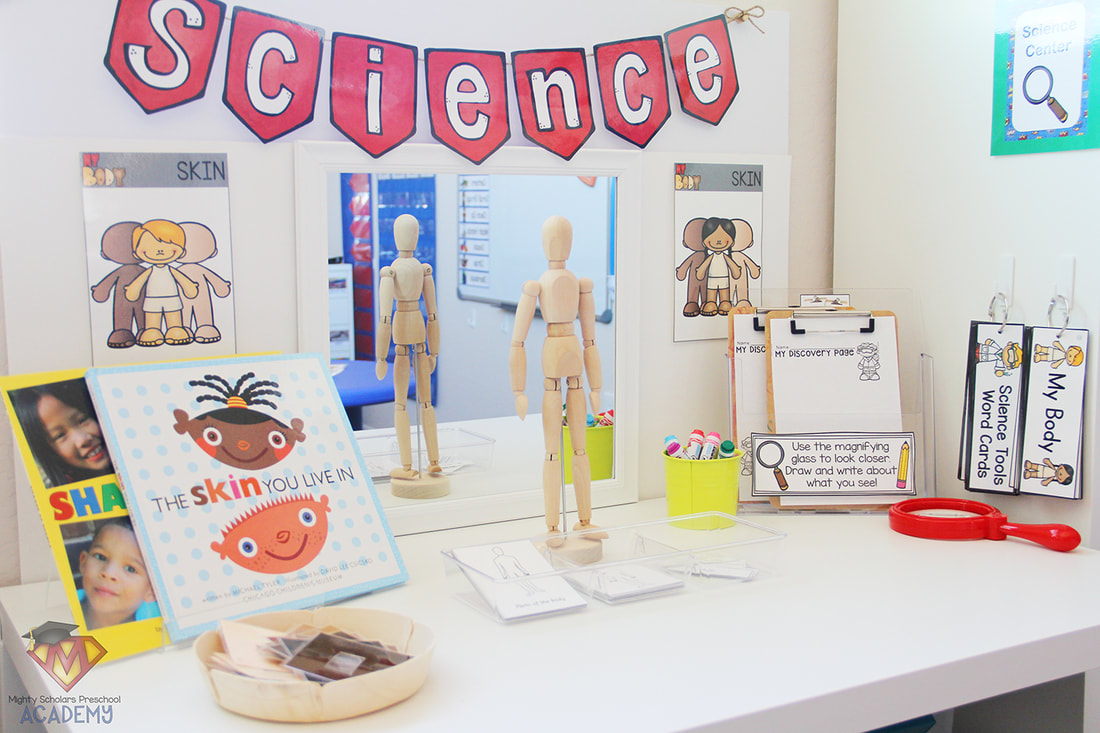
For the first week of our unit we covered all about the parts of the body: facial features, arms, legs, hands, etc. The science center hosted the largest activities on the subject, with smaller activities embedded throughout the classroom centers. Children love to look at themselves in a mirror, especially while they are working on an activity. During the two weeks, I added a large mirror to our science table to give my students the opportunity to observe their own features and parts.
The outside features of our bodies are what preschool aged children notice, are the most excited to recognize and also to learn about.
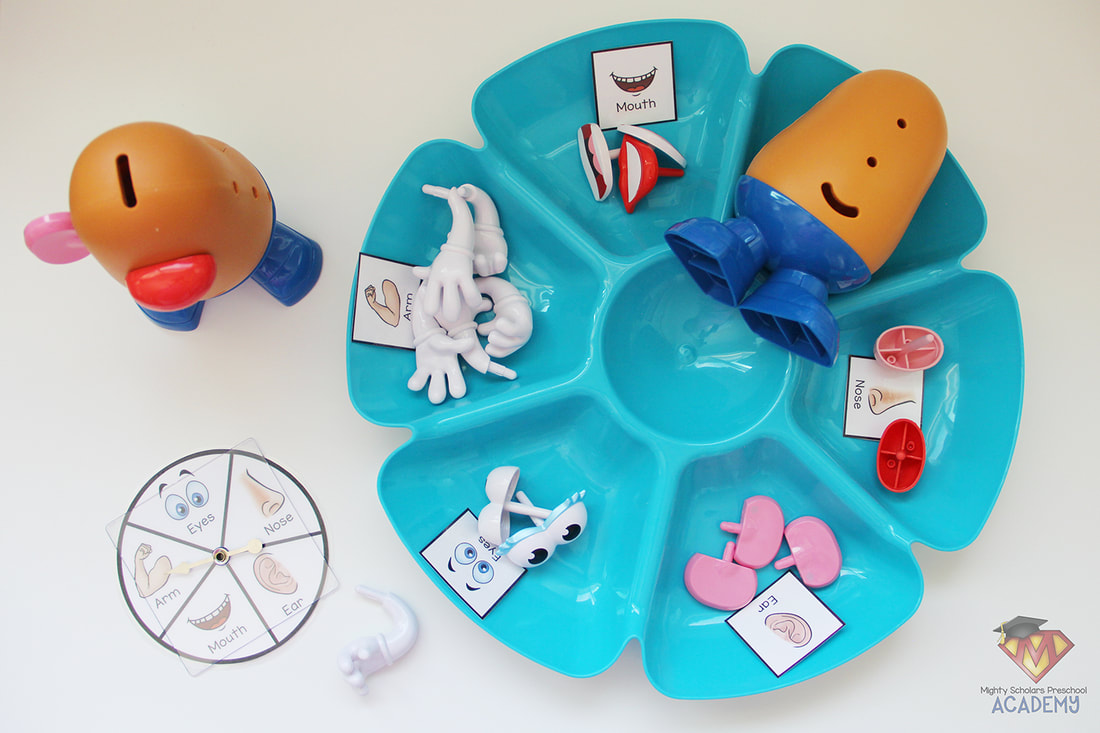
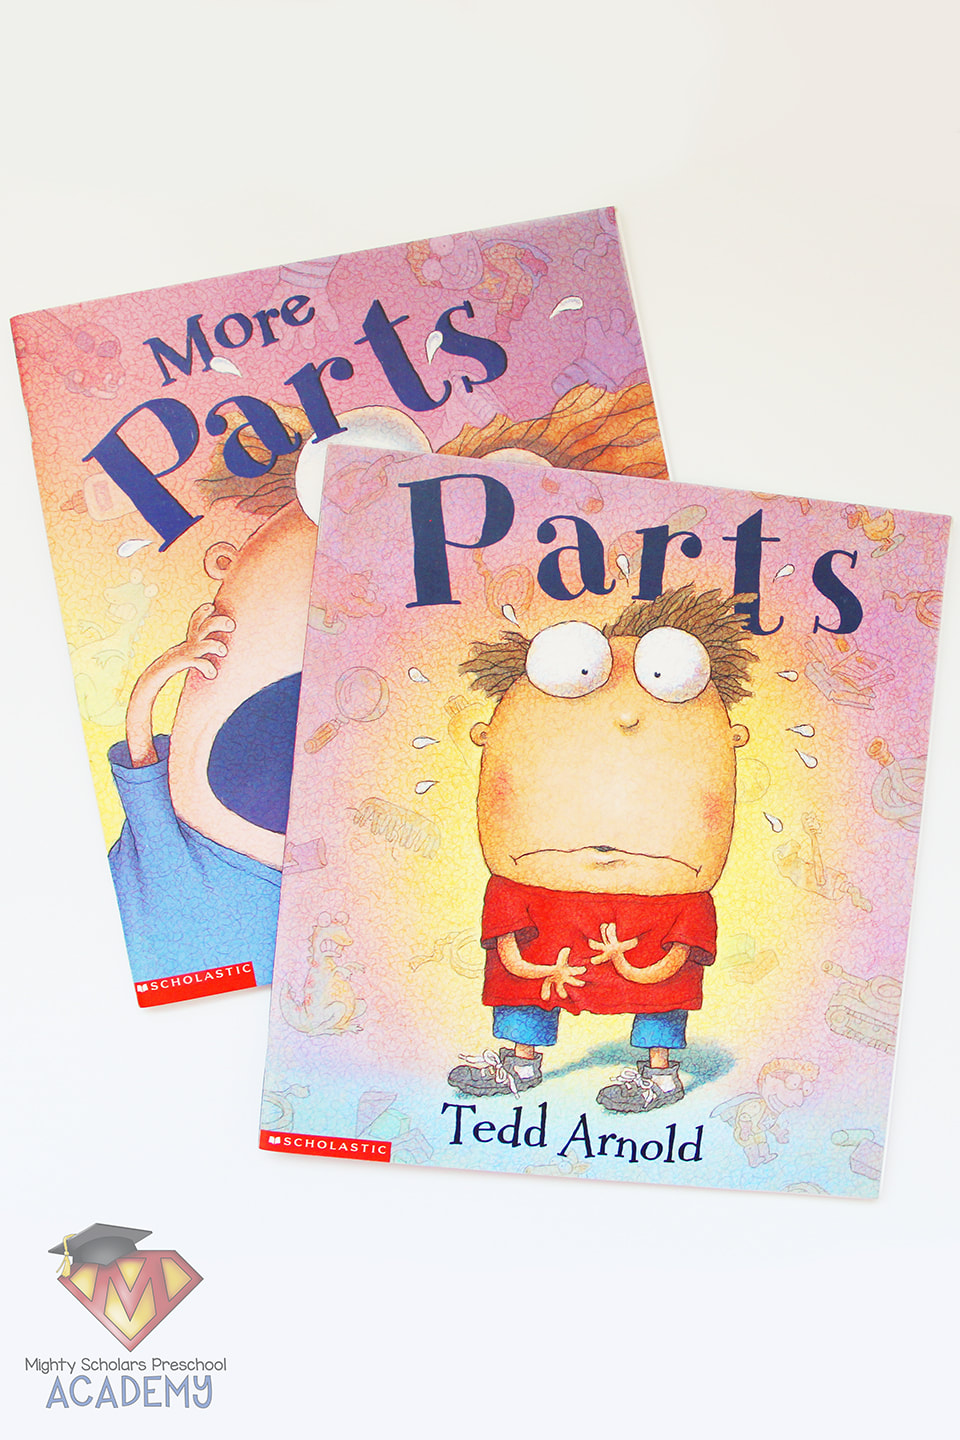
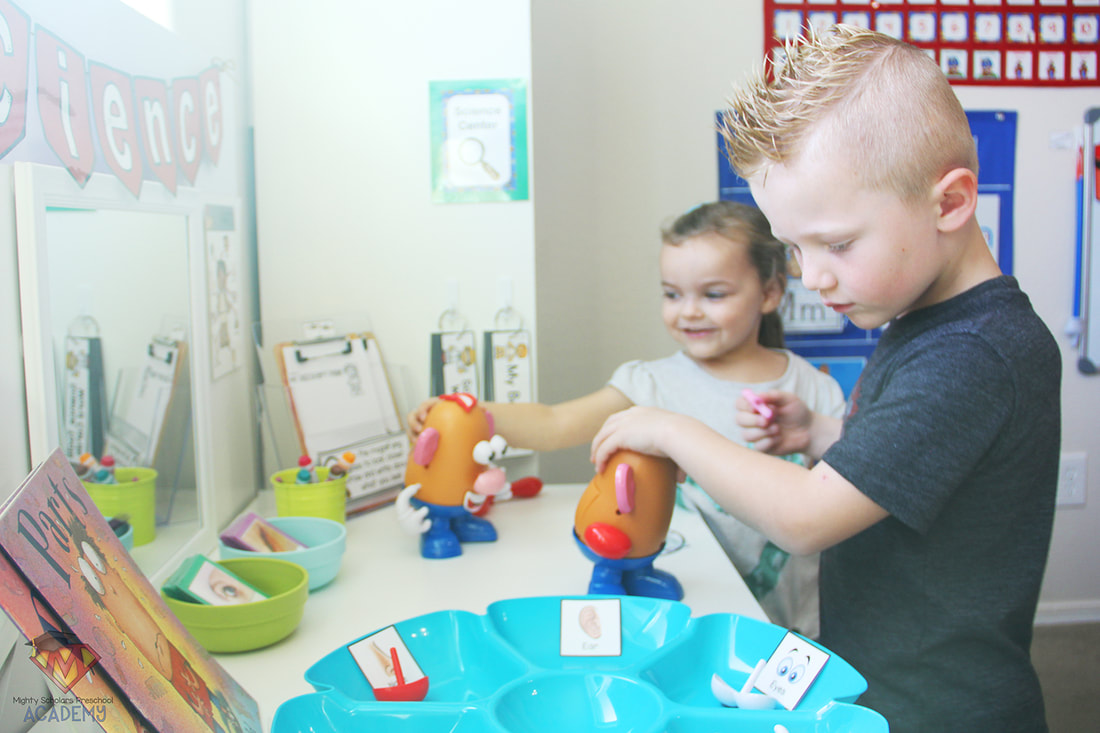
To introduce the lesson, I read the book 'Parts', by Tom Arnold. My students love the illustrations and the funny narrative. We used games to make learning about our parts fun and engaging. One of the most engaging games included Mr. Potato Heads and extra parts.
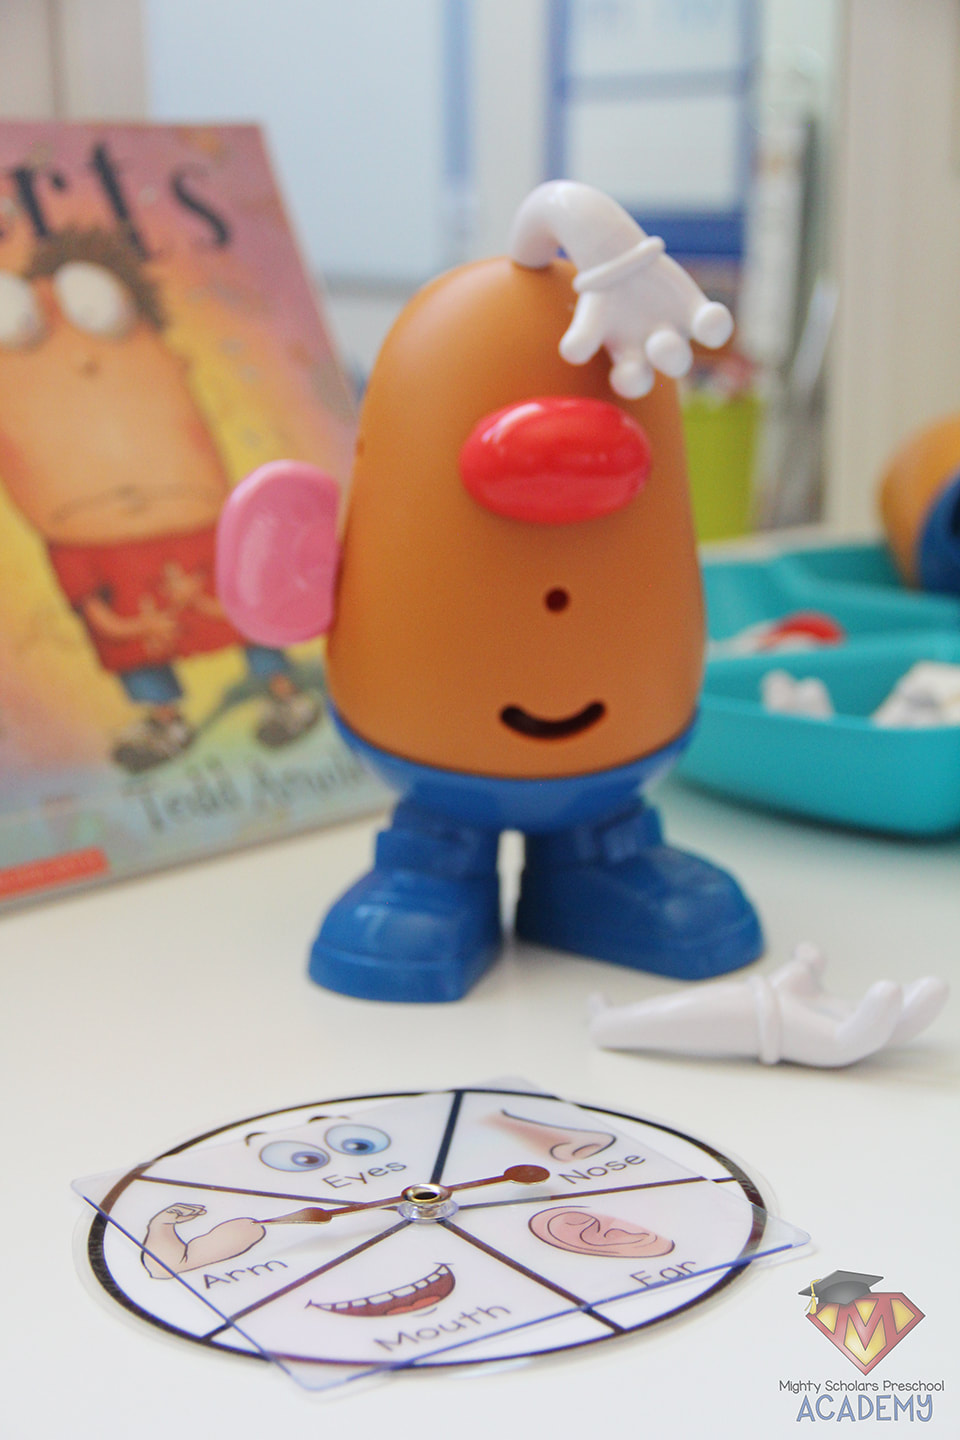
The Body Parts Spin Game is a goofy, fun identification game, that requires one-to-one correspondence and taking turns.
Each participant takes turns with the spinner and adding the corresponding body part to their potato. Many students like to choose alternative placement for the body parts, especially when they get more than what would be on the average human body. I've attached the game spinner as a freebie at the end of this blog post.
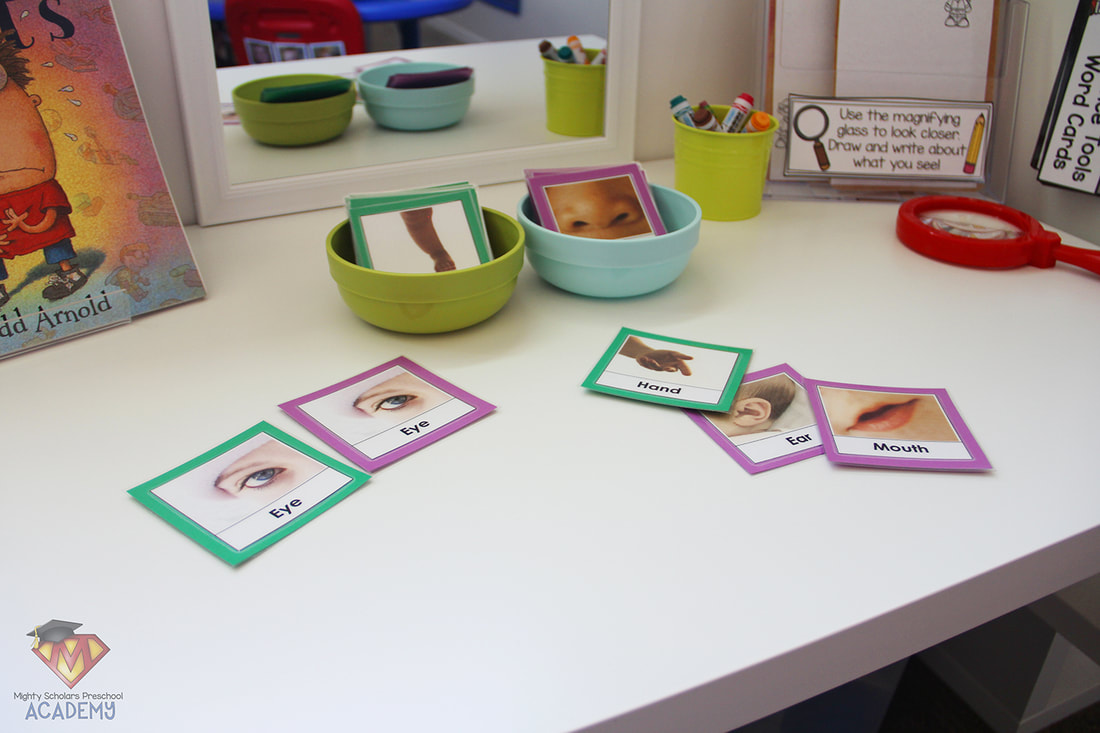
The second activity required matching body parts with real photographs.
While clip art images are fun, its important to have real images presented. The most studied activities in our units are those with real photographs. Identification in the real world won't look like cartoon drawings. When I present the matching game to my scholars, we talk about each of the photographs together, before its placed out on the science table.
This particular set of matching cards and additional wonderful activities can be found at
Every Star Is Different.
Adding literacy to the center is giving students the opportunity to go back over the books we've read, or cards we've used together.
Students enjoy looking through the books we have read together, recalling the sequence of the stories and retelling it in their own words. The more opportunity to a wide variety of books, the better. Ted Arnold has several books in the 'Parts' series. We read two during the week: 'Parts' and 'More Parts'.
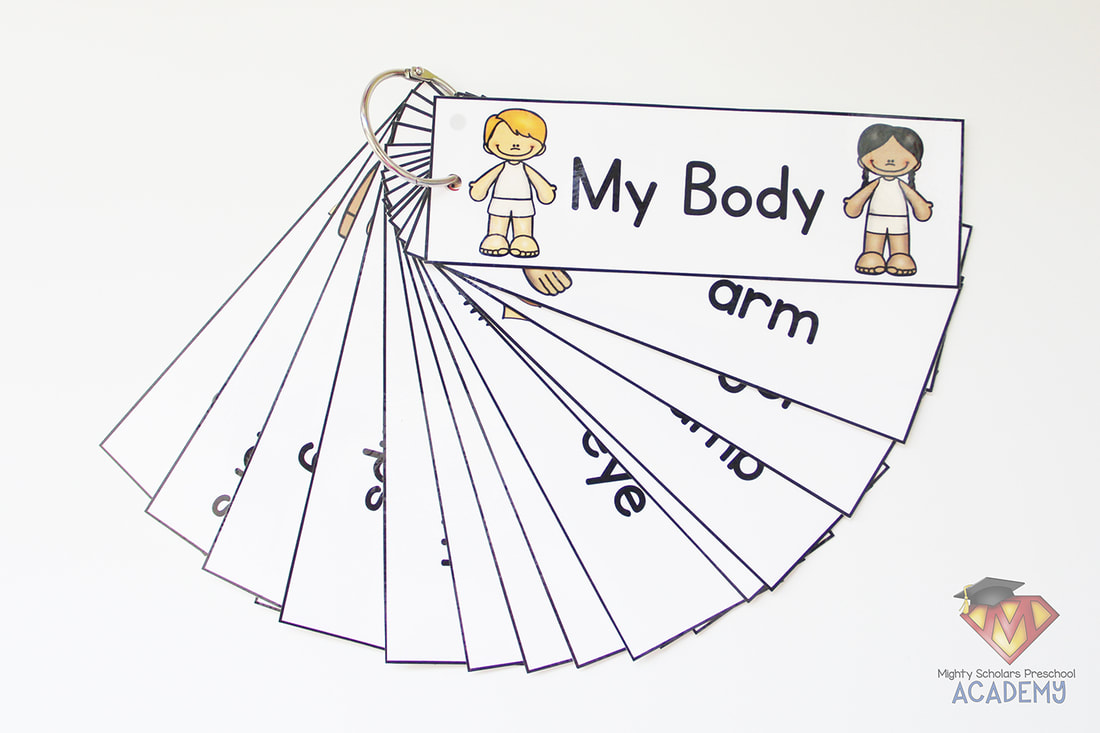
I always try to add hanging word cards for my students to look through, with each subject. I used the word cards to play versions of "Heads, Shoulders, Knees and Toes" and "Simon Says", during our circle time. I hang word cards from book rings, so students can easily flip through them, on their own. The My Body mini posters can be found in my Teachers Pay Teachers store, HERE.
I found the 'My Body' word cards at PreKinders.
Karen, from PreKinders, has a great list of activities to use with her word cards.
The second week in the Human Body Unit,
covered the subject of our largest organ: our skin.
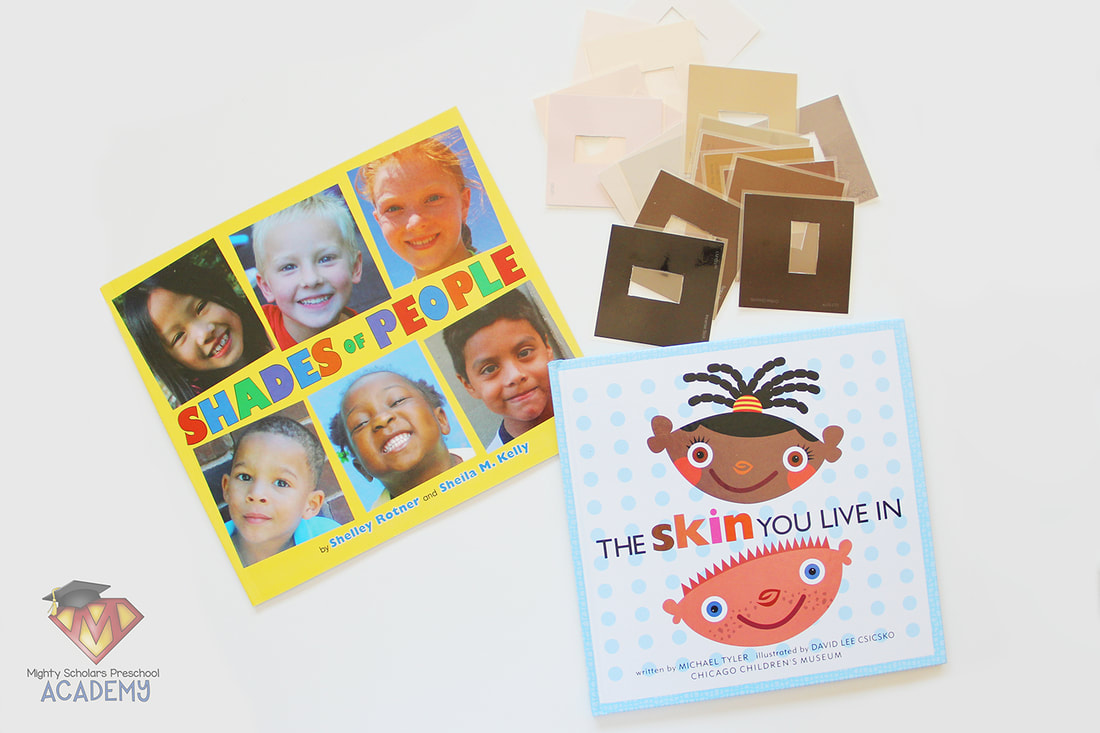
Skin, at a preschool level, is very simplified. I like to teach my students how their skin grows and moves with them, never needing to be changed, unlike the clothes we outgrow. We talk about how our skin is like a protective coat for everything inside our bodies and how we can take care of it. During this lesson, I read 'The Skin You Live In', by Michael Tyler.
During the week, we discuss the word "shades" and how every one of us has a beautiful and unique shade of skin; observing the beauty in diversity in our classroom and around the world. To teach this concept, I read the book 'Shades of People', by Shelley Rotner and Sheila M. Kelly. My students then compared their unique shade of skin to the other students in the class and we talked about how our shade of skin can change with emotions or environment, such as tanning or sunburn.
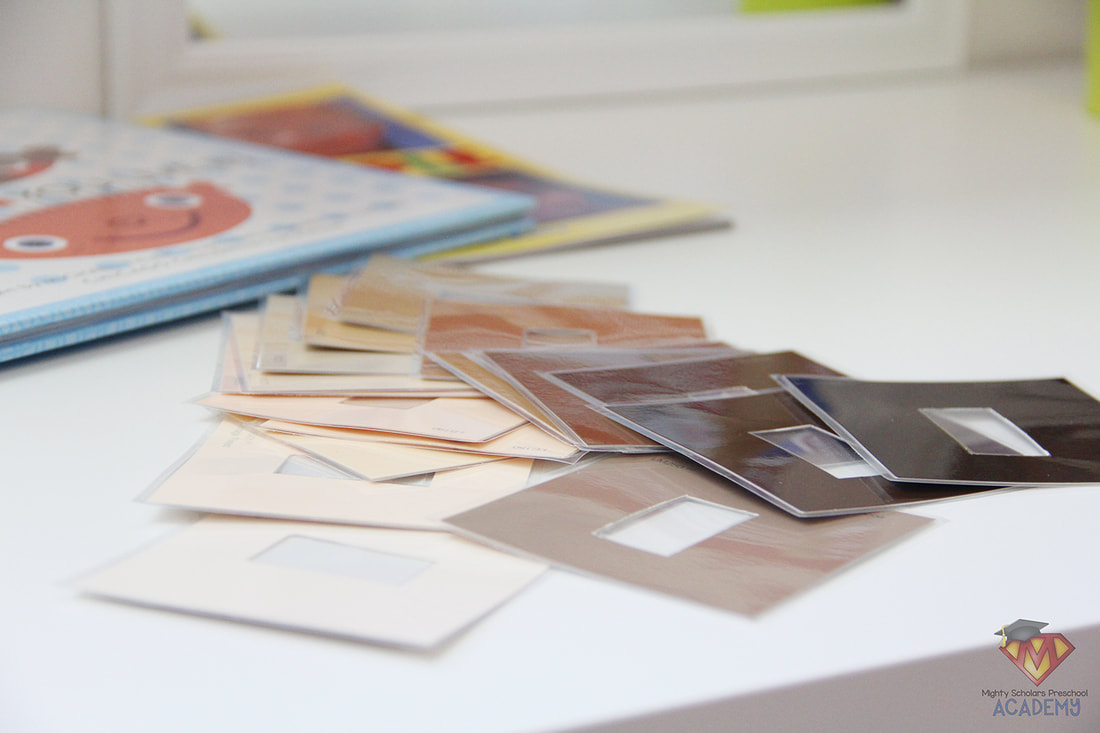
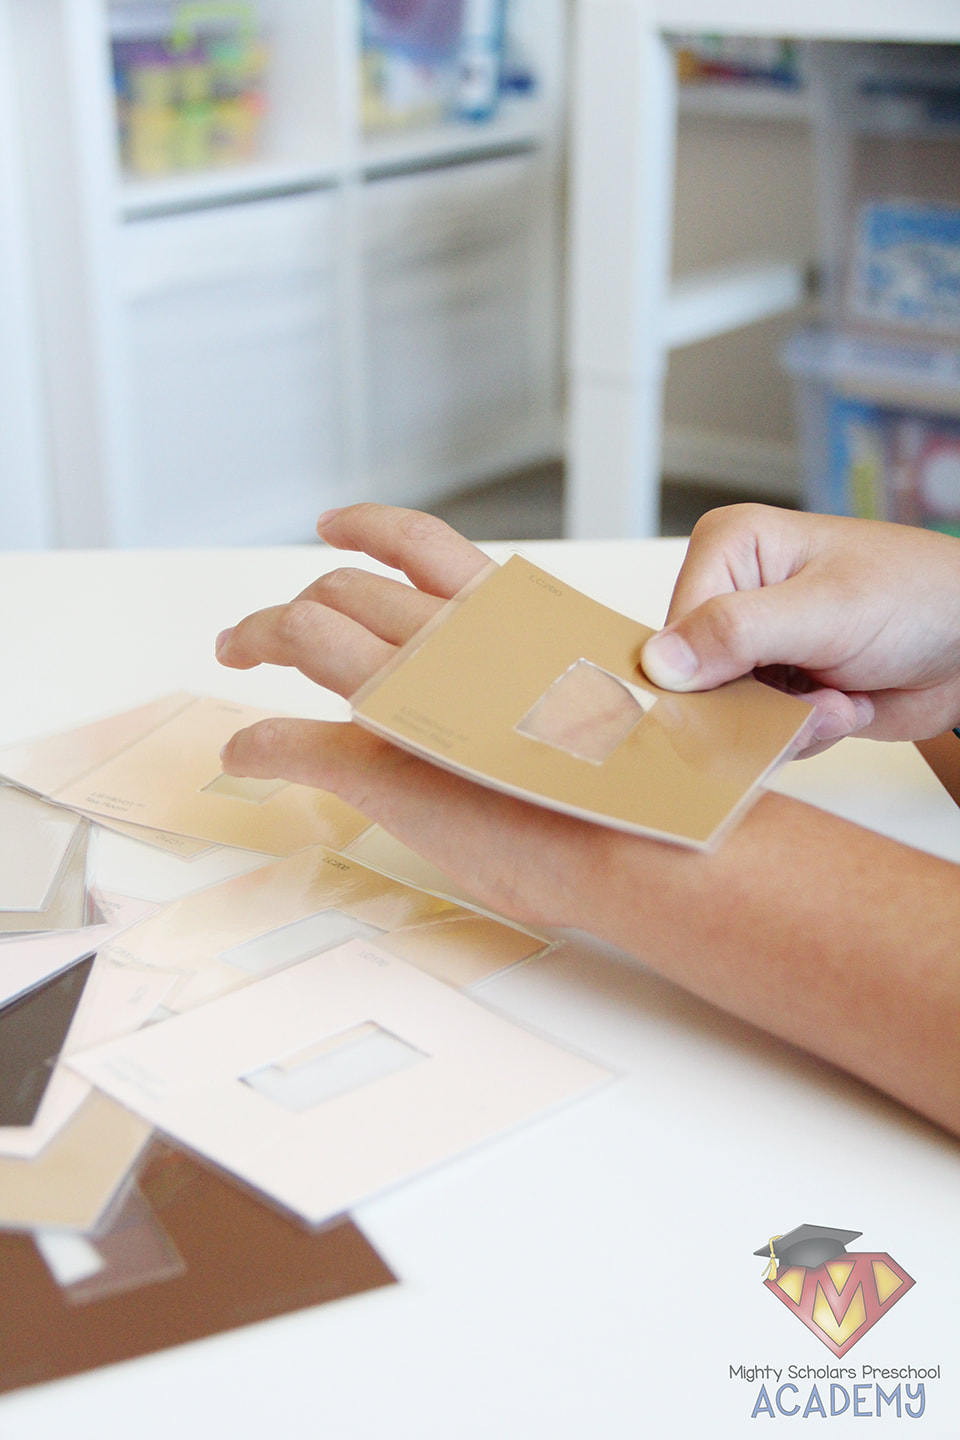
As an extension activity to shades of skin, paint chip cards make a
fantastic, diverse, visual comparison.
My local hardware store carries the larger square paint chip cards, perfect for classroom activities. I scoured the wall for as many skin shades as I could find, from one end of the spectrum to the other. I carefully cut out a rectangular window in the center, with an X-acto knife, before laminating them. Students then used the cards to compare their own beautifully unique shade of skin to the shade on each card, through the window.
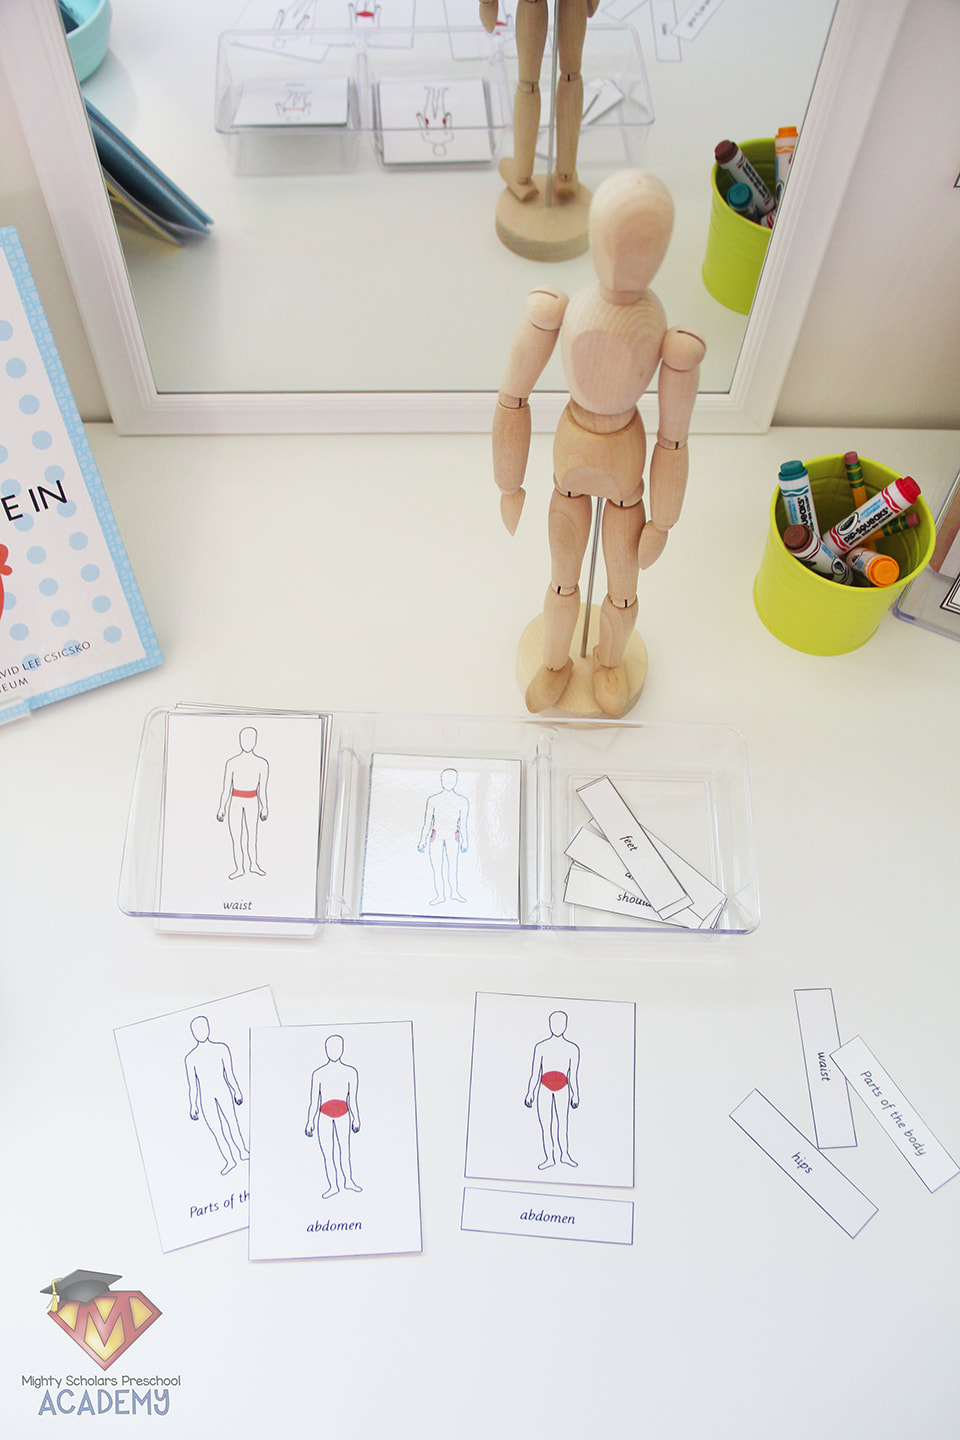
A continuation of the previous body parts week was also added to the center, with Montessori 3-Part cards.
To blend in with our subject of skin, but carry on the previous subject of body parts, I found a great activity from Mama's Happy Hive, using a wooden artist mannequin and Montessori 3-Part External Parts of the Body cards, from Elementary Observations.
My students used the cards to locate the body parts on the mannequin, as well as matching the cards to each other. While they weren't able to read the body part names, we did go over them together during the lesson and they learned that the printed text has meaning. I only set out a select few for my students to use and switched them out mid-week to keep them interested.
My free Body Part Spin Game can be downloaded via the link below:
Please note, as a participant in the Amazon Services LLC Associates Program, I may earn a small commission on qualified recommended links.
The Amazon Services LLC Associates Program is an affiliate advertising program designed to provide a means for sites to earn advertising fees by advertising and linking to Amazon.com.
My Amazon Picks for The Human Body: Parts and Skin
Comments are closed.
|
Categories
All
©2012–2024 Mighty Scholars Preschool Academy
|
||||||
