|
As we began to move inwards, learning about the human body,
our small group and center discovery activities took us on a journey into what lies beneath the skin.
During the second session in our unit, my scholars learned about the muscles and bones in our bodies. We watched our muscles move and change shape, as we bent our joints and lifted objects. We discussed how our bones wouldn't move without the attached muscles and how to keep them strong and healthy.
What child, or even adult, wouldn't find x-rays interesting?
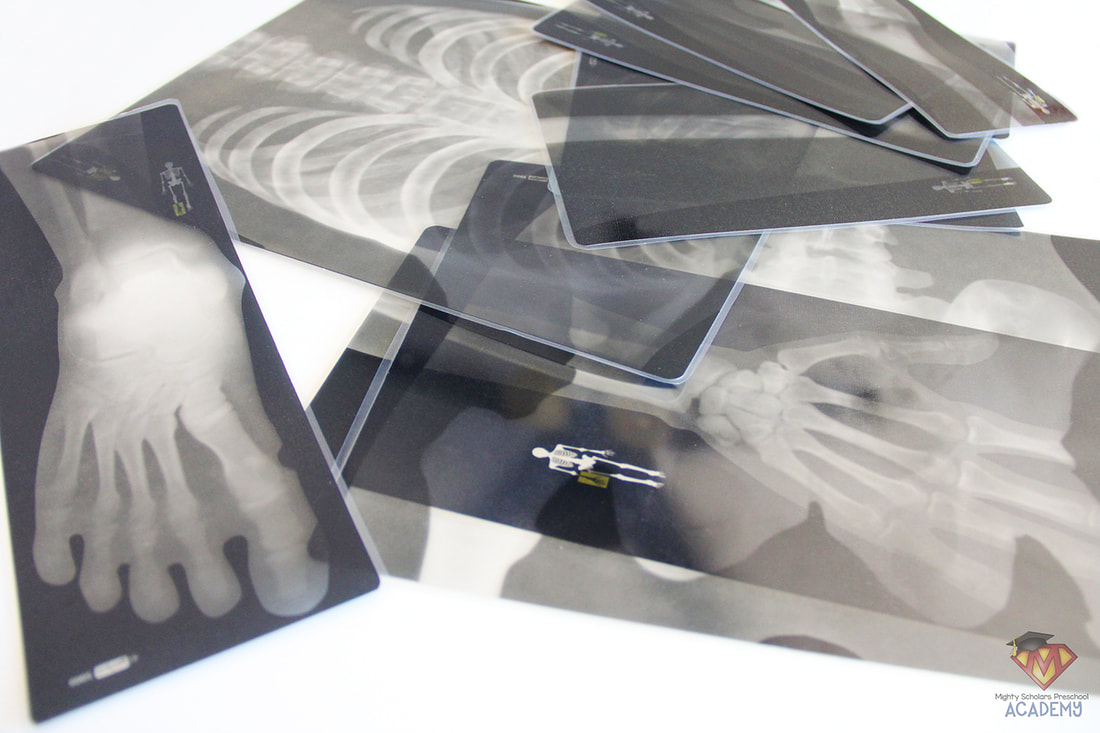
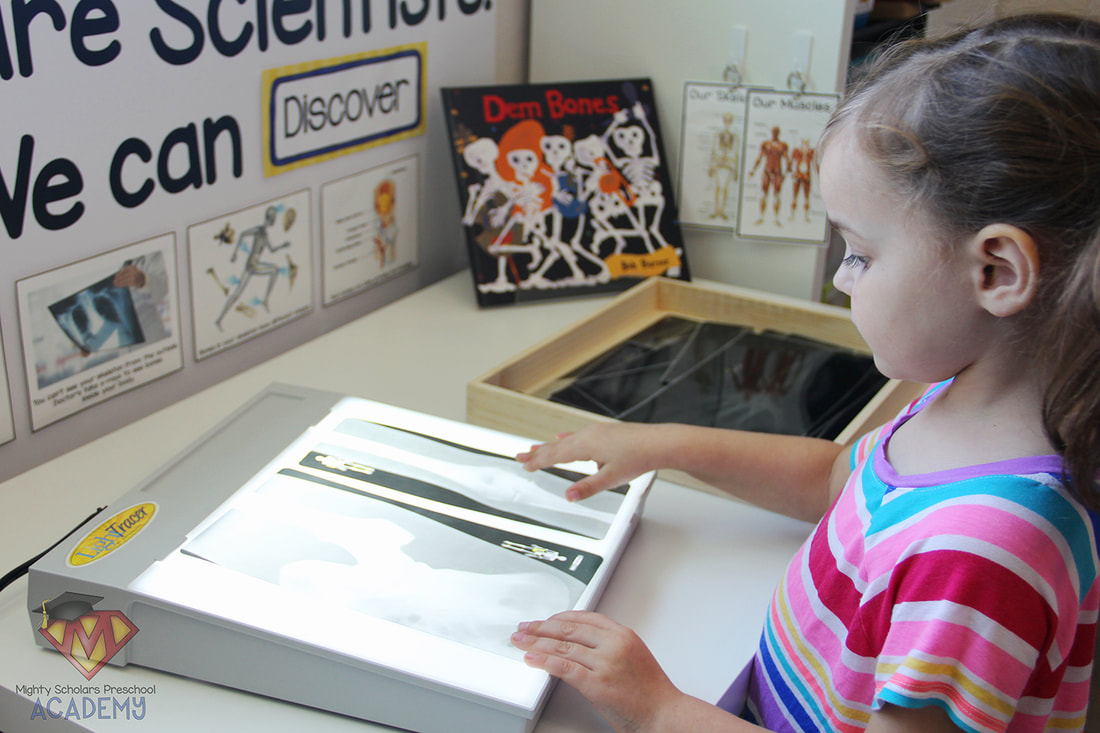
It used to be that on occasion, if an x-ray was taken, the attending physician would bring the printed film into the room and clip it to a light source on the wall, to show and discuss what could be seen and the treatment needed. If you were "lucky", you were able to take the film(s) to another physicians office, giving you time between appointments to handle and view your x-rays at home, studying them up close. In the digital age we live in, x-rays are rarely printed to view on a light source. Instead, they are typically uploaded to a computer and viewed by the attending physician, without the patient seeing them. The ability to handle, turn, flip and closely view an x-ray has been somewhat lost. I wanted to give my scholars that experience in the classroom.
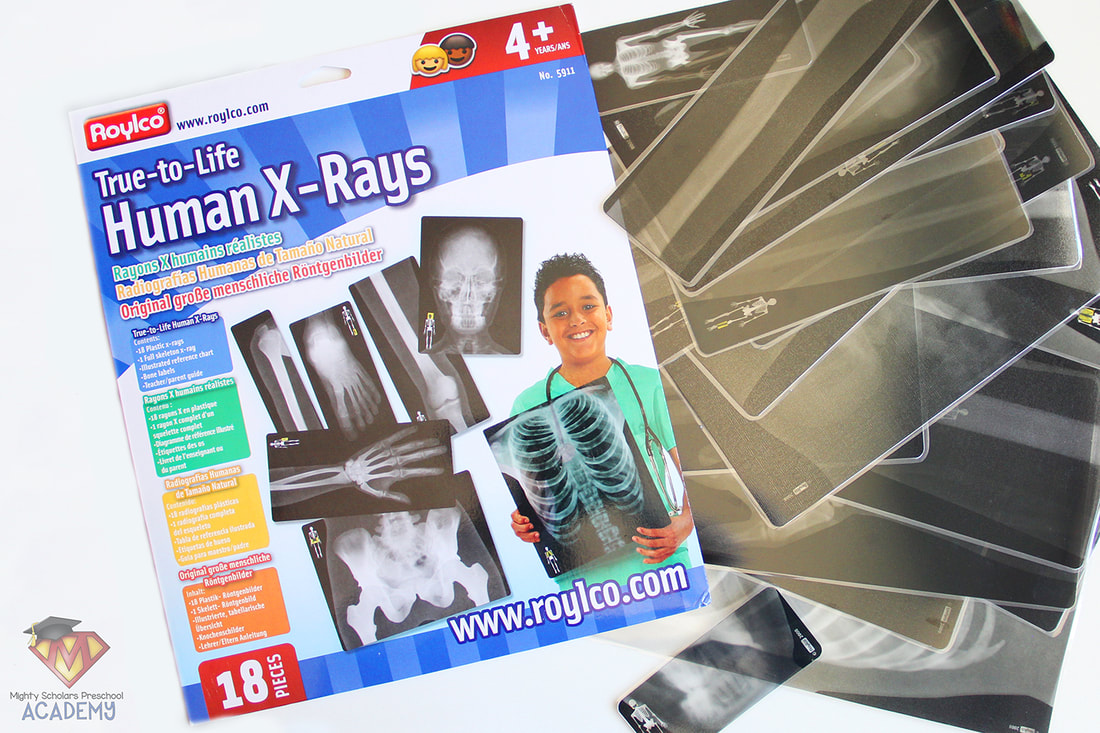
One of the best investments I made, to teach the human skeleton to preschool aged children, is the Roylco True to Life Human X-rays set.
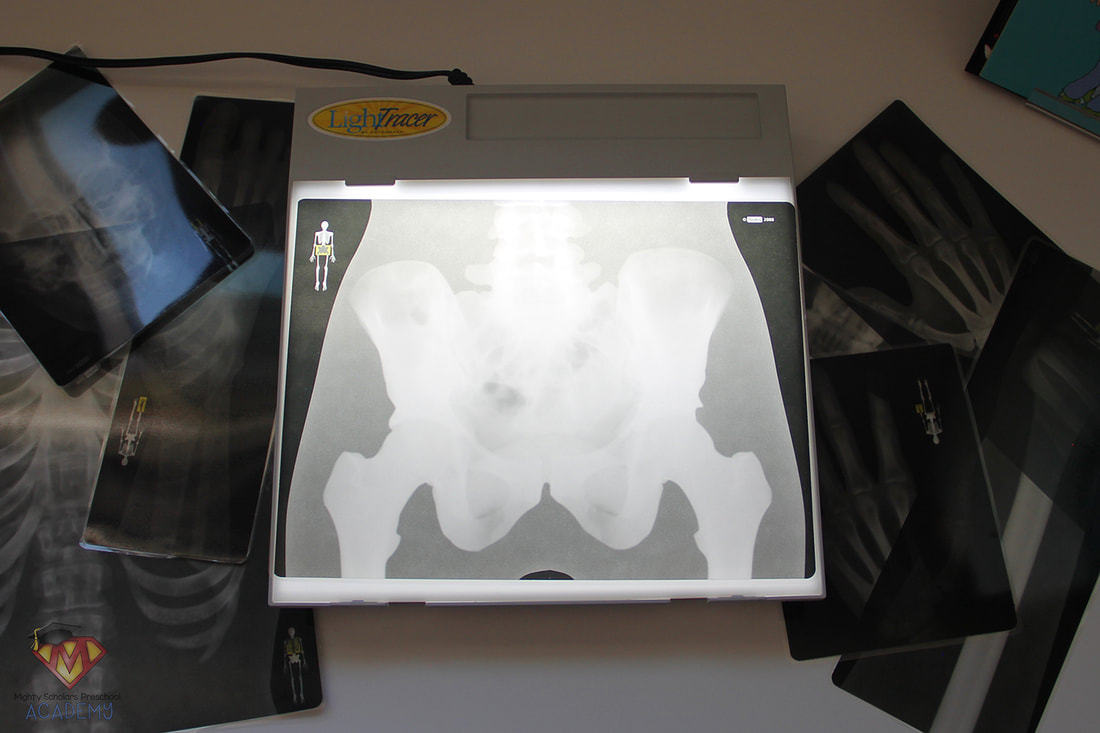
The set includes eighteen human x-rays that can arranged to form a skeleton, and have great detail when used on a light source. The reproductions have been printed on a thick transparency plastic, but can be scratched. In order to make them last from year to year, I laminated each X-ray and made sure there was a good lamination seal around the edge before cutting the lamination. As with everything I introduce in my classroom, we discussed how to care for and properly use x-rays. I also instructed my scholars how to properly hold the x-ray film at the edges, just as they would need to in a real life situation.
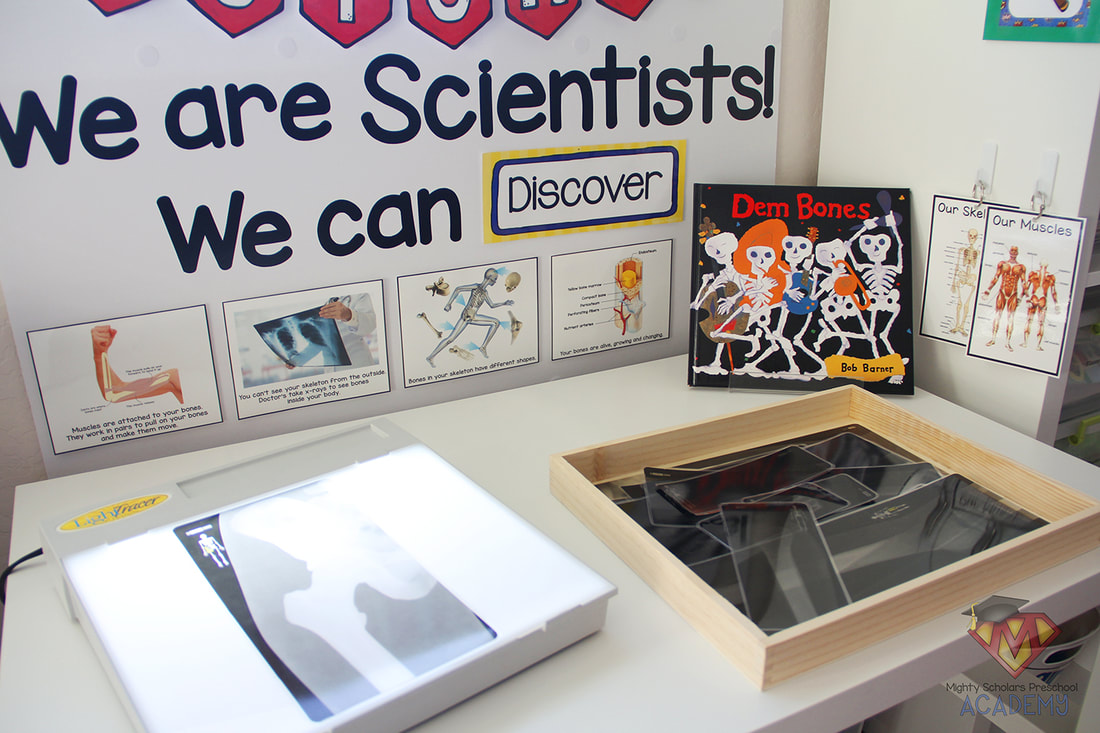
The x-ray details can be viewed by holding them up to a light or window, but I chose to use my Light Tracer table. Any light table could be used, but I wanted to use one small enough to fit on the science center table.
Displaying picture books in a way for students to look through them freely, in each center, is an important literacy component to each subject.
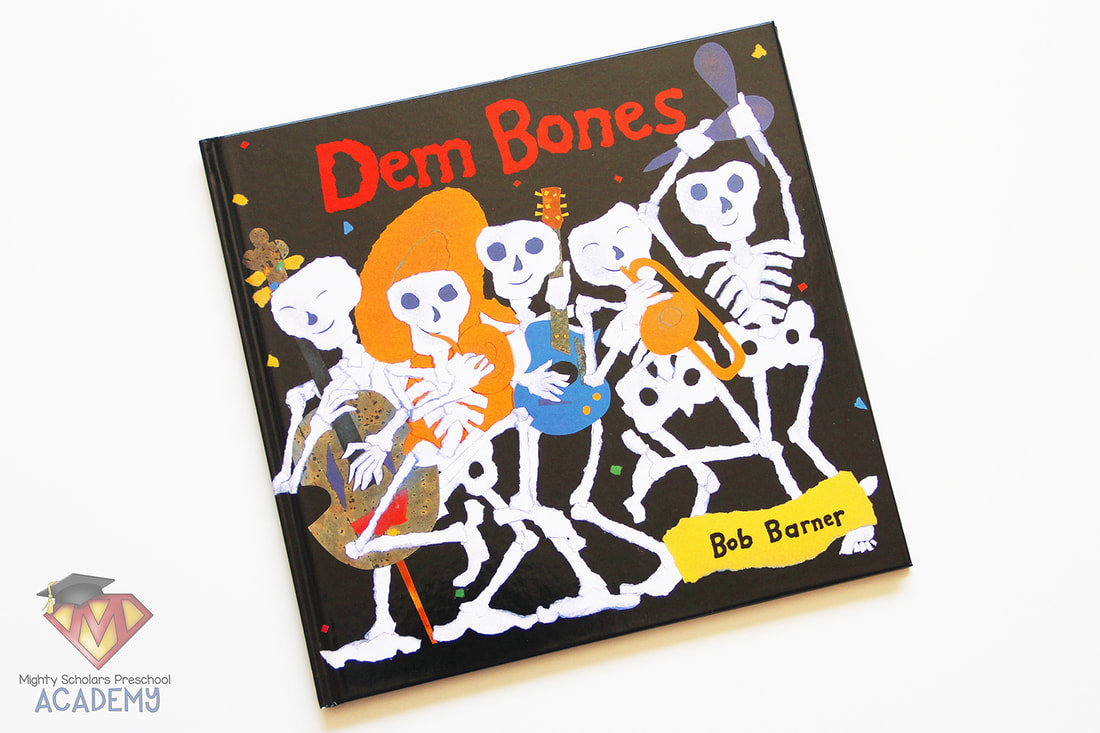
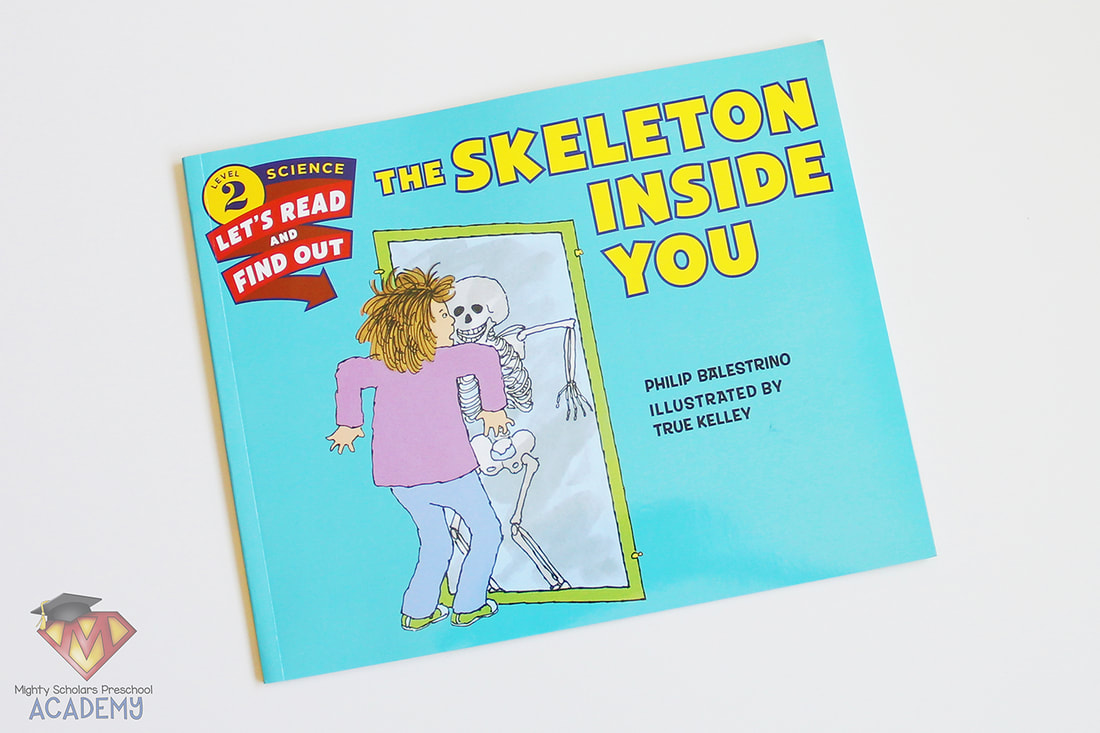
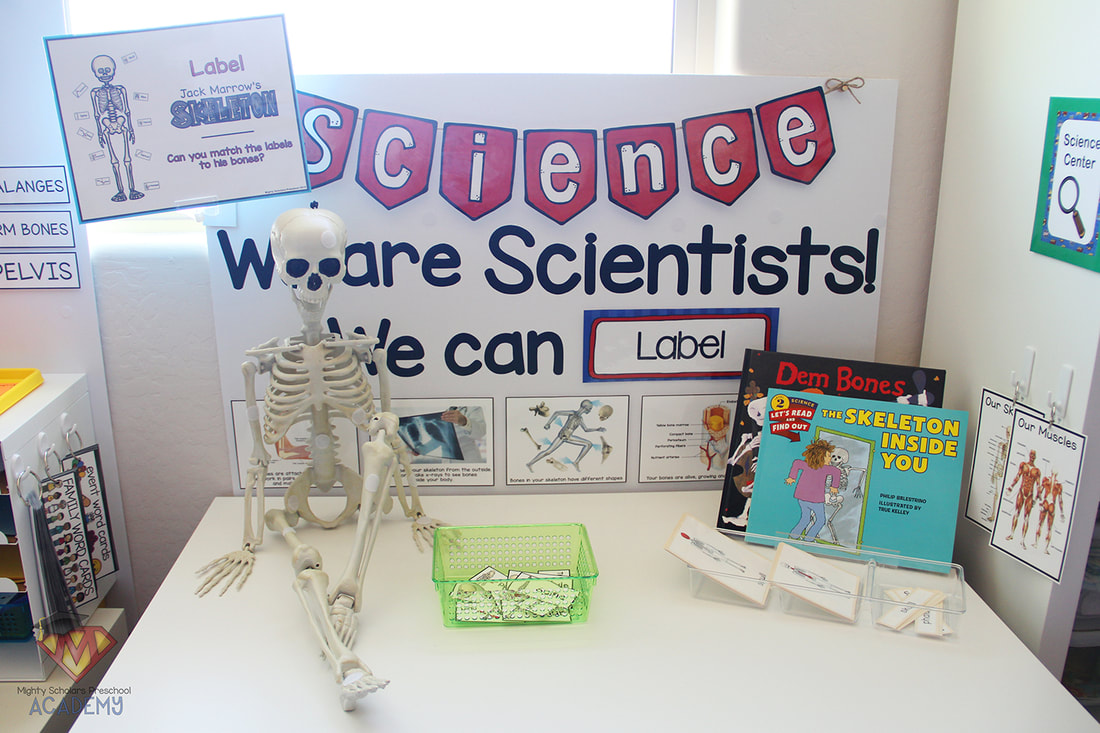
The books 'Dem Bones' by Bob Barner and 'The Skeleton Inside You' by Philip Balestrino, are just some of the choices to add to the center. I set out my chosen books when setting up the center, but also make sure to read each book to my students during the duration the activity is in the center.
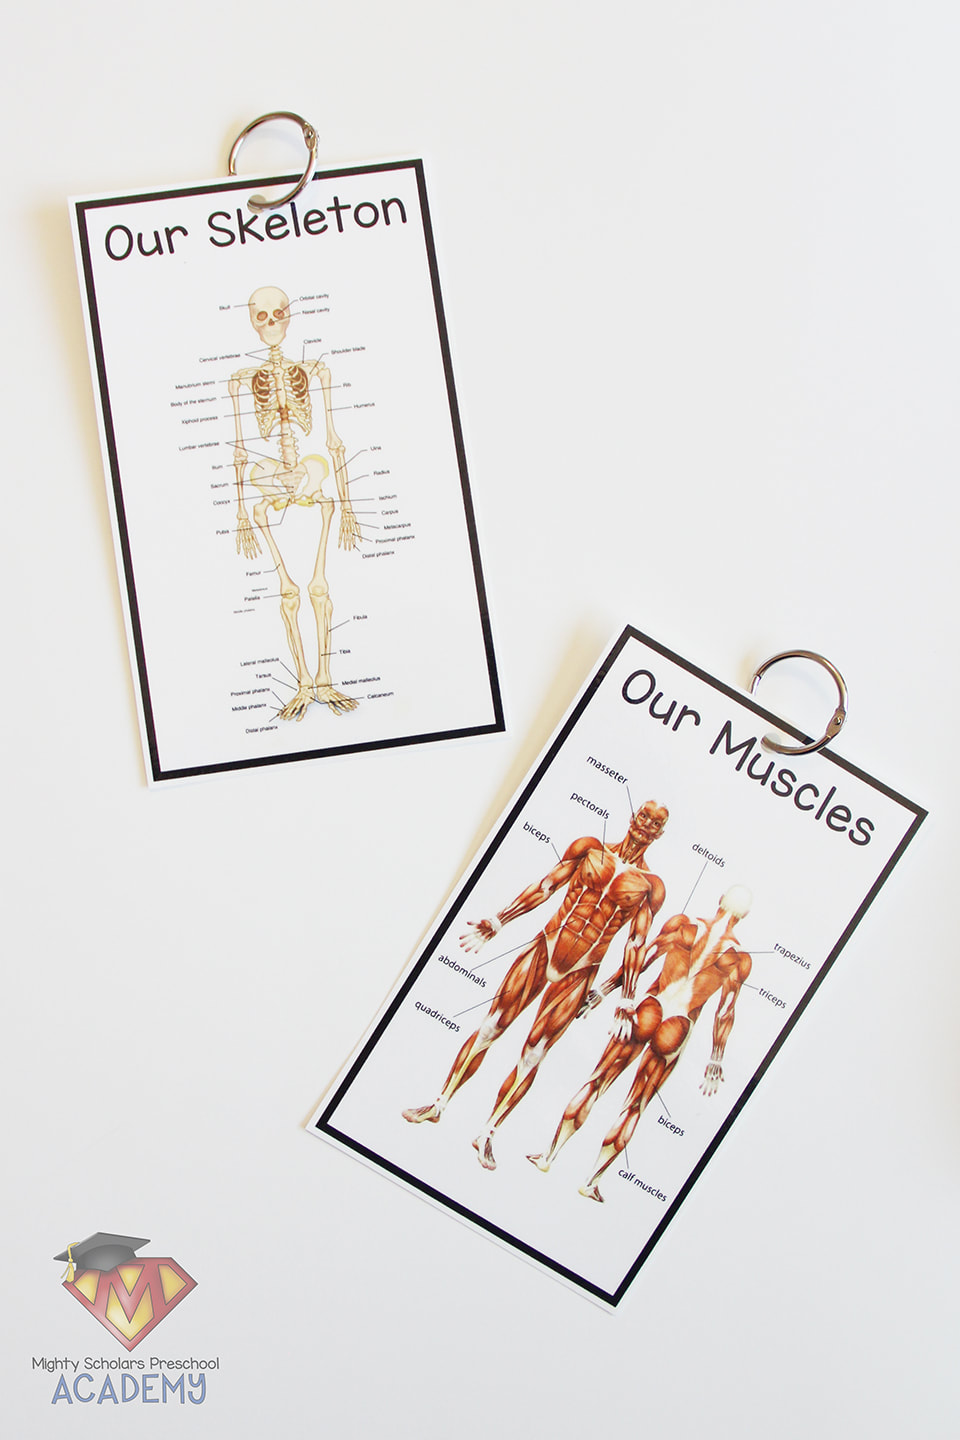
Along the back of the science table, I hung mini posters that show and mention how muscles are attached to our bones, x-ray pictures help us to see our skeleton, that bones have different shapes and bones are living with different layers that serve a purpose. The mini posters are attached to the bulletin board with velcro dots, so that I'm able to remove and use them during our small group or circle time. I also had labeled muscle and skeleton cards hung on book rings for the children to handle and observe up close. While they aren't able to read the labels, they are being exposed to concepts of print and learning that it has meaning. Many students may also be able to recognize letters and sound them out, adding a literacy component to the lesson. I have attached the muscle and skeleton cards as FREEBIES for you to download, at the end of this blog post.
The scientists can 'Discover' bulletin board card comes from a science bundle that I use to supplement my science center lessons throughout the school year, from Jamie White on Teachers Pay Teachers.
The second science center activity for our muscle and bones lessons
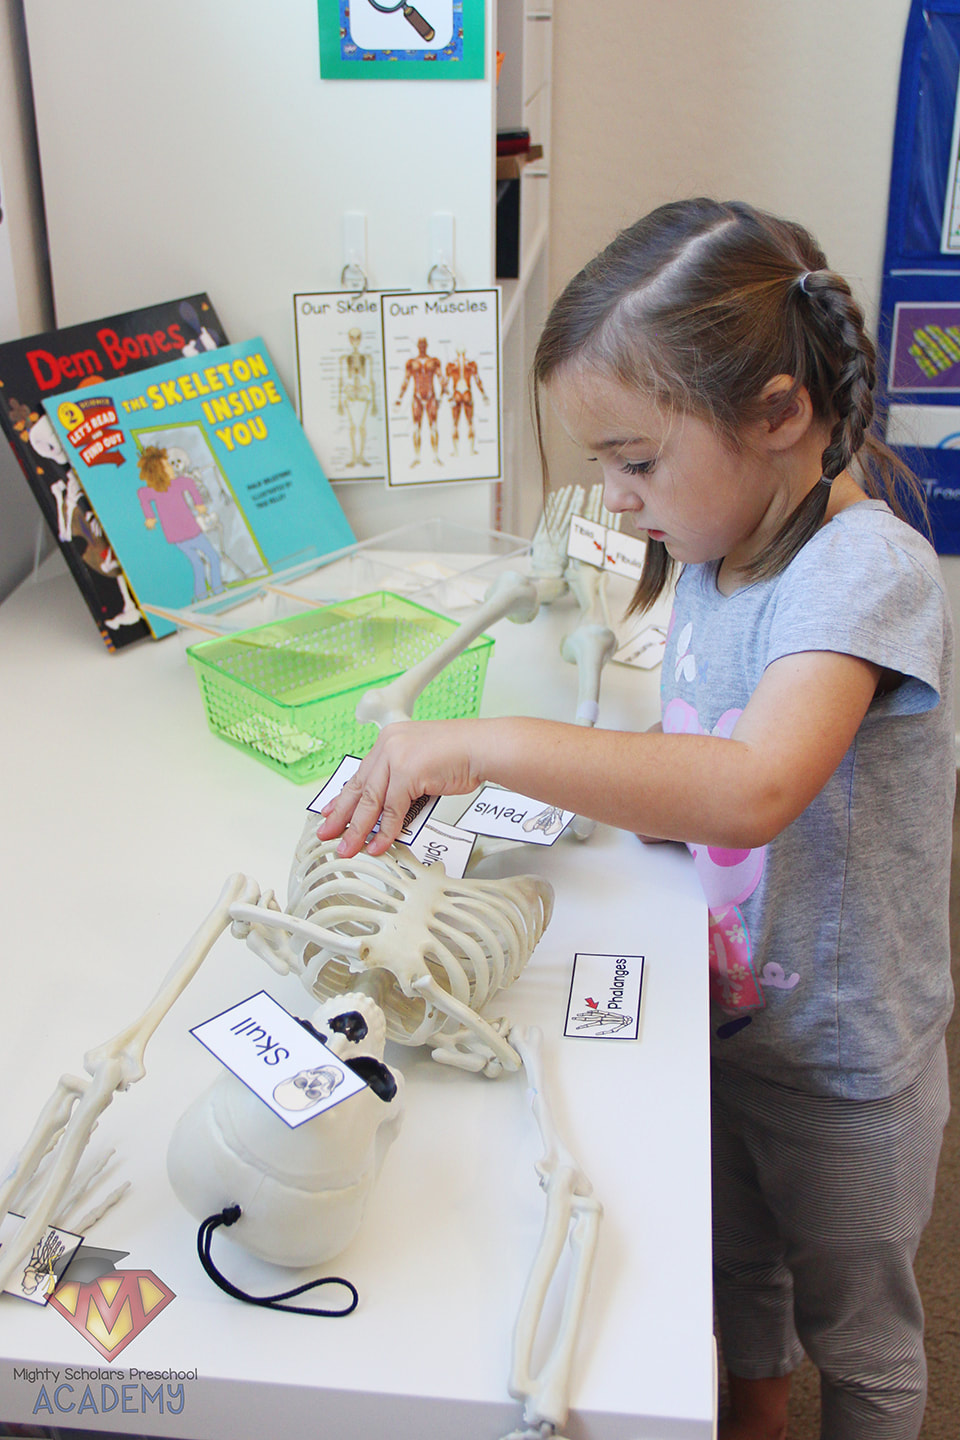
included our class skeleton named "Jack Marrow".
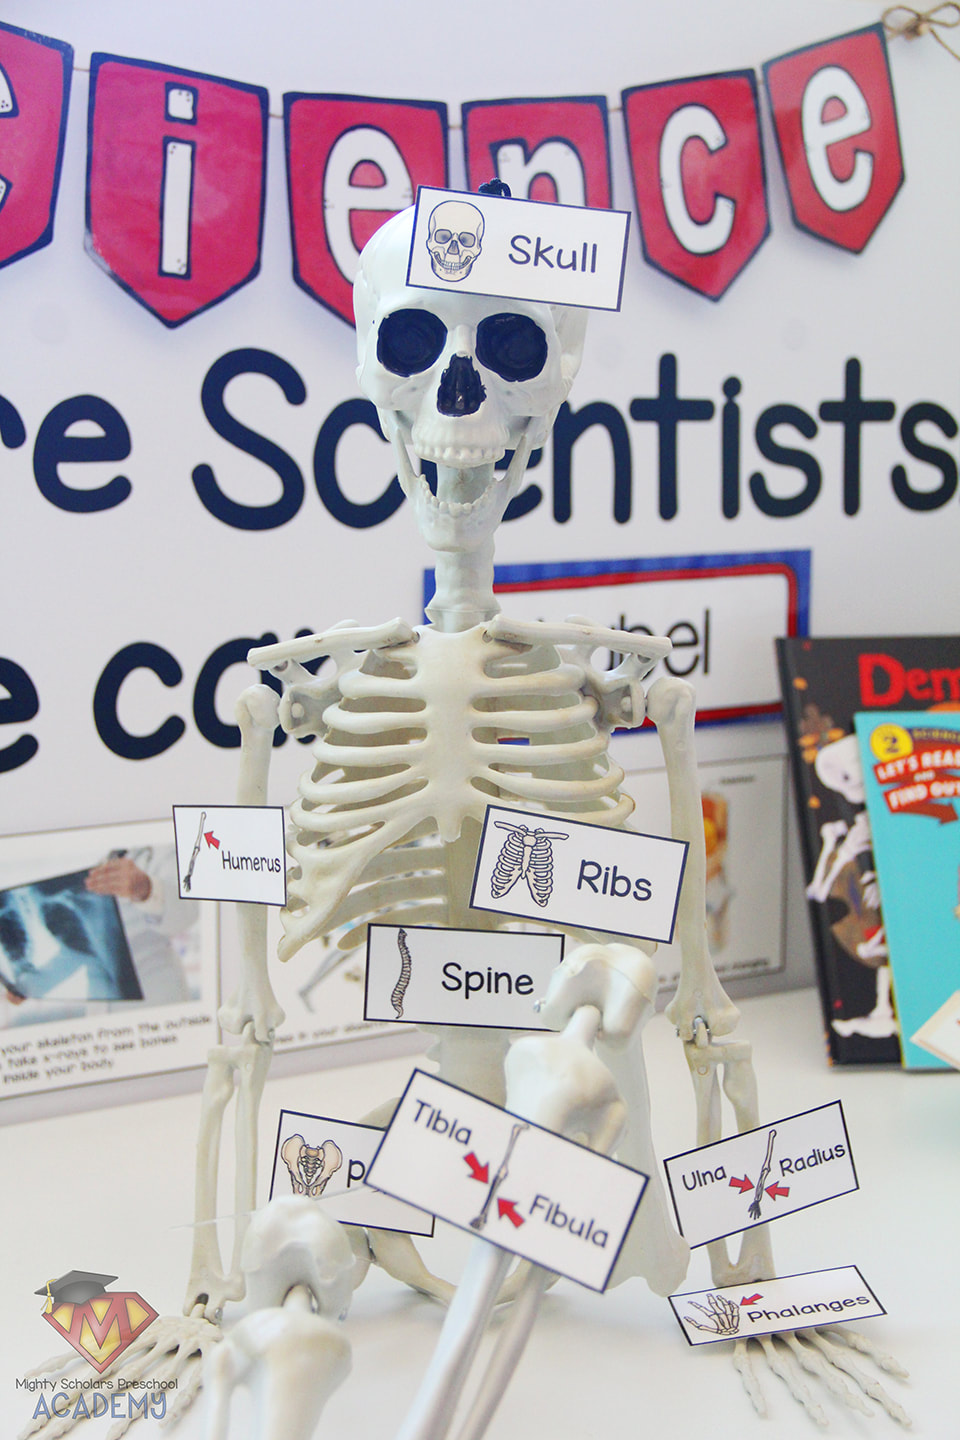
"Jack Marrow" is a posable, jointed skeleton, usually used as a Halloween decoration. It works perfectly as an educational skeleton at the preschool level. Scholars used the simplified bone label tags to label "Jack's" bones and discover the joints that help our skeletal structure to bend. The bone labels can be attached using velcro dots, or simply matched and held up by the student's hands.
My simplified class skeleton bone labels can be found in my Teachers Pay Teachers store HERE.
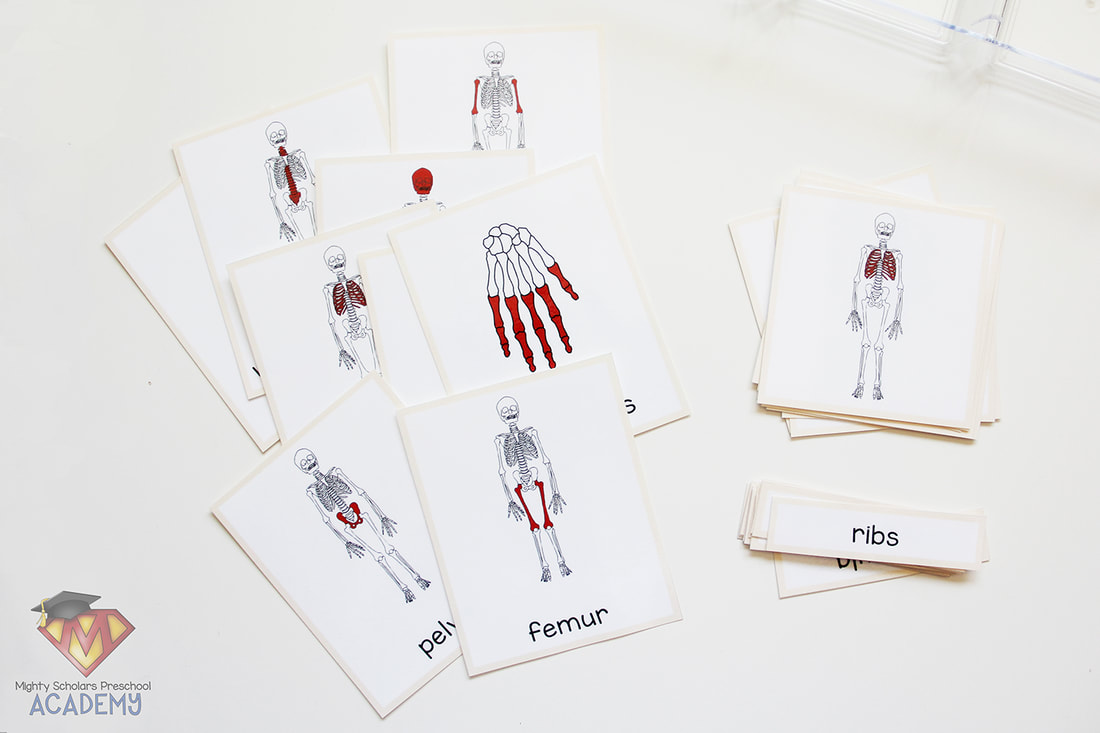
Along with labeling our class skeleton, a set of Montessori 3-part skeleton cards was a part of the science center activities.
Nomenclature cards are a wonderful activity to teach readers and non-readers the assigned names to objects in a small subject area. I only give a lesson on and set out select cards from the set, depending on the age of the class and the children's attention span. Since the 3-part cards are out with our class skeleton, I do try to keep many of the cards the same as the class skeleton labels.
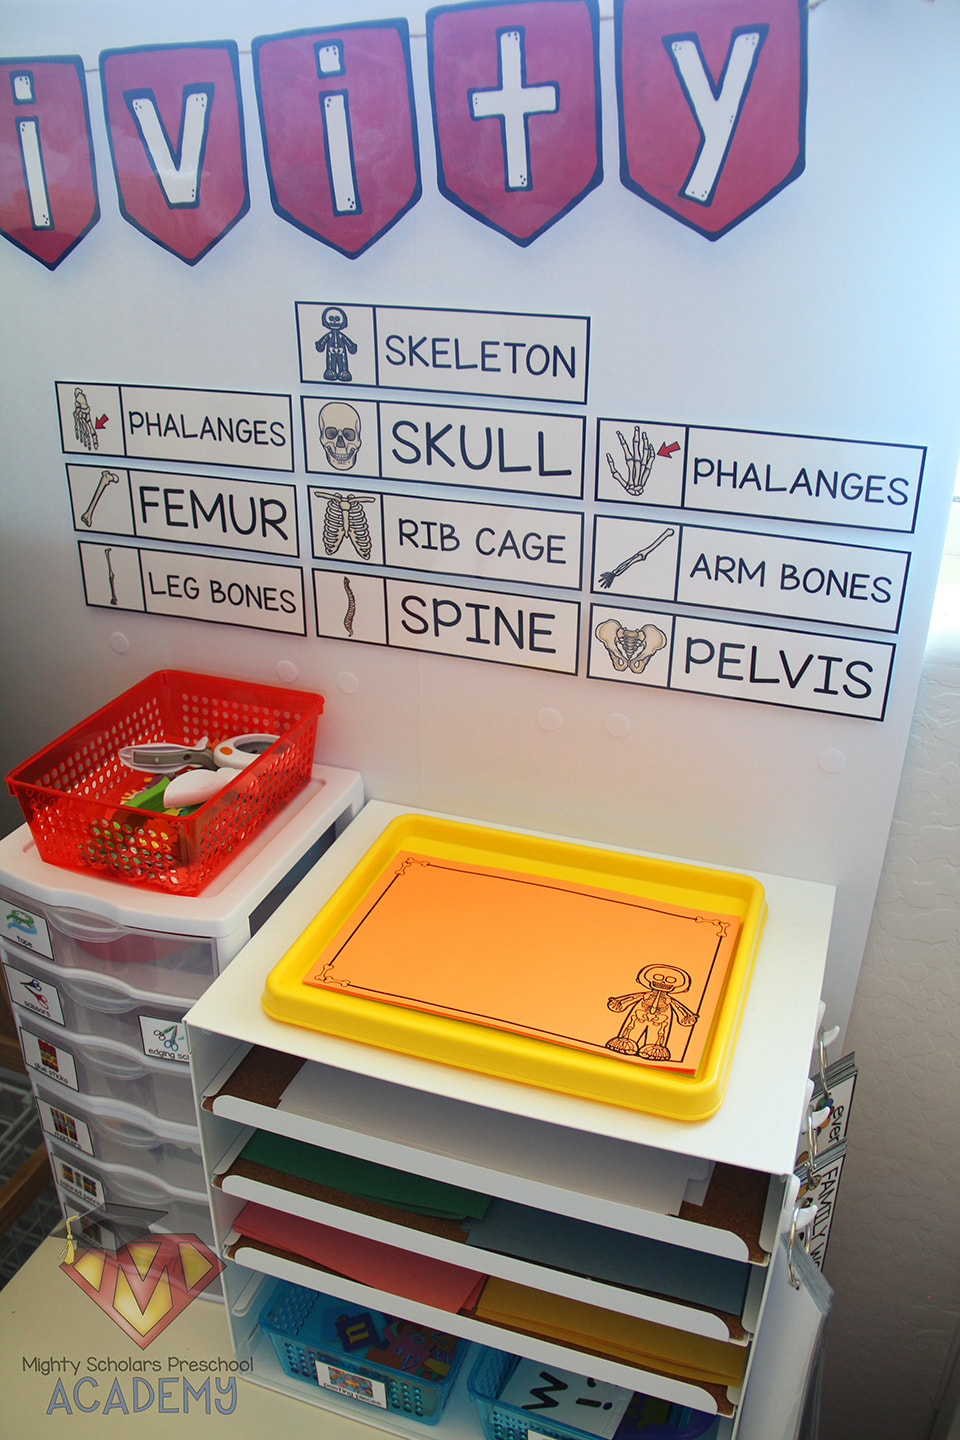
Skeleton related activities were placed in the other centers
around the classroom.
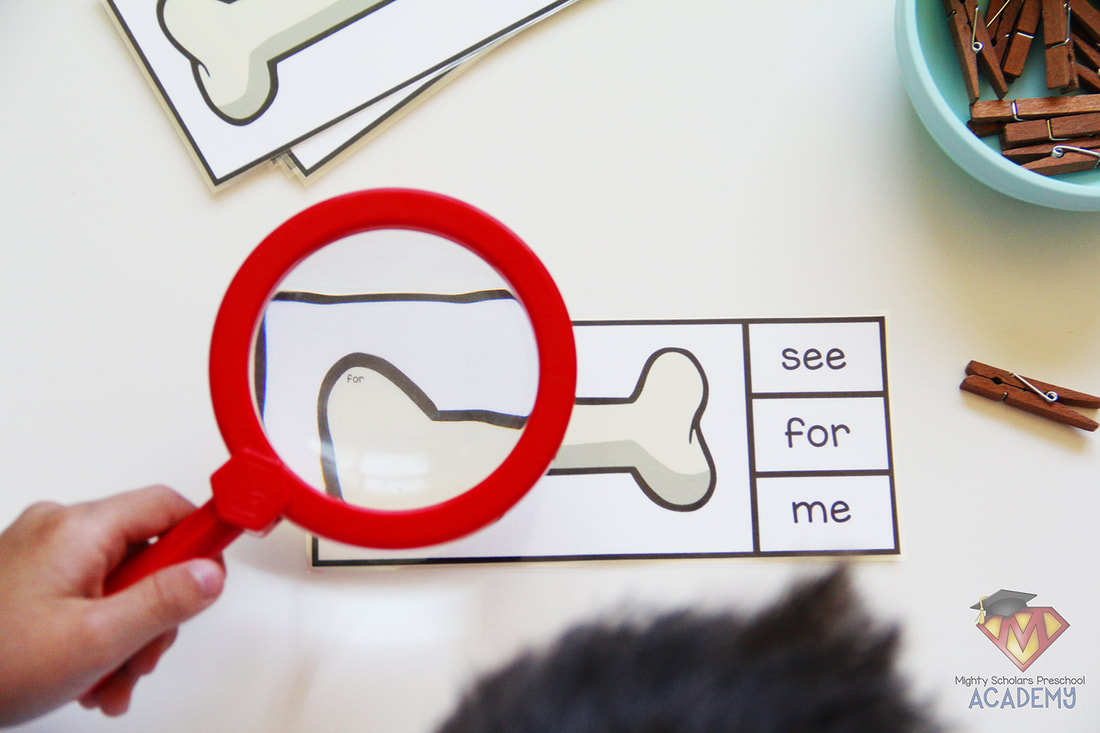
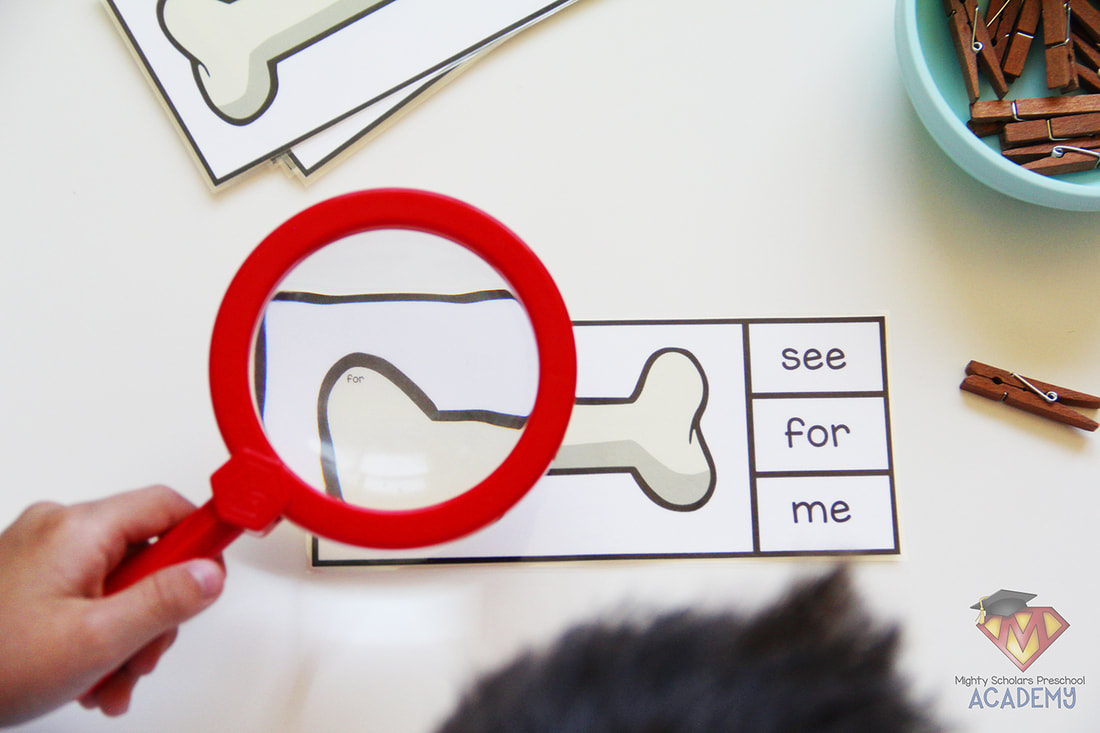
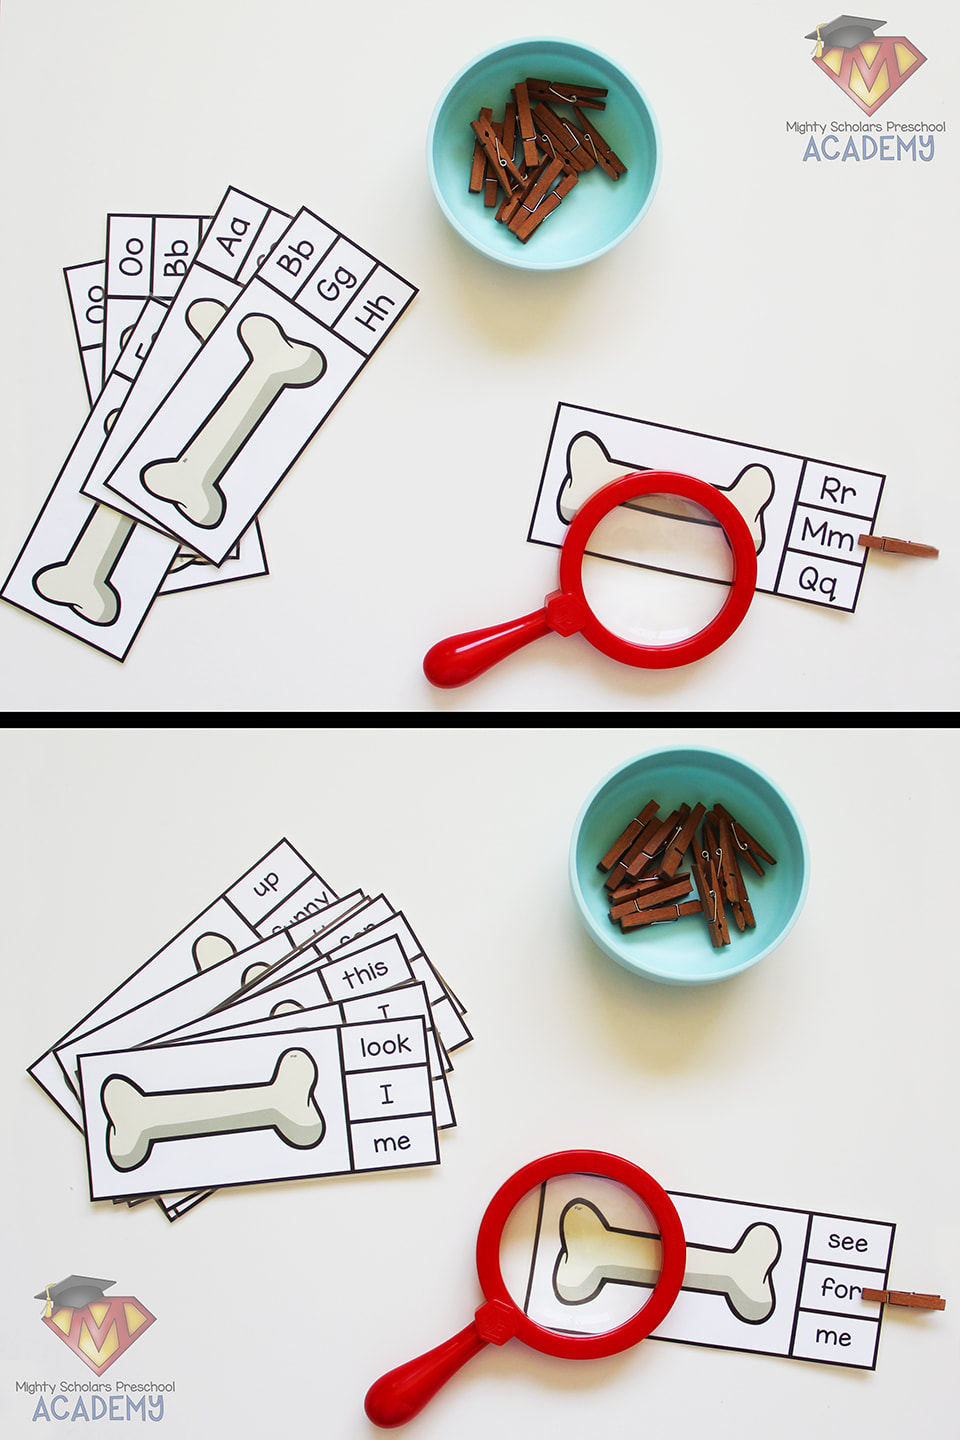
Skeleton Word Cards were hung in the writing area of our Creativity Center, with Skeleton Writing Paper, to encourage writing the vocabulary taught during the lessons. Magnify, Match and Clip Cards were one of the activities added to the Literacy Center. Students used the magnifying glass to look at the sight word or letter on the bone, then clip a clothespin to the matching sight word or letter, on the right of the card. While the words and letters can be seen if you squint up close, the magnifying glass adds excitement to the activity, making it much more engaging.
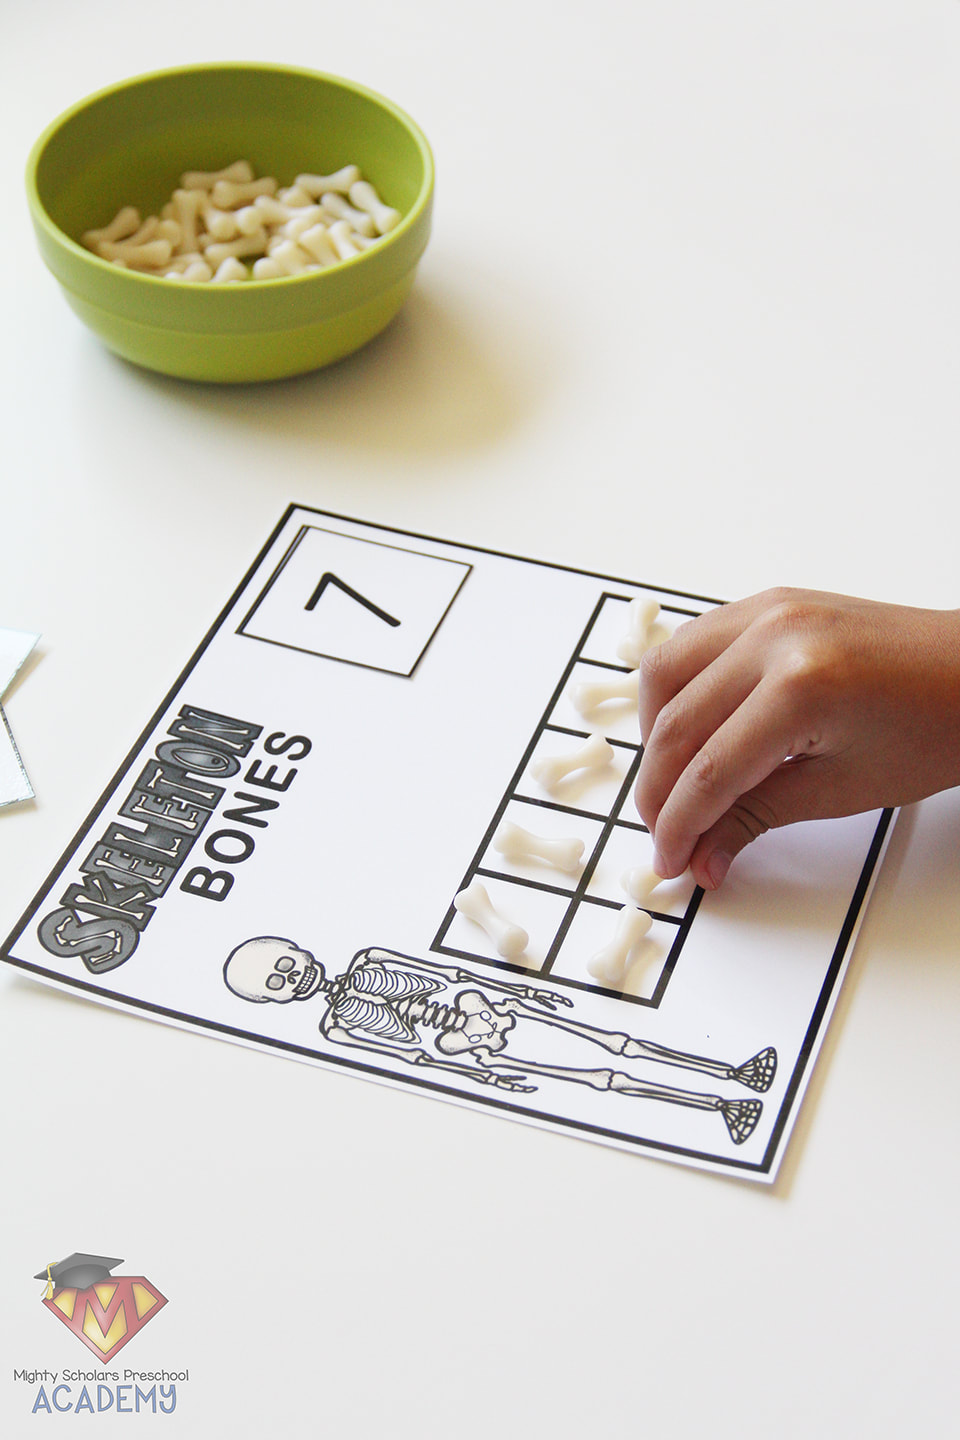
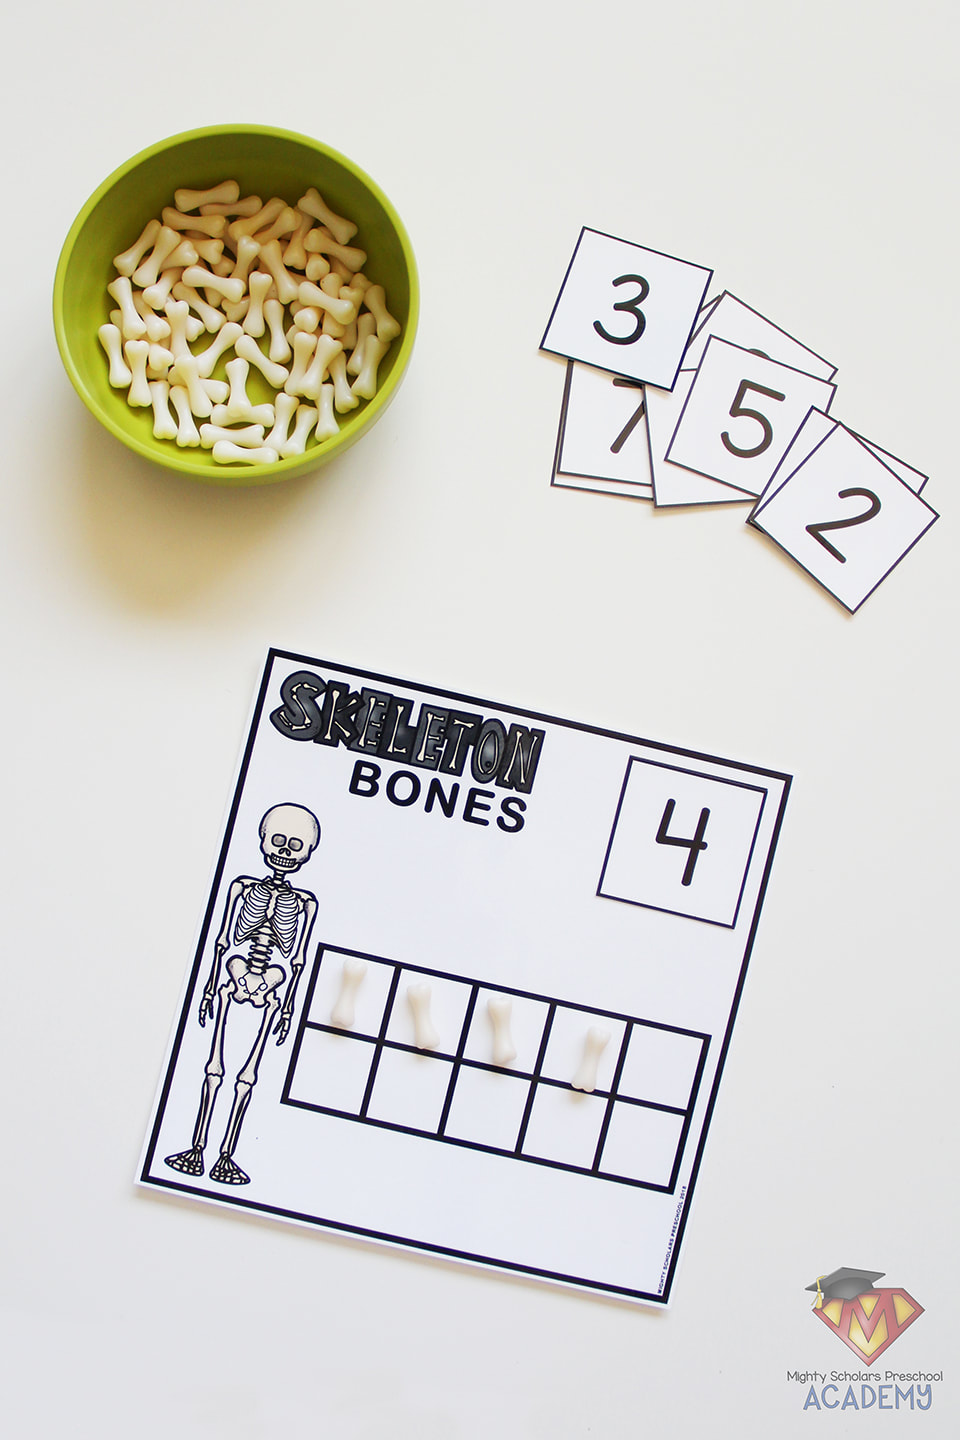
One of the added math activities, placed in our Math Center, used little bone manipulatives that I purchased from the Michaels Halloween decor section. The children use the Skeleton Ten Frame Card and Numbers to count out the corresponding number of bones. My Skeleton Ten Frame Cards and Numbers set comes with a card with a single ten frame and a card with two ten frames, for counting up to twenty.
Each of the various skeleton activities, that I added to our classroom centers, can be found in my Teachers Pay Teachers store, linked below.
You can find the Skeleton Word Cards and Skeleton Writing Paper HERE.
The simplified Class Skeleton Labels and sign can be found HERE. My Skeleton Magnify, Match and Clip Cards can be downloaded HERE. The Skeleton Ten Frame Cards and Numbers can be purchased HERE.
The muscles and skeleton card FREEBIES can be downloaded below:
Please note, as a participant in the Amazon Services LLC Associates Program, I may earn a small commission on qualified recommended links.
The Amazon Services LLC Associates Program is an affiliate advertising program designed to provide a means for sites to earn advertising fees by advertising and linking to Amazon.com.
My Amazon Picks for The Human Body: Muscles and Bones
Comments are closed.
|
Categories
All
©2012–2024 Mighty Scholars Preschool Academy
|
||||||
