|
Learning through sensory exploration is vital and comes naturally to children. They are developing skills that will be crucial in making
informed decisions throughout their day, as adults.
Sensory table activities help children to refine their senses and help their brains to create stronger connections to sensory information. Over time, children learn what their thresholds are, what is useful and what can be filtered out. Sensory play develops motor and language skills, problem solving, scientific thinking and the five senses. It can also involve mindfulness activities, that can benefit anyone at any age.
For the next two weeks my scholars will be learning about
the muscles and bones of our bodies.
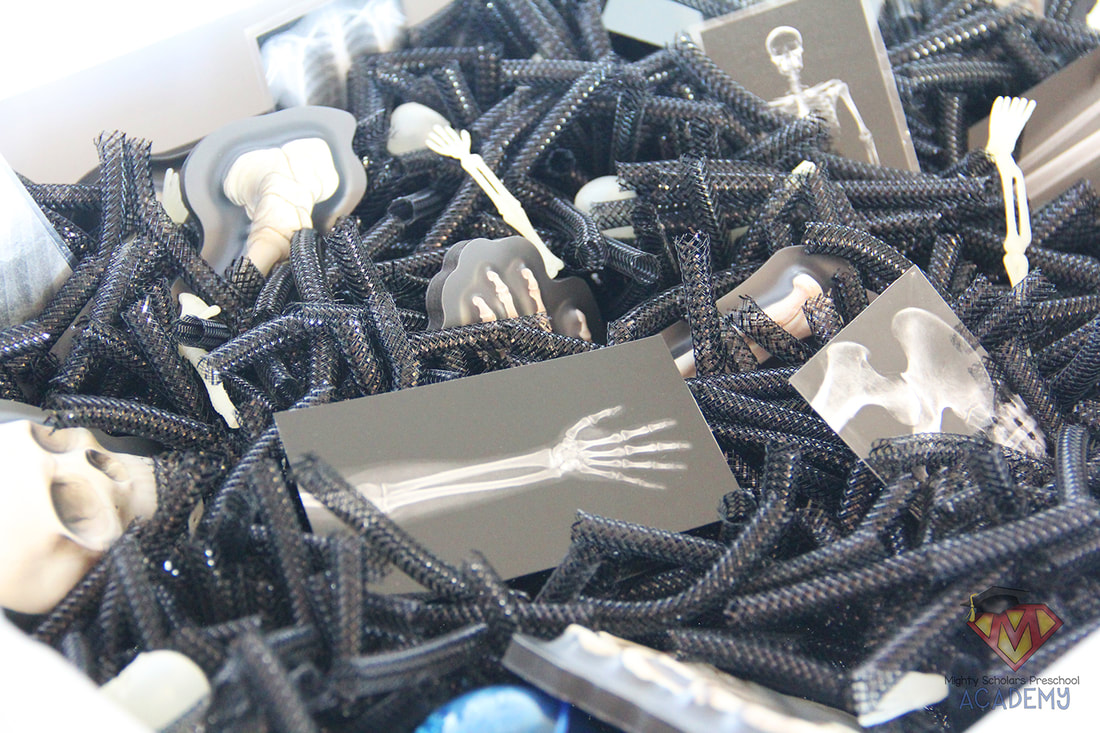
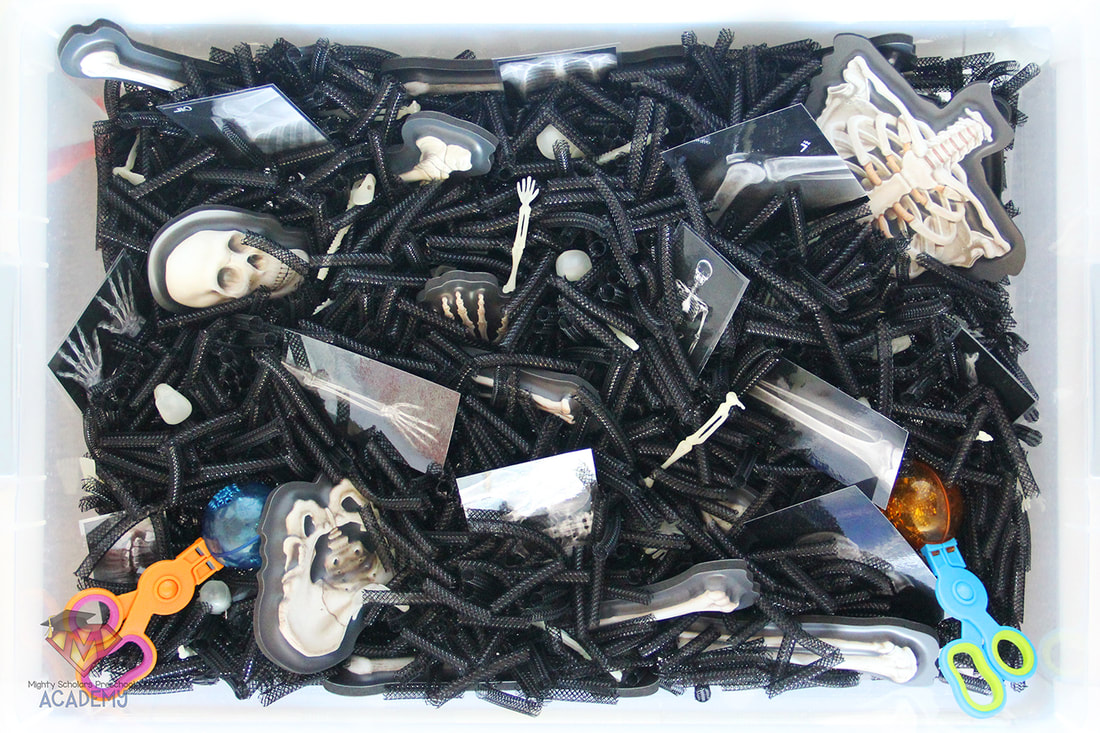
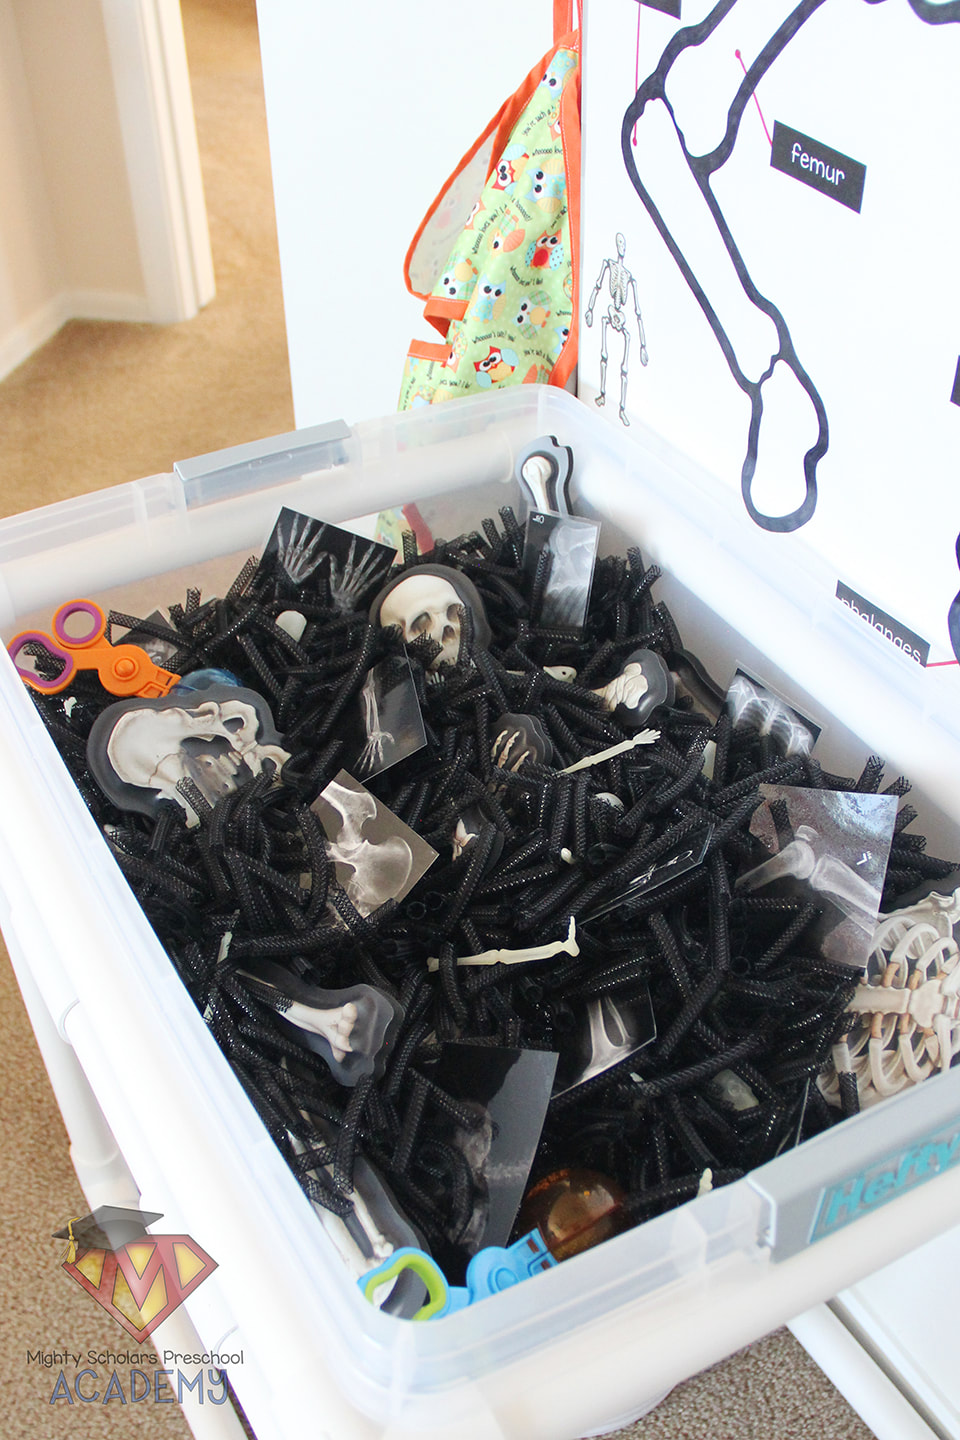
Activities that fit the same theme are embedded around the classroom, in all of the centers. While muscles are a more difficult concept to learn and find educational activities about, bones are usually used as the main manipulatives and activity base. So I chose the skeleton and x-rays as our sensory table theme.
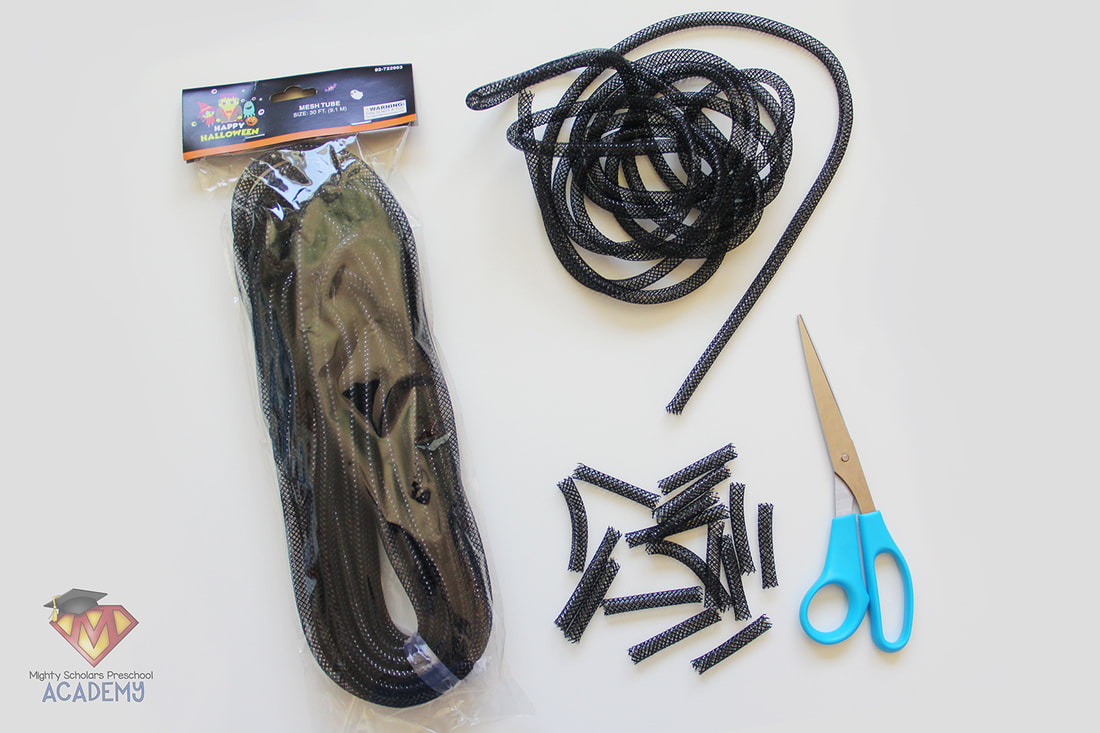
Fall is the perfect time to find the black mesh tubing sensory table filler.
Many dollar stores carry the black mesh tubing during the fall. It can also be found at most craft or fabric stores. Its a unique sensory table filler that can be easily manipulated and bounce back to its original shape. It literally bounces like a metal spring. The mesh tubing isn't only fun to manipulate, its also soft and very light weight. Like most sensory table fillers, my students like to run it through their fingers and over their hands. In a classroom where there is a lot of busy exploration and discovery going on, it makes very little noise, which is a plus.
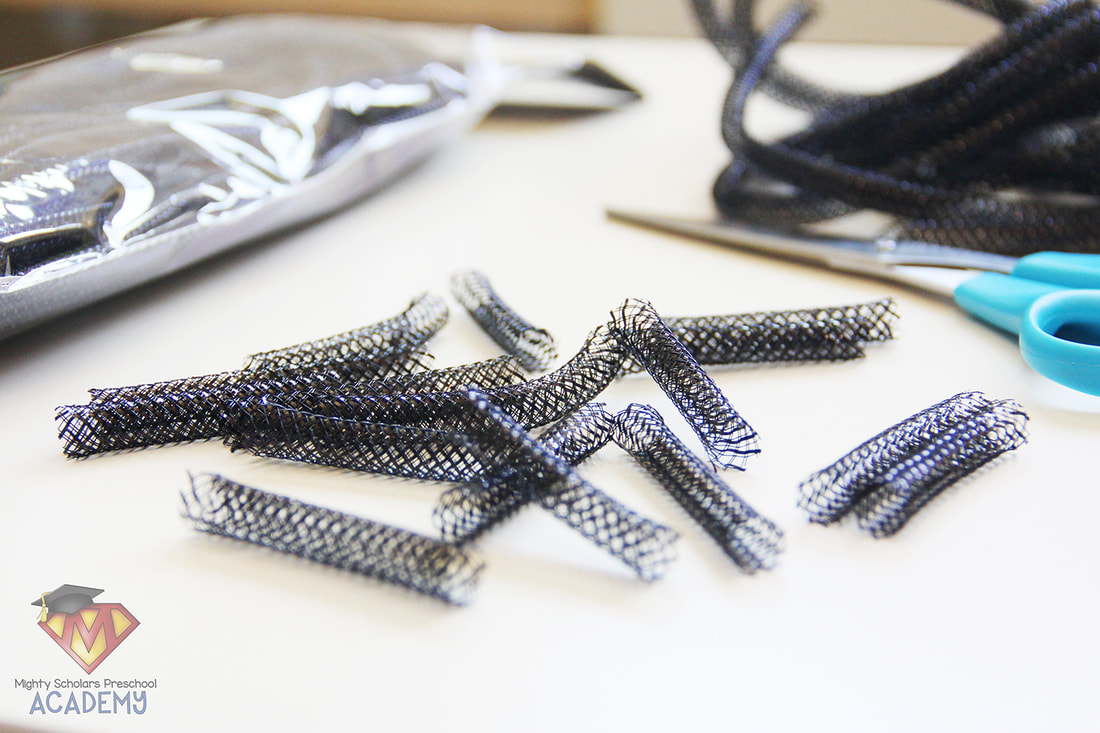
Mesh Tubing can be cut in various lengths
to add variety and be used in different ways.
As the students explore, some may be able to discover and share with their classmates that the longer cut tubing can be turned in on itself (excellent fine motor practice), or that the longer tubing pieces can also be used similar to Chinese finger puzzles. The shorter cut mesh tubing gives better bounce, that students quickly notice.
Teacher Hint: Make sure your scissors are nice and sharp, when cutting up the tubing, or it can get caught and fray more than usual.
Add-Ins and tools make the sensory table exciting and academic.
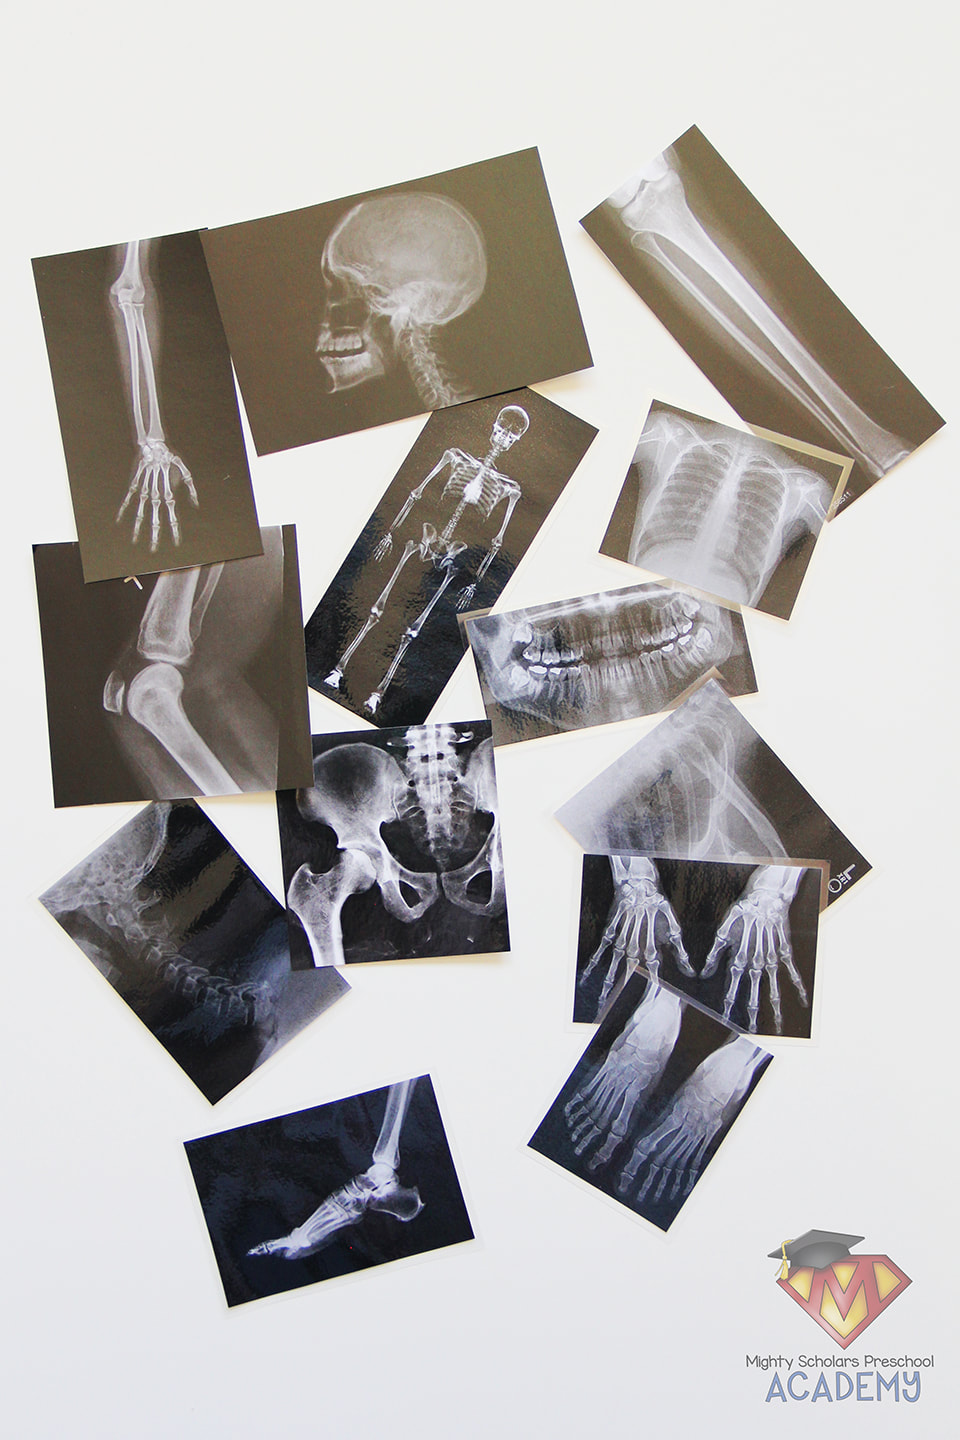
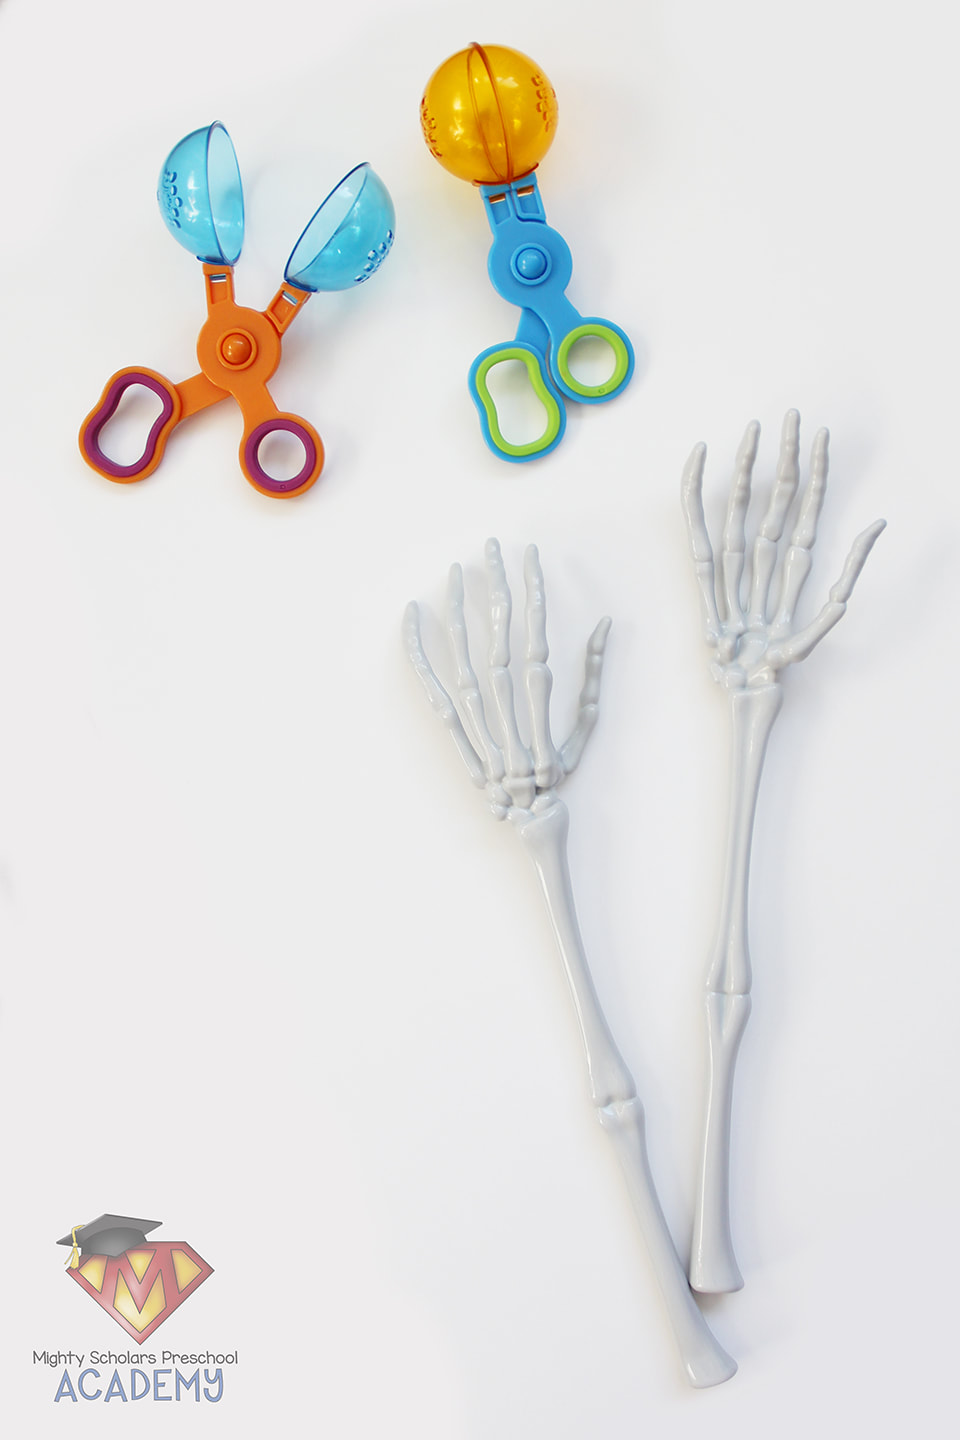
I printed and laminated several small two to three inch clip art images of real x-rays, since our lessons cover how we are able to see our bones, the process of having an x-ray taken and what x-ray images look like. I switch out my tools for the second week of the sensory table, to make it extra inviting and encourage students to return and explore more. For the second week tools, I purchased skeleton salad tongs from the dollar store, sold each year around Halloween.
A perk to using this sensory table around Halloween
is the fantastic, easy to find, miniature skeletons.
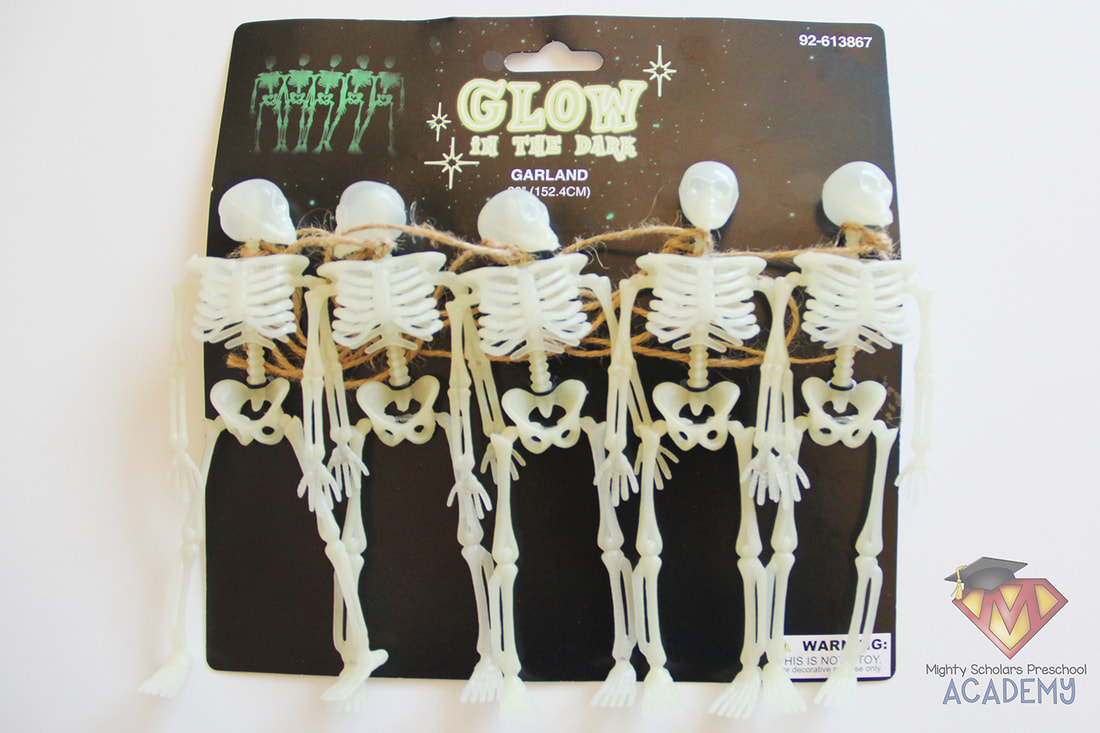
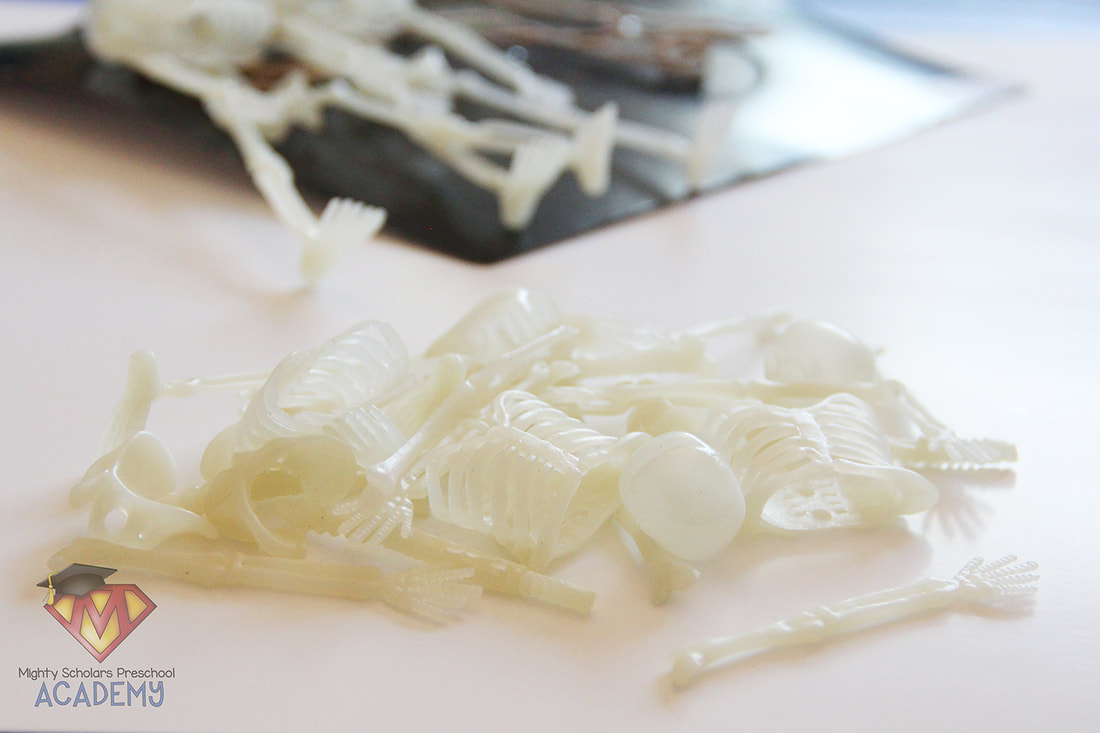
Small or mini skeleton bones can be purchased online, or found in several stores during the fall. I found these mini glow in the dark plastic skeletons at Target, that were easy to cut up into separate bones and added to the sensory table filler. Students like to look for the pieces to build a mini skeleton.
The academic challenge added to this sensory table is the large,
three dimensional, magnetic skeleton.
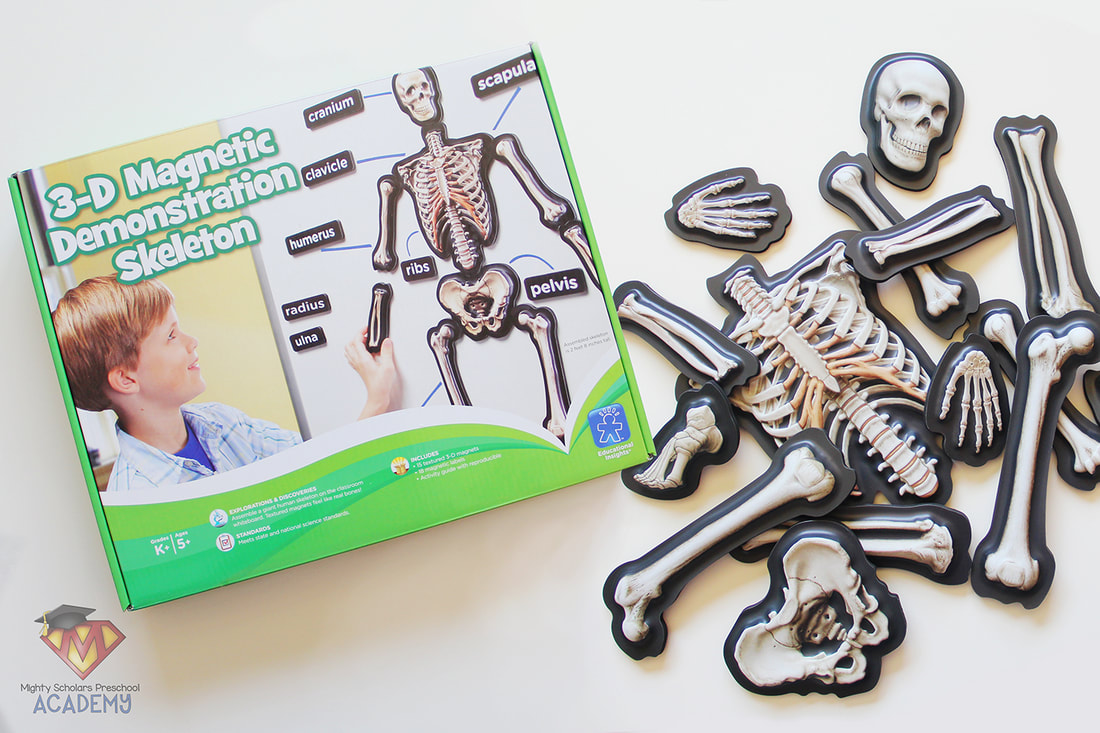
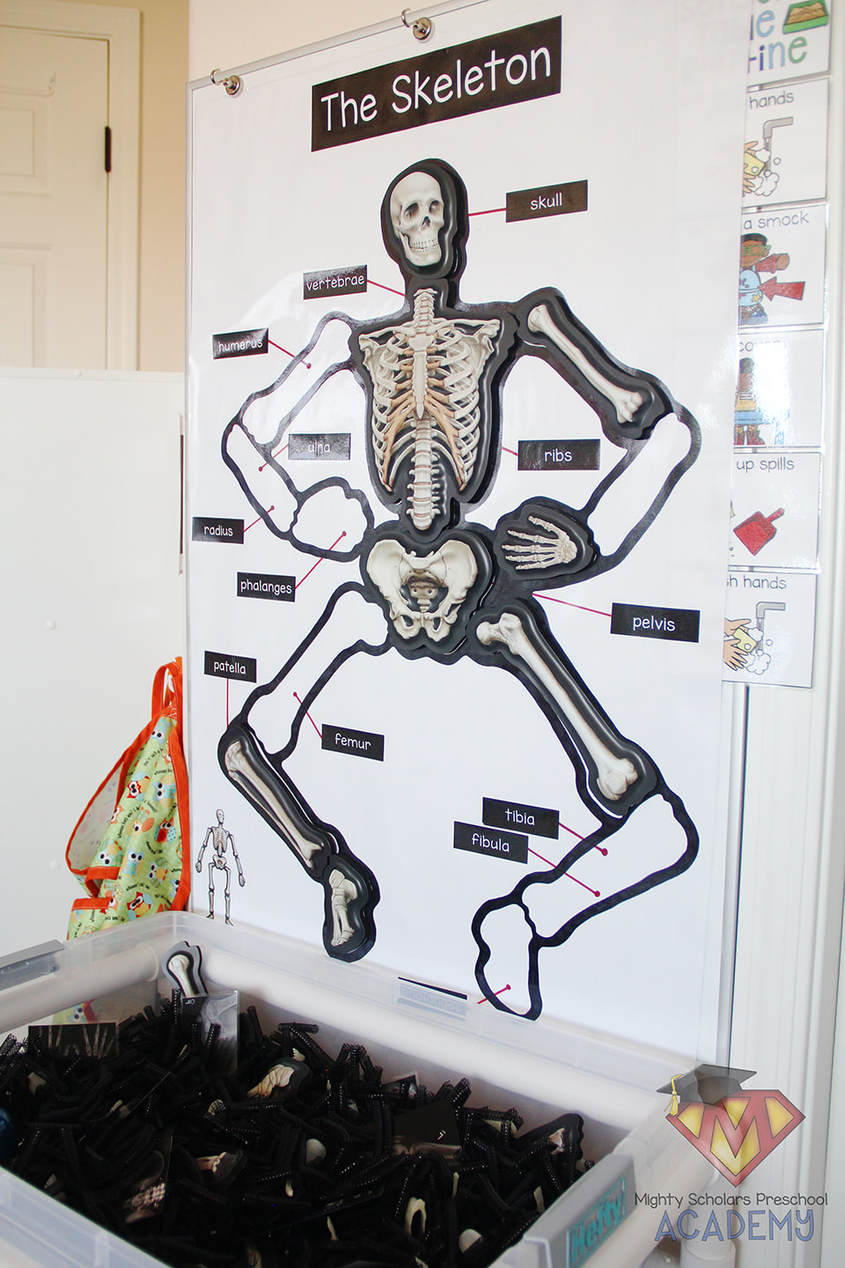
The pieces to the skeleton are large and sturdy. The plastic three dimensional skeleton picture is mounted to thick foam with a magnetic bottom layer, making it perfect for little hands. While the kit comes with magnetic bone labels, I chose not to use those and instead, focus on the large skeleton parts as a wall puzzle.
Exposure to a simplified group of skeletal bone labels helps children recognize letters, concepts of print, and learn that print has meaning.
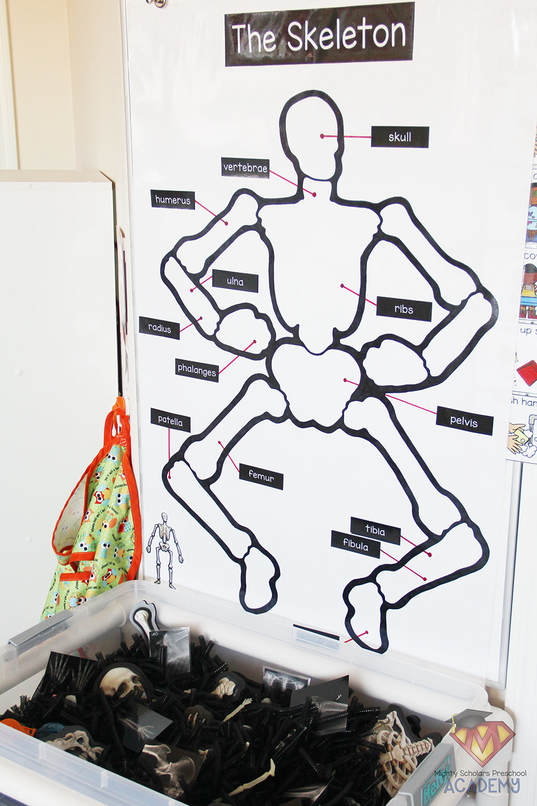
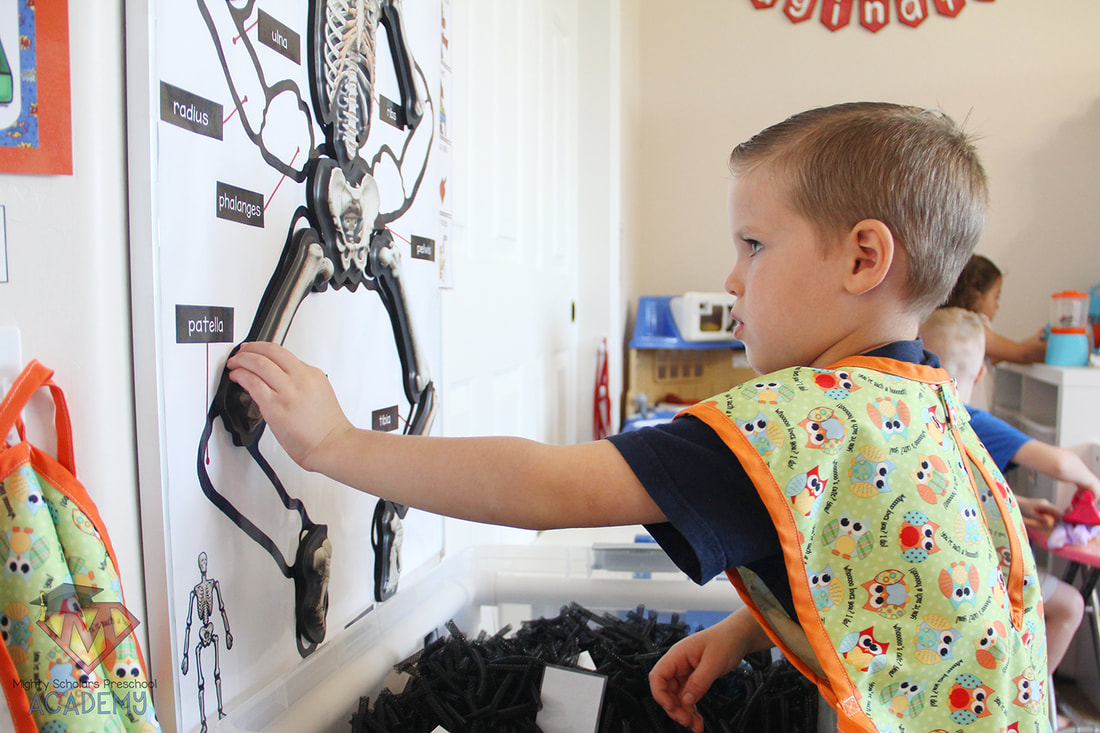
Thin banner paper and a black permanent marker makes the perfect puzzle poster for a magnetic whiteboard. First, I traced the skeleton pieces in the layout I wanted displayed on the board. Keep in mind that the skeleton is quite tall and may require a whiteboard to be placed lower for children to be able to have the puzzle in full reach. Next, I printed off the labels I wanted to use and glued them in position. Finally, I used red permanent marker to draw lines from the labels to the general location of the bones.
If possible, choose a 1.5 mil lamination when laminating your poster. If the poster is too thick, the magnetic skeleton won't have enough magnetic pull to hold the pieces in a vertical position. I taped the finished skeleton puzzle poster to the magnetic whiteboard and scattered the 3D pieces throughout the sensory table filler.
Another variation to the 3D skeleton would be
laminated paper skeleton bones, with magnetic strips on the back.
If the Educational Insights 3D Magnetic Demonstration Skeleton is out of your budget, a skeleton poster could be cut, laminated and magnetic strips attached to the back of each piece. You would need to have the paper skeleton pieces easily distinguishable from the x-rays in the filler, by mounting them to colored paper or possibly giving them a colored outline.
The Skeleton Sensory Table pairs nicely with the hands-on x-ray discovery lesson, in the science center.
Look for more about that in a post after this coming week.
Please note, as a participant in the Amazon Services LLC Associates Program, I may earn a small commission on qualified recommended links.
The Amazon Services LLC Associates Program is an affiliate advertising program designed to provide a means for sites to earn advertising fees by advertising and linking to Amazon.com.
My Amazon Picks for
The Human Body: Skeleton Sensory Table Comments are closed.
|
Categories
All
©2012–2024 Mighty Scholars Preschool Academy
|

